Vinyl was provided to me by Cricut, but all opinions are my own. Click this link to see all the Trendy T-Shirts designs

Mermaids are making a splash all across the craft and fashion world, and it’s perfect timing as we can finally start thinking about warmer spring weather! Start thinking about who you know who’d love this shirt.
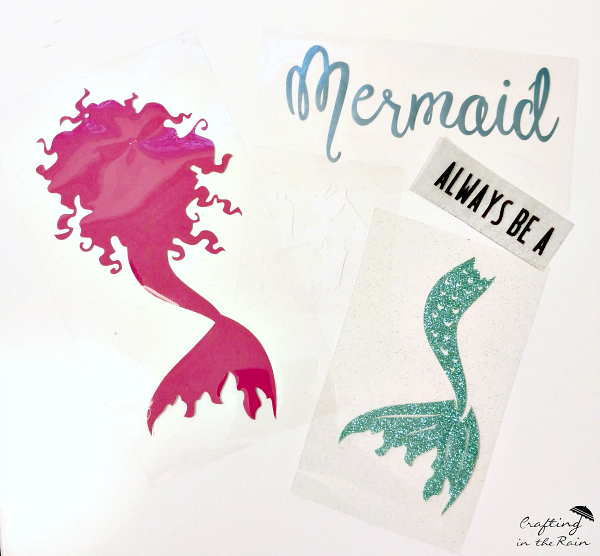
I used the Mermaid image — Search in Design Space for image #MCE35A0 — and the fonts are Chloe and Southwest.
And here’s the cut list:
Mermaid hair: Pink iron on
Mermaid body: White iron on
Mermaid tail: Glitter Jade iron on
ALWAYS BE A: Black flocked iron on
Mermaid: Aqua iron on
Helpful Tips for Cutting Iron-On Vinyl
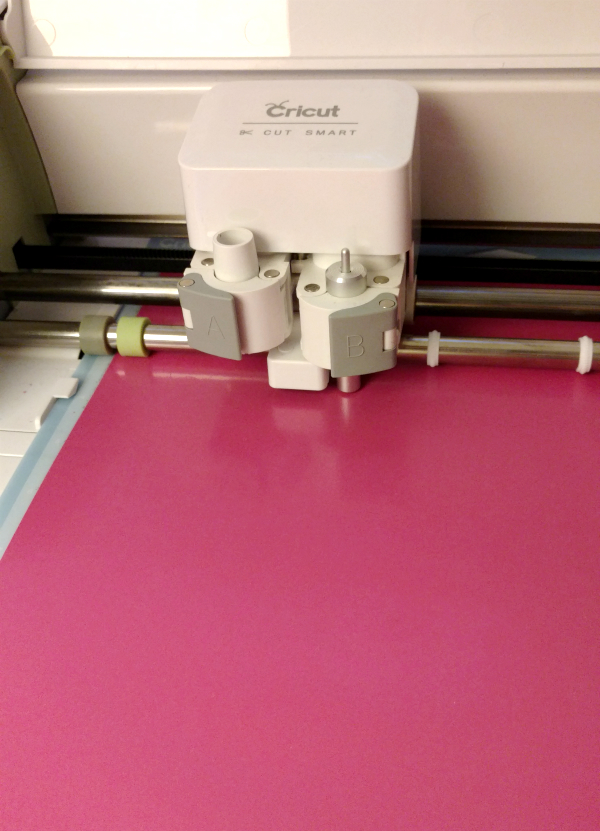
**Remember to mirror the images before you cut
Iron-on vinyl sheets go shiny/ plastic side down on the mat, so that’s why you need to mirror the cut.
**For regular iron-on, turn the knob to “iron-on”
**For glitter and flocked iron-on, turn the knob to “custom” and then from the dropdown menu on the screen select “Iron-on, Glitter”
**Glitter and Flocked should always be a “top layer” because vinyl don’t iron on well over the top of them
**Make sure when you have several pieces that the vinyl won’t accidentally be ironed on top of another piece’s plastic liner
Steps
Once all the pieces are cut and weeded, trim the sticky plastic liner fairly close to the images/ words.
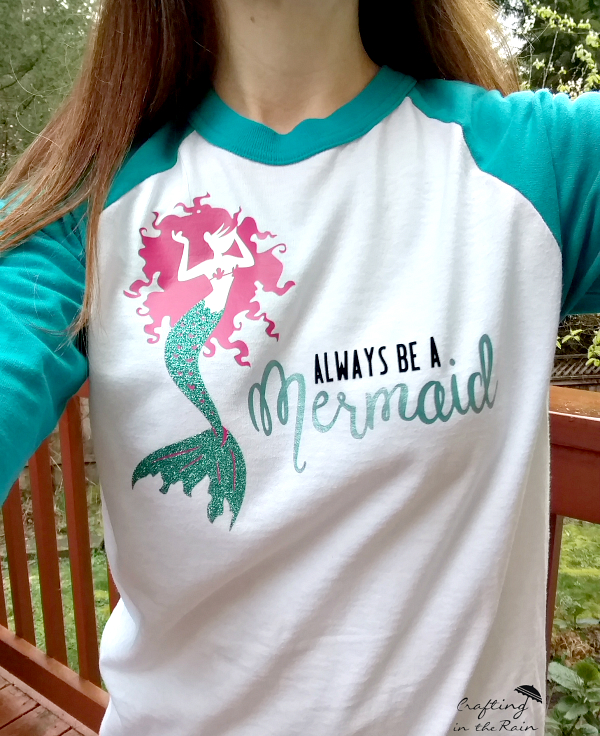
Lay them on your shirt for placement, and then start ironing down the base layers (the mermaid hair and the word “Mermaid.”
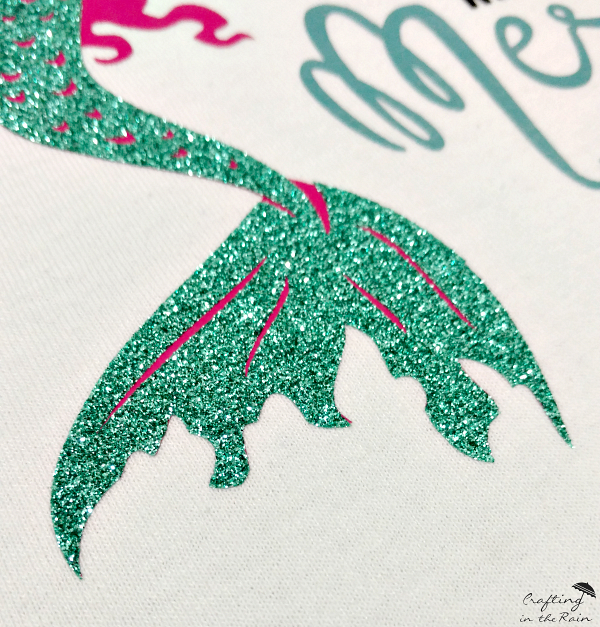
Then add “Always be a” and the white body and finally the glitter tail. Be sure to protect all layers already ironed on by laying the original plastic from that piece on top. You don’t want the iron to touch any vinyl that’s not protected–it can melt it.
And then your shirt is done! Do you like it??
Click here for all my Cricut Ideas.
Click here to go snag your own Cricut Explore, Iron on vinyl, or other Cricut accessories.
(affiliate)
As always, if you have any questions, please let me know, and thanks for reading!

Kristy
Wednesday 19th of December 2018
Where did you buy the shirt?
Stephanie Paxman
Friday 3rd of June 2016
It's been added to the post now-- go to this link https://us.cricut.com/design/#/canvas/insert-image?imageSetFilter=335684
Kim
Friday 3rd of June 2016
I am also interested in the Mermaid cut file. Where can I get the Mermaid file?
Unknown
Friday 13th of May 2016
Could you tell me where I'd find the Memaid cut file?Thank you
BebeEnriquezMommy
Tuesday 3rd of May 2016
Absolutely love it! Thank You!