
I built a DIY shoe bench, and you can too! You know those projects that float around in your head for a while. Sometimes years even.
And you just keep saying, “Someday I want to…fill in the blank.” Well, I’m trying to be better about filling in the blank. This bench is one of those ideas.
(This bench was originally built in 2016 – in 2020 I added a stencil to the top and painted it a new color. See the farmhouse style shoe bench here.)
Why do you need a shoe bench?
I don’t mind people wearing shoes in the house – I usually keep my own shoes on too. But the shoe pile by our front door still looks like this.

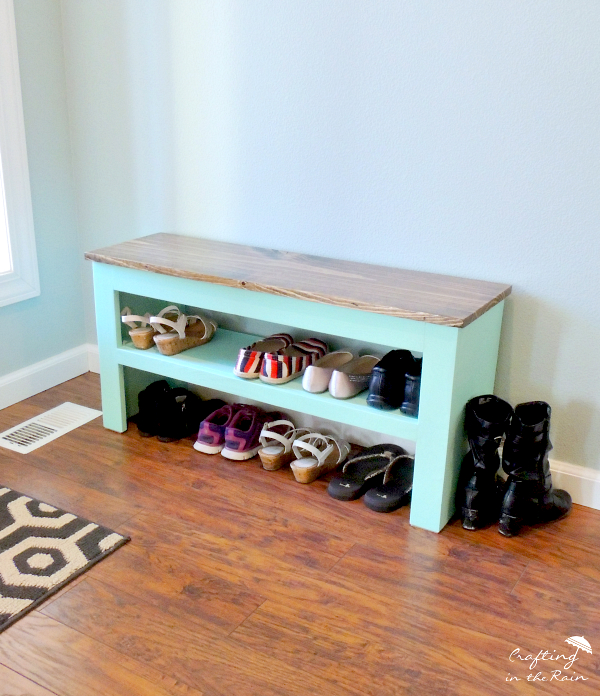
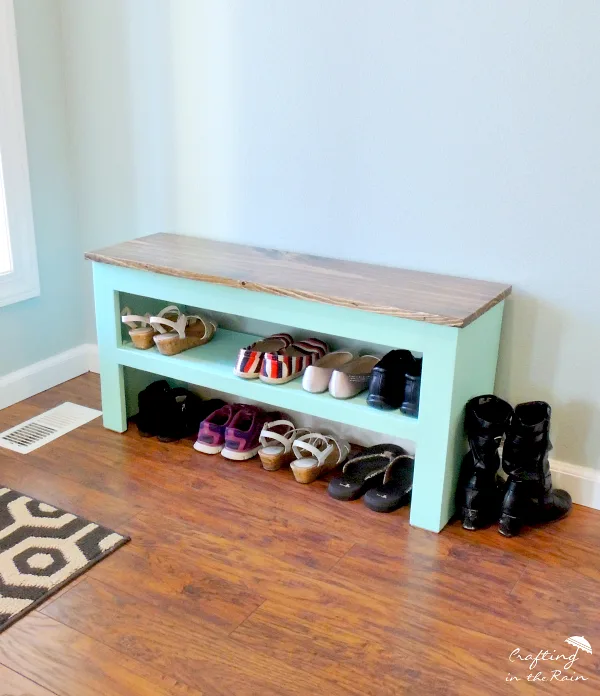
A shoe bench gives you a place to organize your shoes, as well as a place to sit while you’re putting them on or taking them off.
It can also be a great place to add some color to your entryway, and anchor whatever other decor you put in the area.
Almost since we moved into this house a year ago I’ve wanted to have a bench by the front door so the shoe situation would just look nicer. I looked through plans over on Ana White and saw the Spa Bench. I knew with just a couple of modifications I could make it perfect for what I wanted.
Plans for building a shoe bench
Here are my modified plans:

1 — 1×12 @ 37 inches
2 — 1×10 @ 34.5
2 — 1×10 @ 17.25 inches
4 — 1×3 @ 17.25 inches
2 — 1×3 @ 31 inches
2 — 1×2 @ 31 inches
Final bench dimensions: 37 inches wide, 11.25 inches deep and 18 inches tall.
You’ll also need:
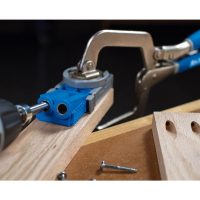
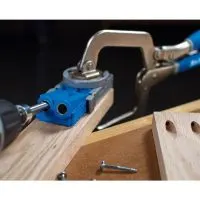
Kreg jig for pocket holes and 1 1/4 inch pocket hole screws
Clamps are helpful
Wood glue
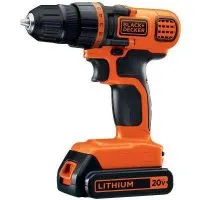
A drill
Sander/ sandpaper
Paint/ stain/ clear coat of choice

I’m more comfortable with pocket holes than our big nail gun (because we have to get down the giant air compressor to run it too) so that’s what I used to attach everything.
A couple of notes on the pocket holes above. these are the 1×10 pieces. The shorter piece on top is one of the sides. See how the middle hole isn’t in the middle? It’s because I didn’t want the shelf to get in the way. Those holes will attach the trim pieces to the sides, making the legs.
Then the larger piece is the shelf and the top of the base. The two holes on the end attach to the sides. The holes along the long edges will attach to the front and back trim pieces.
**The 4 holes in the corners should have been brought in away from the edges more. They were a super tight fit to get the drill in there once the piece started coming together!
I drilled pocket holes along the sides and ends of the two “shelves” and the two sides.
Screw the two sides to the top and add the shelf in 7.5 inches up from the bottom.
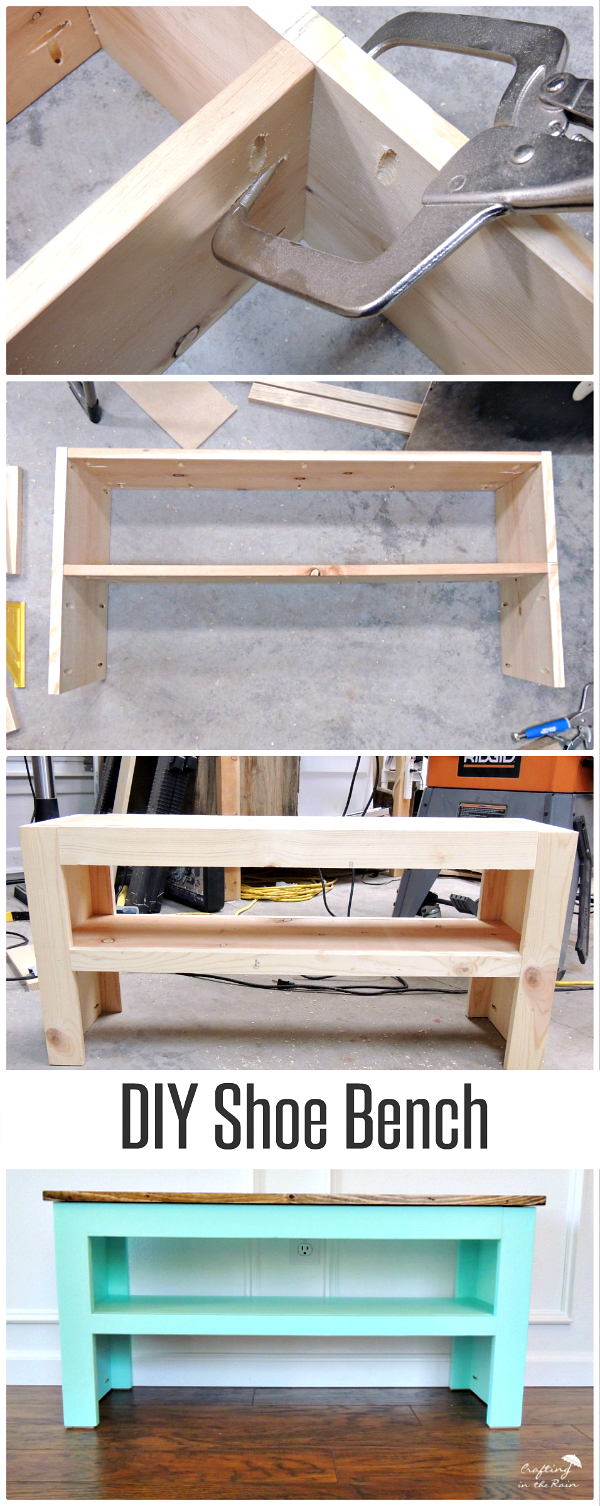
Then start putting the trim for the legs and top. These are the 1×3’s. The 1×2 is for the middle shelf.
With the base built, you can now sand everything. I used a random orbital sander and got a little carried away. You want to start coarse (low number) and move up to higher grits. So I did 80, 120, 220 and 320. But I really should have stopped at 220.
For my top piece I was having so much fun getting it so smooth I went up to 400. After my arm felt like jelly from holding the sander, I wished I had stopped 🙂
Vacuum the bench (especially in the corners where it’s harder to reach) and then wipe all surfaces with a tack cloth to remove dust.

Then stain the top (don’t forget the edges, and under the edges a couple of inches.)
Paint the base. I used a sample size of a combined paint/primer (Behr Aqua Mist.) I got great coverage in just one coat. But I still added a second coat right on the front side so that it would be more protected.
The final step was to protect everything. I applied two coats of clear gloss Polycrylic on the stained top and one coat of soft touch varnish over the blue paint. Hopefully, this will help everything not get beat up by shoes, and be easy to clean.
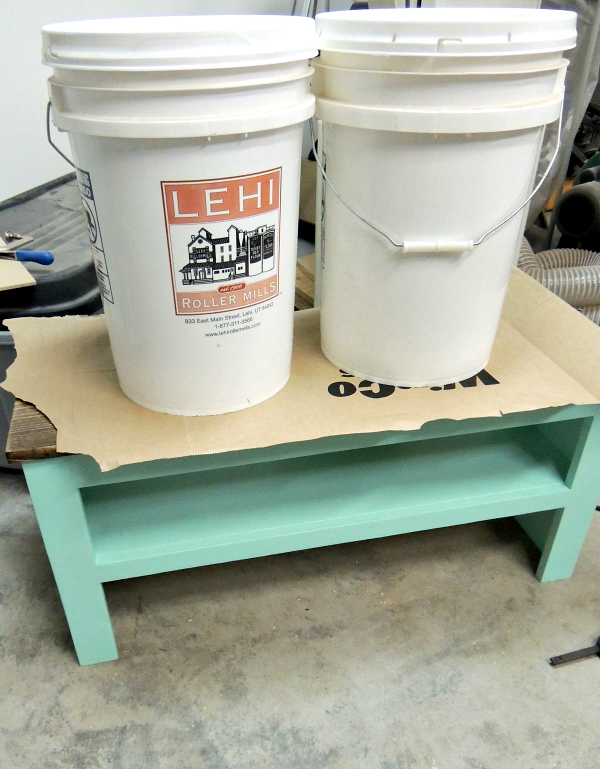
After letting everything dry and cure for at least 24 hours, it was time to attach the top to the base.
I spread a layer of wood glue, placed the top on, making sure it was lined up flush in the back and overhanging the same amount on each side. I laid a paper grocery bag on it and we put to heavy buckets of wheat to press it down while the glue dried overnight.
The final step was just to add some felt tape to the legs so it won’t scratch up our floor at all.

I love seeing it when we walk in the door, or when I come down the stairs now!
Build a Shoe Bench
Free plans to build a diy shoe bench that will look great in your entry and keep all the shoes organized. Customize with paint and stain.
Materials
- 1 x 12
- 1 x 10
- 1 x 3
- 1 x 2
- Wood glue
- Sand paper
- Paint and/or stain
- Clear coat for sealing, optional
Tools
- Chop saw (or see if the home store will make the cuts for you)
- Drill
- Kreg Jig and 1 1/4 pocket hole screws
- Clamps (optional but helpful)
- Paint brushes
Instructions
- Make the following cuts:
1 -- 1x12 @ 37 inches (stained top)
2 -- 1x10 @ 34.5 inches (top and shelf)
2 -- 1x10 @ 17.25 inches (two legs)
4 -- 1x3 @ 17.25 inches (leg trim)
2 -- 1x3 @ 31 inches (top trim)
2 -- 1x2 @ 31 inches (shelf trim) - Sand cut edges
- Drill pocket holes:
3 on each long side of the 1 x 10 leg pieces
5 on each long side plus 2 on each short side of the 1 x 10 top and shelf pieces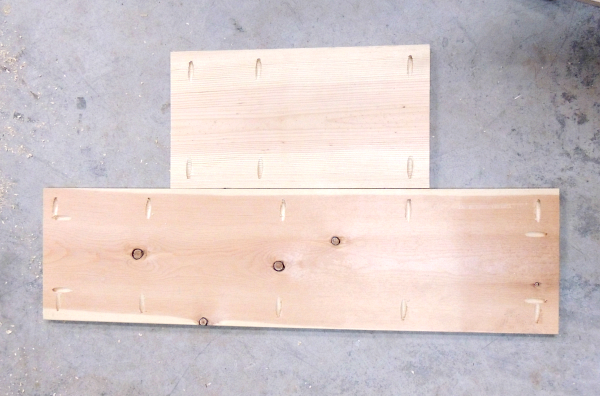

- Screw the two legs to the top and add the shelf 7.5 inches up from the bottom
- Add trim to the top, shelf and legs
- Sand base up to 220 grit and remove dust
- Stain the top bench piece and paint the base
- Add clear coat if desired for extra protection
- When dry, spread wood glue on the top and lay down the stained piece. Clamp or secure with heavy items while drying
Notes
I recently updated this bench with new paint and a stencil - check it out here!

I’d love to hear what you think! Would you make one for your house? What color would you paint it?
This project would also go great with a new doormat – like this nice shoes doormat!
Suzanna Bagley
Monday 1st of January 2024
*I meant "sanded and stained" (not glued even though I did use a lot of glue! )
Suzanna Bagley
Monday 1st of January 2024
Hello, I decided to attempt your bench/shoe rack instructions and it was quite the personal journey! I cut the wood (accounting for the kerf), drilled my pocket holes (surprisingly easy!), I screwed in the kreg screws by hand (for better control and to avoid stripping the heads), sanded, and glued. Being my first major wood project I made a few minor errors but overall it turned out to be a sturdy, stable, and beautiful piece of furniture. I wanted to post a picture to encourage other people to give it a try but I couldn't find a way to upload it.
22 DIY Shoe Rack Ideas For Cheap – DIY Make To
Tuesday 29th of August 2023
[…] Click Here […]
22 DIY Shoe Rack Ideas For Cheap – Clairea Belle Makes
Friday 4th of August 2023
[…] Click Here […]
20 DIY Shoe Rack Ideas For The Perfect Entryway Makeover - decorblondie.com
Wednesday 29th of March 2023
[…] a look at this cute DIY shoe rack which doubles as a bench. You’ll find the plans for it on craftingintherain. It’s really good for the entryway as a result of it permits you to sit down when you put in your […]