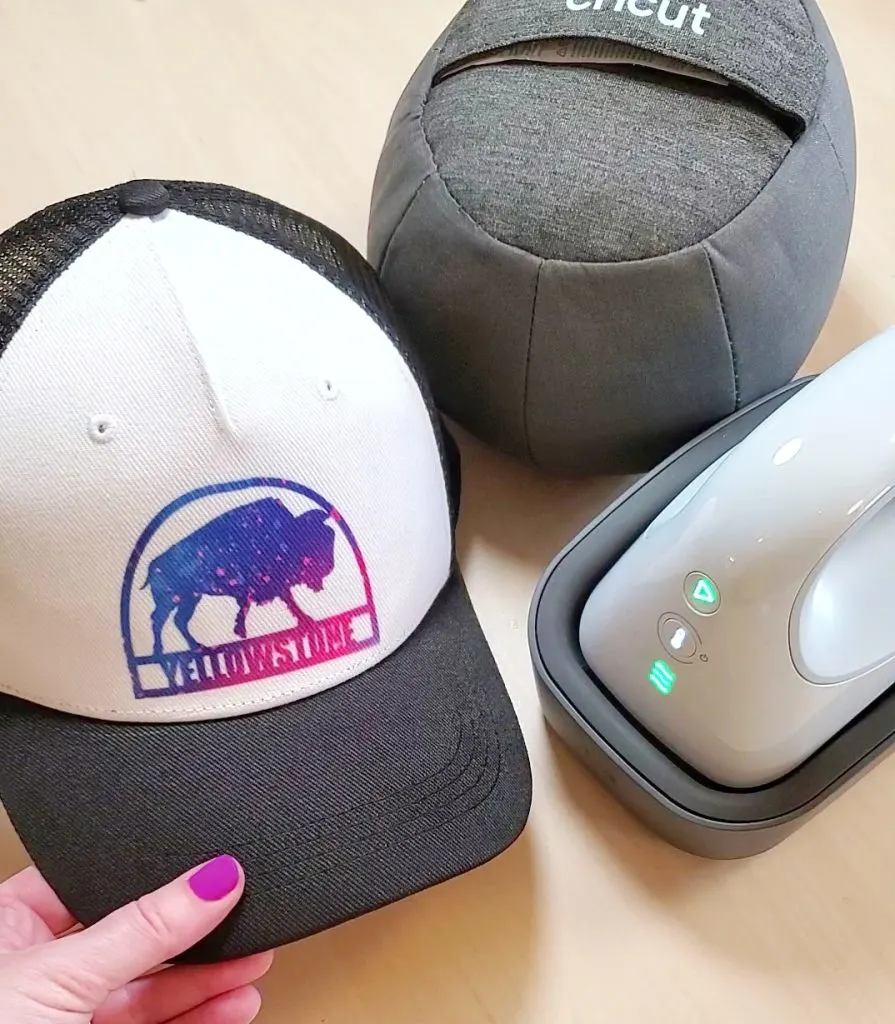
Watch how easy it is to decorate a trucker hat with Cricut Hat Press. I put Infusible Ink on a Cricut brand Trucker Hat. The white part is polyester so it’s perfect for Infusible Ink.
This post is sponsored by Cricut. All thoughts and opinions are my own.

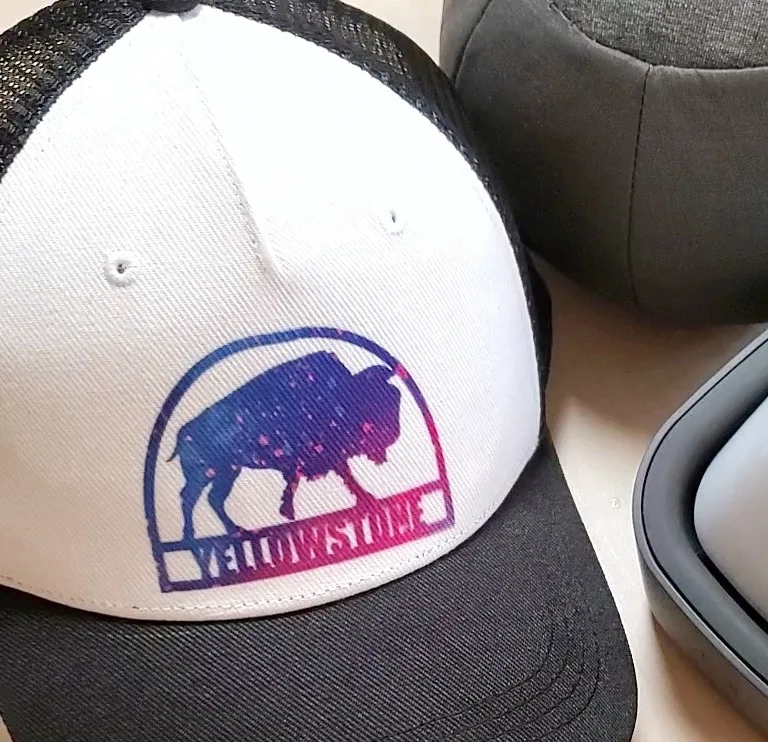
Cricut Trucker Hat
I found a Yellowstone design in Design Space and mirror cut from an Infusible Ink sheet. The image should be kept within 2.25 in high x 4.25 in wide to transfer with the best result.
Read this post for tips on Infusible Ink
Supplies for Cricut Trucker Hat
- Cricut trucker hat – I used white, but you can start with any color and adjust your iron-on vinyl as needed
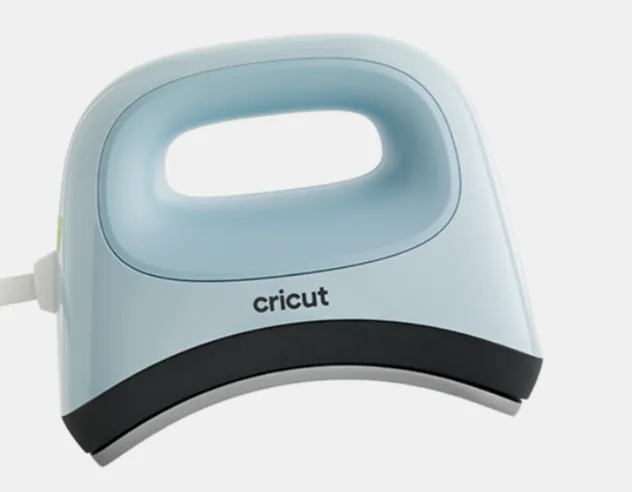
- Cricut Hat Press
- Hat Press Form (comes in the press box)
- Strong Heat Resistant Tape (comes in the press box)
- Infusible Ink Sheets – I used the Purple Watersplash pattern
- Weeding Hook
- Cricut Heat App – Needed to activate the Hat Press before the first use. After that it’s not necessary to use the Hat Press, but it sure is useful!!
Set up Hat Press
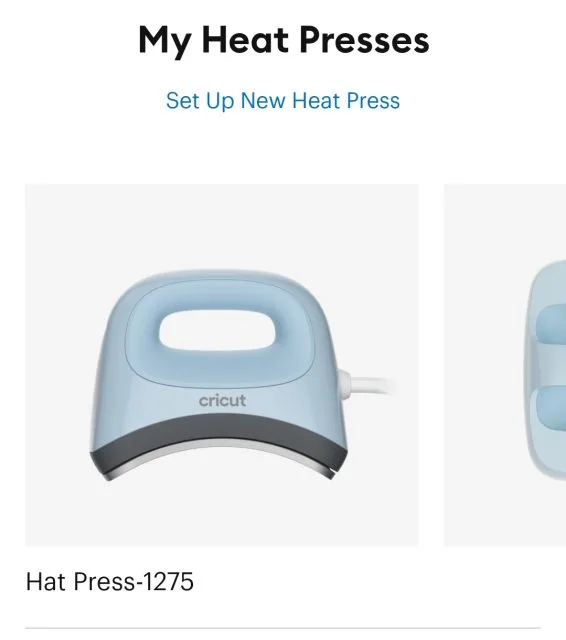
If this is your first time using the Cricut Hat Press, plug it in, push the power button, and open the Cricut Heat App. It is available for free for both Apple and Android of course!

The app will recognize your machine and ask to connect it. It may prompt you to update, and you can go ahead and do that.

After it’s connected you can set up a project. Use the dropdown to choose the iron-on material and the base (like Infusible Ink Sheet and Cricut Trucker Hat)
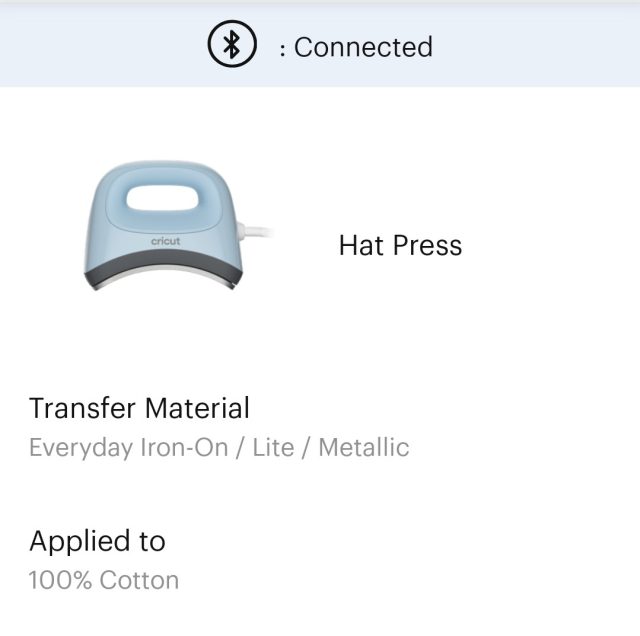
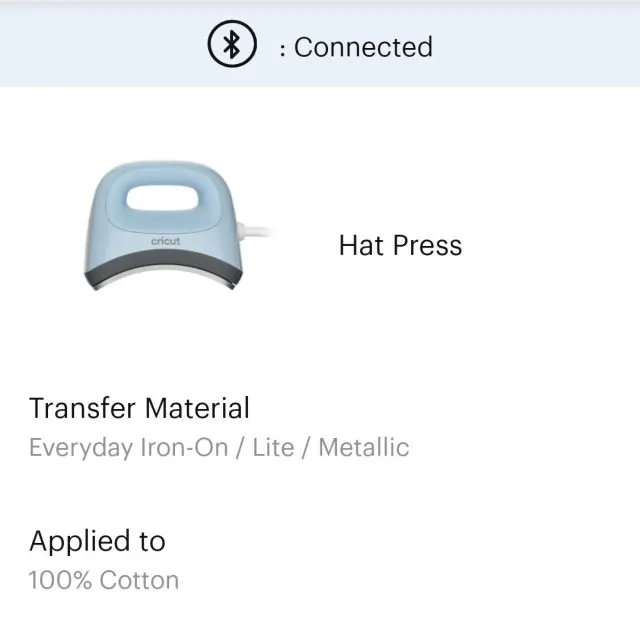
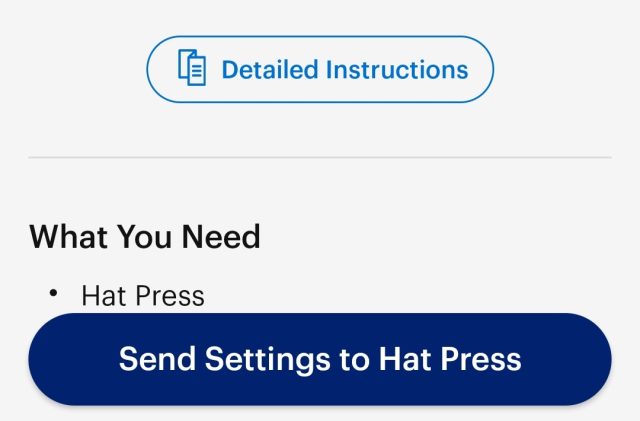
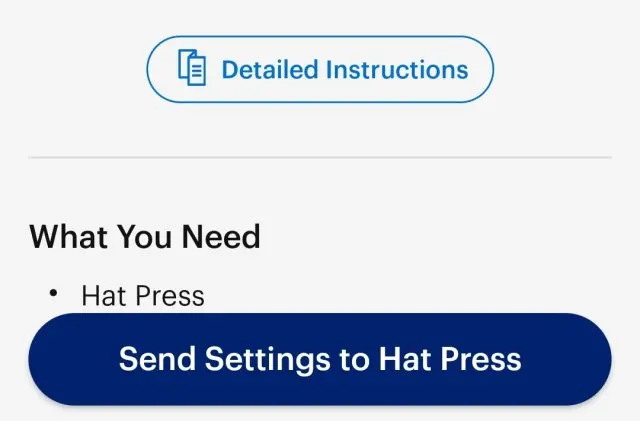
Then you can send the settings to the press – and it will start heating up to the correct temperature for you!
Infusible Ink with Cricut Hat Press
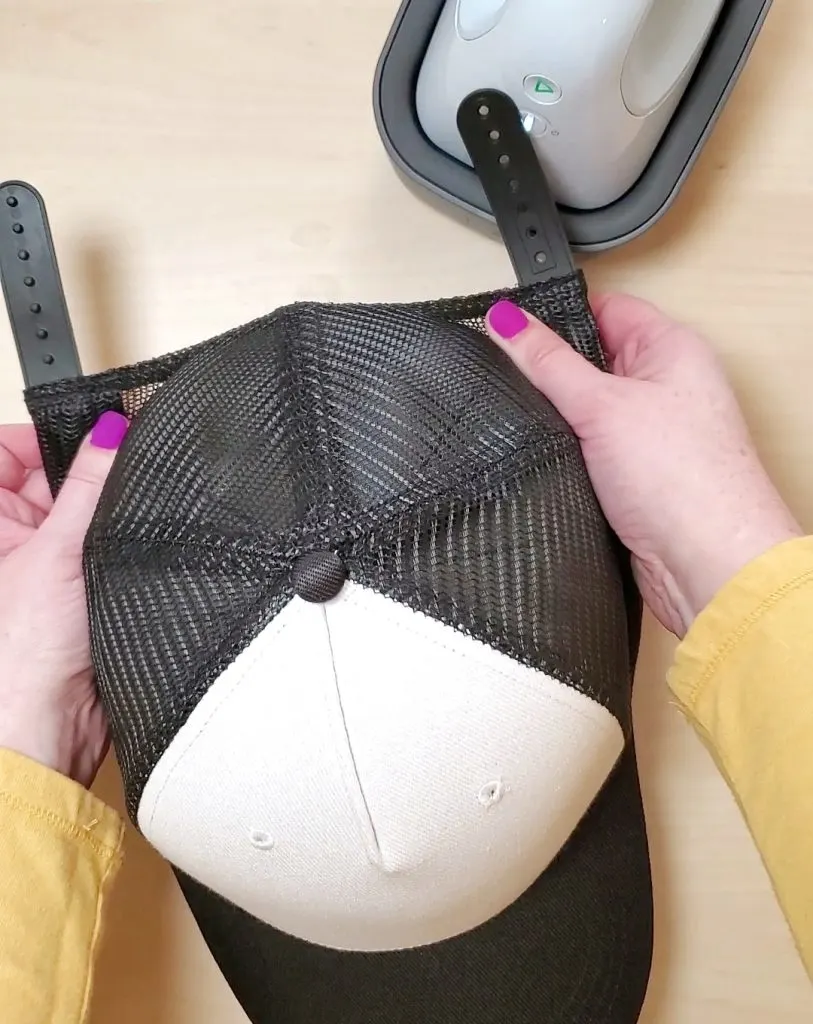
Undo the snap back and fold out the inner band. Then slide over the hat form.

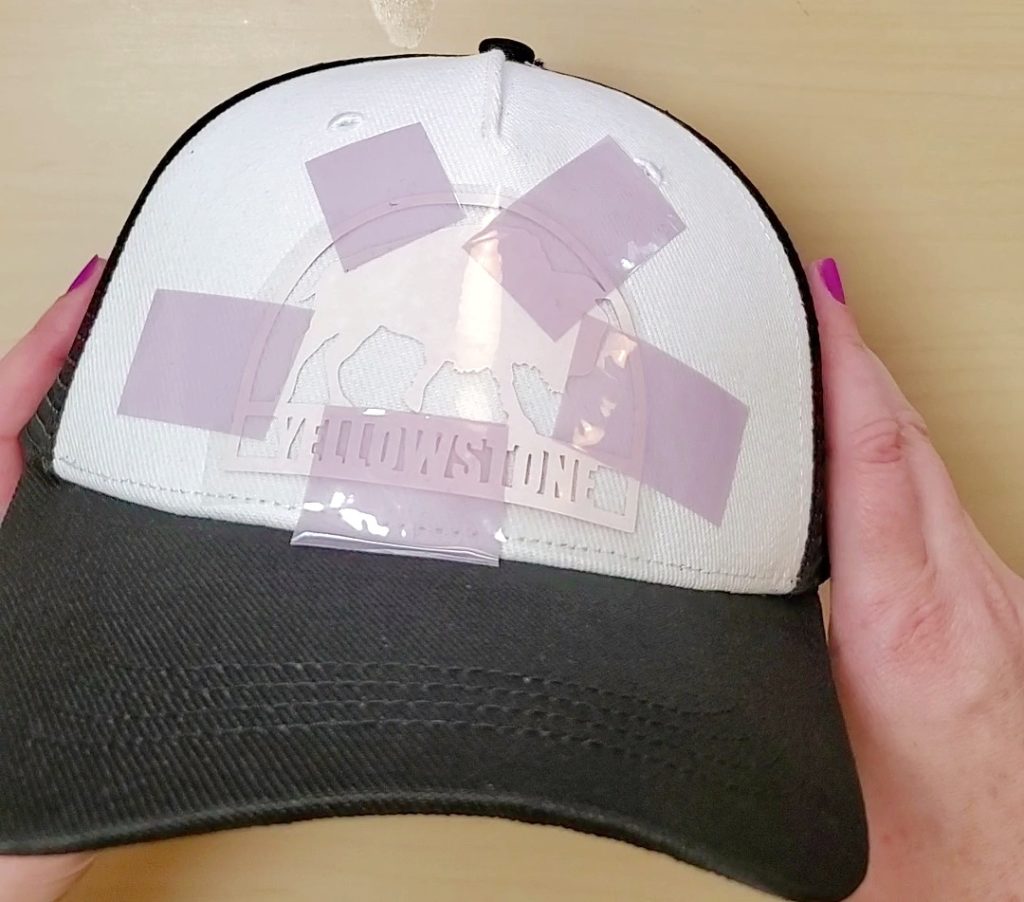
Follow app instructions – it will remind you to remove lint with a roller, preheat, and tape the design with strong heat resistant tape. Don’t skimp with the tape – you don’t want to risk having the ink shift or blur while using the Hat Press.

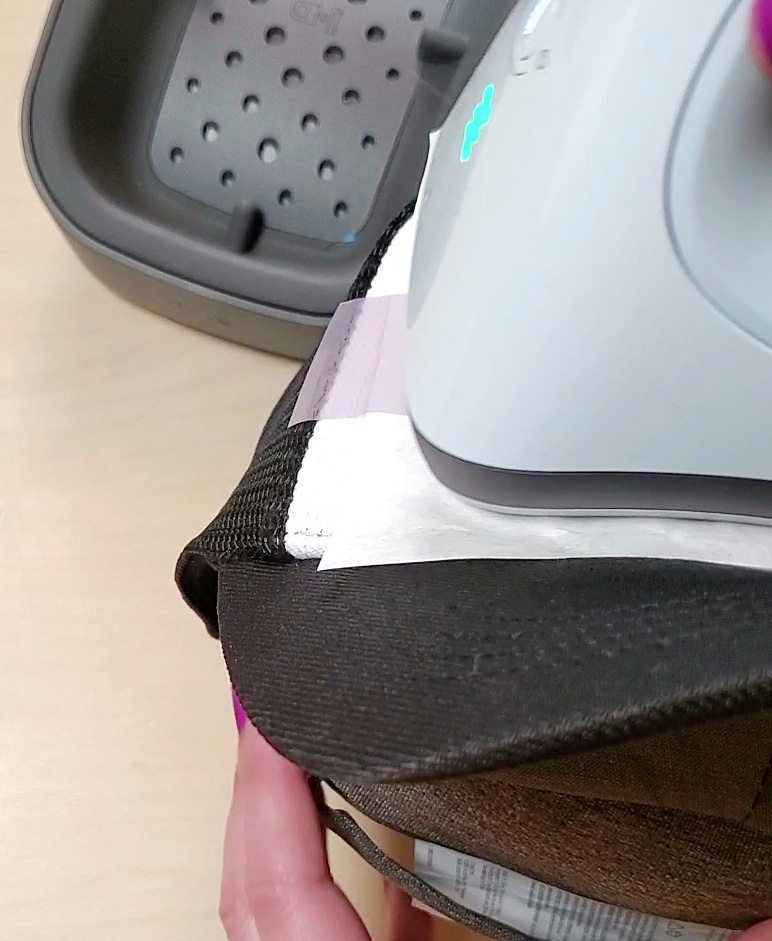
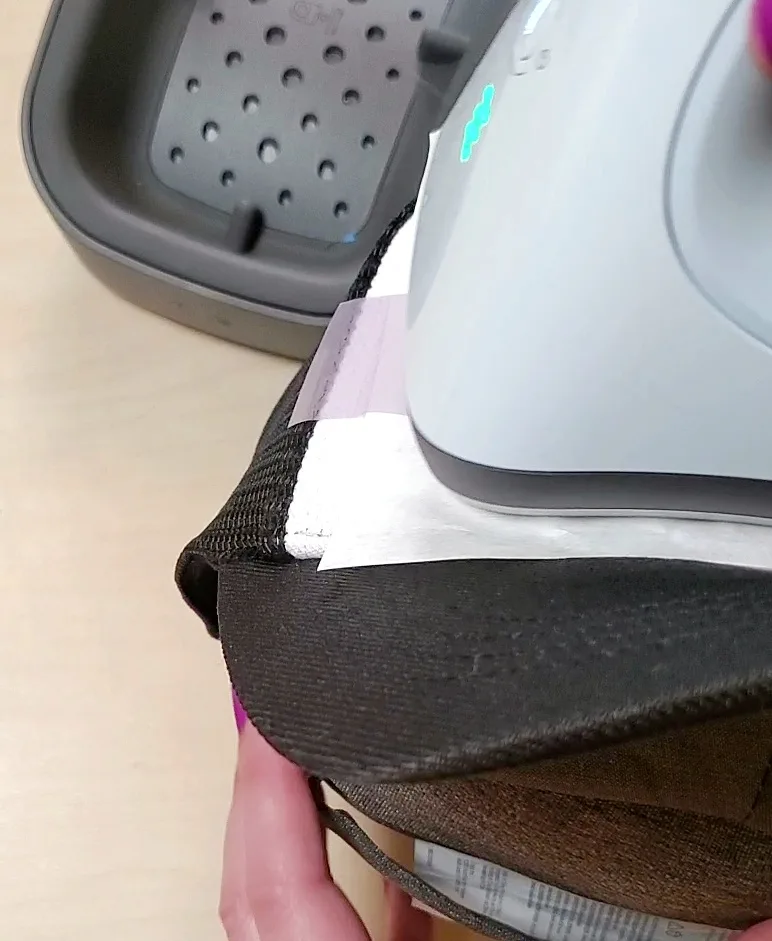
Layer butcher paper over the design and use the app for the timer. Press the design while moving the press until the Hat Press beeps.
When the layers are cool to the touch, remove butcher paper and ink to reveal the beautiful transfer!
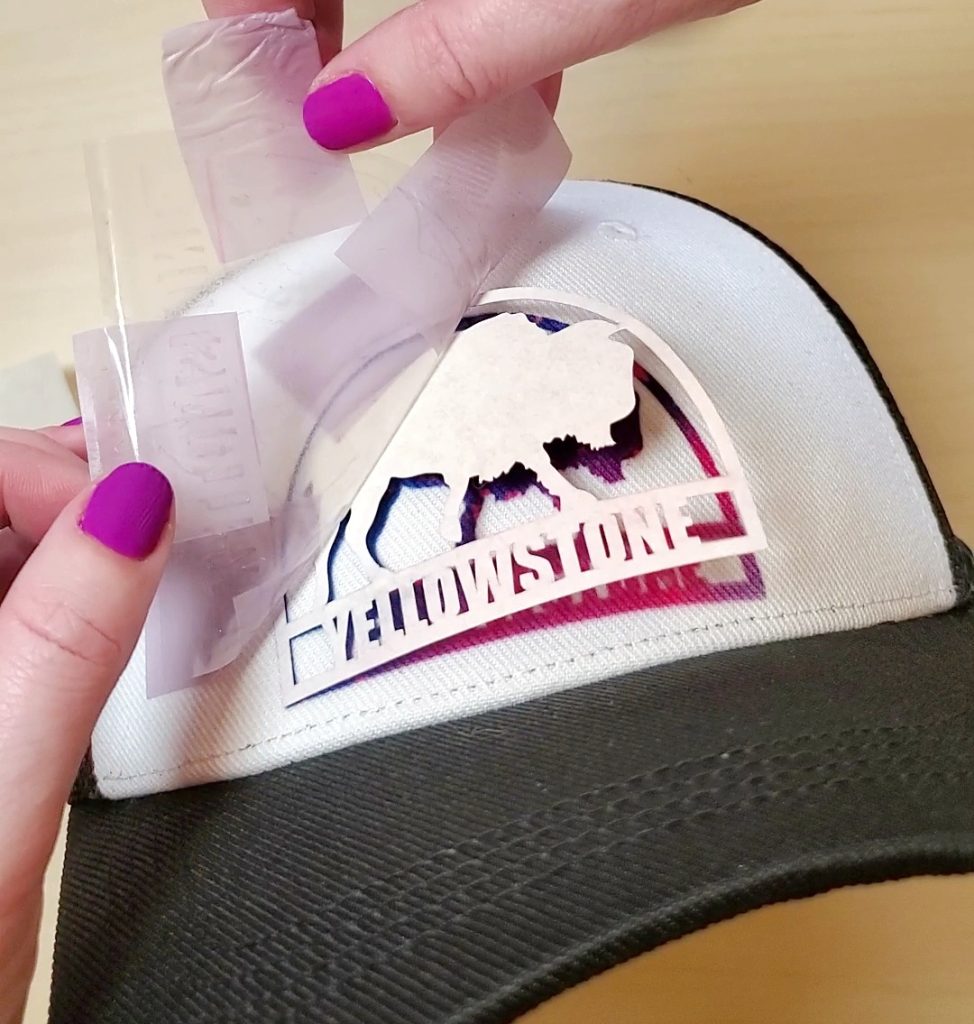
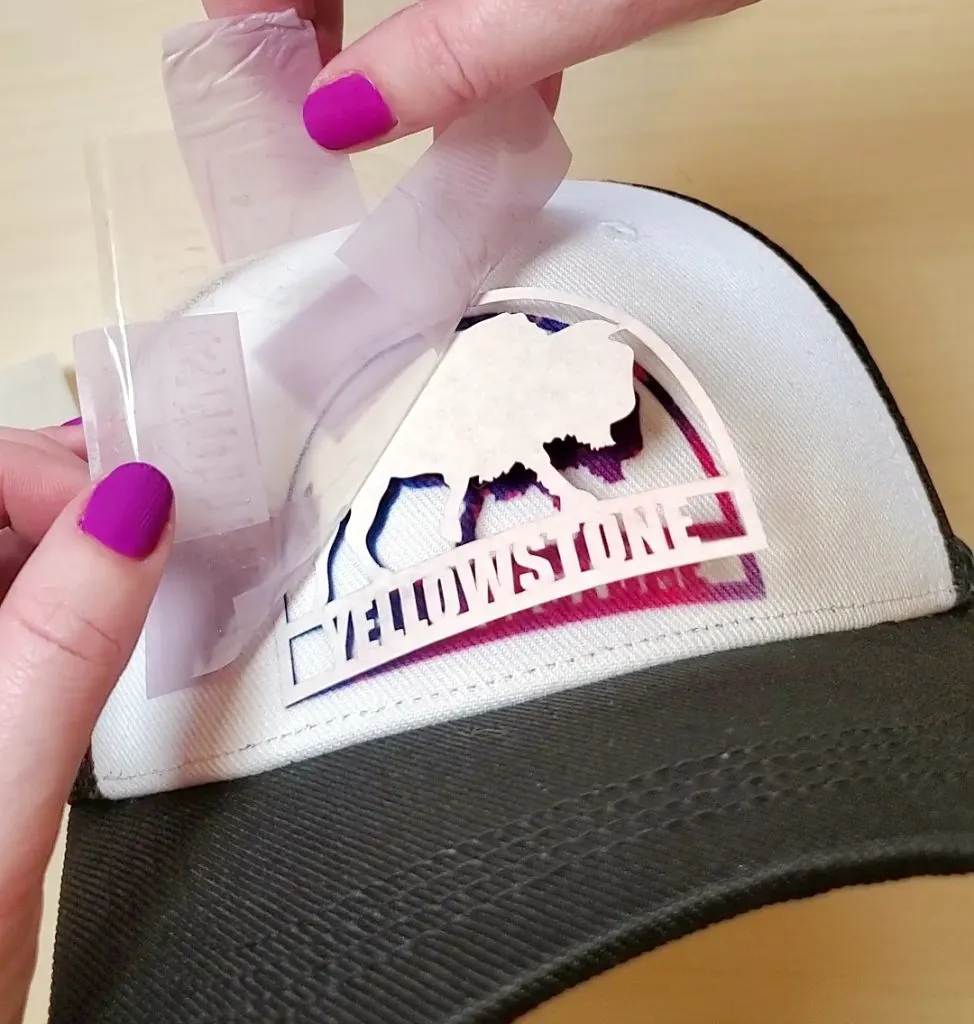
I love it so much! And in Design Space there are other cool icons for different parks.

Whether you want to create your own custom one-of-a-kind hats, or make a whole set for a team or event, you will love having the Cricut Hat Press in your craft room.
Check out the bundles available here
If you loved bucket hats as a kid, you may be excited to see them popping back up for your kids (or you!) And I discovered it’s totally easy to decorate a bucket hat with Cricut Hat Press.

Prep iron-on vinyl for bucket hat
Open the Design Space project and cut your different vinyl colors.
Read this post for a review of using Iron-on Vinyl
Weed the iron-on vinyl pieces. Separate all the colored cuts from each other too so they can be taped to the hat later.
Supplies for decorating a bucket hat
- Blank bucket hat – I used white, but you can start with any color and adjust your iron-on vinyl as needed
- This Design Space project – it’s not a free project because the Mickey images I used have to be purchased through Design Space. At the time of publishing this post the Mickey face and the Mickey ears were each USD $1.99)
- Cricut Hat Press
- Hat Press Form (comes in the press box)
- Strong Heat Resistant Tape (comes in the press box)
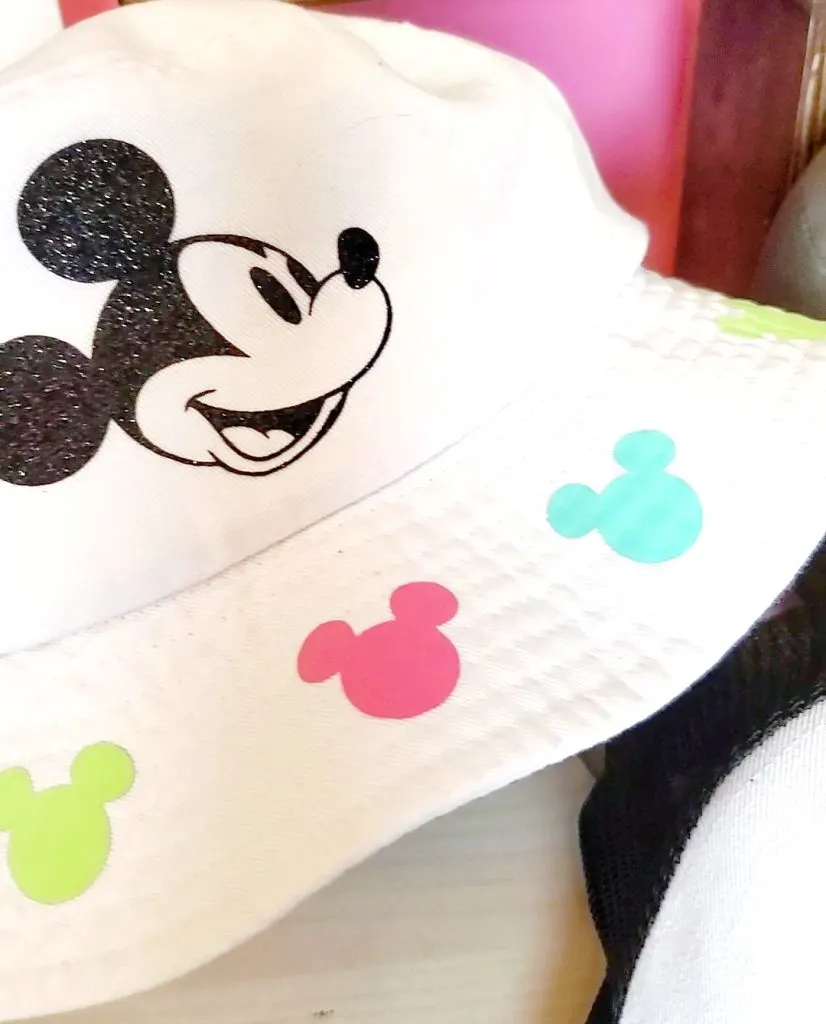
- Iron on vinyl – I used black glitter for the Mickey face and then pink, green and blue for the Mickey ears around the brim
- Weeding Hook
- Cricut Heat App – Needed to activate the Hat Press before the first use. After that it’s not necessary to use the Hat Press, but it sure is useful!!
Follow all the prompts from the app.
There are even short videos you can watch to illustrate the steps.
Bucket hat with hat press
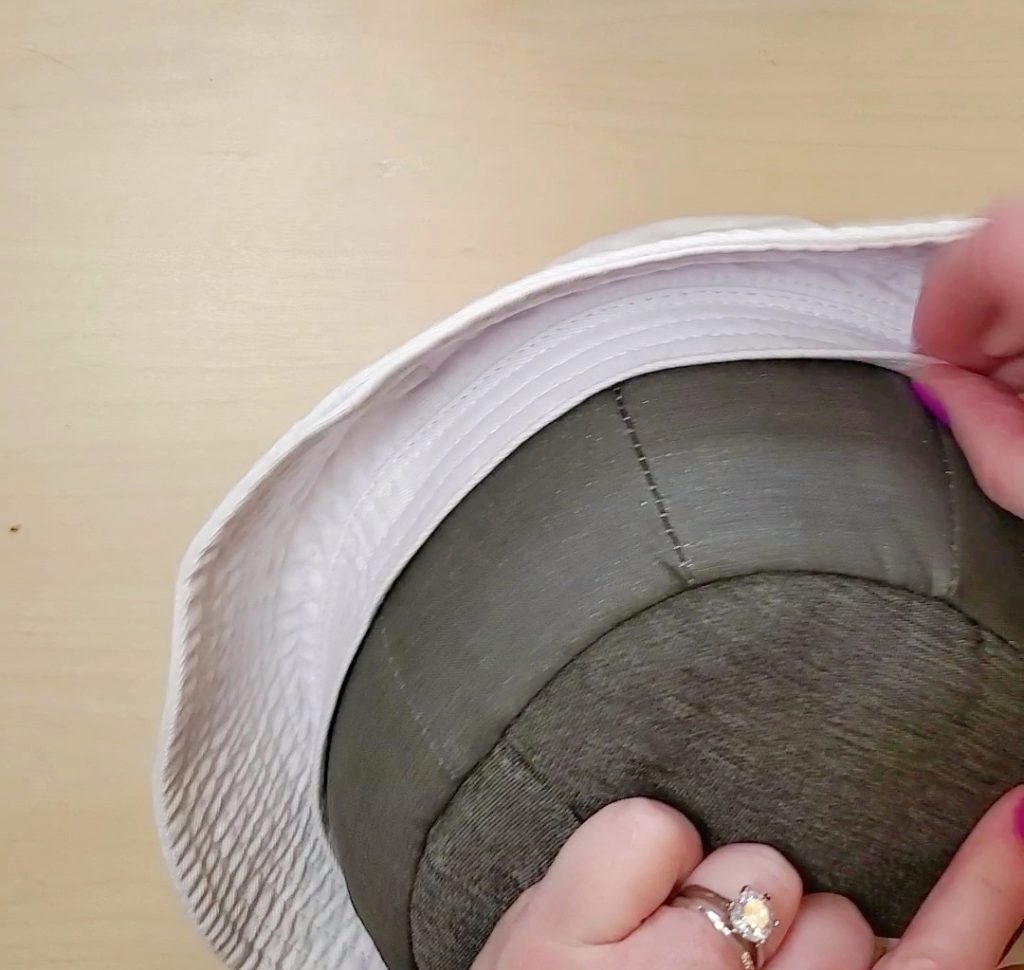
Position the hat on the hat form by folding down the inner band of the hat, and then shaping the hat around the form.

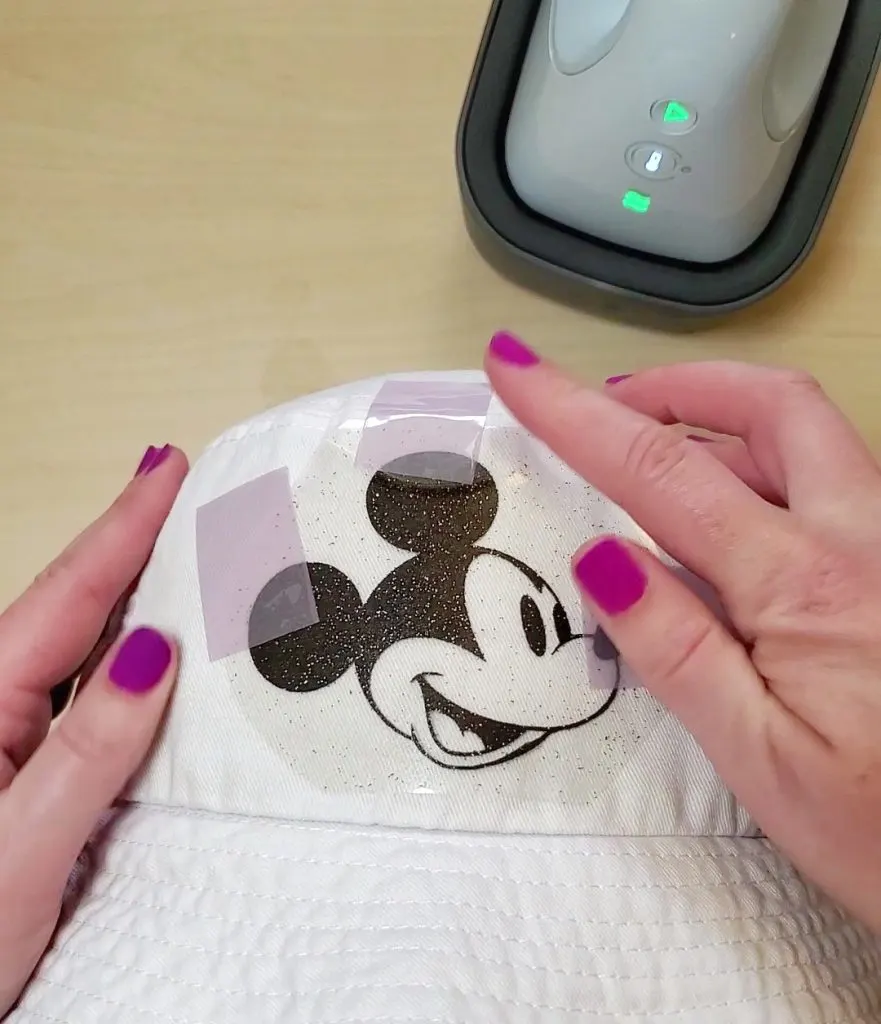
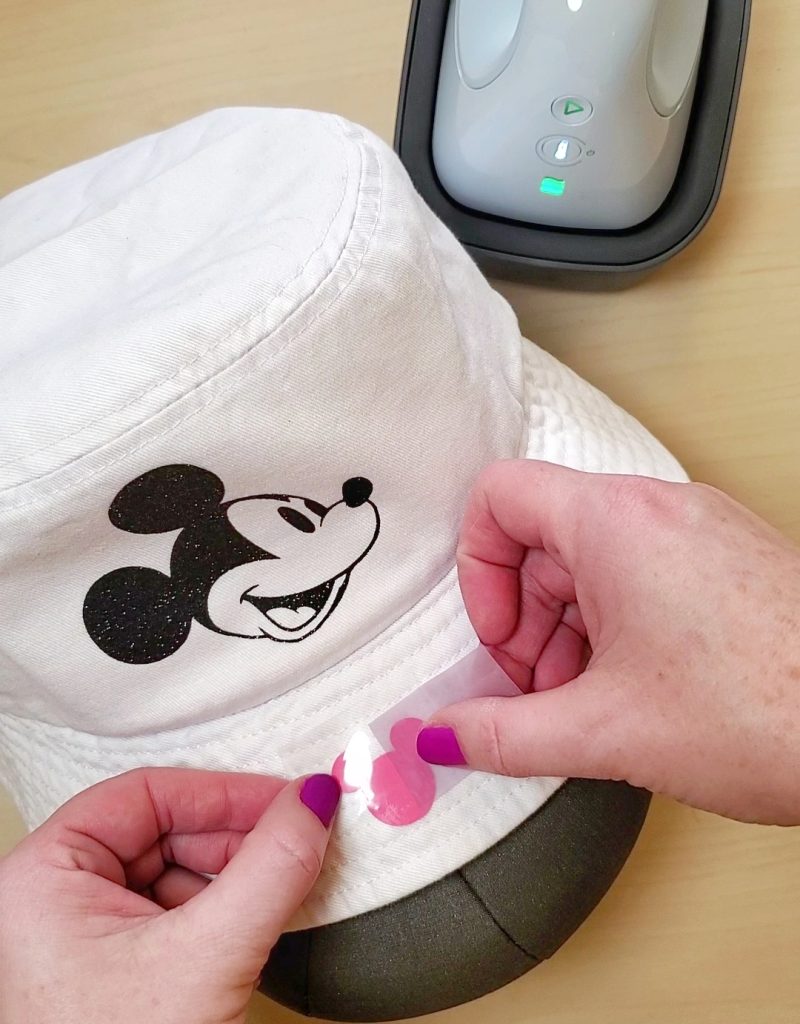
Find the front of the bucket hat (directly opposite the tag in the back.) This is where the Mickey head will go. The app will instruct you to preheat the hat – push the button on the press and the app will start a 5 second timer countdown.
Then position the Mickey vinyl on the hat and secure it with strong heat-resistant tape.

When you’re ready to press, the app has you covered there too! Follow those instructions, push the Hat Press button and the app counts down again. Watch how the press is supposed to move back and forth over the vinyl design.
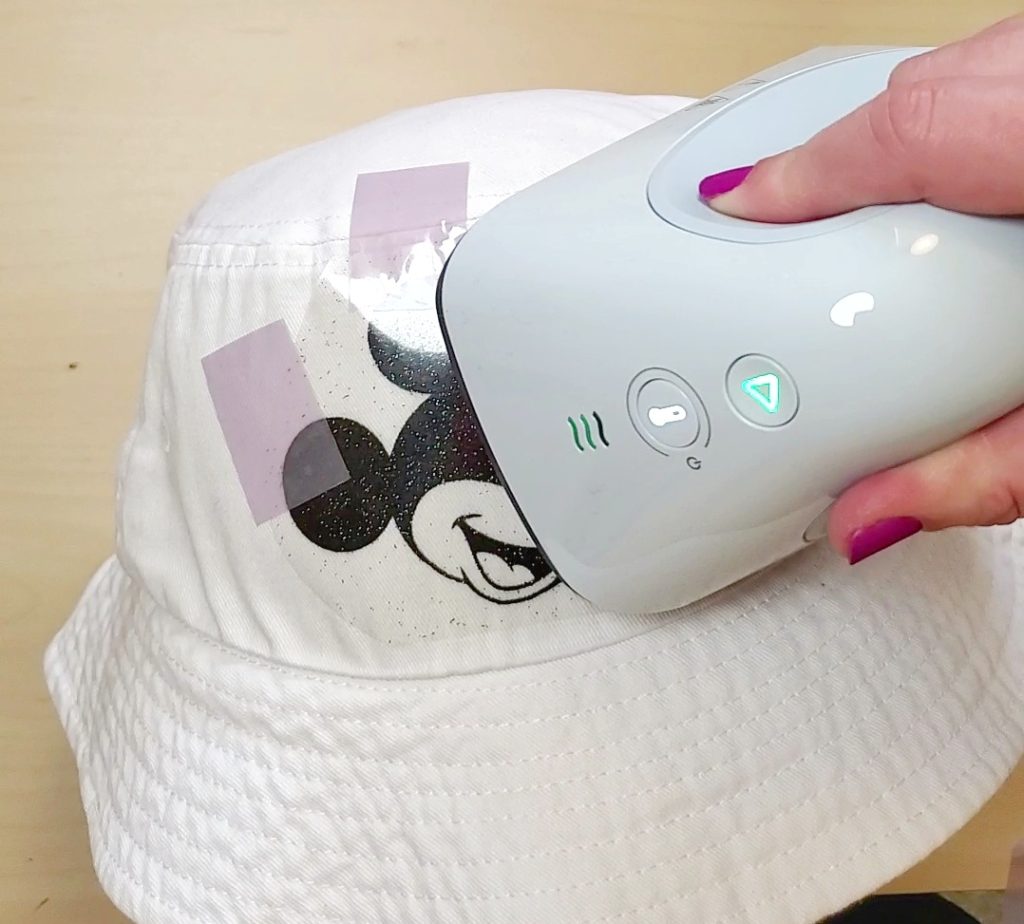

This is intentional. It comes as no surprise that Cricut has tested the Hat Press extensively before release. The heat plate is specially coated to glide easily and provide even heat over the curved surface of the form and the hat.
It’s also why the strong tape is important. You don’t want the design shifting at all while pressing. And especially for Infusible Ink, or an iron-on that needs to cool before peeling.
Ok, back to our Mickey bucket hat.
After the app timer is done, set the Hat Press back into the safety base. Peel the carrier sheet away from the Glitter Iron-on.
Start up a new project in the app – this time for Everyday Iron-on and 100% cotton. Send the settings to the press and it will take just a couple of minutes to bring the temp down a little.
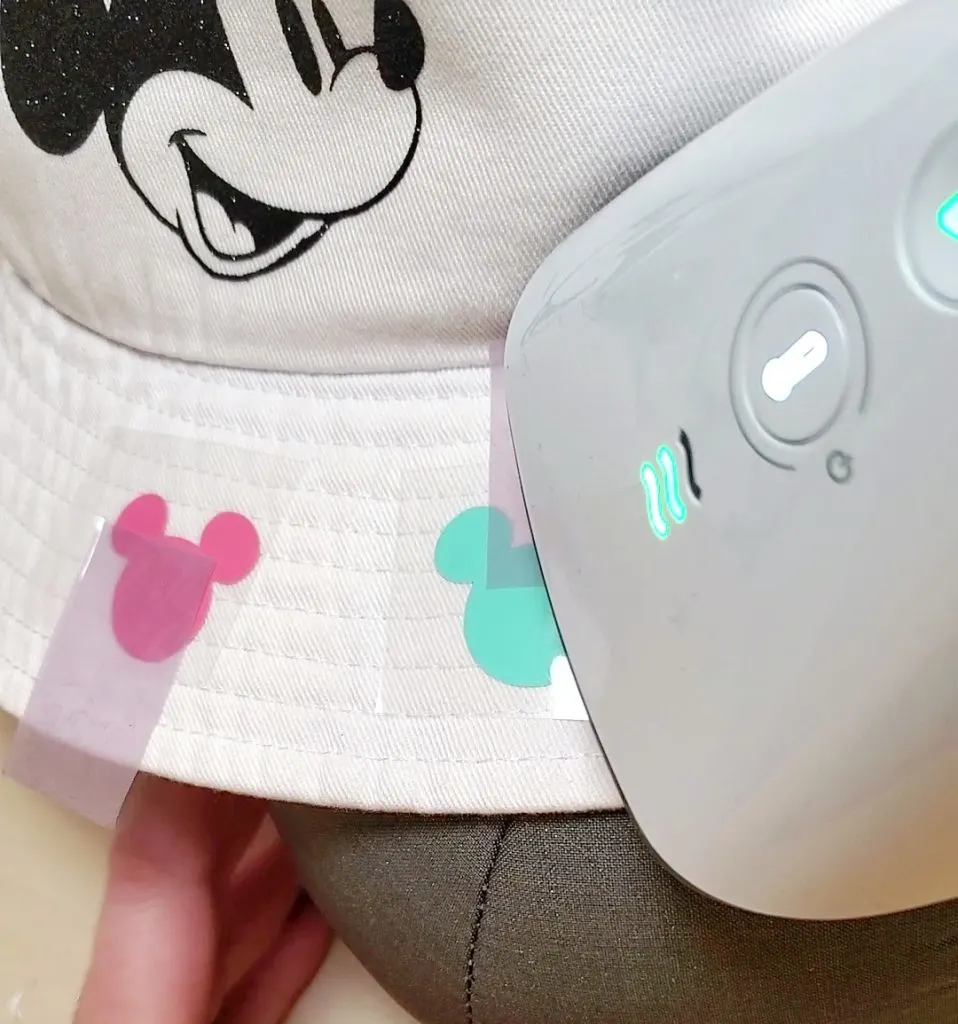
While that temperature is changing, start spacing the colored Mickey Ears around the hat brim.

To keep even spacing, I started with one right under the Mickey head – the front. Then I put one directly across – the back. Then I placed the two others at 90 degrees. So the hat has been split into quarters by a single color.
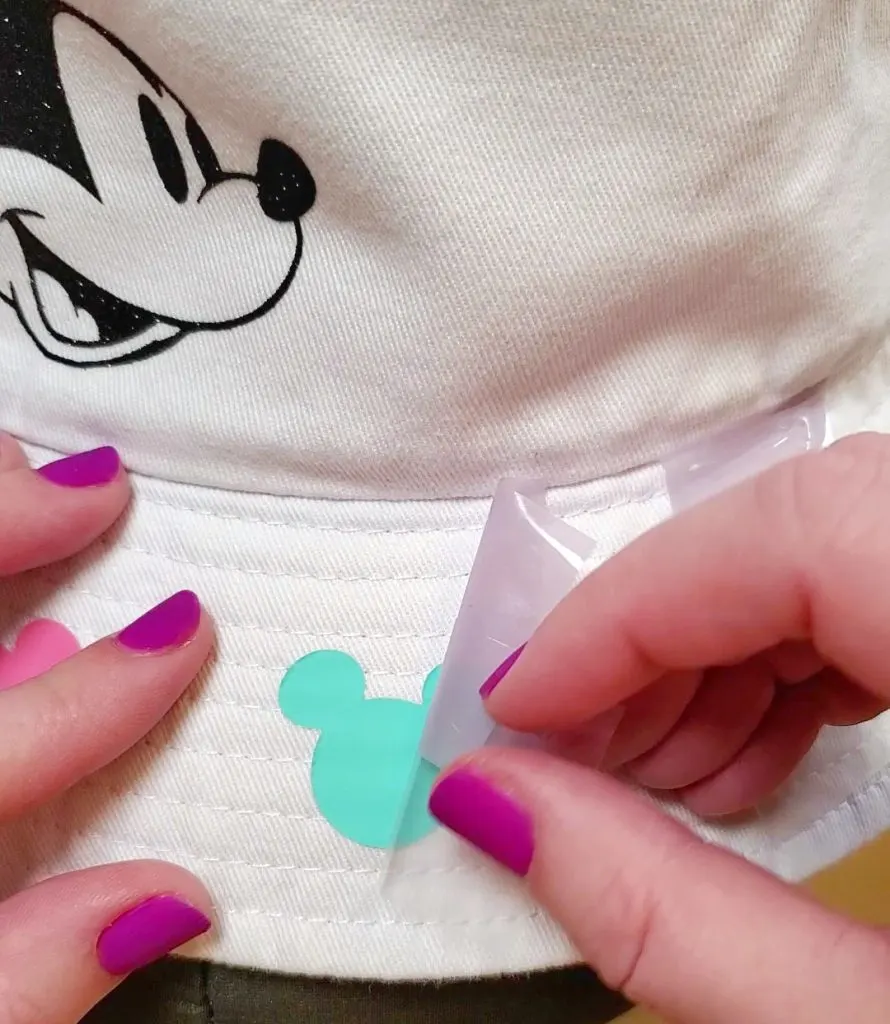
Press each of these following the app timer. Since the brim is textured and a little thicker, I found I needed to use a bit more pressure than with the glitter on the flat part of the hat.

When each of the 4 Mickey ears of the first color are pressed and cooled, removed the carrier sheet.
Repeat with this process of spacing and pressing, making sure that the two other colors fit nicely around the first. Since there are 12 Mickey ears, picture putting each one at a number on a clock face.

And isn’t it just cute! I would personally love to see a whole group wearing these in everyone’s favorite colors.
Cricut EasyPress 3
Before signing off, I want to give a brief call out to the new EasyPress 3 also. Available in 9×9 or 10×12 sizes, they both connect with the Heat App, giving you perfect settings and instructions for all projects.
I mean, I’ve been doing this for how long, and I still sometimes forget to preheat or make sure there’s no link on my blank?
Anyway, if you’re wondering if you need to upgrade, the answer is probably not. If you have one of the EasyPresses and it’s working great for you, the actual function doesn’t change. BUT, if you are looking to get your first EasyPress, or a different size, consider if using the Heat App will be beneficial to you.
Let me know if you have any questions, and if you decorate a bucket hat with a Cricut Hat Press, or especially if you make this Mickey hat, I’d love to see it!