How to make the Cricut Small Fabric Basket pattern
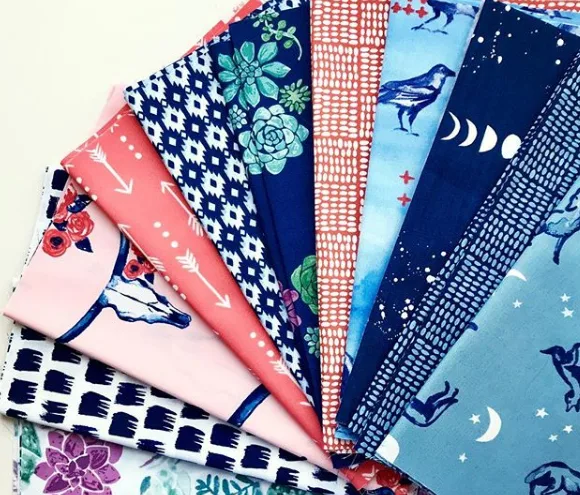
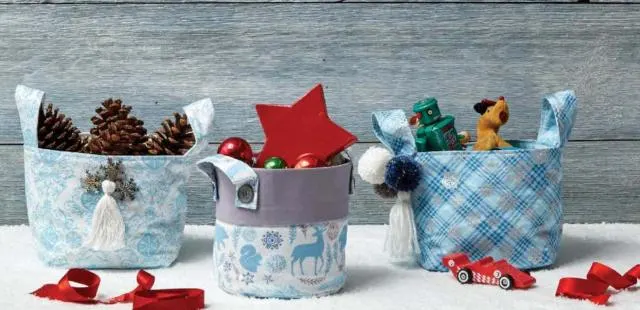
Fabric baskets are so cute, and when my Cricut Maker can cut out all the pieces, it’s a breeze to get everything ready. Today I’m kicking off a new fabric blog hop with Phat Quarters – featuring this new Journey collection from Monaluna fabric. I’ll be showing you how to assemble the small fabric basket and give you some tips I learned along the way.

This project is one of the Simplicity patterns. It’s around $6 to purchase – and since I think I’ll make a few of these, it’s definitely worth it.

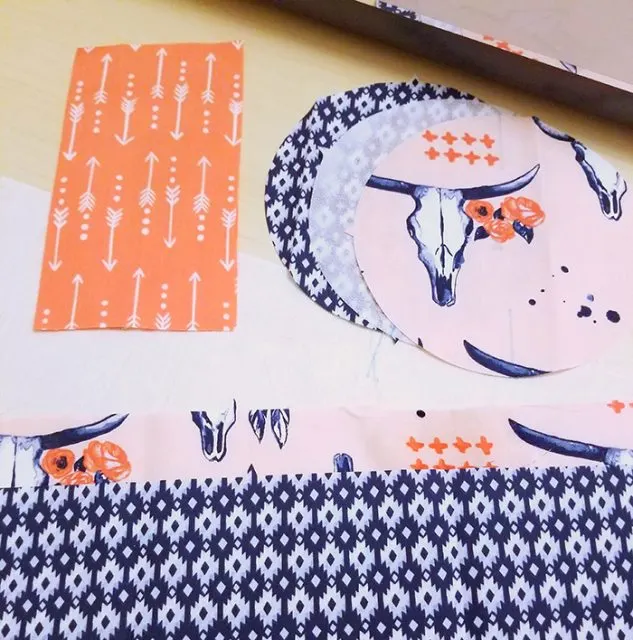
The project instructions are fairly easy to follow, but I did make changes to a couple of the mats. I was using 3 patterns of fabric and the original pattern just has the mats set up for 2 fabrics.
Here are the fabric choices you’ll need to make:
Basket outside
Basket lining
Handles
In addition to your fabrics, you’ll need:
Cricut Maker
Pink fabric mat
Thread
Fabric clips
Mat 1 & 2, cut the interfacing (I love to use fusible interfacing so I can just iron it on – light to medium weight will work great)
Mat 3 & 4 basket lining (sides, then bottom.)
Mat 5 basket outside – but cut a piece of the handle fabric and place where the small rectangle will be cut out.
Mat 6 basket outside (bottom circle) plus another rectangle of the handle fabric.
When I opened up Design Space in my Android App, the mats were set up differently. So just remember, here are the cuts you want in the end:
3 circles (interfacing, lining, outside)
3 large rectangles (interfacing, lining, outside)
2 small rectangles (handles)

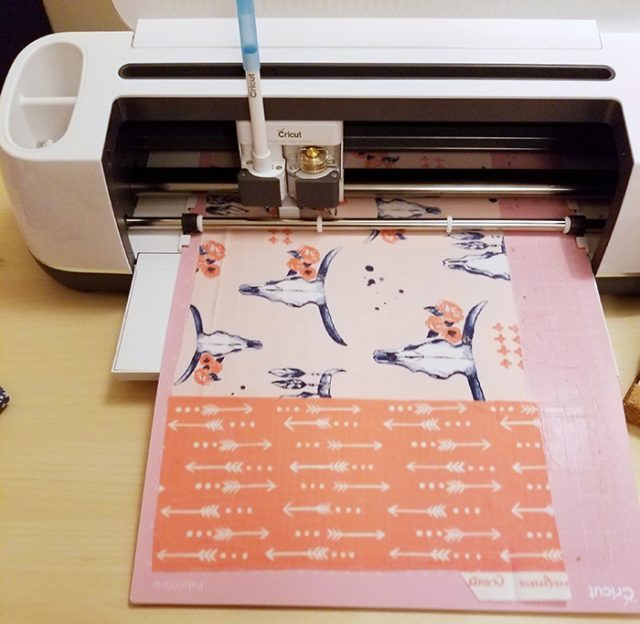
How to cut fabric with the Cricut Maker
Place fabric face down on a pink Cricut mat – this is the mat designed for fabric. Make sure the rotary blade is in place. When cutting interfacing, I used the “Cotton” setting and changed the pressure to “less.” You can decide if you want to use the fabric marker to have your pieces drawn on. I usually prefer to turn this feature off. It’s a washable marker, but it can be a pain to wash out projects like this, and the blue does show through light fabrics.

Then for cutting the rest of the pieces, I switched it back to “default” pressure.
When all the pieces are cut, iron the interfacing to the wrong side of the outside fabric pieces.
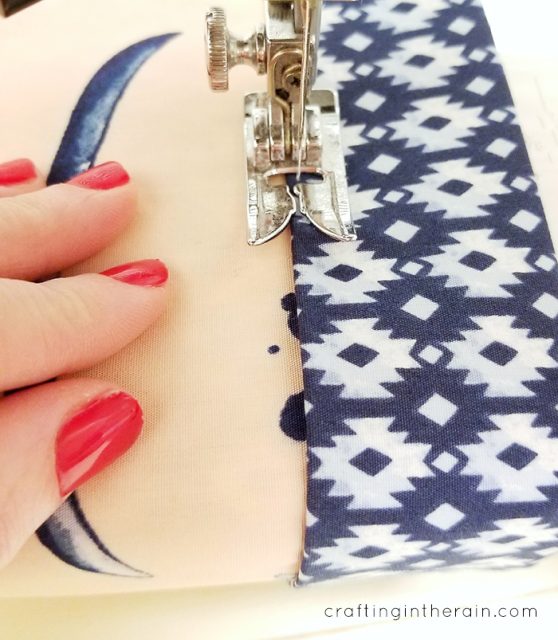
Sew the short ends of the outside fabric side piece together with a 3/8 inch seam. Then sew the circle to the bottom. Cut notches all around the circle.
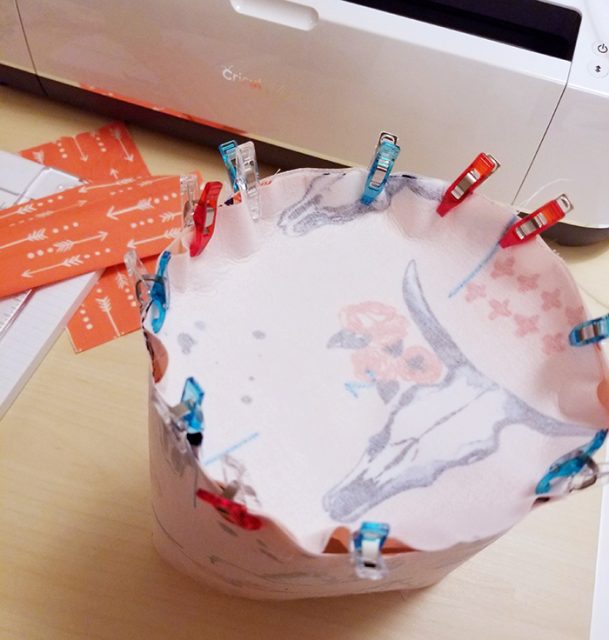
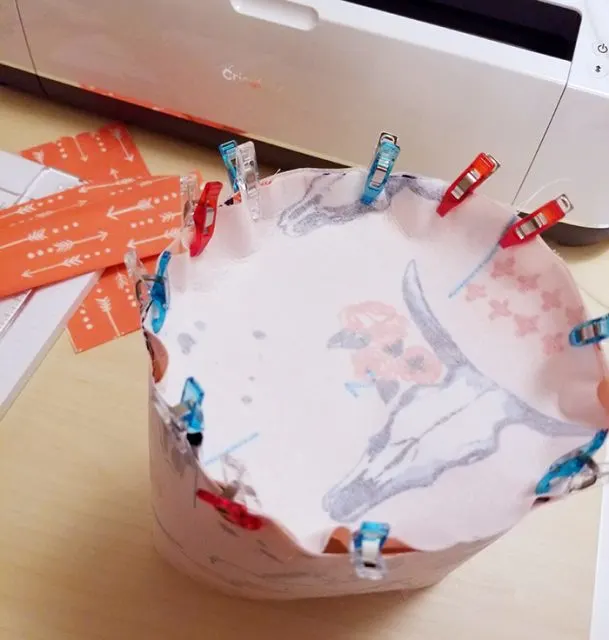
Repeat with the lining fabric.
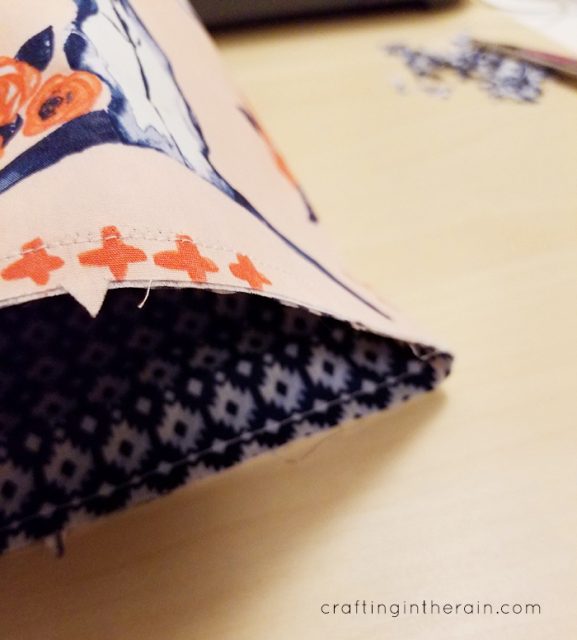
Tuck the lining down into the basket and sew a 3/8 inch seam. Fold over just under the stitching and iron. Then fold over again about 1 1/2 inches and repeat the iron. Sew close to the edge, all the way around the basket.

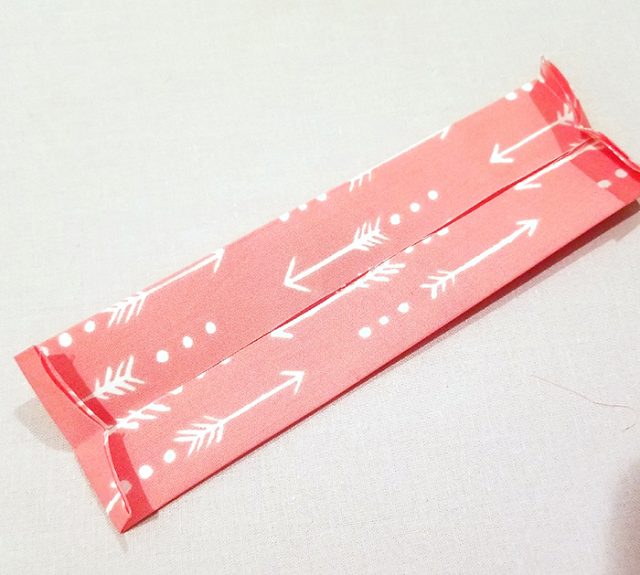
Make the handles by folding (and ironing) the small rectangles like this.
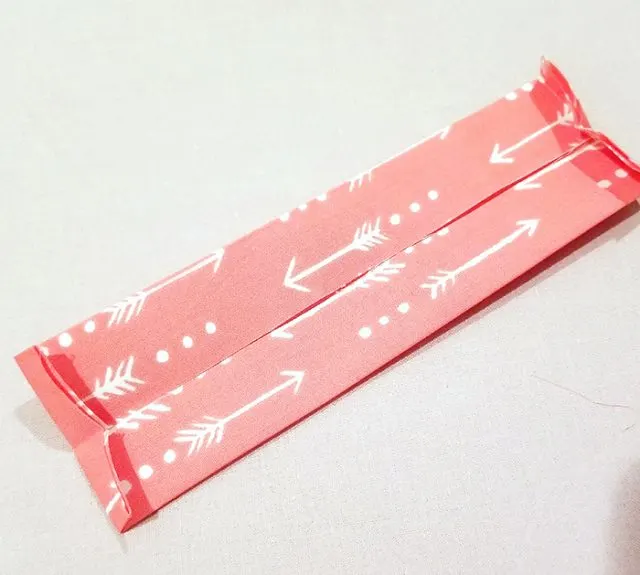
Then sew all sides, close to the edge. Attach to the basket. The instructions suggest using buttons, but I skipped that part and just sewed a square with my sewing machine at the ends of each handle.

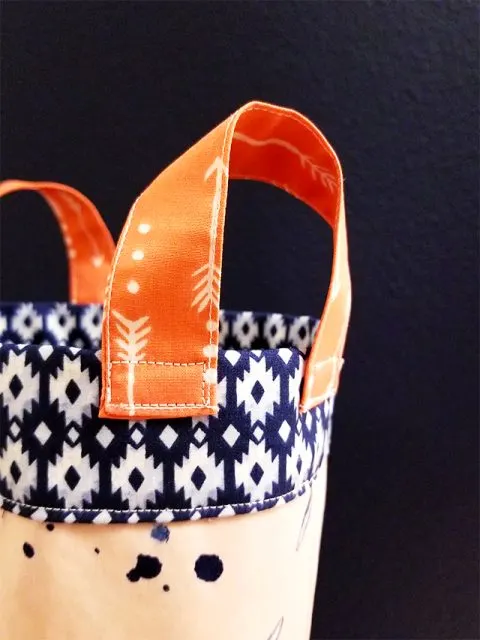
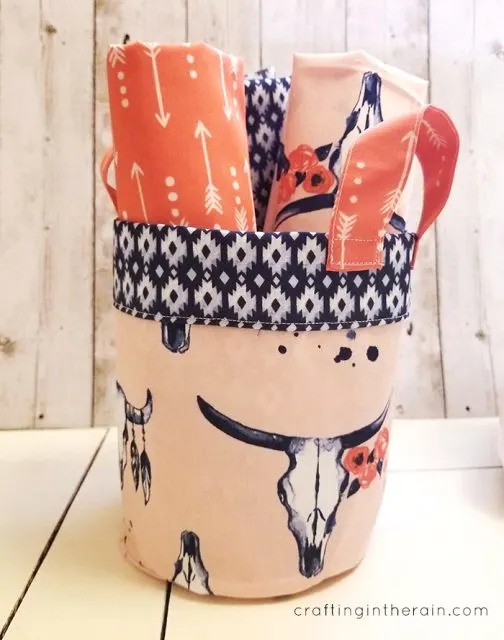
Now I have an adorable fabric basket to hold scraps, trash, or rolled up pieces of more fabric!

Check out the following links all week for more sewing projects with this Monaluna fabric.