This is a sponsored post written by me on behalf of Cricut. All opinions are 100% mine.
Watch how easy it is to use Cricut stencil vinyl to personalize a piece of furniture, like this shoe bench!
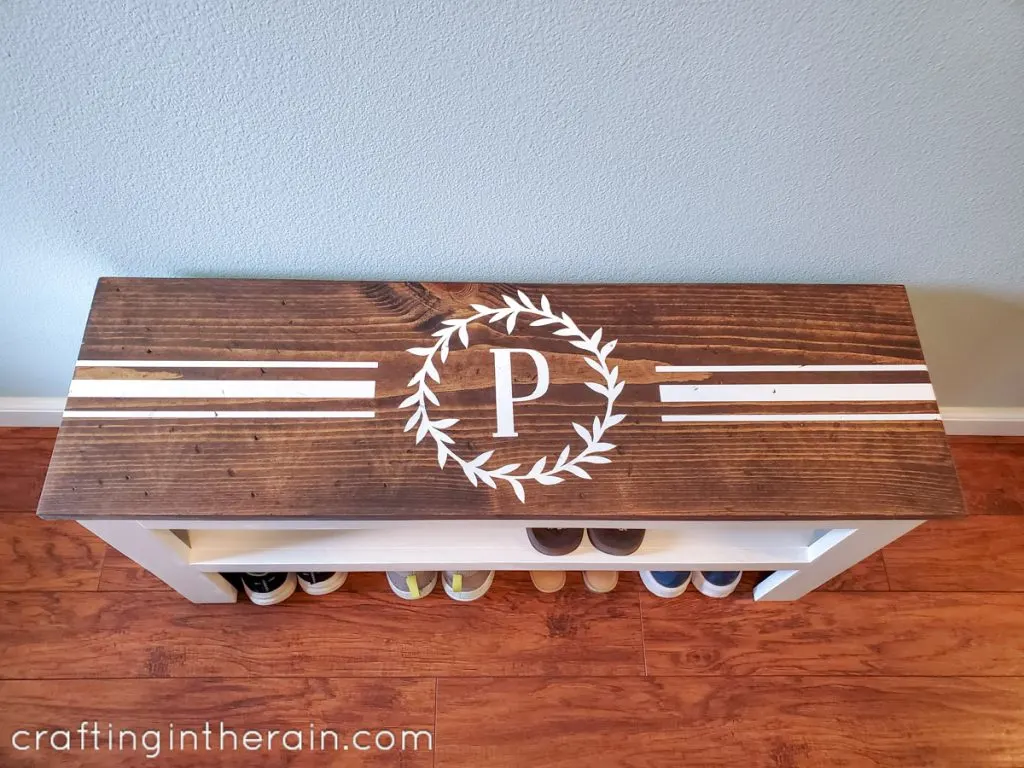
I’ve had this shoe bench for a few years now – I actually built it myself! (See the shoe bench plans here.) But it was time for an update, and I love the new version and how easy it was to make with my Cricut Explore Air 2.
Make stencil with Cricut Explore
I also love how easy it is to design a custom stencil and cut it with my Cricut. I actually started brainstorming the design on my phone app, saved it, and finalized it on my laptop later.
By using a stencil on the top of the shoe bench, I don’t have to worry about vinyl peeling up over time.
And if the paint gets a little scuffed, it just adds to the distressed farmhouse look. It’s a win-win!
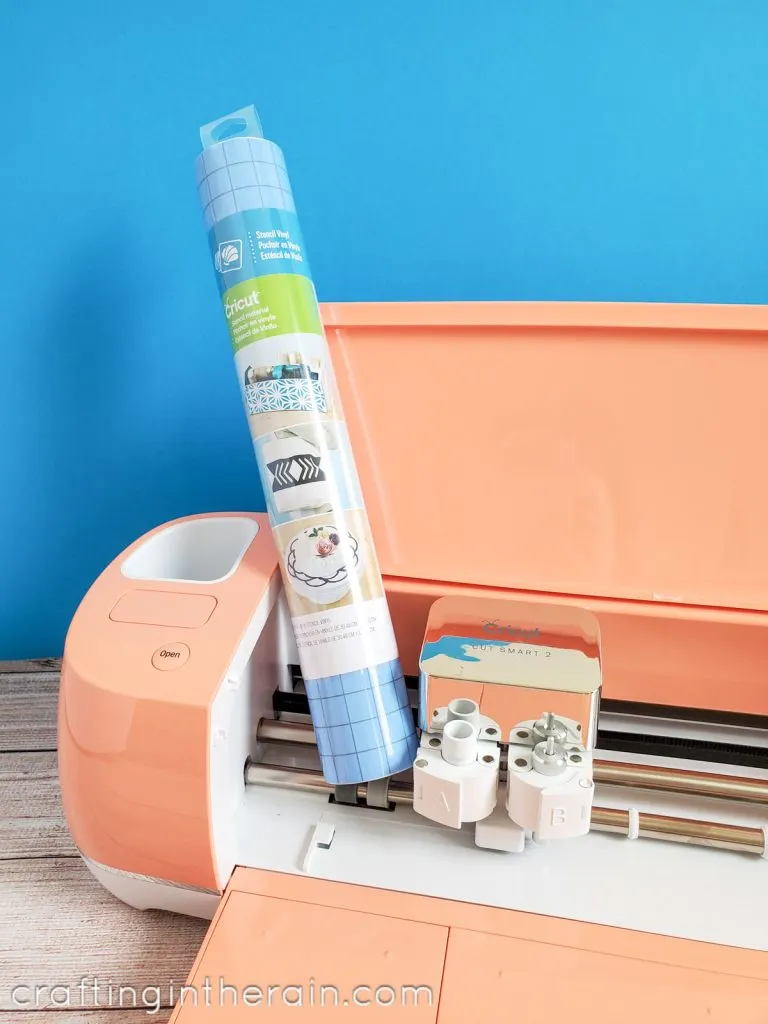
Supplies
- Cricut Explore Air 2
- Stencil Vinyl
- Transfer Tape
- Weeding tools
- Paint and foam brush
Design stencil in Design Space
To make the stencil in Design Space, I first measured the top of my shoe bench. Then I made a rectangle with those dimensions so I could size and space the stencil.
In the picture below, you can see how I have the design laid out on top. Then I duplicated the cuts and arranged them on rectangles to represent my two mat sizes. 11.5 x 11.5 inch cutting area for the square mat, and 11.5 x 23.5 for the long mat.
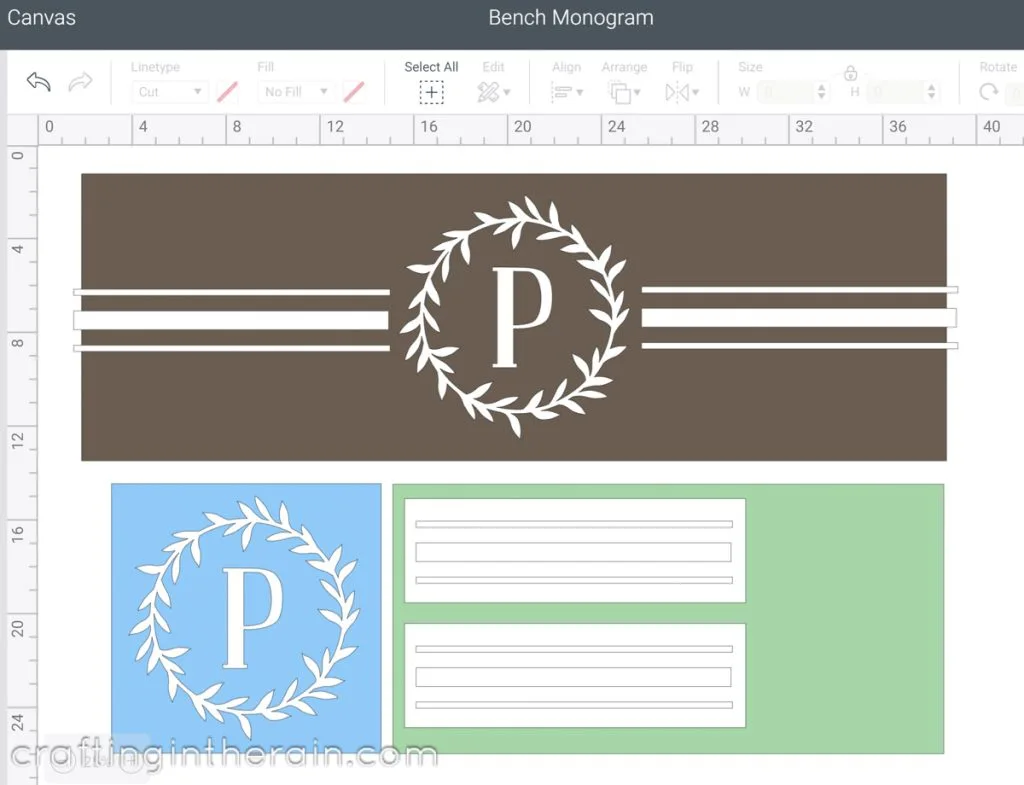
When prepping the mats for cutting, make sure to position items so that there is a border around them. If you have a cut out part too close to the edge, it makes it really hard to keep the paint inside the stencil.
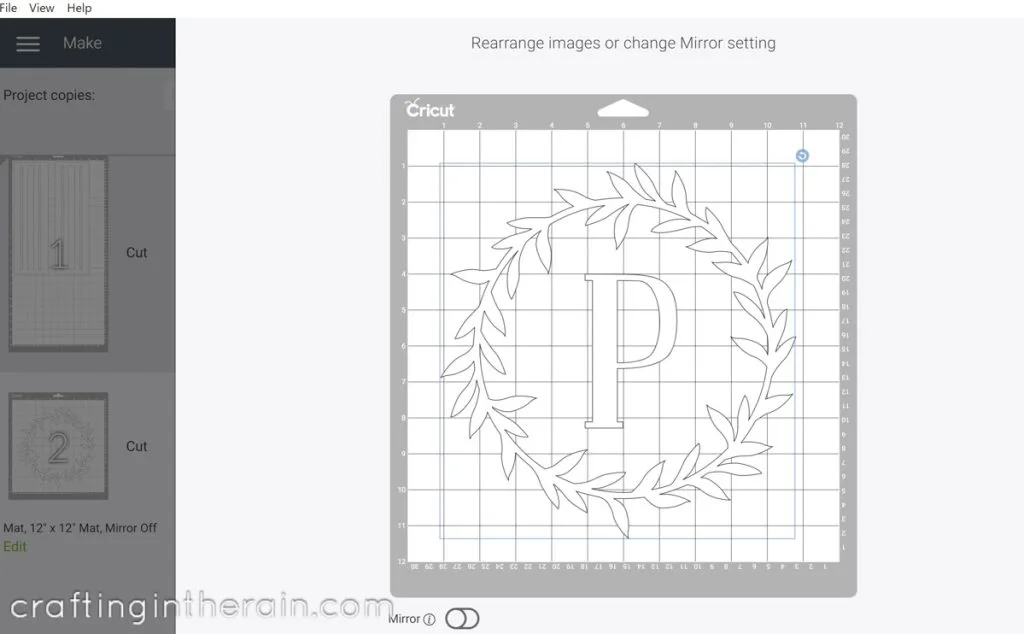
Cut stencil with Cricut
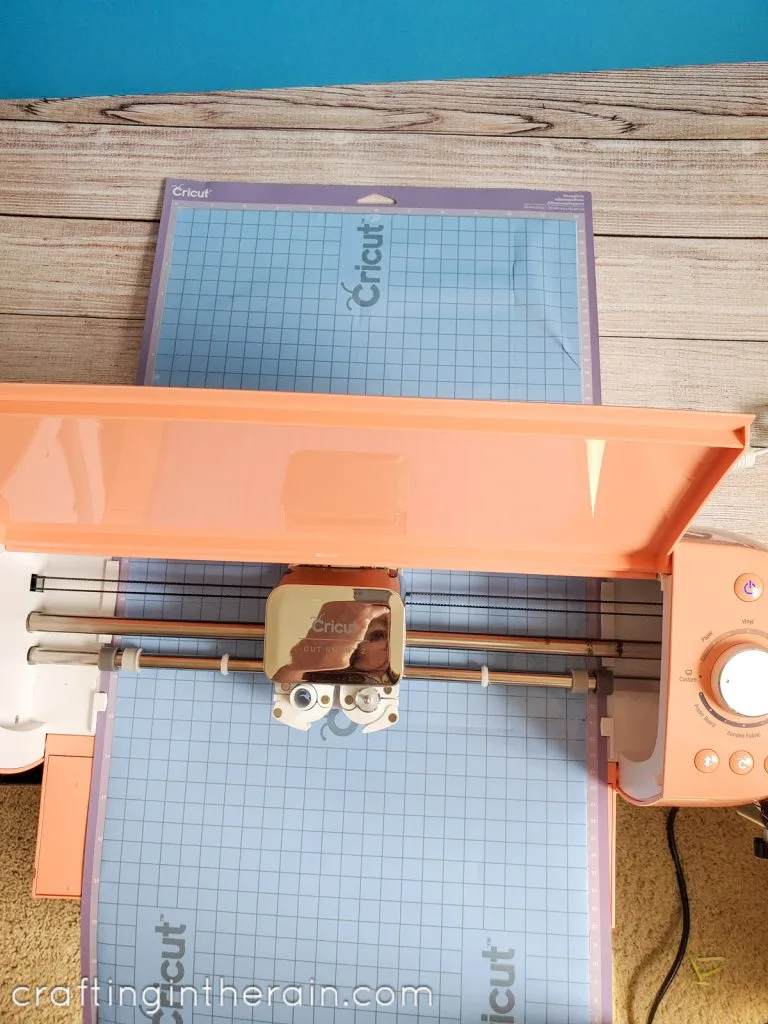
Set the materials dial on the Cricut Explore to Custom Materials and choose “Cricut Stencil Vinyl” in the drop down box of Design Space.
NOTE If you have not cut stencil vinyl with your machine before, it’s a good idea to do a small test cut first. I had to change my pressure from Default to Less so that it wouldn’t cut through the paper backing.
Also make sure that you have enough space behind your machine, especially when cutting on the long mat. You don’t want the mat running into the wall.
Weed Stencil
When the cut is complete, remove all the vinyl inside the stencil. Remember, this will feel backwards from wedding regular vinyl.
Pull out all the pieces that are part of the design, as they will be the parts that get painted.
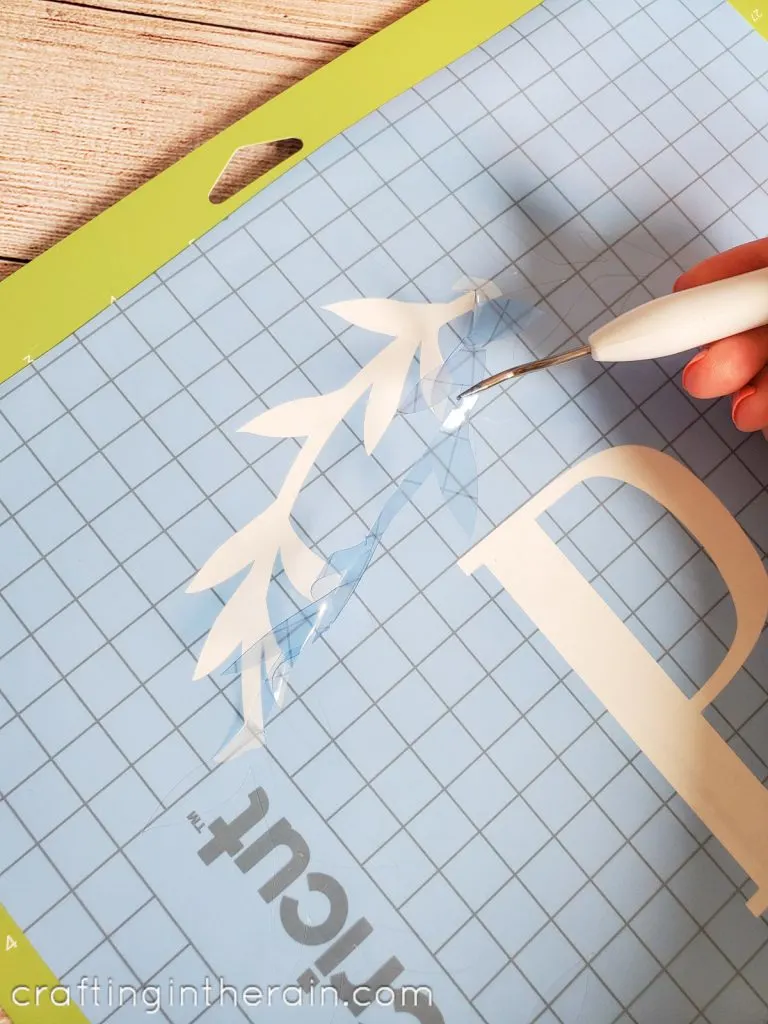
Cricut stencil vinyl is thicker than regular vinyl and weeds very easily. There’s no stretching or tearing.
Use Stencil on furniture
Make sure the furniture surface getting the stencil has been cleaned of any dirt or dust. Those small particles can prevent a good seal or affect the painting.
Cover stencil with transfer tape
Apply transfer tape to the top of the stencil and peel away the paper backing from the stencil vinyl.
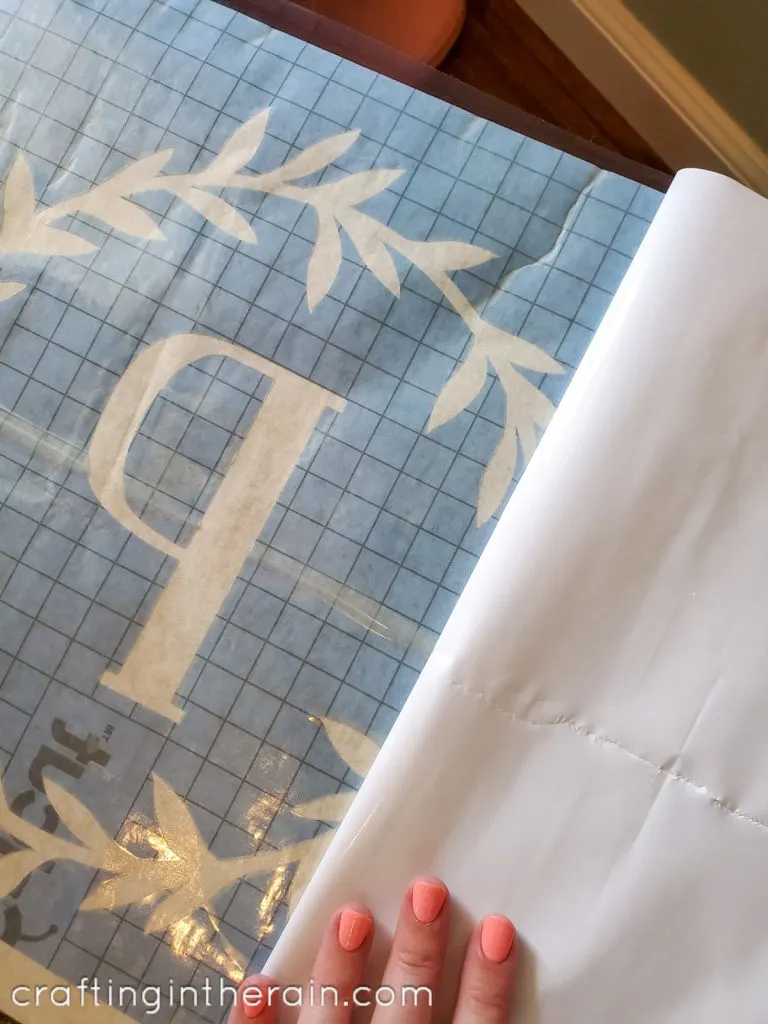
You can then lightly place the paper backing back on the vinyl while you position each piece of the stencil.
Apply stencil
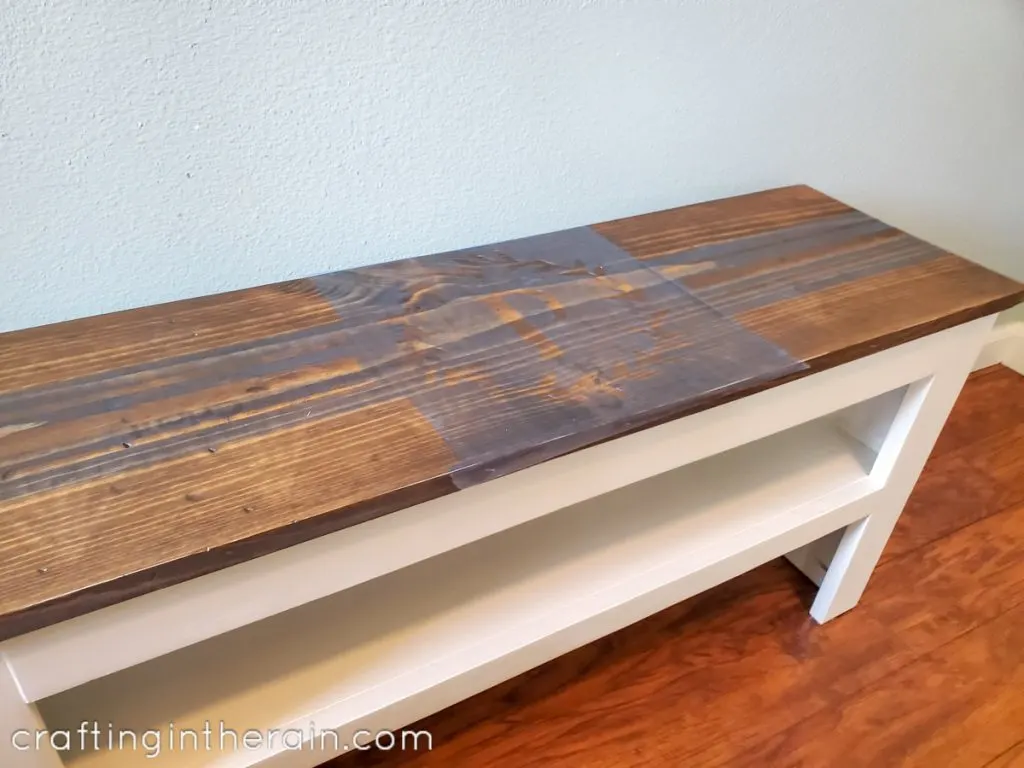
When it’s in the right place, peel away part of the backing again and stick down the stencil. Then remove the rest of the backing and press down the whole stencil.
Paint stencil
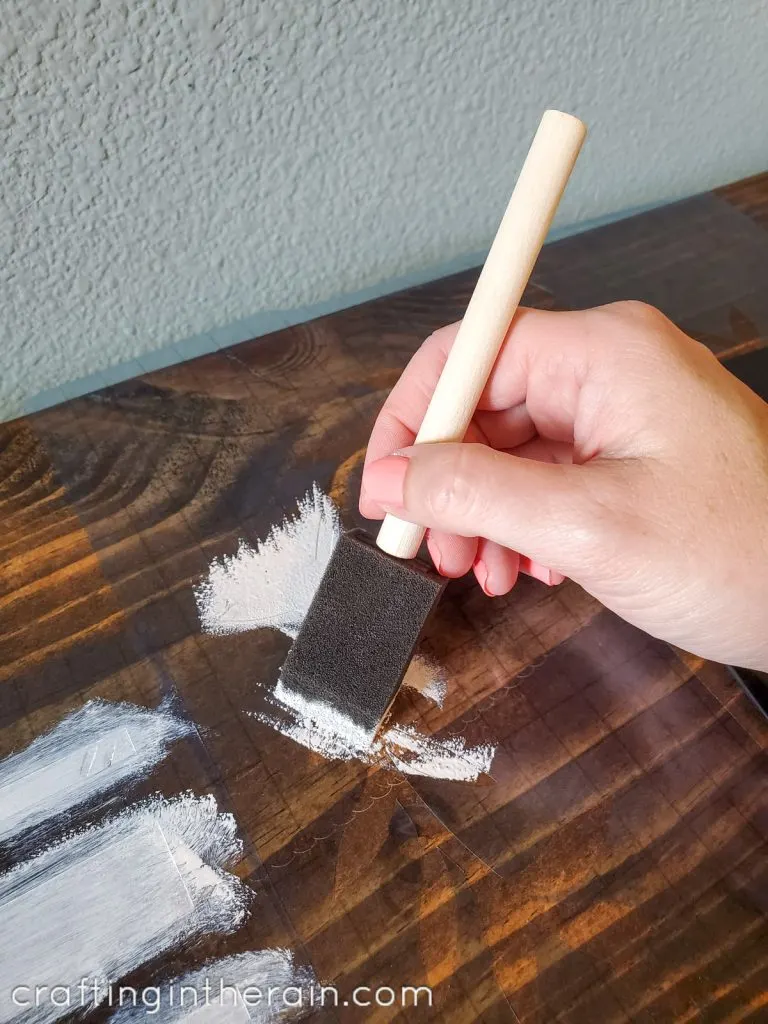
Paint the stencil using a foam brush and small amounts of paint. It’s better to do two light coats than one thick one, to prevent bleeding under the edges.
Remove stencil
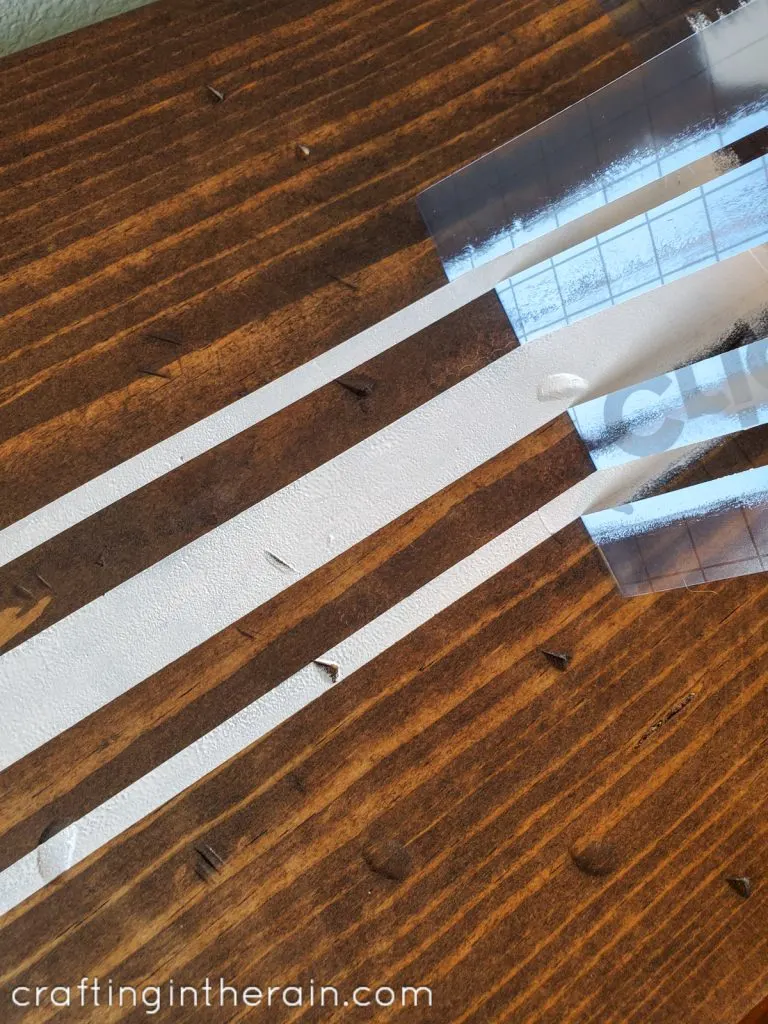
When you have finished painting, pull up the stencil. Look at how even and crisp those lines are!
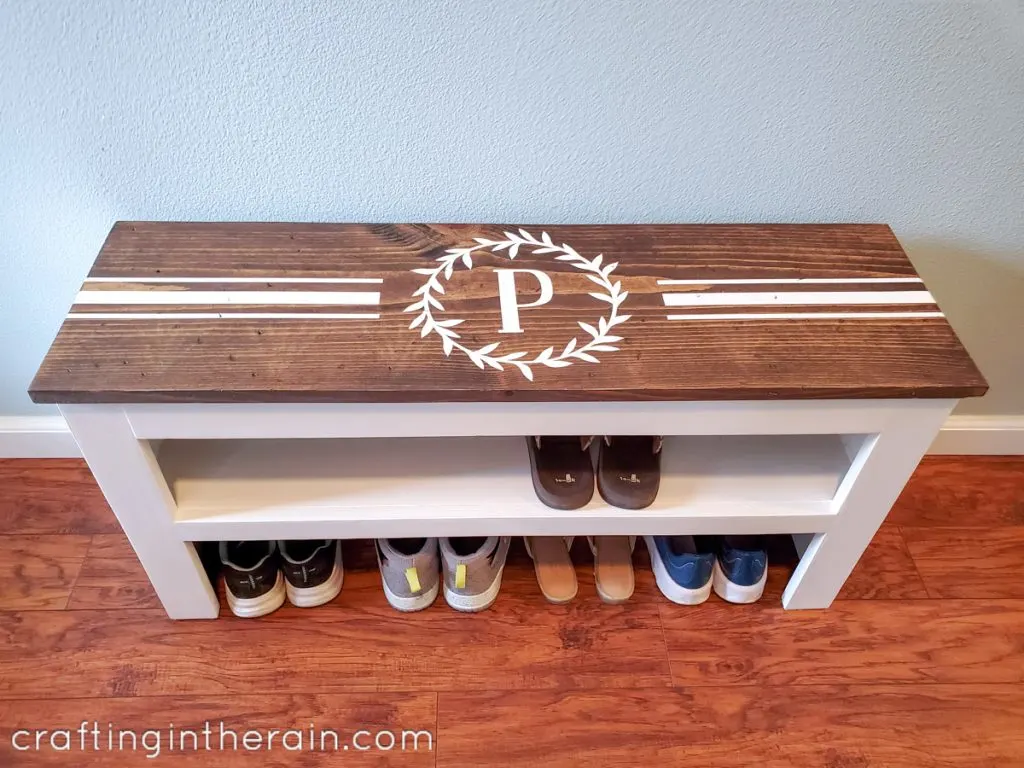
Here’s the final result. Our very own perfectly personalized DIY shoe bench made possible with Cricut.
Do you have any pieces of furniture you’d like to customize with your Cricut? I challenge you to make it one of your summer projects and send me a picture of your result!

Elise
Tuesday 21st of July 2020
It is so beautiful! Now... Where can I out a bench. 💕