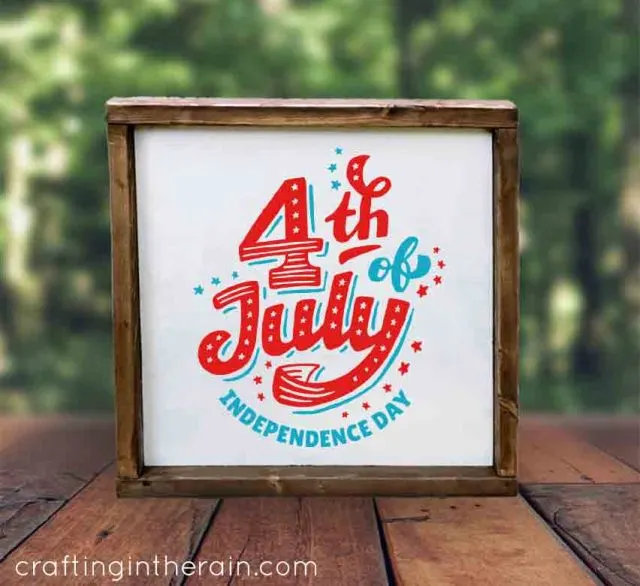
Welcome to patriotic Craft Lightning! I made a 4th of July wood sign and it took less than 15 minutes because the design is already made in Design Space!

Find this image in the 4th of July cartridge.
Read this post for tips on using adhesive vinyl
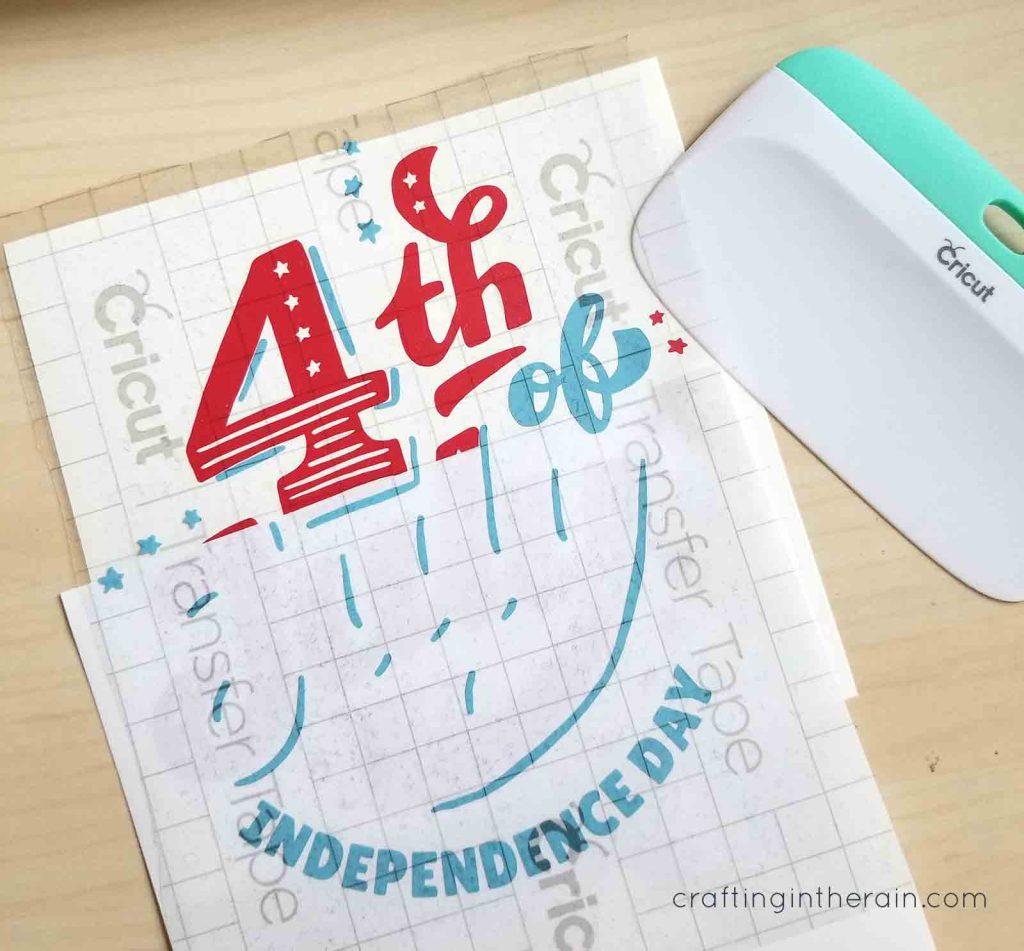
Use red and blue vinyl and load each one into the Cricut machine.


Weed the extra vinyl and use transfer tape to layer the two vinyl pieces.


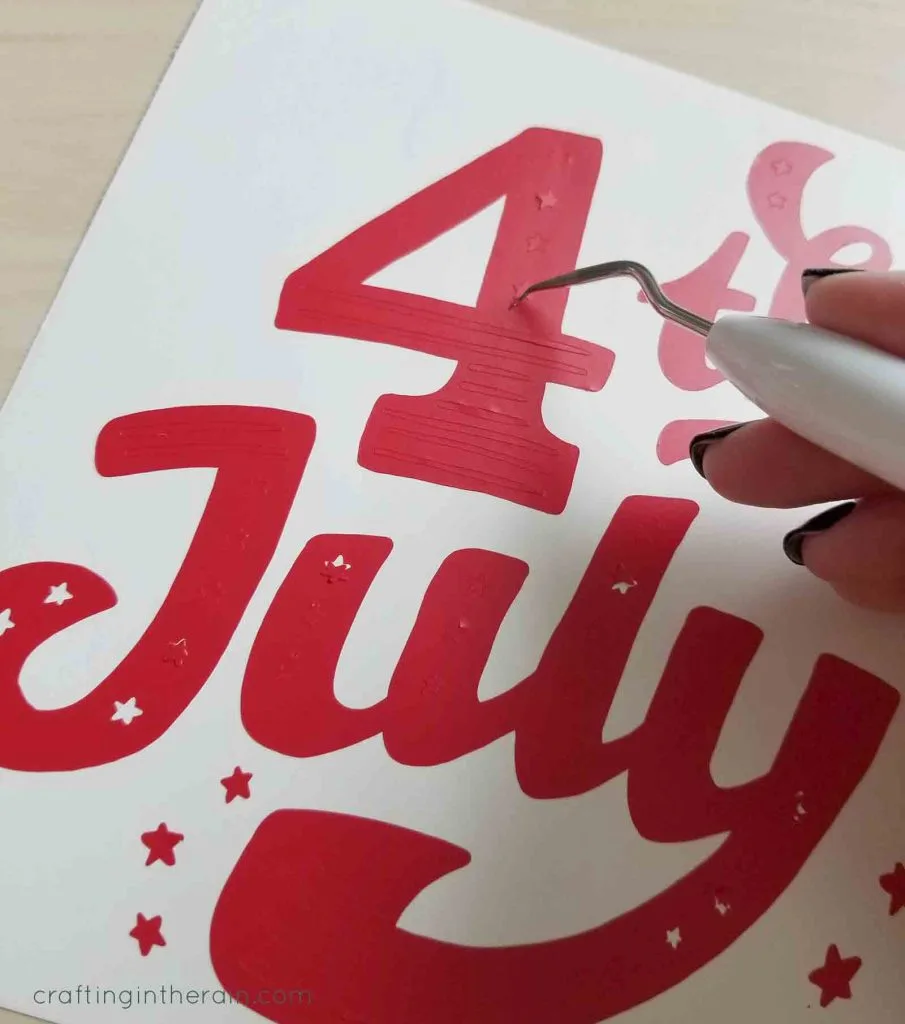
I like to first remove the transfer tape from the backing paper and then stick the paper back on with just a bit of the transfer tape hanging over the edge. It lets me get things positioned just right without accidentally sticking in the wrong spot.
 Then lift up an remove the rest of the backing. Press down with a scraper so both layers stick to the transfer tape.
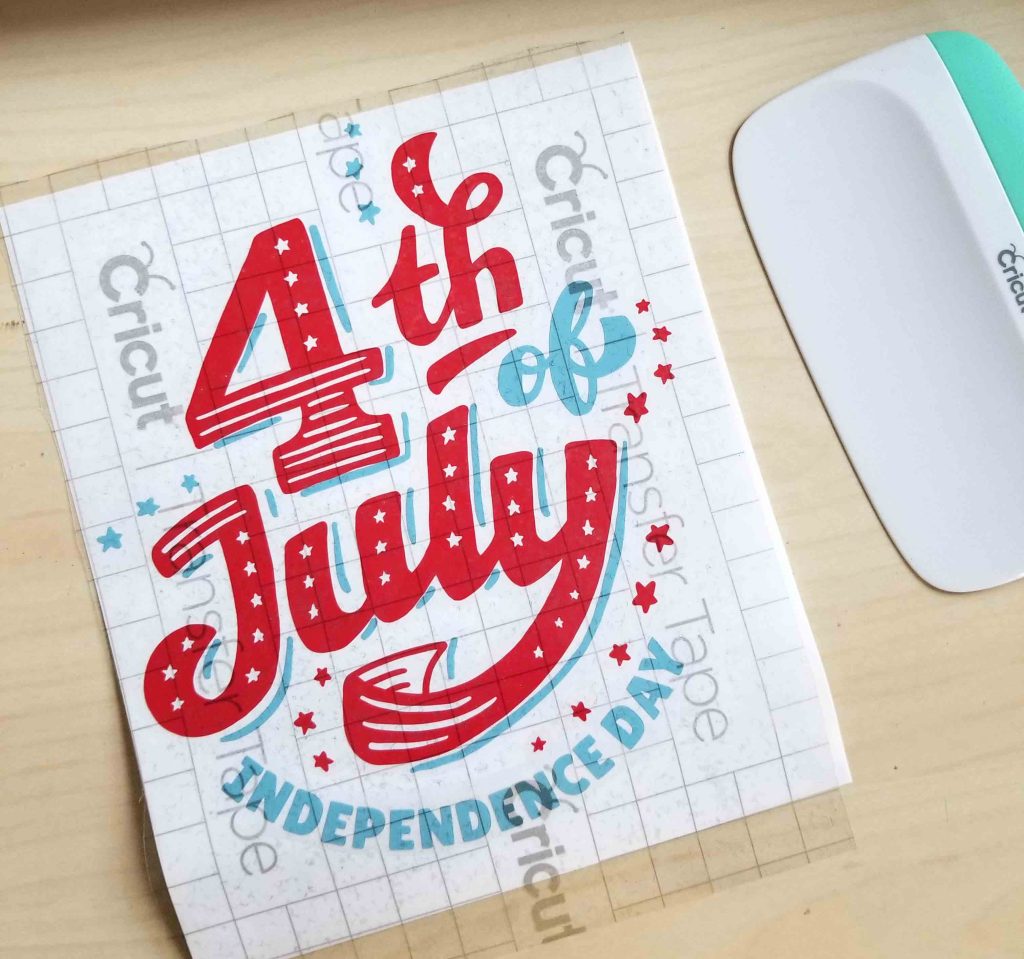
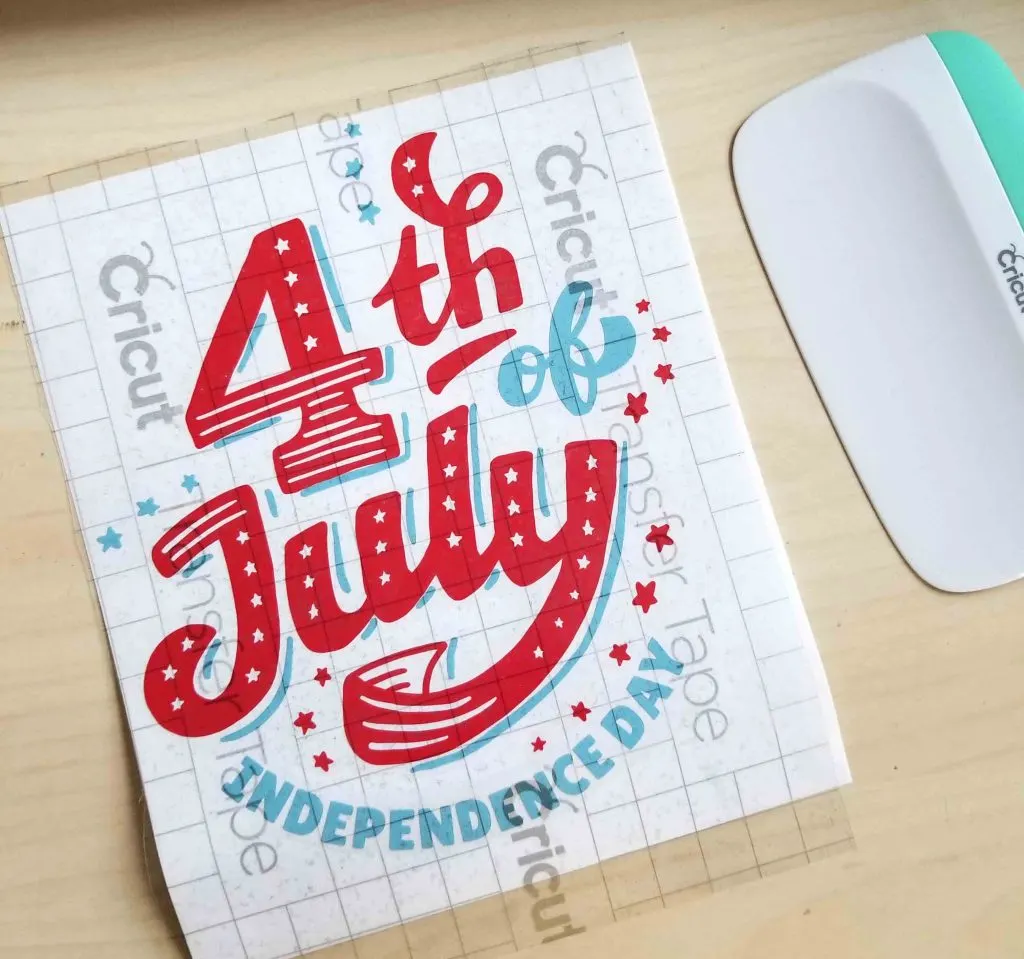
Apply to the center of your frame – try to buy or make one with a very smooth surface – it will help the vinyl stick better, especially the small stars.
Use this 4th of July wood sign to decorate a mantel, a BBQ table or your front porch. Don’t miss the other Craft Lightning patriotic projects too – click the image.


35 Memorial Day Crafts to Kick off Summer - Angie Holden The Country Chic Cottage
Tuesday 27th of May 2025
[…] Wood Sign Grab your favorite Cricut machine and some vinyl to make this 4th of July wood sign! READ MORE Patriotic Galvanized Sign Tutorial Do you love galvanized metal signs? Then learn how to make […]
Angela Bordio
Wednesday 7th of June 2023
Thank you so much! Looking forward to seeing this year's July 4th decorations. Always been excited about this kind of stuff.
Angie Holden
Thursday 16th of May 2019
This is so cute Steph!