Use an embroidery hoop and thick yarn to weave a Halloween dream catcher.
I remember first making a dream catcher back at girls camp one year, when I was about 13. We had leather cord for wrapping the frame, beads and feathers to tie to the ends, and I’m sure it hung in my room for several years. It’s fun to watch this “trend” coming back to crafting world, and see all the variations people make.

I wanted to combine the dream catcher idea with Halloween and all the fun textured weaving that I see a lot of too. And that’s how I came up with this woven Halloween dream catcher.
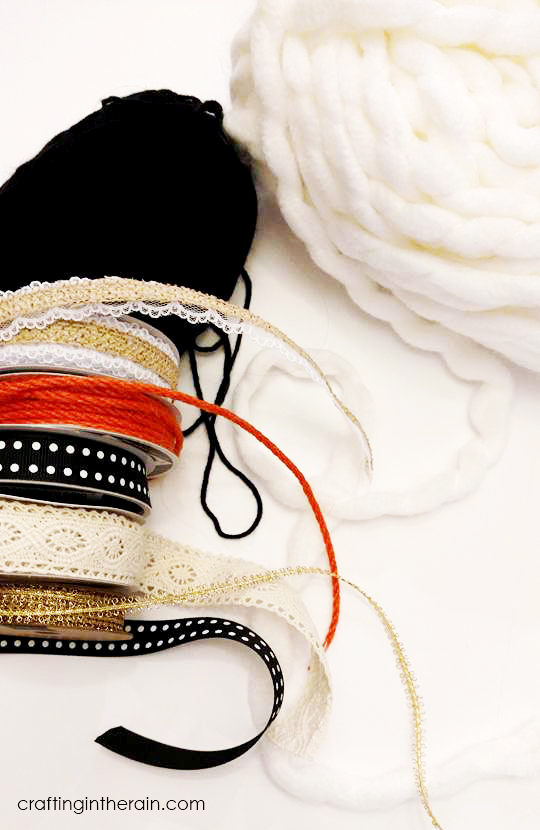
Supplies:
Embroidery hoop (or other round frame)
Black or white yarn
Chunky white yarn
Assorted ribbons and trims
Paint the hoop if desired. I painted mine dark gray.

Tie 5 pieces of yarn across in a criss-cross pattern across the hoop. Now, you’ll notice that this gives you 10 sections. We need an ODD number though, because we’re going to weave in and out and want an alternating pattern. So, take one more piece of yarn and tie it just from the center cross point of yarn to the hoop. This gives 11 sections.
Start in the center and start weaving a long piece of the chunky yarn over one thread, then under, then over, etc, moving in a circular pattern toward the outside of the circle, or toward the hoop.
If you run out of the chunky yarn, tie a new piece end to end, keeping the knot on the backside of the project.

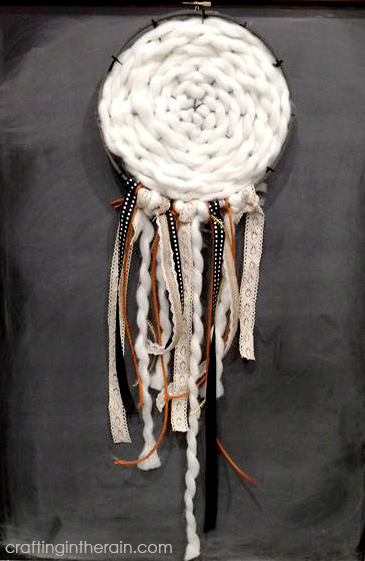
Here’s what the whole hoop looks when it’s completed.

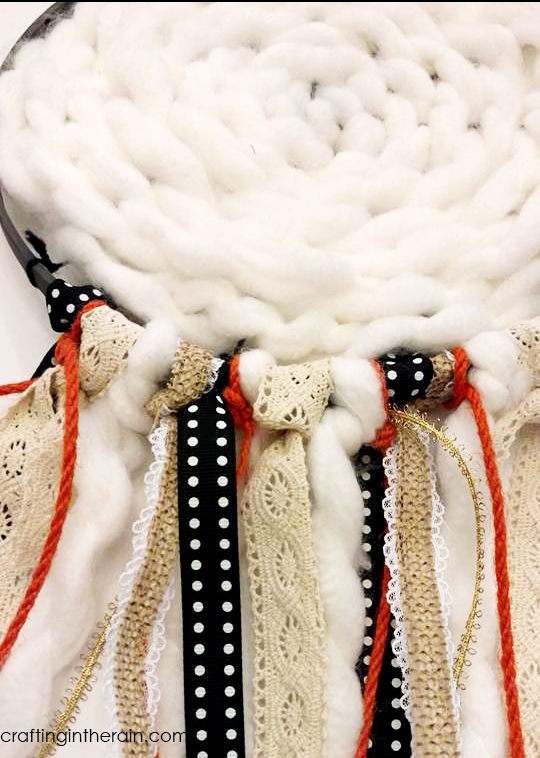
Now you get to just start tying lengths of ribbon to the bottom portion of the hoop. I have used lace and burlap combos, orange, black, and even some of the white yarn I used for weaving.

Keep going until the bottom of the hoop is filled in as much as you like.
Isn’t this a great Halloween dream catcher? I think it would make a fun Halloween craft night or even something you could do with your kids. If you make one, please send me a picture or tag me on Instagram. I’d love to see!

(affiliate links)
Jann Olson
Tuesday 11th of October 2016
My youngest daughter loves making dream catchers. The textures you've used is really fun! Thanks for sharing it with SYC.hugs,Jann
elaine @cookinandcraftin.com
Tuesday 11th of October 2016
Awe ...a dream catcher!! I love this. When my daughter was young she had to have one in her room to chase away bad dreams!! Yours is adorable!! Thanks for sharing on My 2 Favorite Things on Thursday - Hope to see you again this week!! Have a great week!! Pinned!