A couple of months ago I got to try out the new Cricut Explore at an event in Portland. Just recently they sent me one and asked me to be part of the the Cricut Design Space Star challenge. So exciting!! It was totally easy to get the program set up on my computer and just start cutting.
I’m in Team #10 with some majorly talented ladies. We chose the theme YELLOW to use with the fashion and gear category.
I made over a plain gray sweatshirt that we got for my daughter for back to school. We couldn’t leave it plain and boring!

Using Cricut Design Space, some images from the program and some that I made, I designed a hot air balloon with clouds and the words “Dream Big.” The letters are cut right out of the vinyl so the sweatshirt shows through. The machine cut the thin pieces so smoothly and easily.
Here are some tips from my project:
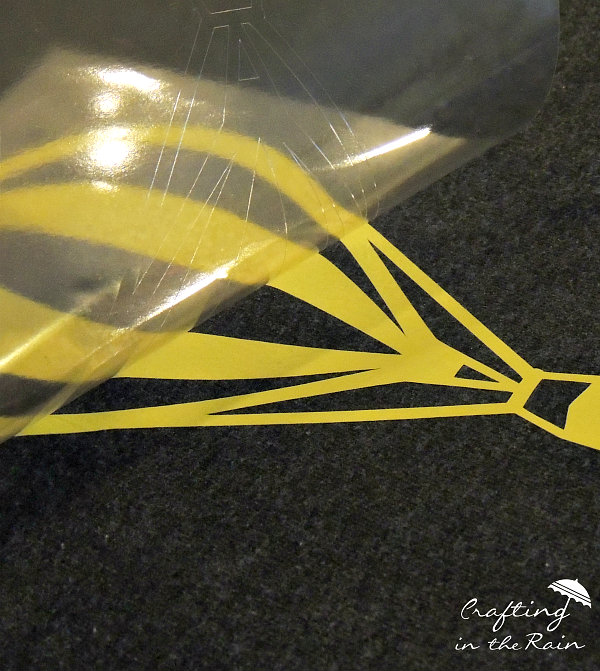
**Heat Transfer vinyl goes shiny-side down onto the Cricut mat, and then you have to click “mirror image” before you cut the file**

Peel the excess vinyl from the plastic sheet. Position on the back of the sweatshirt, cover with a towel or clean paper and iron down for about a minute. I found it worked best if I set the iron down and pressed for about 10 seconds, then moved to a different spot and pressed down again. Sliding the iron around can cause the vinyl to shift or “smudge.”
But make sure you do iron down all areas. Let it cool for a few seconds and peel off the plastic. If any spot looks like it didn’t stick, put the plastic back down and repeat the ironing.

Hope you like it!
To see the rest of the yellow projects, head over to:
One Krieger Chick
Albion Gould
Sweet Rose Studio
Popper and Mimi
Let’s Eat Grandpa
Sugar Bee Crafts
A Southern Mother
Confetti Sunshine


A Cricut Explore was given to me to participate in this contest. All opinions are my own. May contain affiliate links.