{Red Dresser with Metal Drawers}
I love a good furniture makeover, don’t you? And these unfinished IKEA wood pieces are a perfect place to start. They were great for working into my son’s room makeover.
I bought the IKEA Tarva nightstand ($40) and dresser ($100), some red paint and the Hammered Silver spray paint was sent to me from Rust-oleum.
I knew I wanted the fronts of all the drawers to have a cool metallic look, so I sprayed those first. I taped off the the edges of each drawer. On this style of dresser in particular, there is a flat bevel around each edge, so I taped off there, making sure the spray paint would only get on the completely flat front of the drawer.
I took all the drawers outside and started spraying. The instructions on the paint say it could take 2-3 coats to cover completely. I need about 5 coats, possibly because I was painting right onto bare wood.
**After 2-3 coats, you’ll need to lightly sand with a sanding block. The bare wood soaks up the moisture of the paint and starts to get a little rough, so smooth it out, dust it off and then add another couple of coats**
Since I was working with a totally flat surface, I didn’t have to worry about drips. Don’t get too heavy with the coats of spray paint if you’re working on a round or vertical surface.
It’s kind of a cool look that it’s metallic, but not too shiny. And the wood grain still shows through in a few places too.
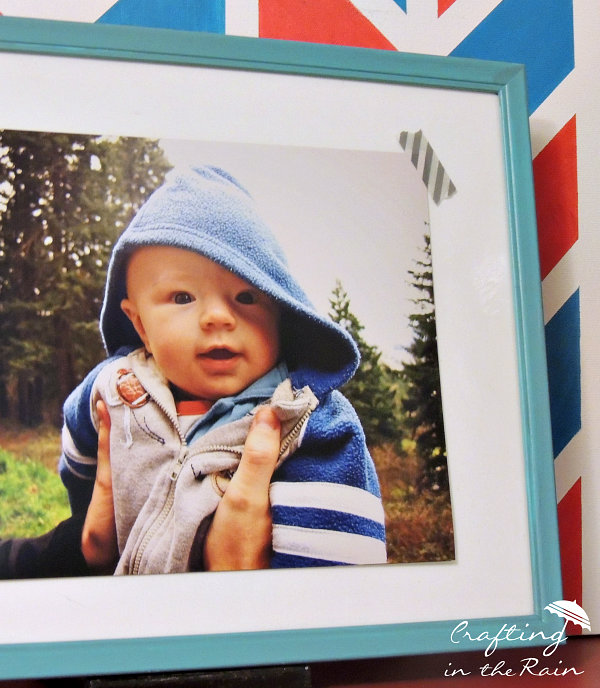
Here’s where we pause and “awwww” over the picture I printed to have in Asher’s room. He was just 4 months old here. And now he’s about to start Kindergarten. Maybe I’ll go cry quietly while you finish reading 🙂
When the spray paint was all dry I worked on painting everything else–the bodies of the nightstand and dresser and the edges of the drawers.
I finished by covering all the regular paint with a satin varnish, but I didn’t paint any top coat over the spray paint. I didn’t want to lose any of the shine there.
I painted the bare wood knobs that came with the dresser and added them back to the drawers.
Check out all the hammered metal Rust-Oleum paints. What would you like to paint?


