With the holiday break, do you find yourself with a bit of extra crafting time? I hope so! I know I always love to play with my new crafty toys I got for Christmas.
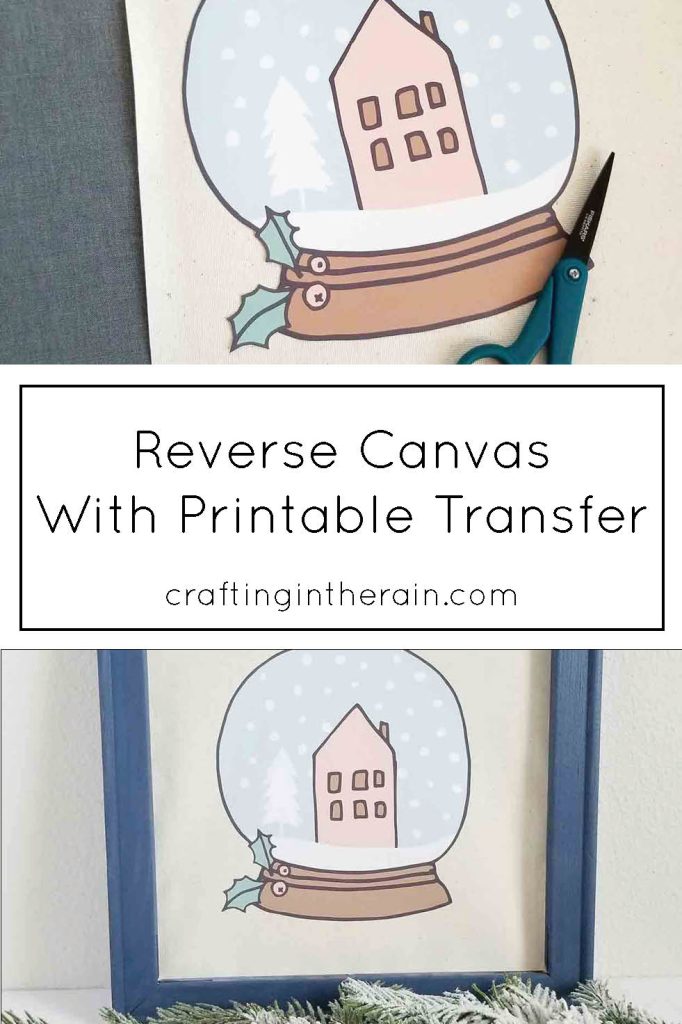
This iron-on transfer on canvas only takes about an hour, so I’m certain you can fit it in your schedule. Use this technique to make reverse canvas art for any holiday.

NuFun Activities sent me some of their dark iron-on transfers to try. They work on both dark and light materials including shirts, napkins, pillows, mousepads, koozies, aprons, and other fabric items. Check their site for more product options, plus a blog full of project ideas.
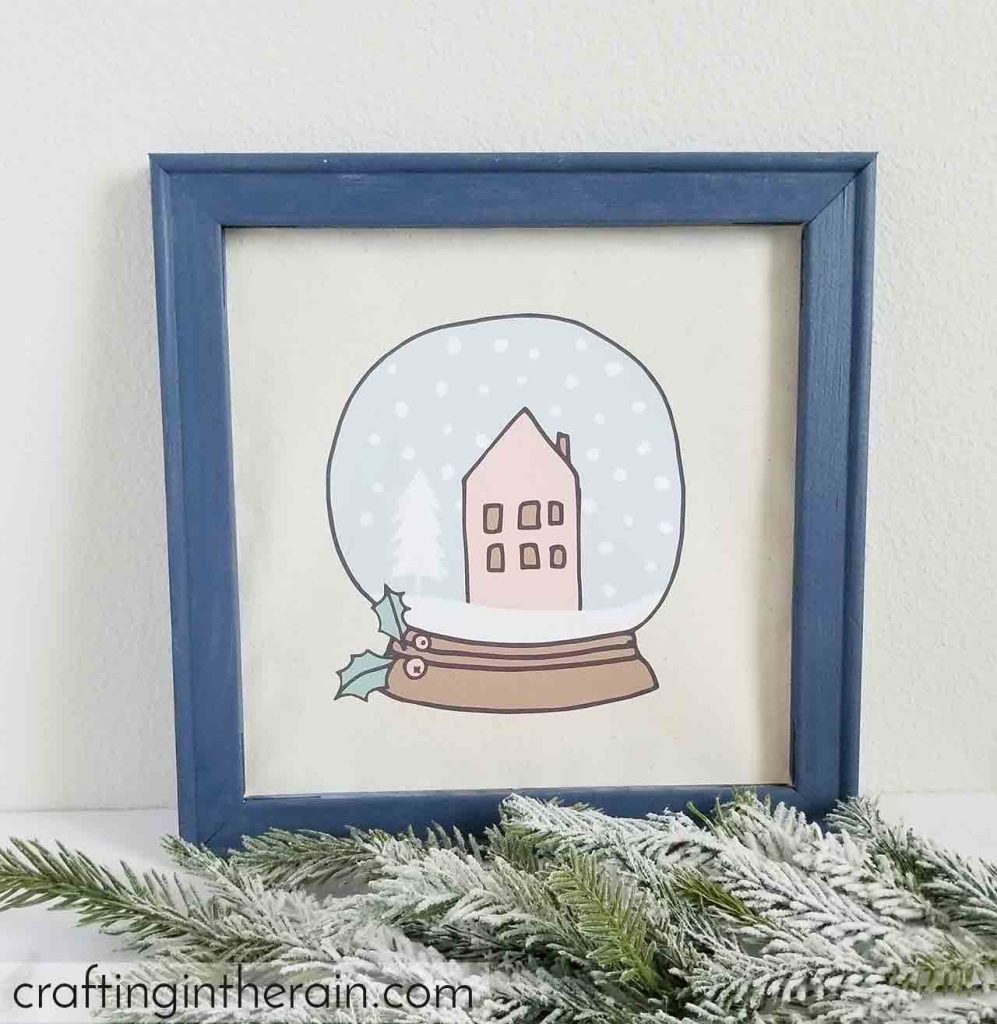
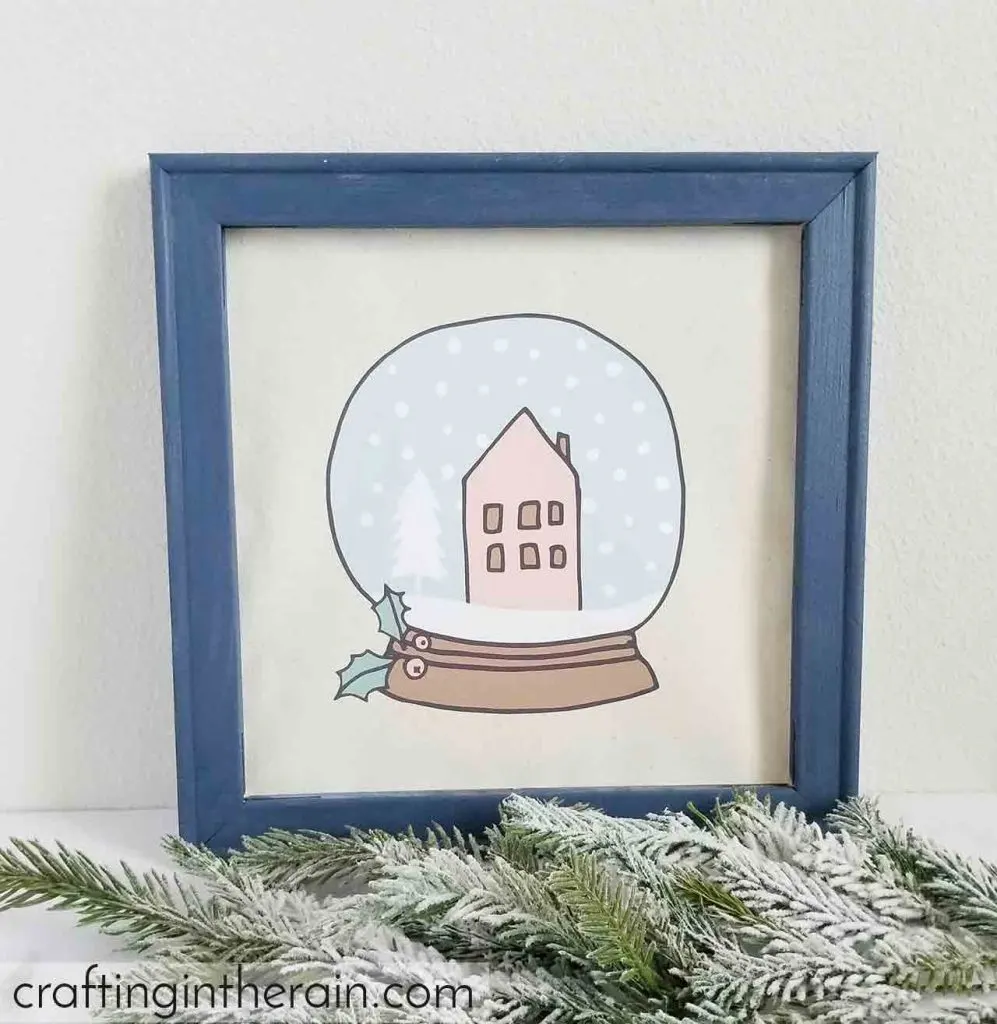
Here are the supplies you’ll need to make this snowglobe reverse canvas.
12×12 art canvas
Blade
Paint and brush
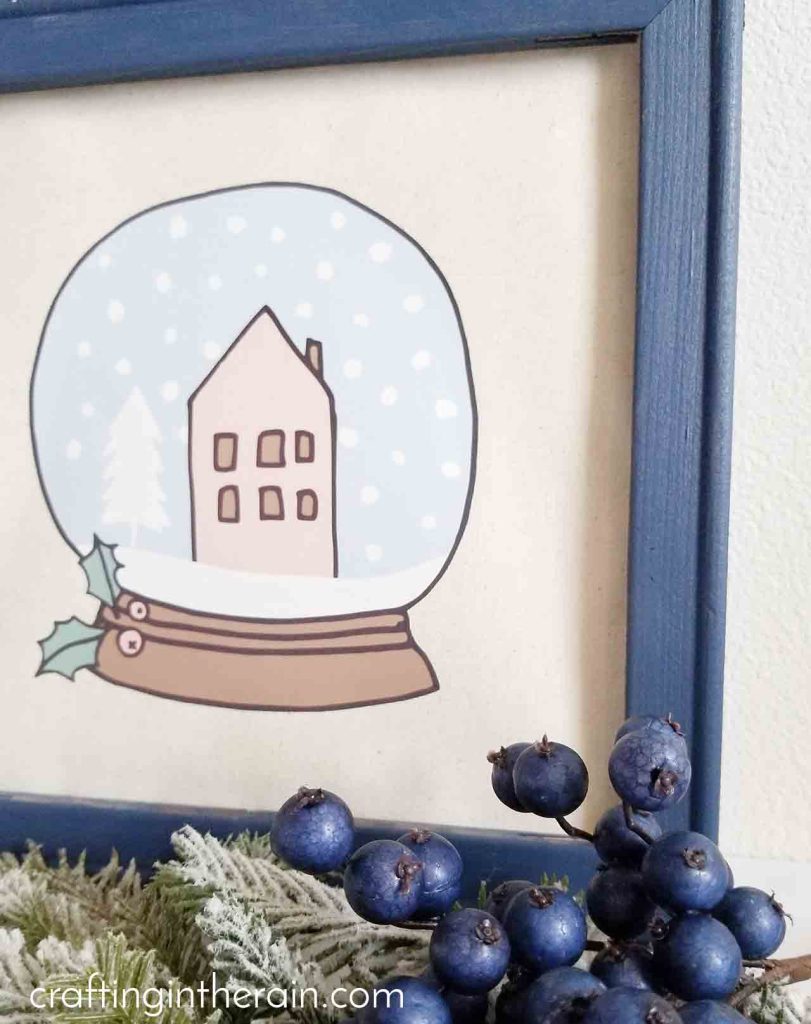
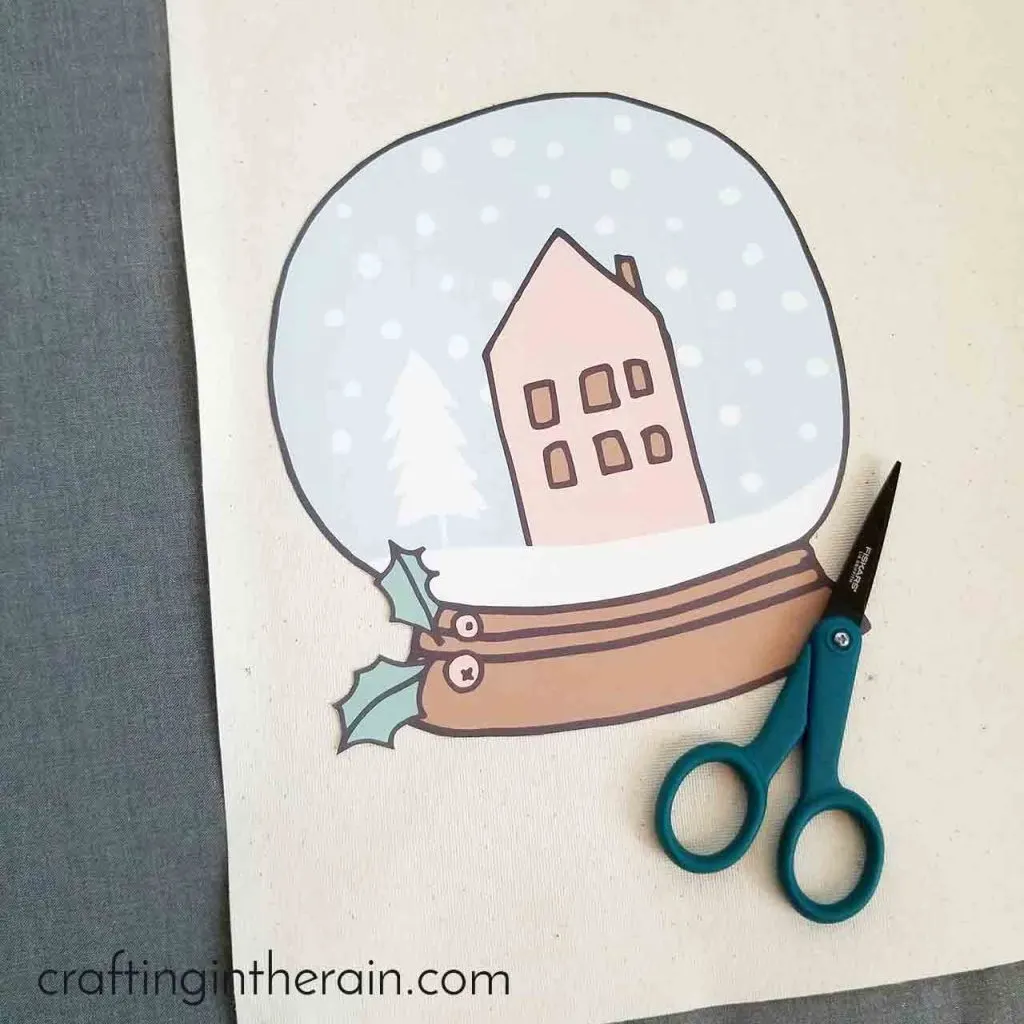
Snowglobe picture (download here)
Dark fabric transfer paper
Iron or EasyPress
Parchment paper or protective sheet
Hot glue
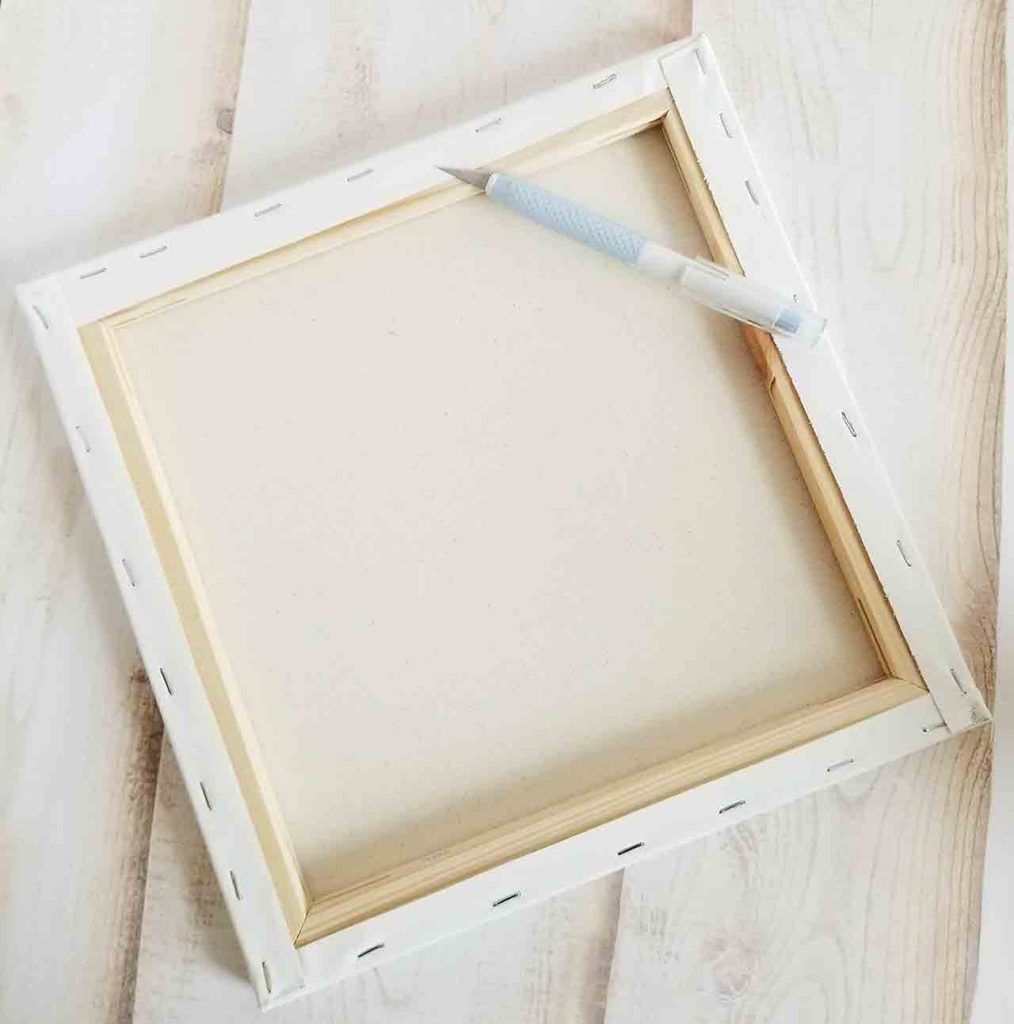
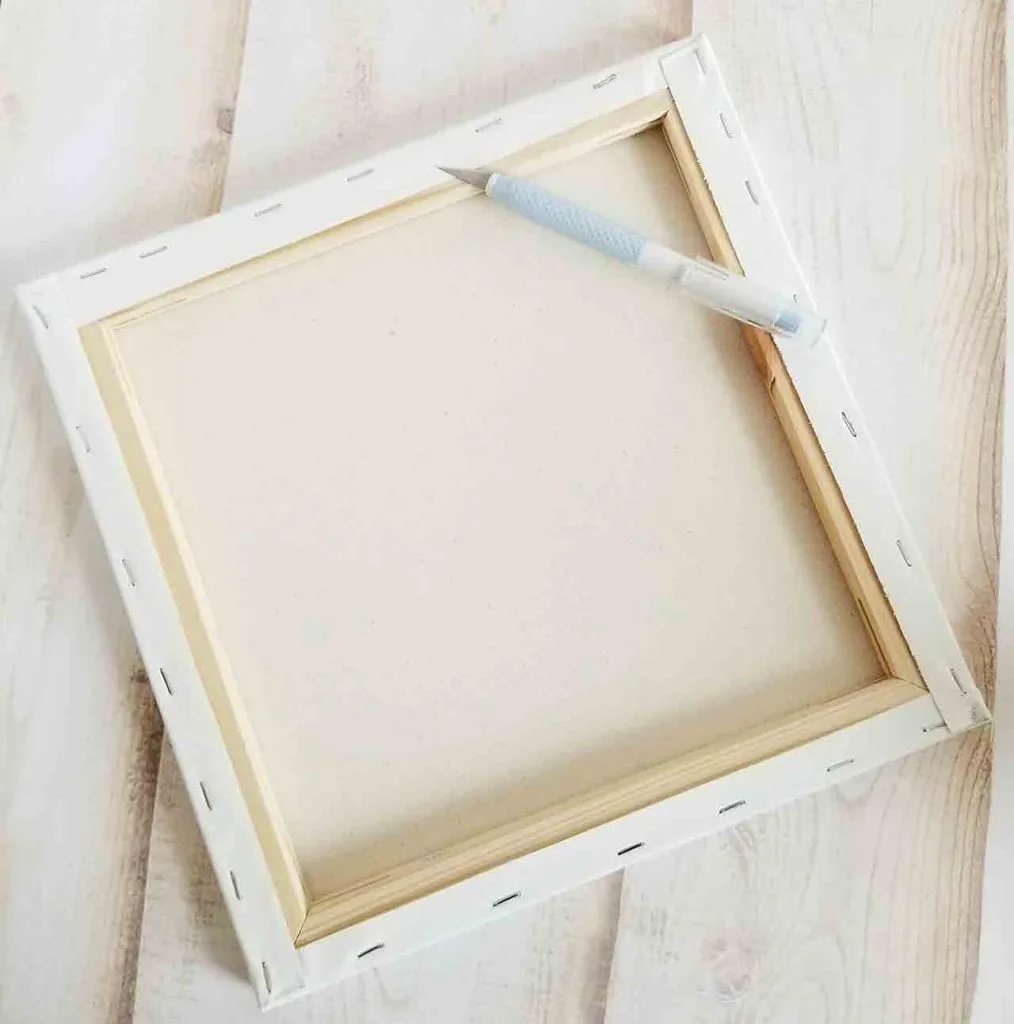
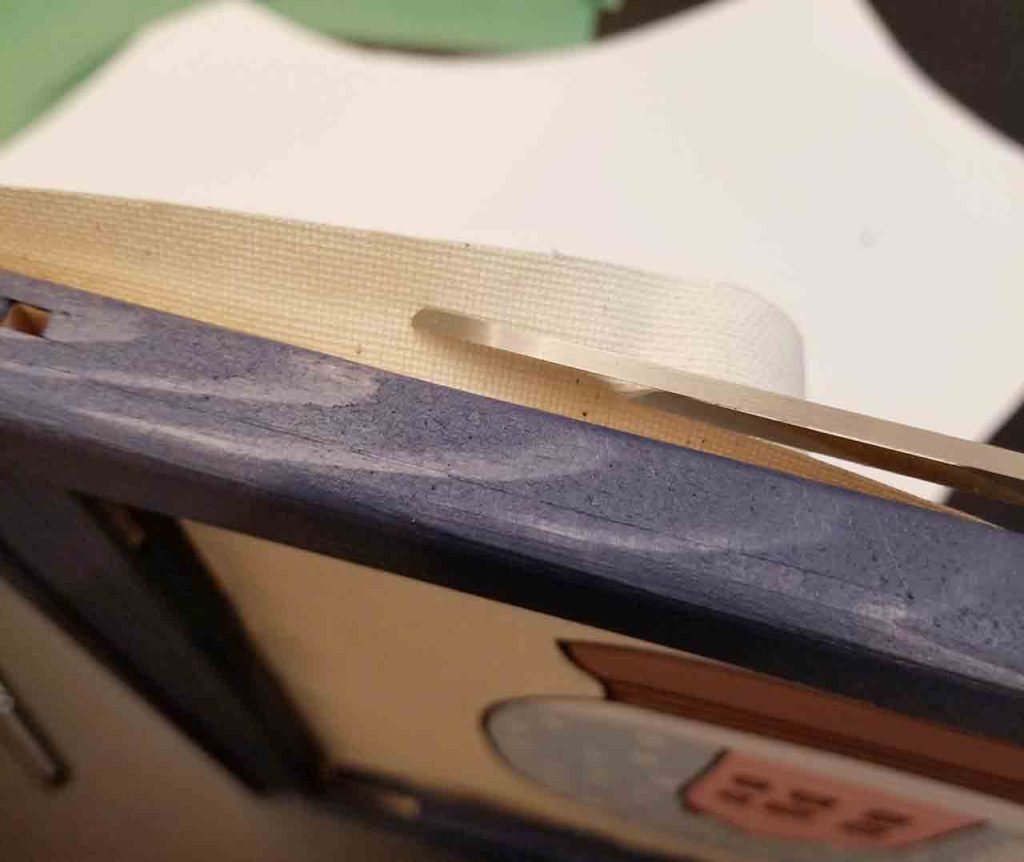
Start by cutting away the canvas from the back of the frame. Carefully use a blade to cut near the staples. Then remove staples with needle nose pliers.
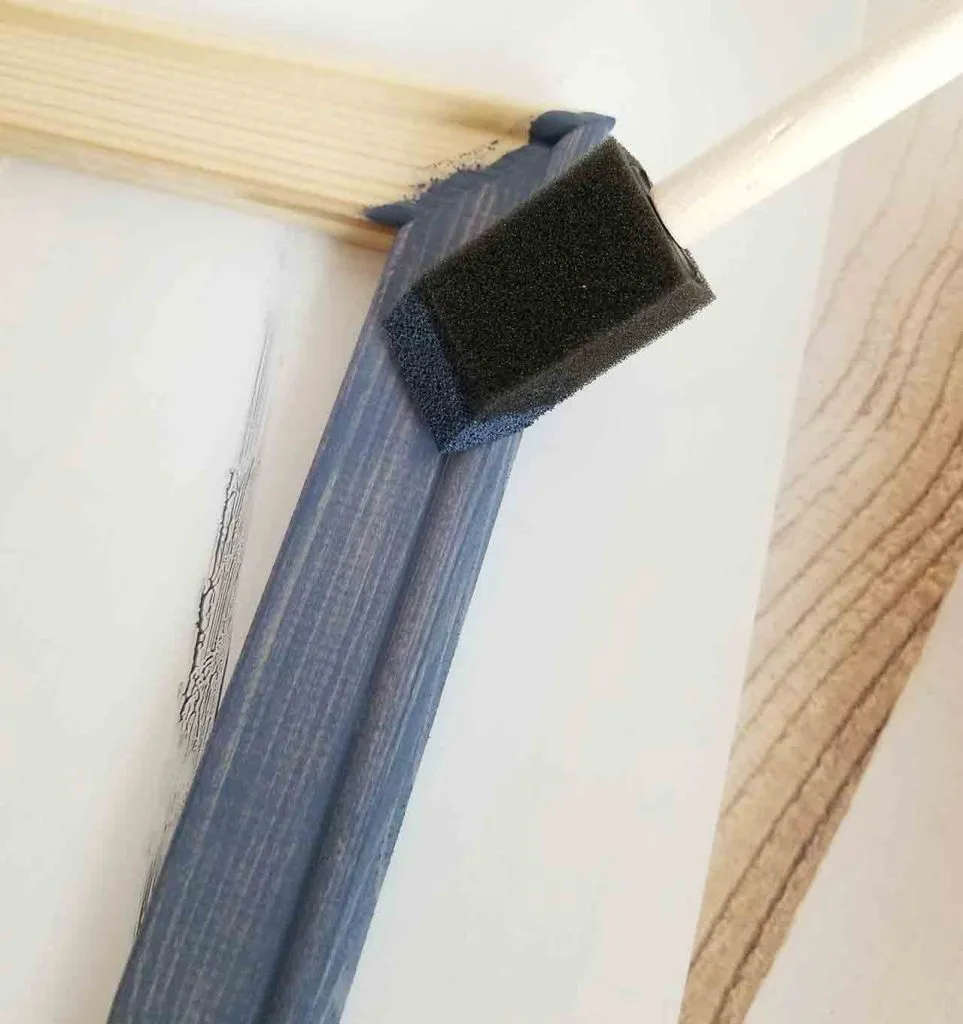
Paint the wood frame as desired. While the paint is drying, work on the other steps.

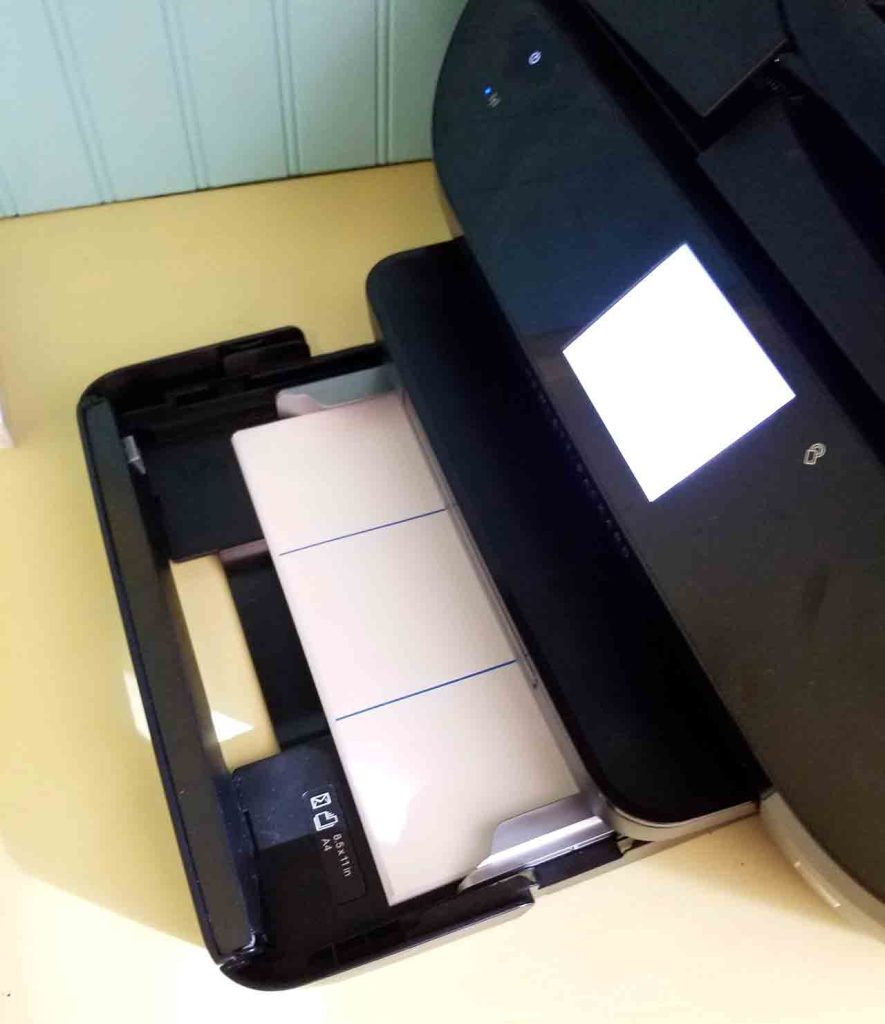
Load one of the transfer sheets into your printer so that it will print on the blank side (not the side with the lines.) DON’T mirror the image, just print as is. Set print quality to photo, or select photo paper as the paper type.

Use scissors to trim around the image.

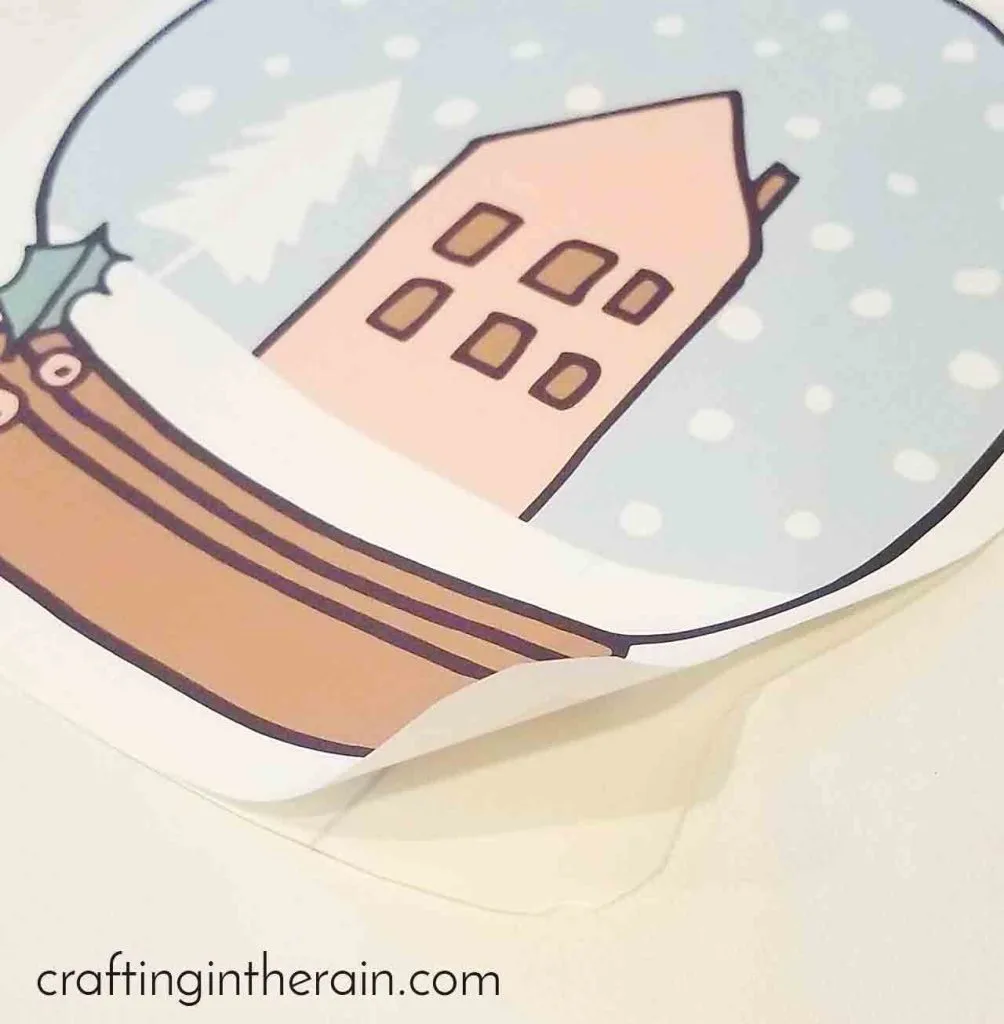
Peel off the backing and center the transfer on the piece of canvas.

If using an iron, heat to the Cotton setting with no steam. If using the EasyPress, set to 340 and 20 seconds.
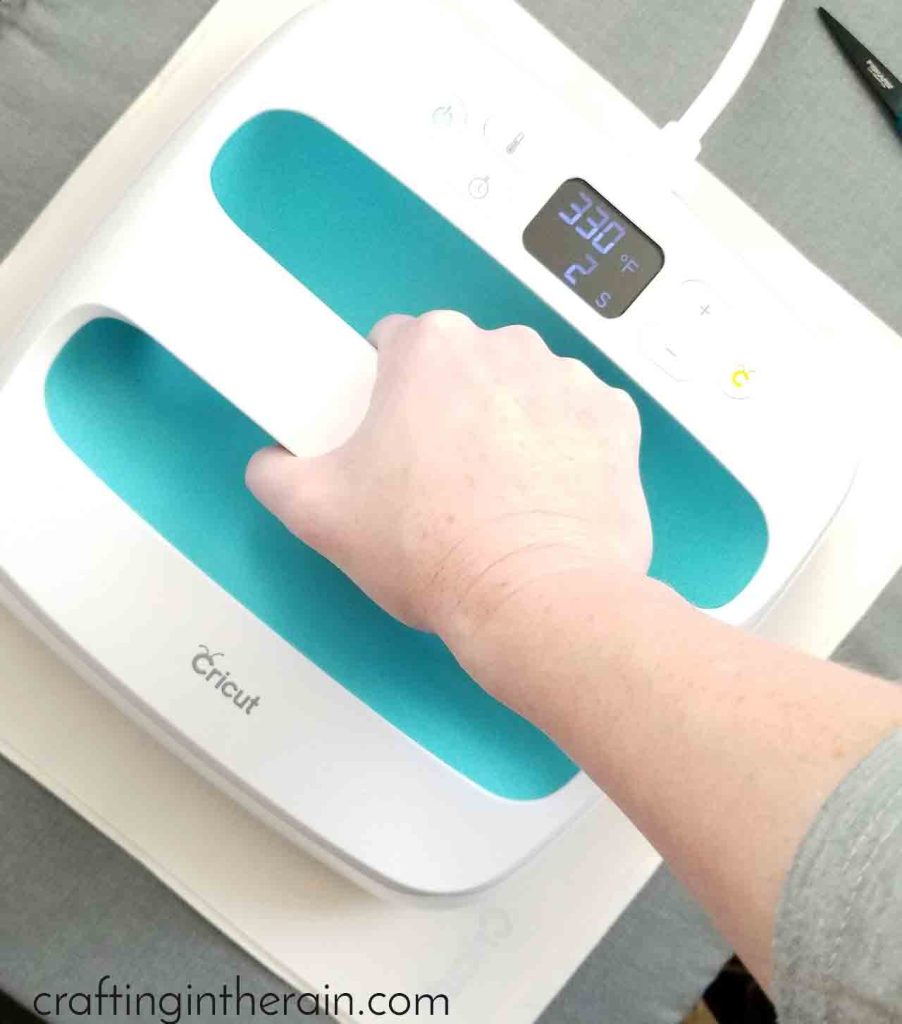
Cover the image with parchment paper or a protective sheet and press with firm pressure for 20 seconds. With the iron, pick up and move to a new section until all parts have been transferred. The EasyPress will cover this design all in one pass. Remember to not move the iron or EasyPress while pressing as it could cause wrinkles. Pick it up completely and move to another section.
When all parts of the design have been heated for 20 seconds, carefully remove the hot parchment paper and set aside.
When the frame is dry, use hot glue or a staple gun to attach the canvas to the frame back. Cut away excess canvas.

And that’s it! Hang with a picture strip or set it on a shelf. I can’t wait to try these iron-on transfer sheets for more projects. What would you make?