Time to start thinking about all those red white and blue decorations! Grab some candle vases and make a patriotic stars jar with adhesive foil

Here are the supplies you’ll need:
Glass jar (one with straight sides is always the easiest to apply vinyl to)
Cricut Adhesive Foil (stainless red and stainless aqua)
Cricut Transfer Tape
Cricut Explore Air 2

In Cricut Design space, find this image: Stars Border, (item #M3CE69)
Measure around your jar and make the length of the image match that. Mine was 11 inches around, so I cut the design 11 inches long.
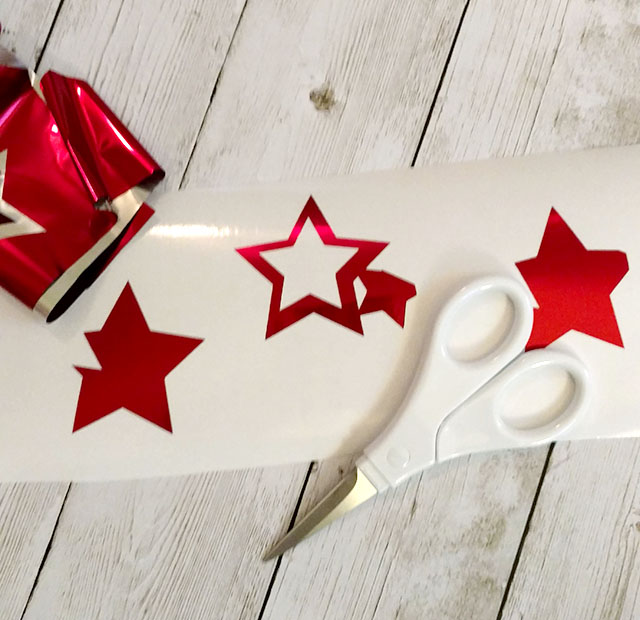
Cut from red and blue foil.
**NOTE- I tried the adhesive foil custom setting, and it cut all the way through the backing. If you want that, then great! But then I also tried the Vinyl+ setting on the dial and it cut just the vinyl and left the back.
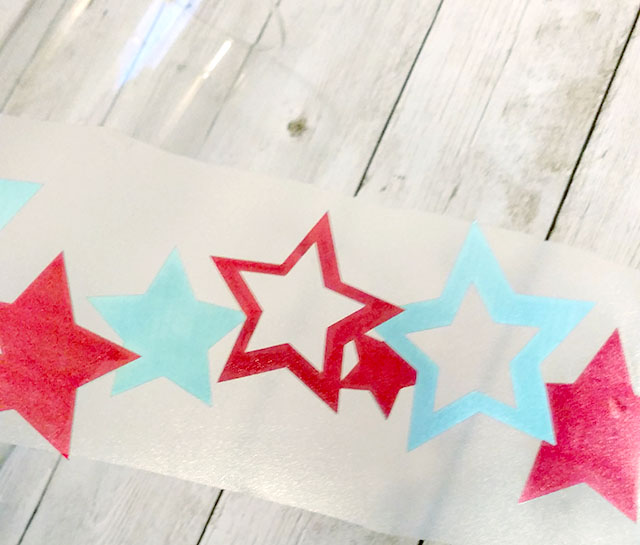
Weed the extra vinyl out and layer the top color on the bottom.
Use transfer tape to layer the vinyl pieces.
Then wrap it around the jar.

I cut this design out twice – once where the red was the base, and once where the blue was the base, just to mix it up.

Fill up the jar with candy, or add flowers, or turn it into a tealight holder by filling it with epsom salt. Super cute, and super easy, right?

Thanks for reading! Happy crafting, and don’t forget to do some shopping with that discount code above if you need some of these supplies.
This is a sponsored conversation written by me on behalf of Cricut. The opinions and text are all mine.

21 Best Cricut Projects Ideas With Tutorials - Susie Harris
Tuesday 19th of July 2022
[…] Cricut Projects: This is a leather chevron necklace over here that you can learn from here. The list of materials is quite long here but a little bit of effort will eventually make you feel proud of yourself. You need a few supplies for this project and they are explore explore or maker ,necklace in circuit design space, deep cut blade, strong grip mat, transfer tape, scrap leather, awl, jewelry chain and jewelry pliers. Tutorial […]