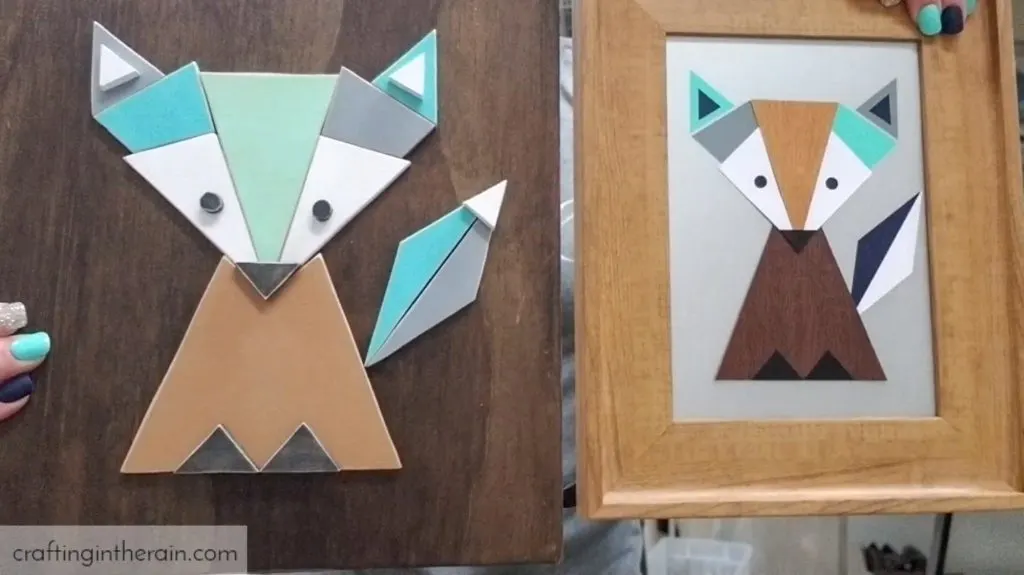
Back at the beginning of the year, I made this geometric fox art with my Cricut. I also realized it would be a great practice scroll saw project, so I tweaked the design a little bit and ended up with a modern scroll saw fox pattern.
On my piece of MDF, I layered blue painters tape and then sprayed adhesive on the back of the printed pattern.
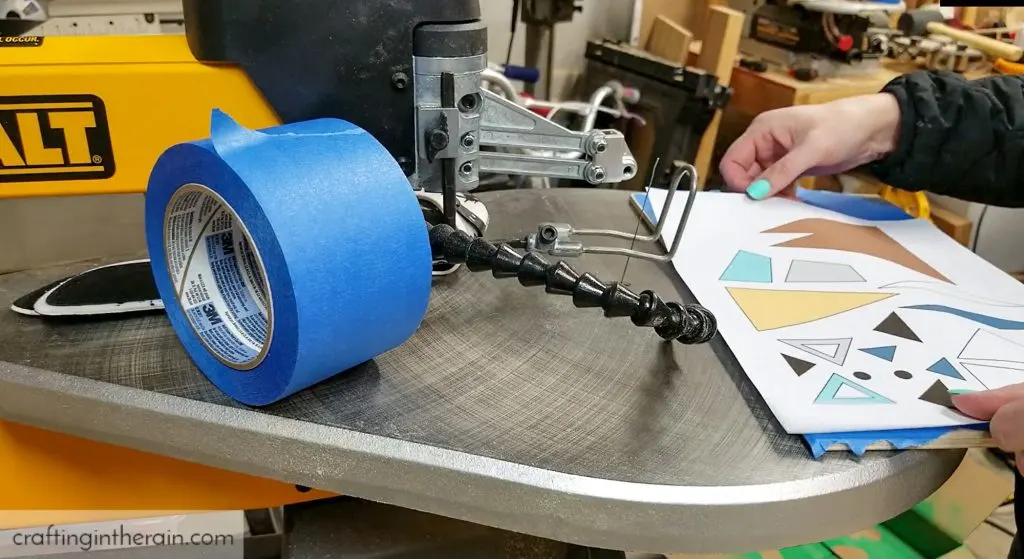
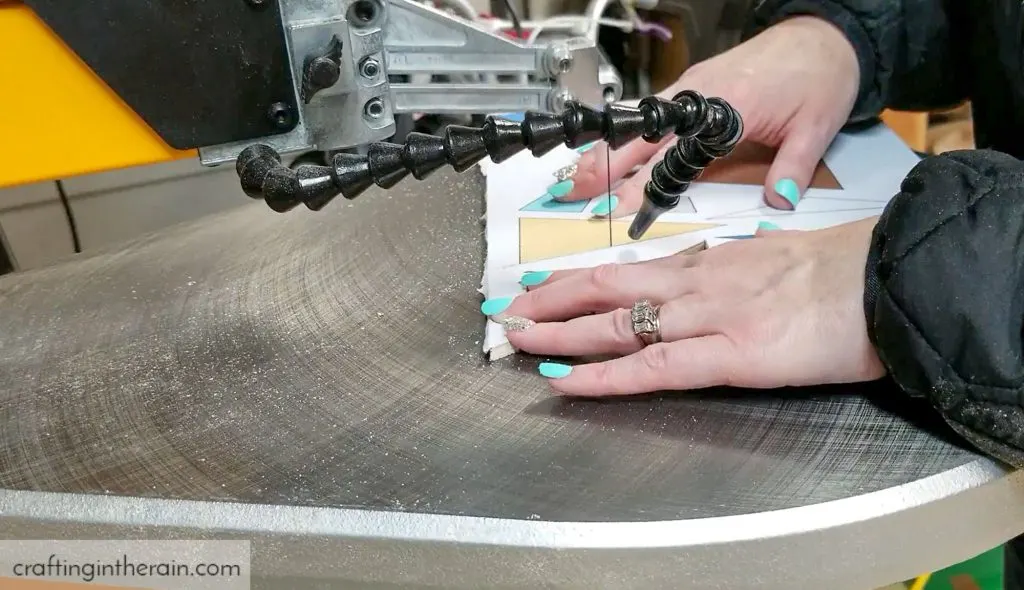
Then I cut all the pieces with my scroll saw. If you watch the video, you can see where I spin the piece all the way around to come back to get really precise points at the corners of the triangles. It was a great way for me to practice straight lines.
I sanded the edge of every piece just a bit with 320 grit sandpaper and peeled off the tape and pattern.
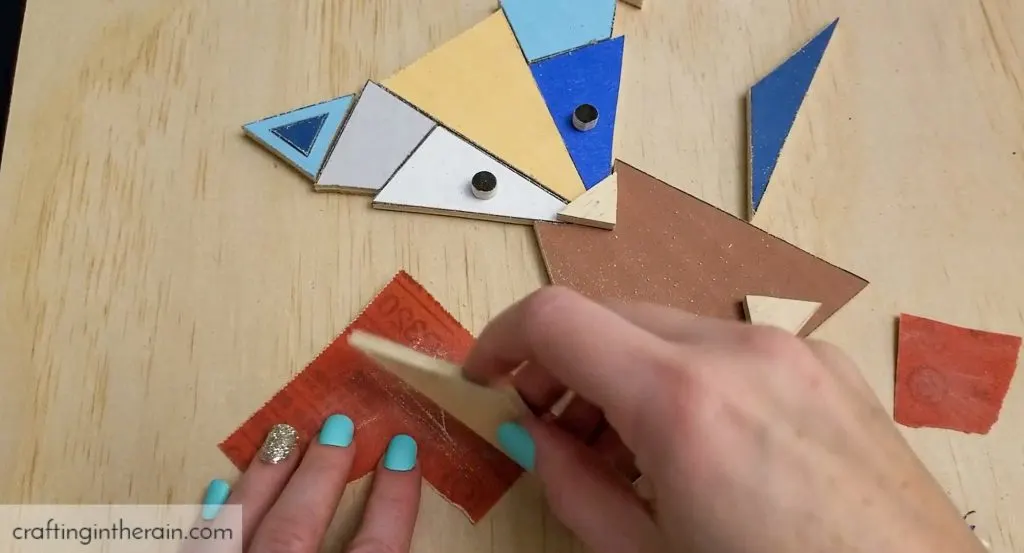
Then I painted all the MDF pieces and stained a base piece of plywood to glue the fox to. I used Minwax Jacobean stain. You could make a more girly version by just changing a couple of colors of paint to pink or purple.
When the paint was dry, I sanded the edges again to give it a distressed look.
I set out the pieces where I wanted them on the stained wood to make sure it was centered before I started gluing.
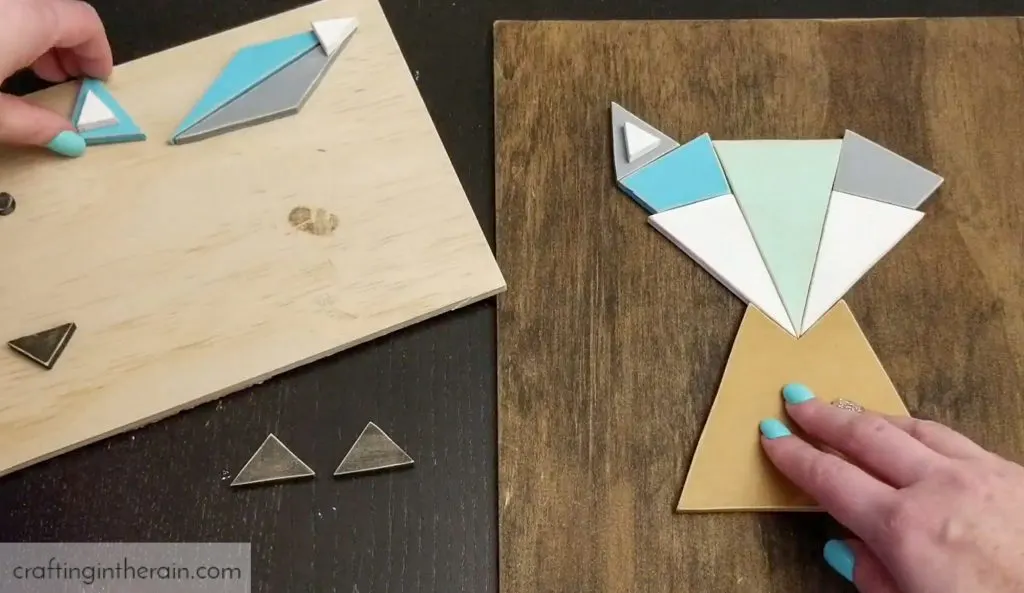
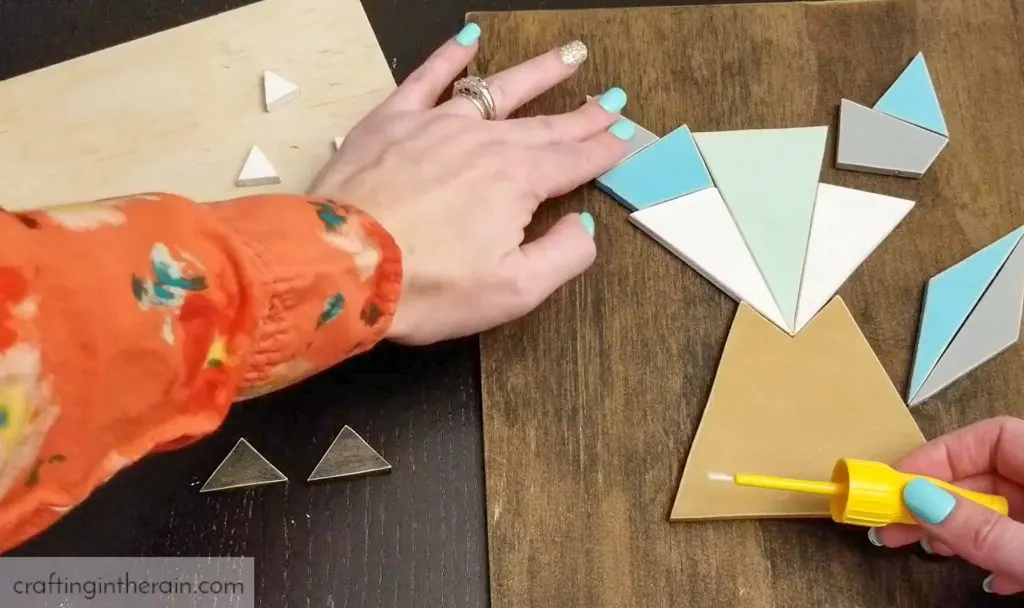
I used brushable Gorilla super glue to stick down each piece. I tried to do this as carefully as possible, because the glue will leave a shiny residue if I need to try to reposition it.
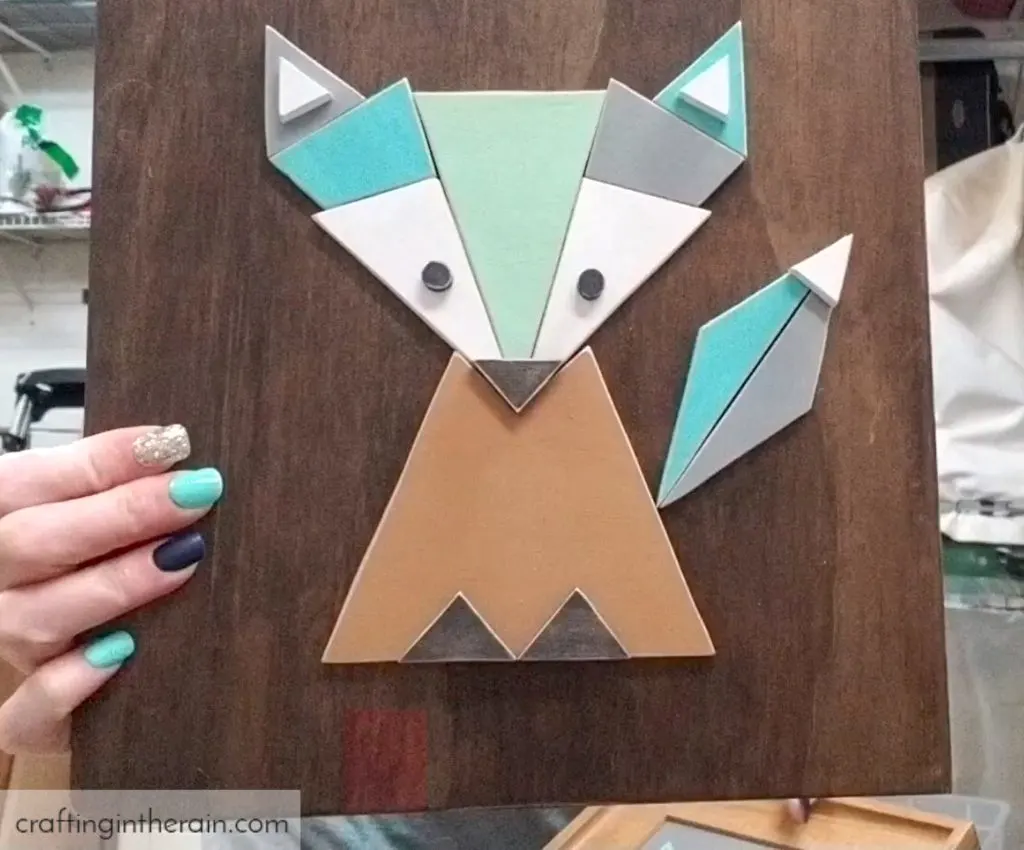
I love how it’s nearly the same design as the Cricut version, but it really has a different feel to it. The top layer pieces inside the ears, tip of the tail, nose, and feet just give it something extra.
Have any questions about how I made it, or about my scroll saw in general? Ask away!
DOWNLOAD the modern fox scroll saw pattern here
