Looking for a colorful and easy craft that even the kids could make? It would be great for this weekend after Thanksgiving! In just one stop at Michaels you can get everything you need.
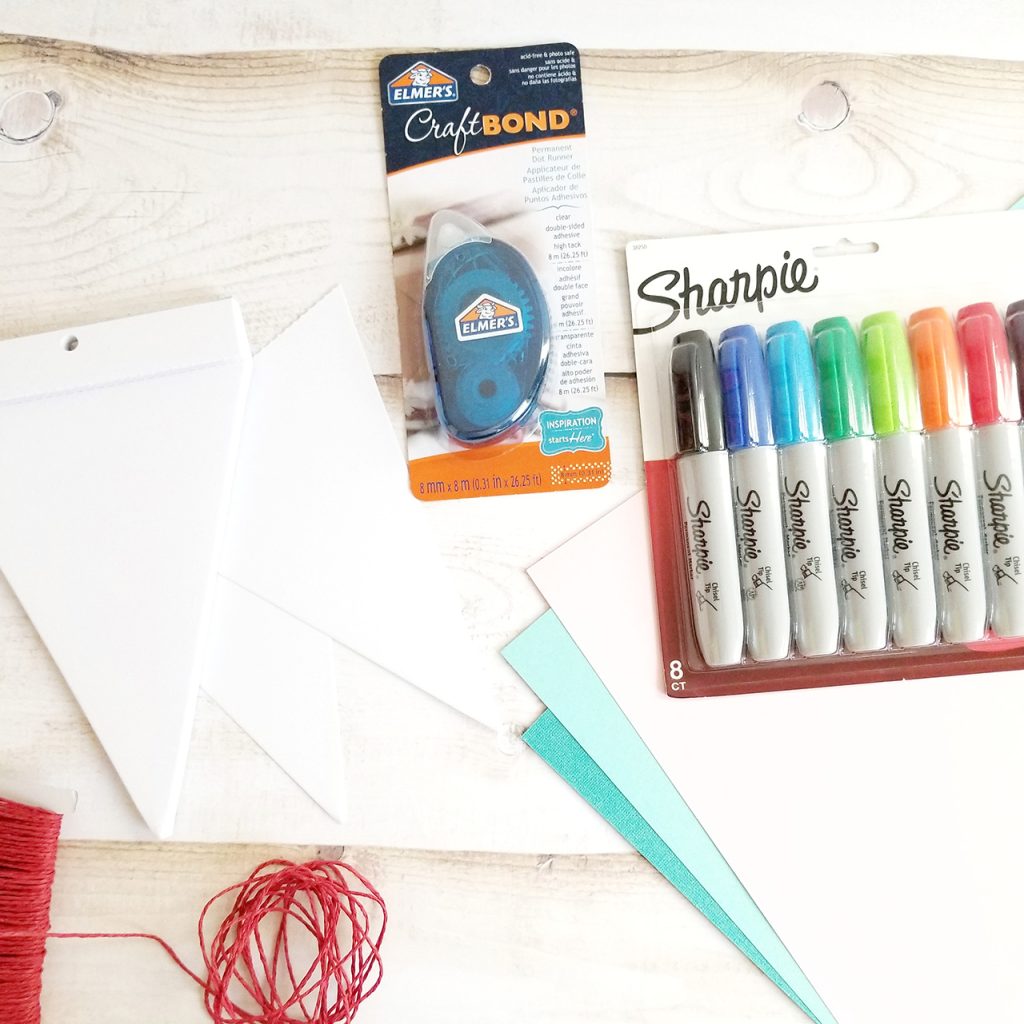

SUPPLIES:
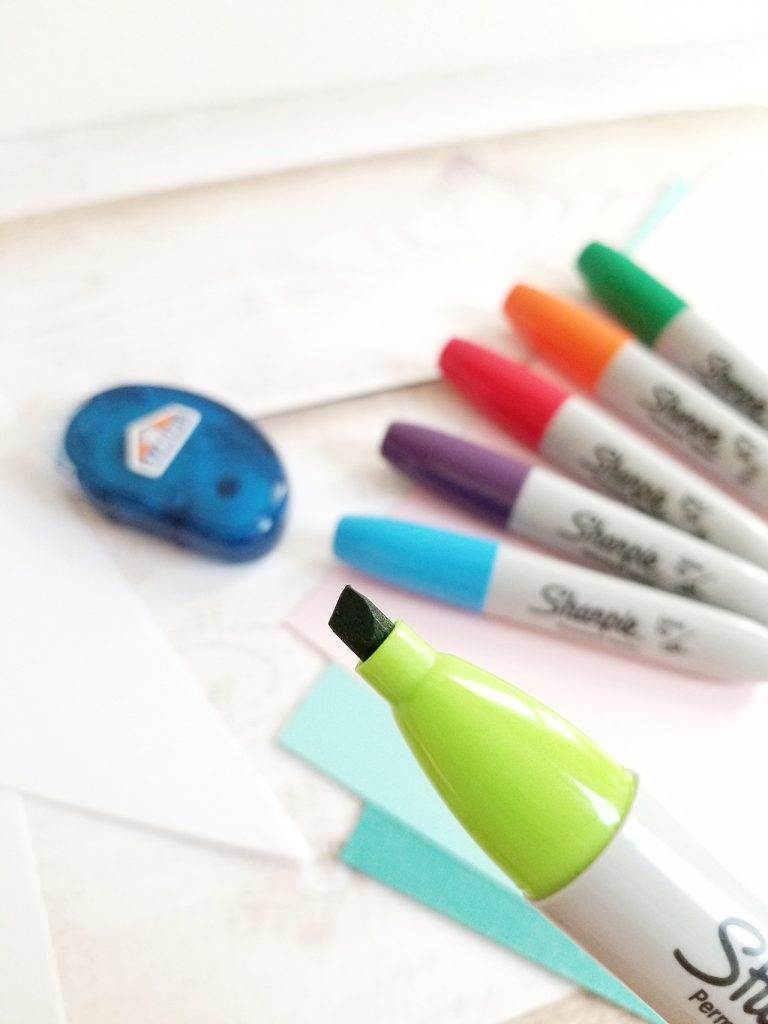
Sharpie Chisel Permanent Markers
Elmer’s Craft Bond Permanent Dot Runner
Cut out banner shapes
Cut out “&” shape (or make your own with an electronic die cutter)
Colored cardstock
Red string
Hole puncher
Paper trimmer

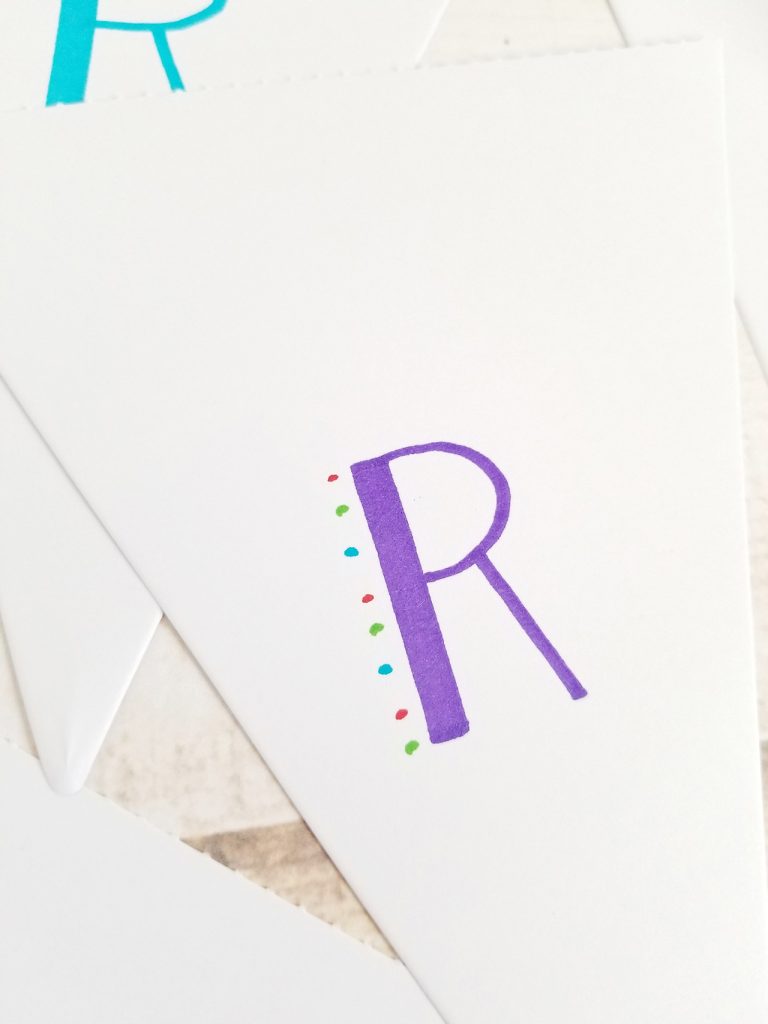
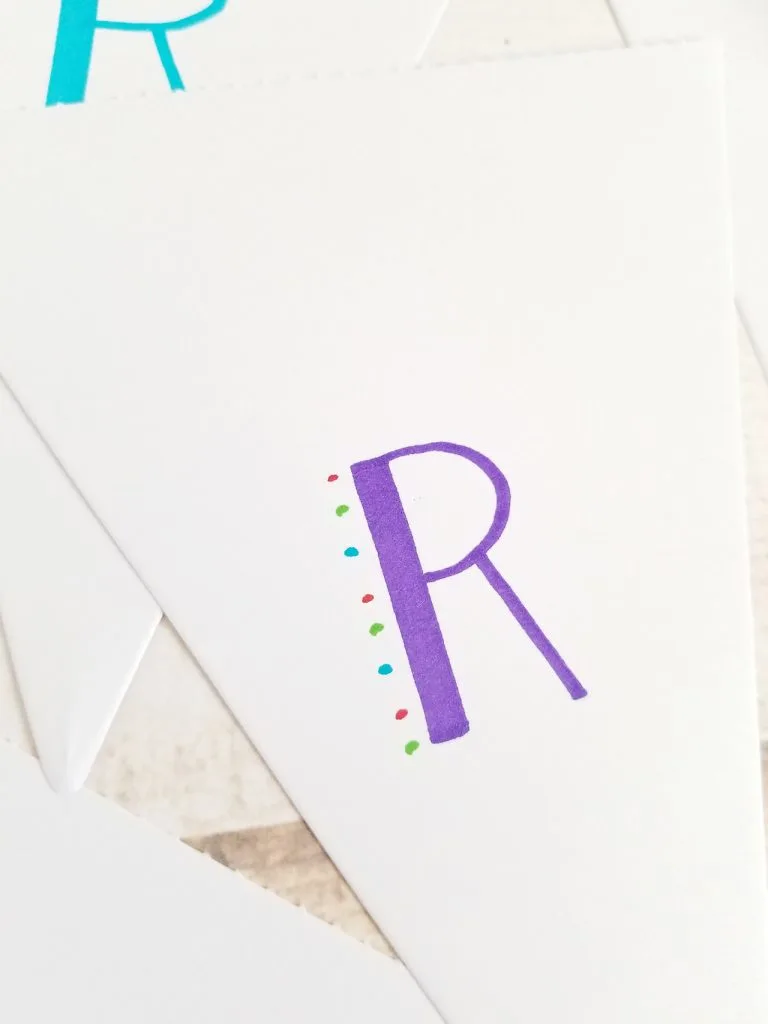
Start by writing the letters on the paper banner shapes. Use the wide side of the Sharpie Chisel to draw the left side of the letter. Then use the thin side of marker to draw the rest of the letter.
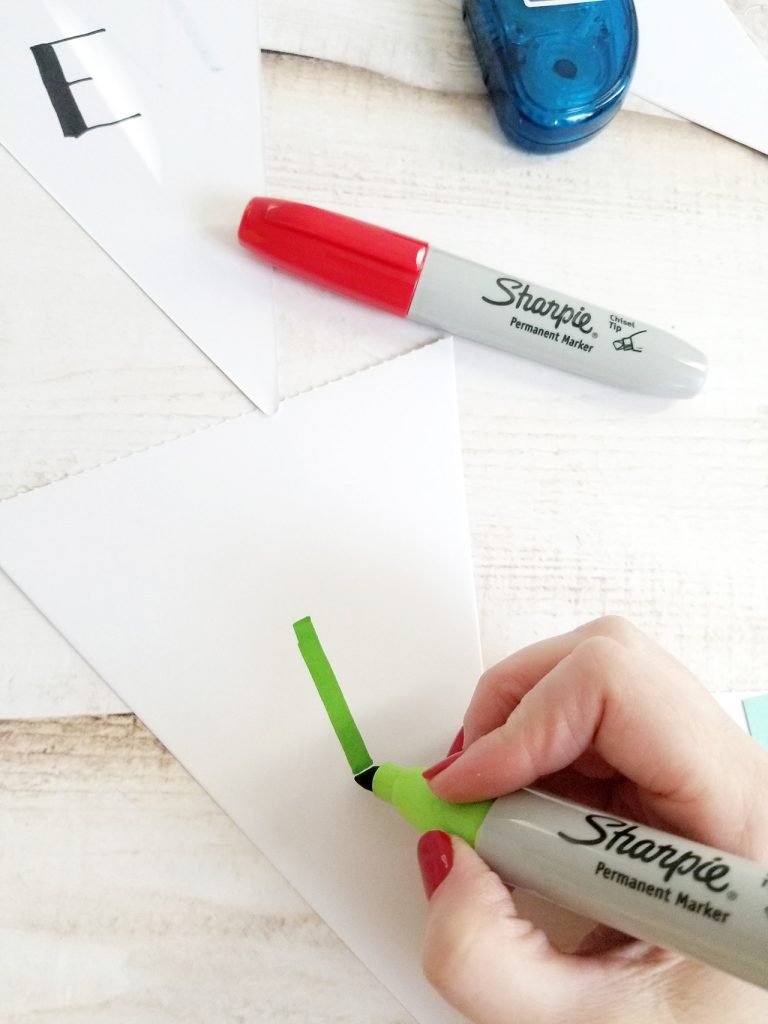
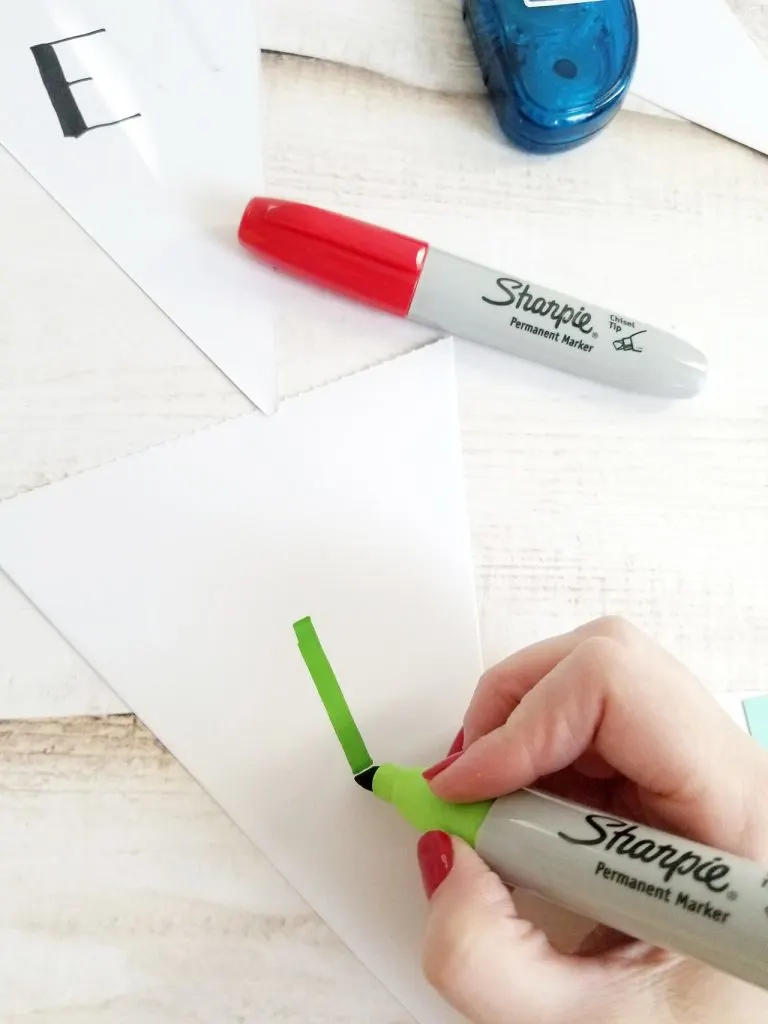
Feel free to practice on some scrap paper first, but the hand-written look of this banner adds to its charm. Then after the letter is drawn, add dots down the left side in other assorted colors.
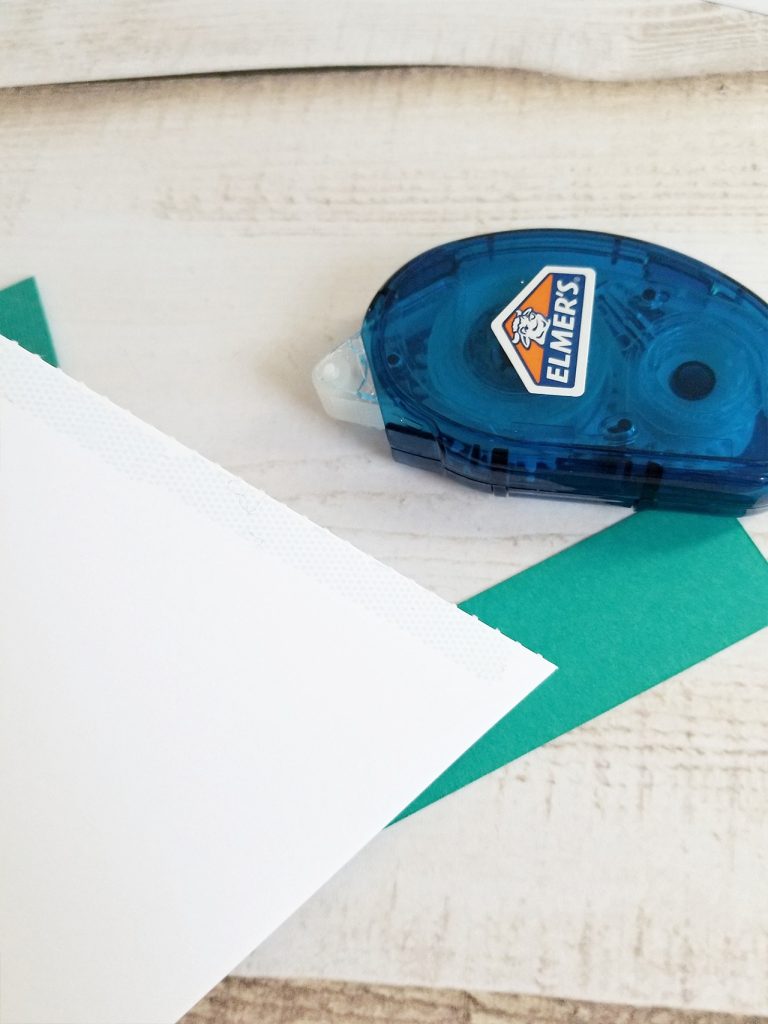
Cut colored cardstock with a paper trimmer into strips about 1 inch wide, and long enough to cover the top of the paper banner pieces. I wanted to cover up the perforated edge at the top of each piece. Adhere with the Elmer’s Dot Runner.

Punch two holes in each banner and use the red string to thread together the word MERRY. Then thread the word BRIGHT separately. This way you can hang one word above the other.
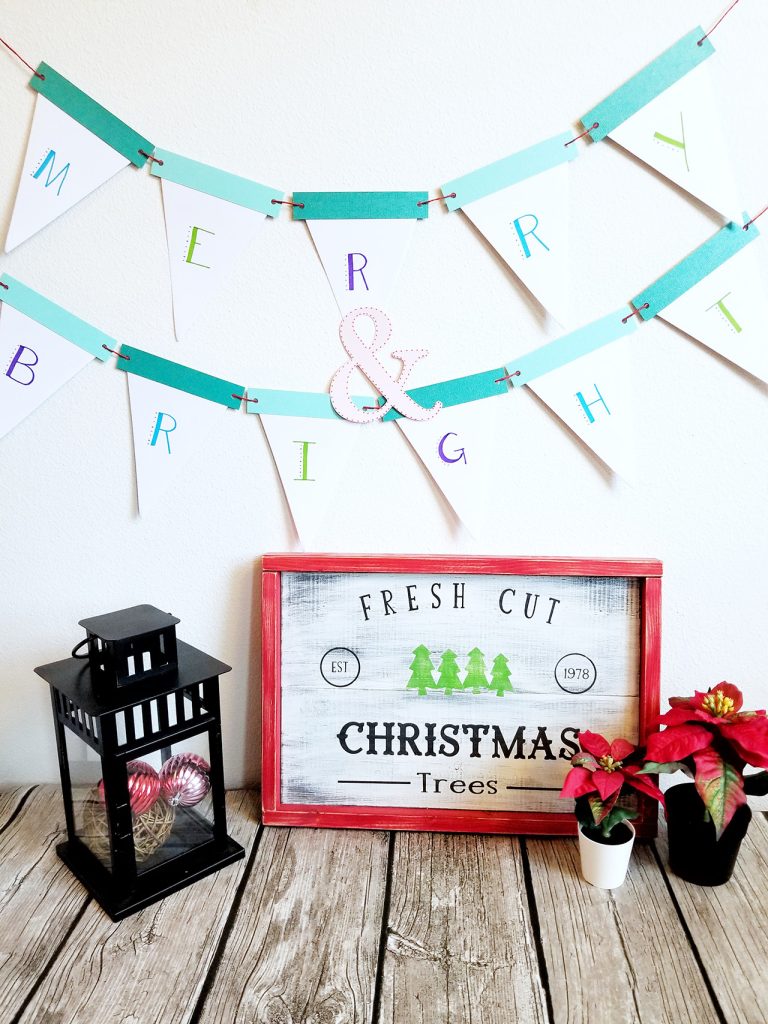
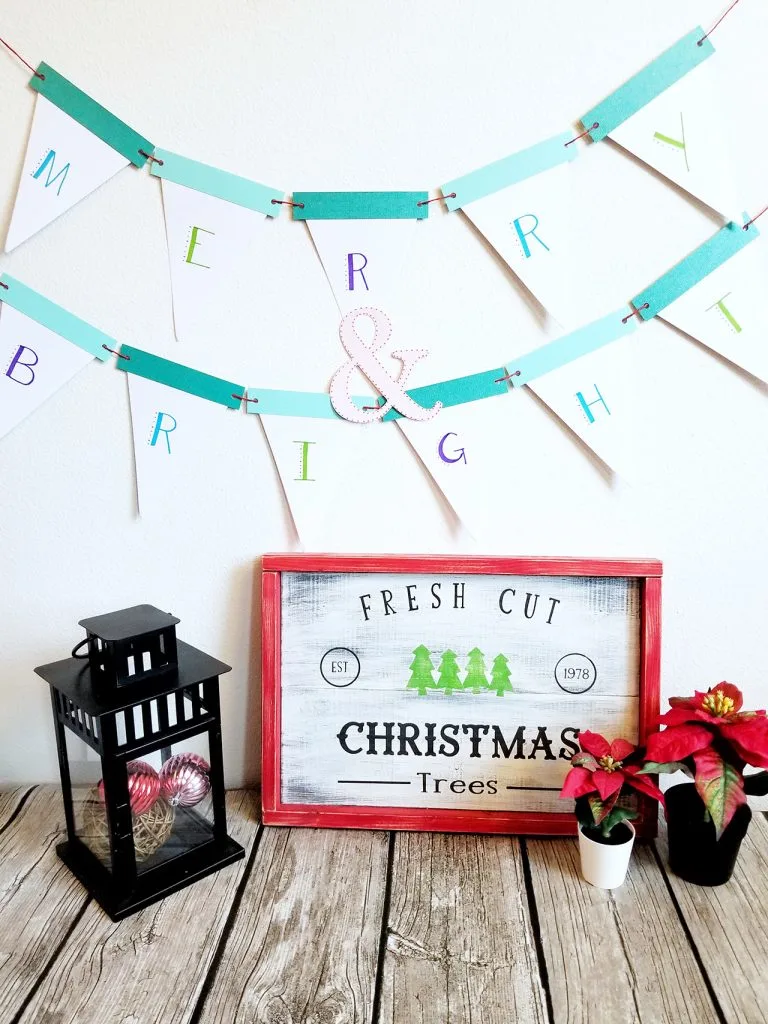
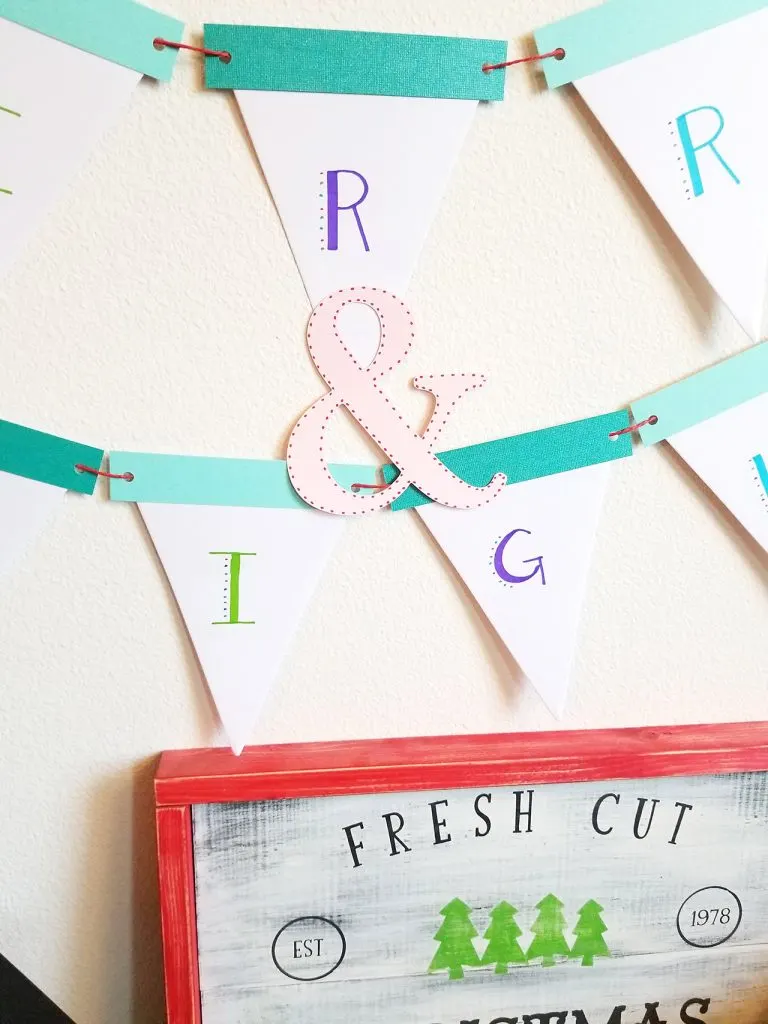
Glue the “&” symbol to the bottom of the word MERRY so that it’s centered in the whole banner.

Add the new banner to favorite Christmas and holiday decor! With this easy craft, great for kids or the beginning crafter, you’ll be heading into the holiday season in style. Since everything you need is available at Michaels, you know the shopping will be easy too!
This post is part of a social shopper marketing insight campaign with Pollinate Media Group® and Newell Brands, but all my opinions are my own. #pmedia #GetCraftyWithSharpie https://my-disclosur.es/OBsstV
Alissa
Monday 19th of November 2018
What a fun craft idea! I need to make one of these for our home to hang above my Christmas cards!