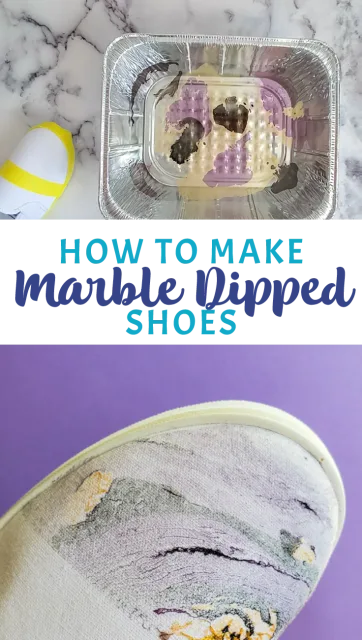
This Marabu Easy Marble shoes tutorial is brought to you by Darice Crafts. All thoughts and opinions are my own.
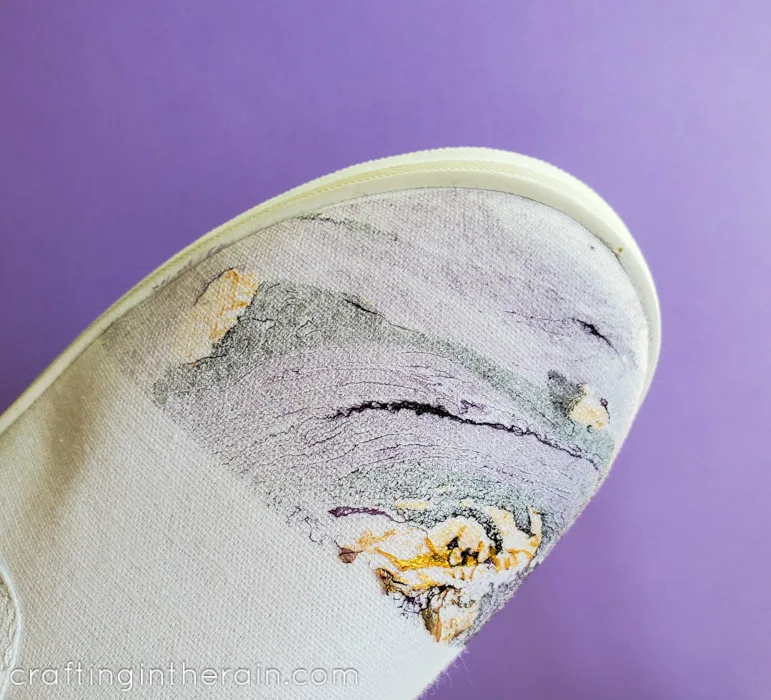
With marble craft projects and home decor still being so popular, I wanted to try making marble shoes. I purchased cheap, blank, canvas shoes to decorate.
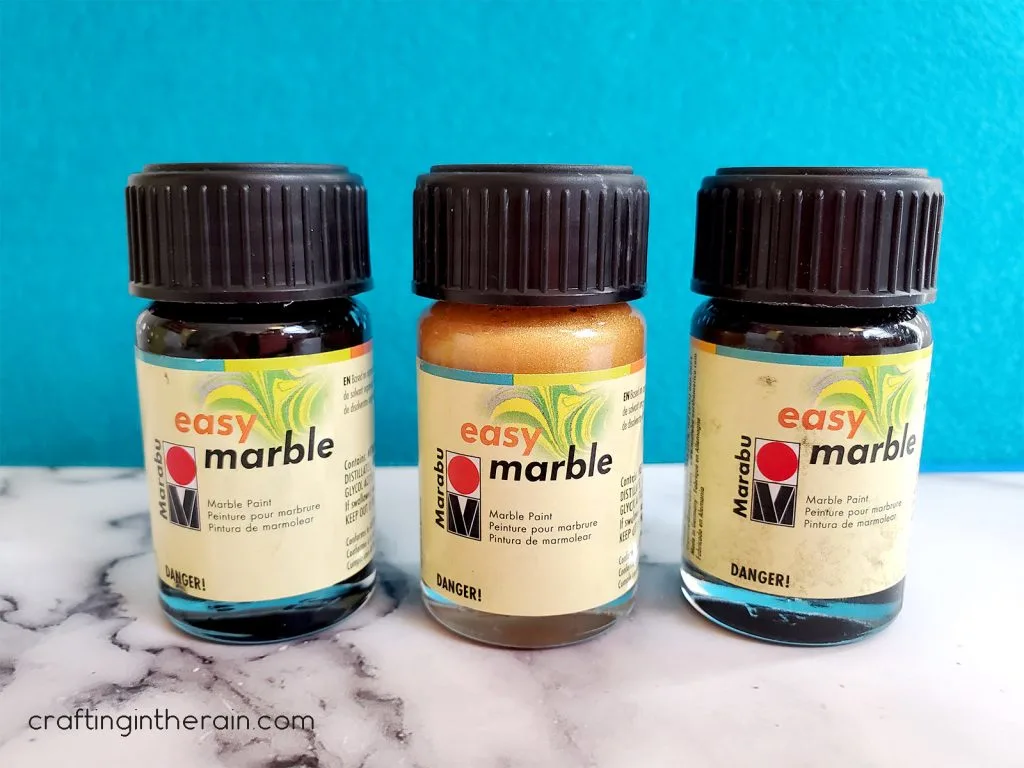
Supplies:
- Marabu Easy Marble (Black, Gold, Amethyst)
- Glass bowl (for non-food use) or Disposable roasting pan
- Skewers
- Cardstock squares
- Tape
- Gloves
- Canvas shoes
Prep shoes for marbling
Start by taping off the toe of the shoe. Cover the sides of the sole so that they will stay white even after marbling.
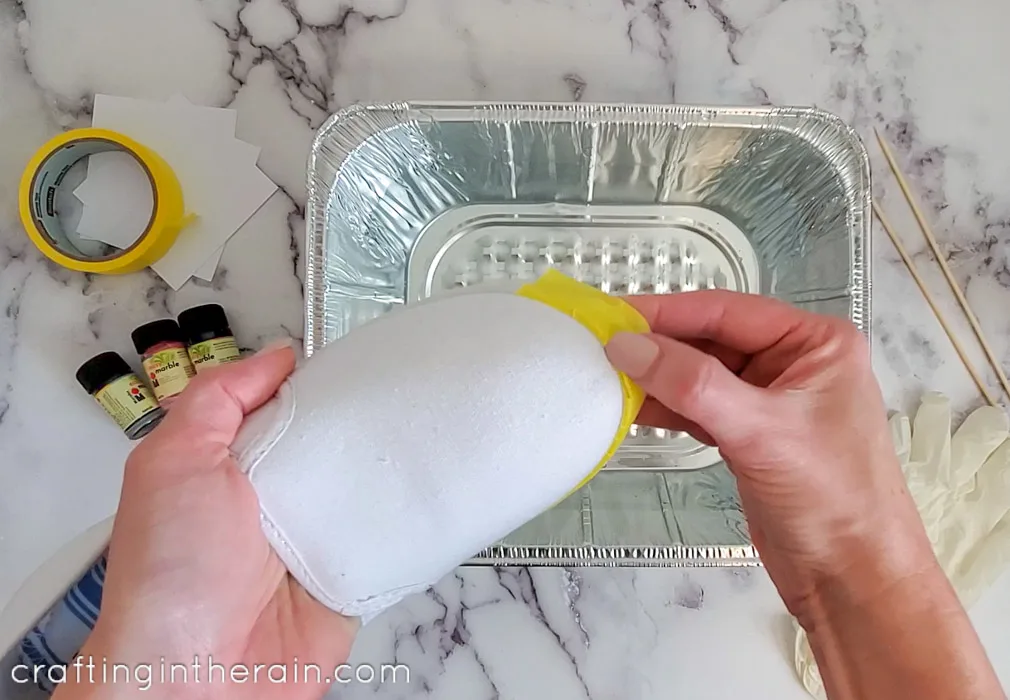
Tape a straight line from one side of the toe to the other. This will create a nice straight line that would be difficult to achieve otherwise, even with careful dipping.
Marbling shoes with Easy Marble
Shake each Marabu Easy Marble color well.
Fill the bowl or pan with enough cool water that the front of the shoe can dip into it far enough.
Add a few drops of each color to the water. It will float on top and spread a little.
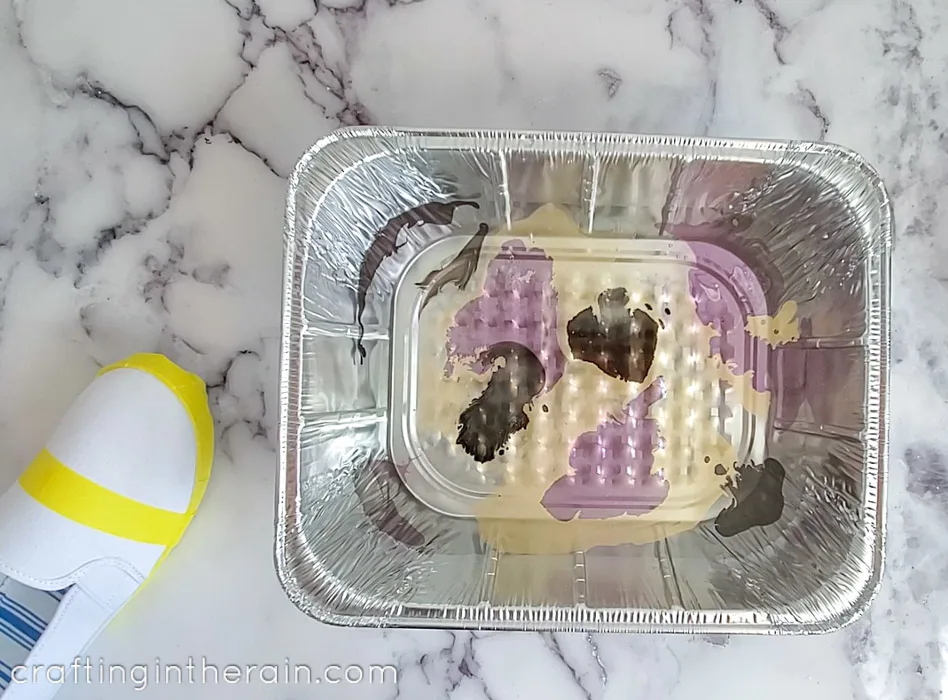
To create the marble pattern on the surface, quickly drag a skewer through the colors in a side-to-side then up-and-down motion.
Wearing gloves, dip the front of the shoe into the water using a slight rolling motion.
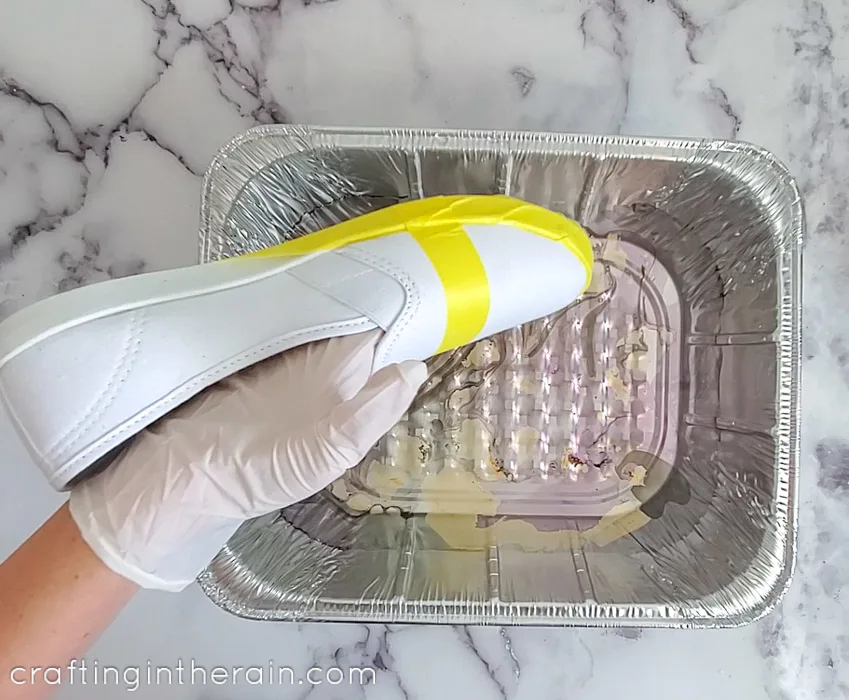
Move the extra color out of the way with a piece of cardstock before lifting the shoe back out. Skipping this step result in a second layer of marbeling that looks messy.
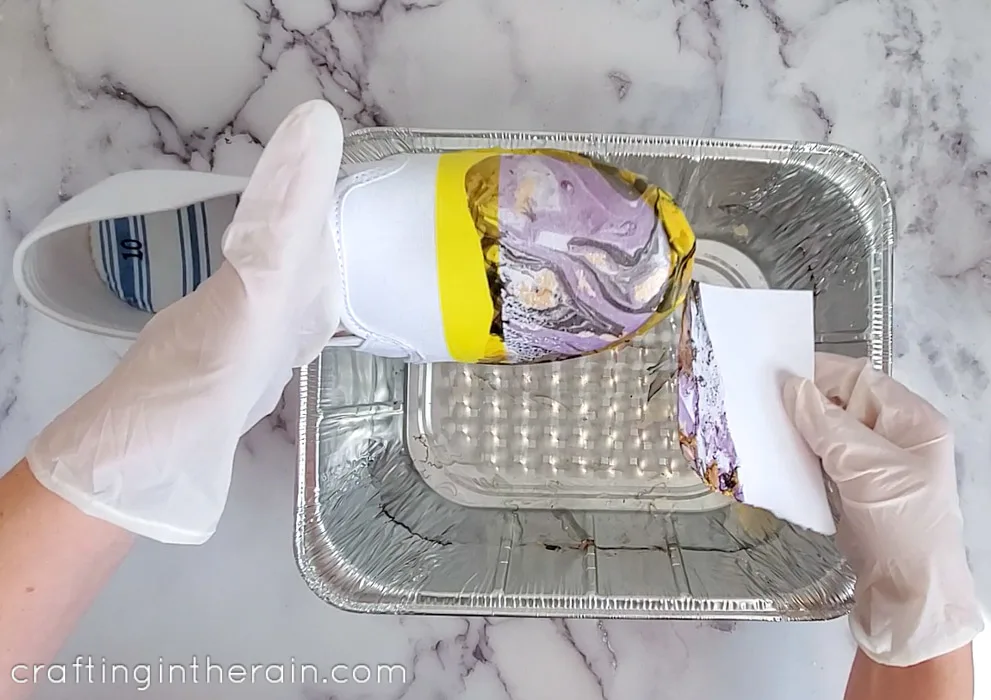
Set the shoe aside on a protected surface.
Clean up the rest of the water surface with cardstock. Then add more drops of Marabu Easy Marble to dip the second shoe.
Water must be cleaned and new paint added for each dip to get the best results.
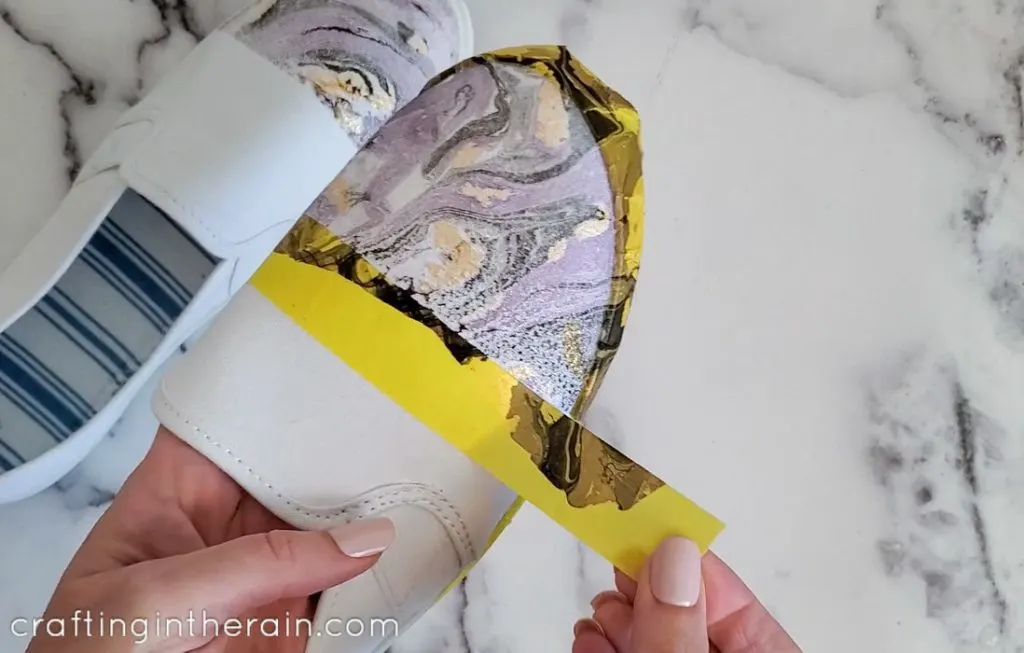
After drying for about an hour, remove the tape and let the shoes finish drying.
Other marble ideas
This Easy Marble shoes tutorial can be used to marble other objects as well. Consider paper, vases, plant containers, picture frames, clipboards, jewelry and more.
Smooth surfaces will generally take the marbeling better.
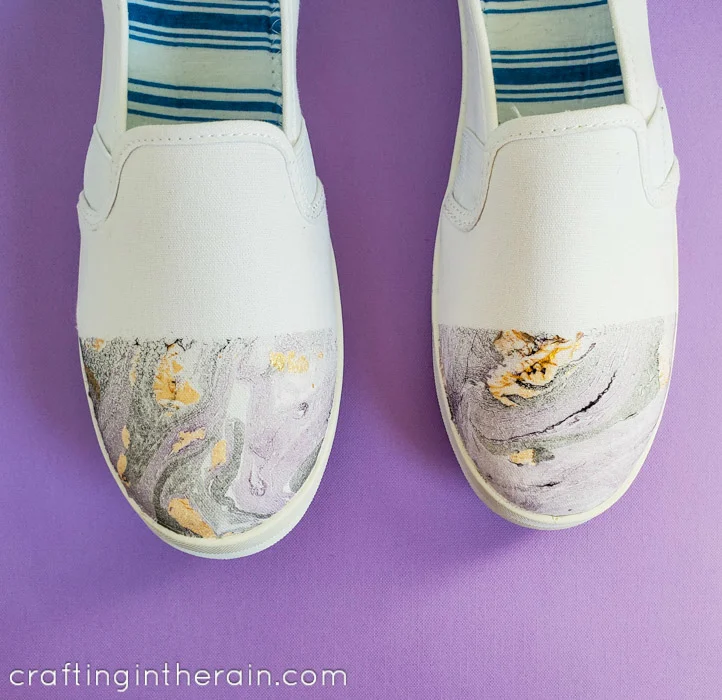
These canvas shoes, being fabric, had the slightest bit of “fuzzinesss” to them – and the affected the swirl design just a little in a couple of places.
I hope you’ll try a Marabu Easy Marble project. I recommend starting with dipping one or two pieces of cardstock so you can practice getting the material in and out of the water. That way you’ll be happy with your actual item!
