This is a sponsored post written by me on behalf of The Duck Brand. All opinions are 100% mine.
Are the temperatures dropping at your house yet? They are here, and we’ve had frost on car windshields a couple of mornings. We don’t get as cold as some places of course. I grew up in Idaho, so a Pacific Northwest winter is much milder.
But I can still notice when chilly air starts to seep in at the windows, and you probably can too. Again, being in the Northwest, we crave outdoor light any time we can get it, so I never want to cover up any windows with anything dark and heavy.

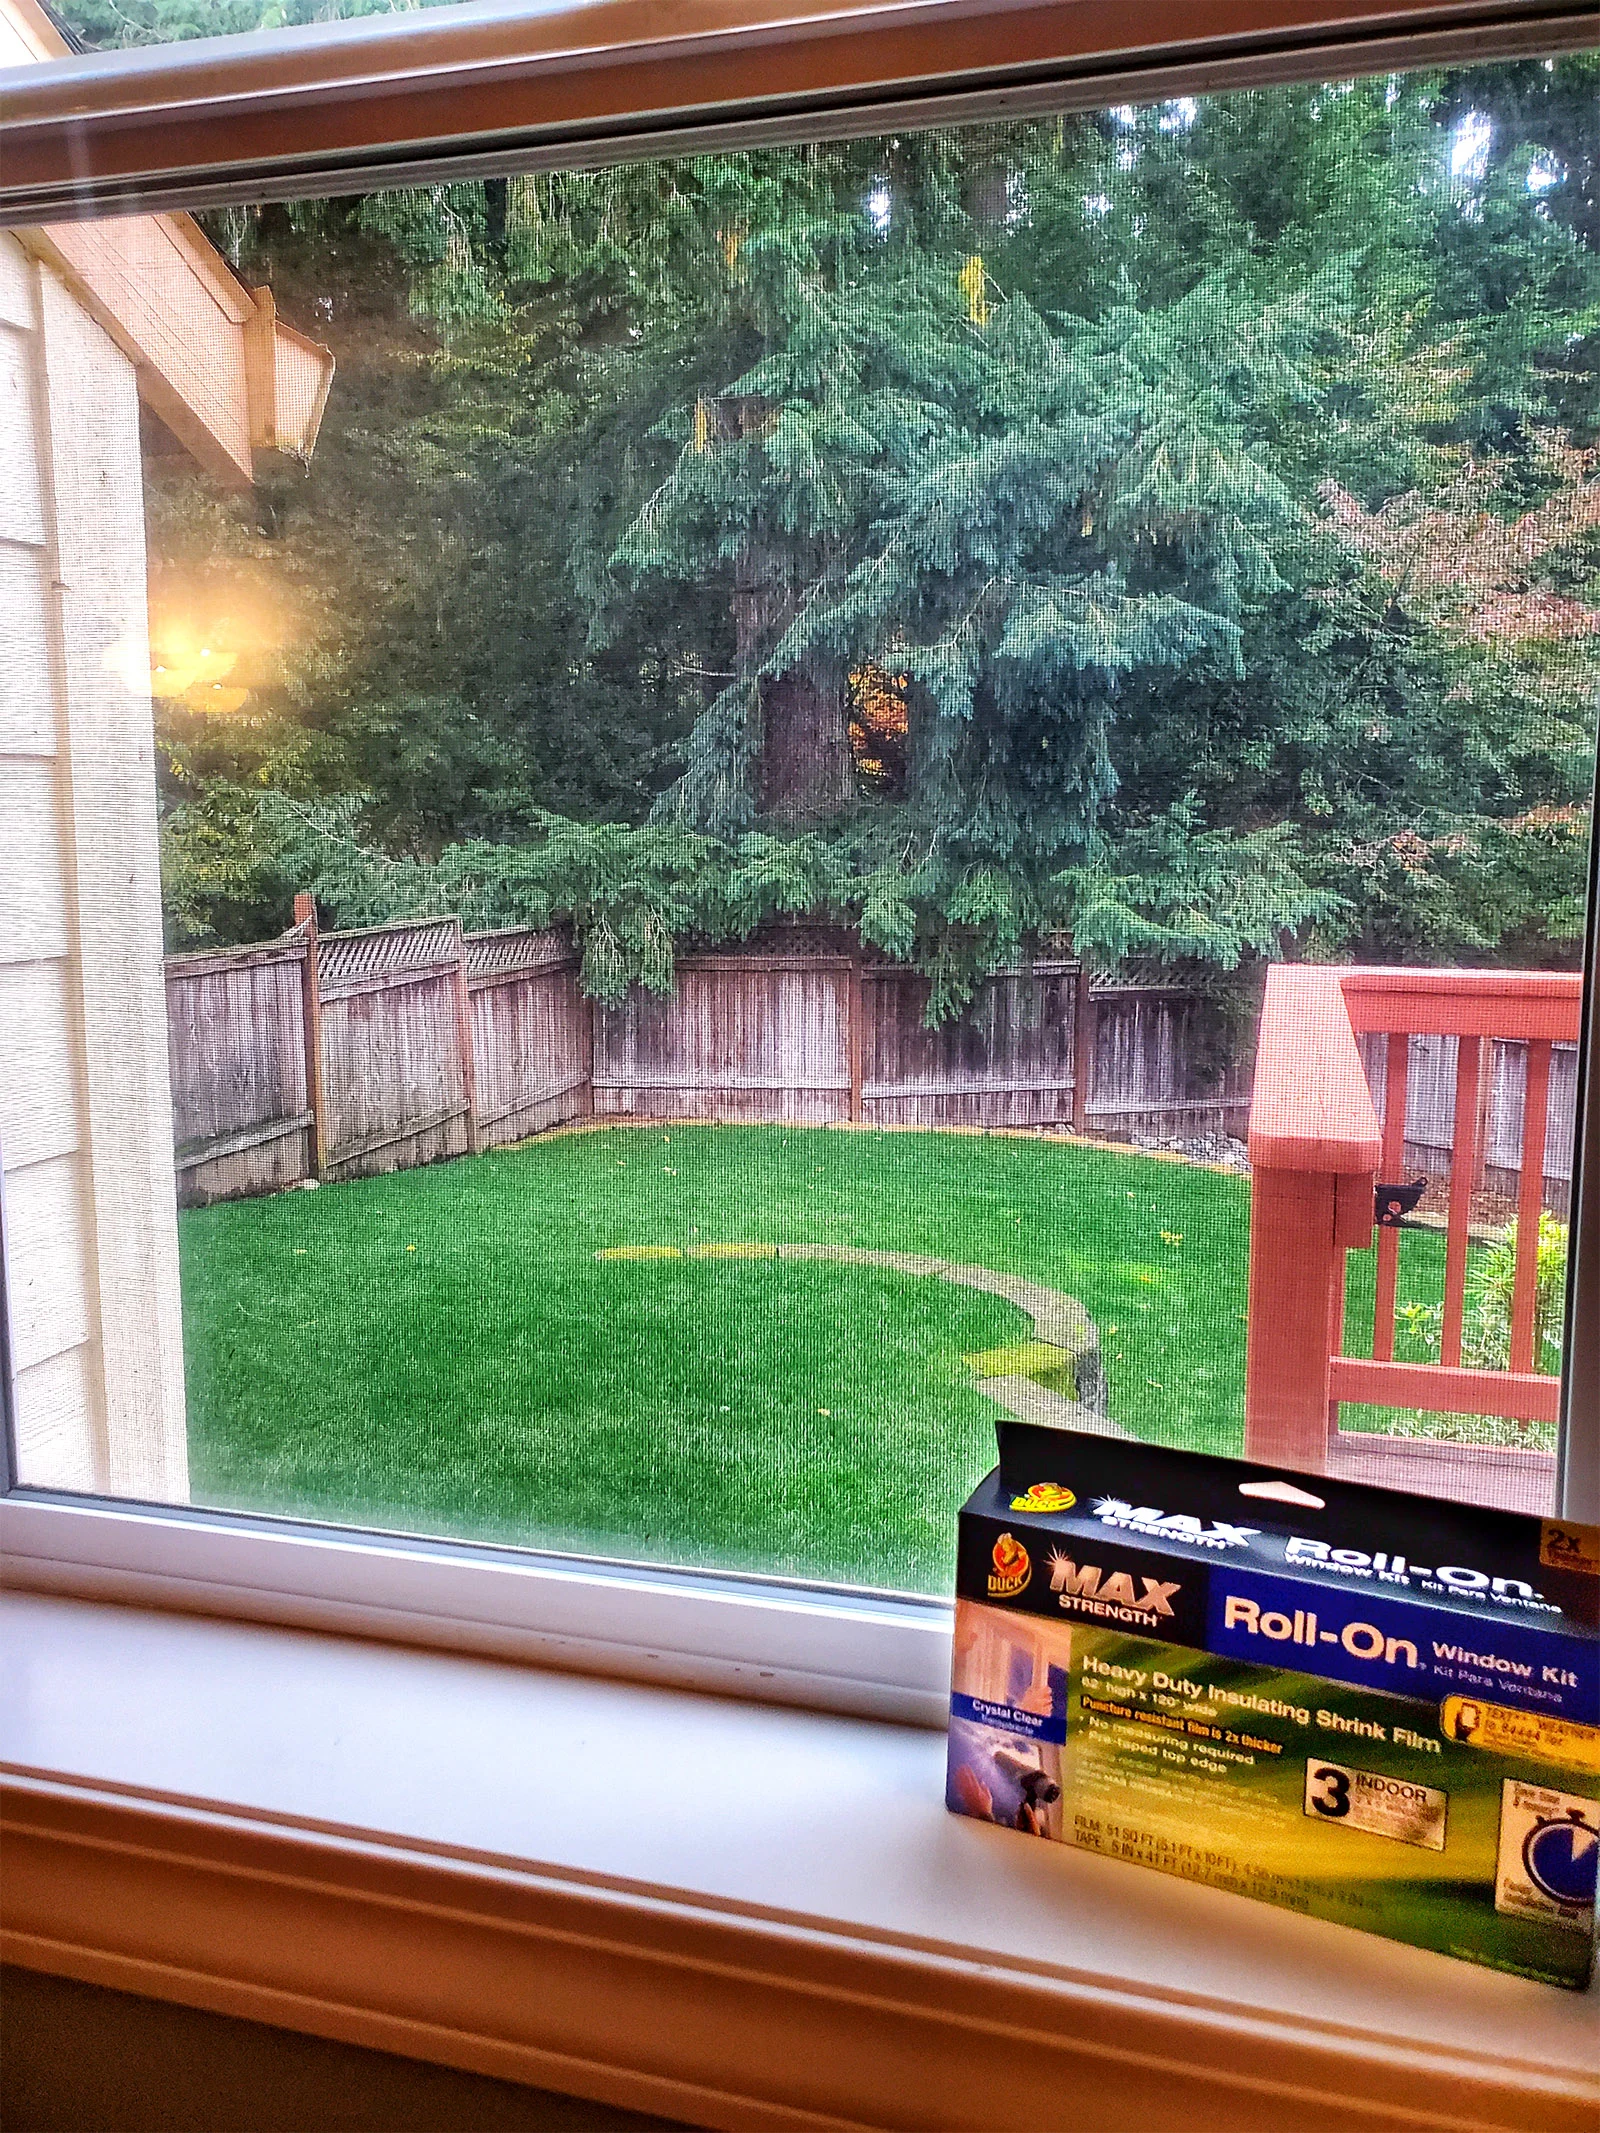
We’ve got a solution though with Duck Max Strength Roll-On Window Kit. If you have any windows in your house that you feel are letting in the cold, you’ll want to read about this.
Duck Max Strength Roll-On Window Kit has a thicker film making it easier to install. In just a few convenient steps, I will show you how to use the kit to block drafts and air leaks that can lead to high heating costs during the winter.
The kit includes 51 square feet of film and a roll of tape measuring 41 feet long. Detailed instructions are also included.
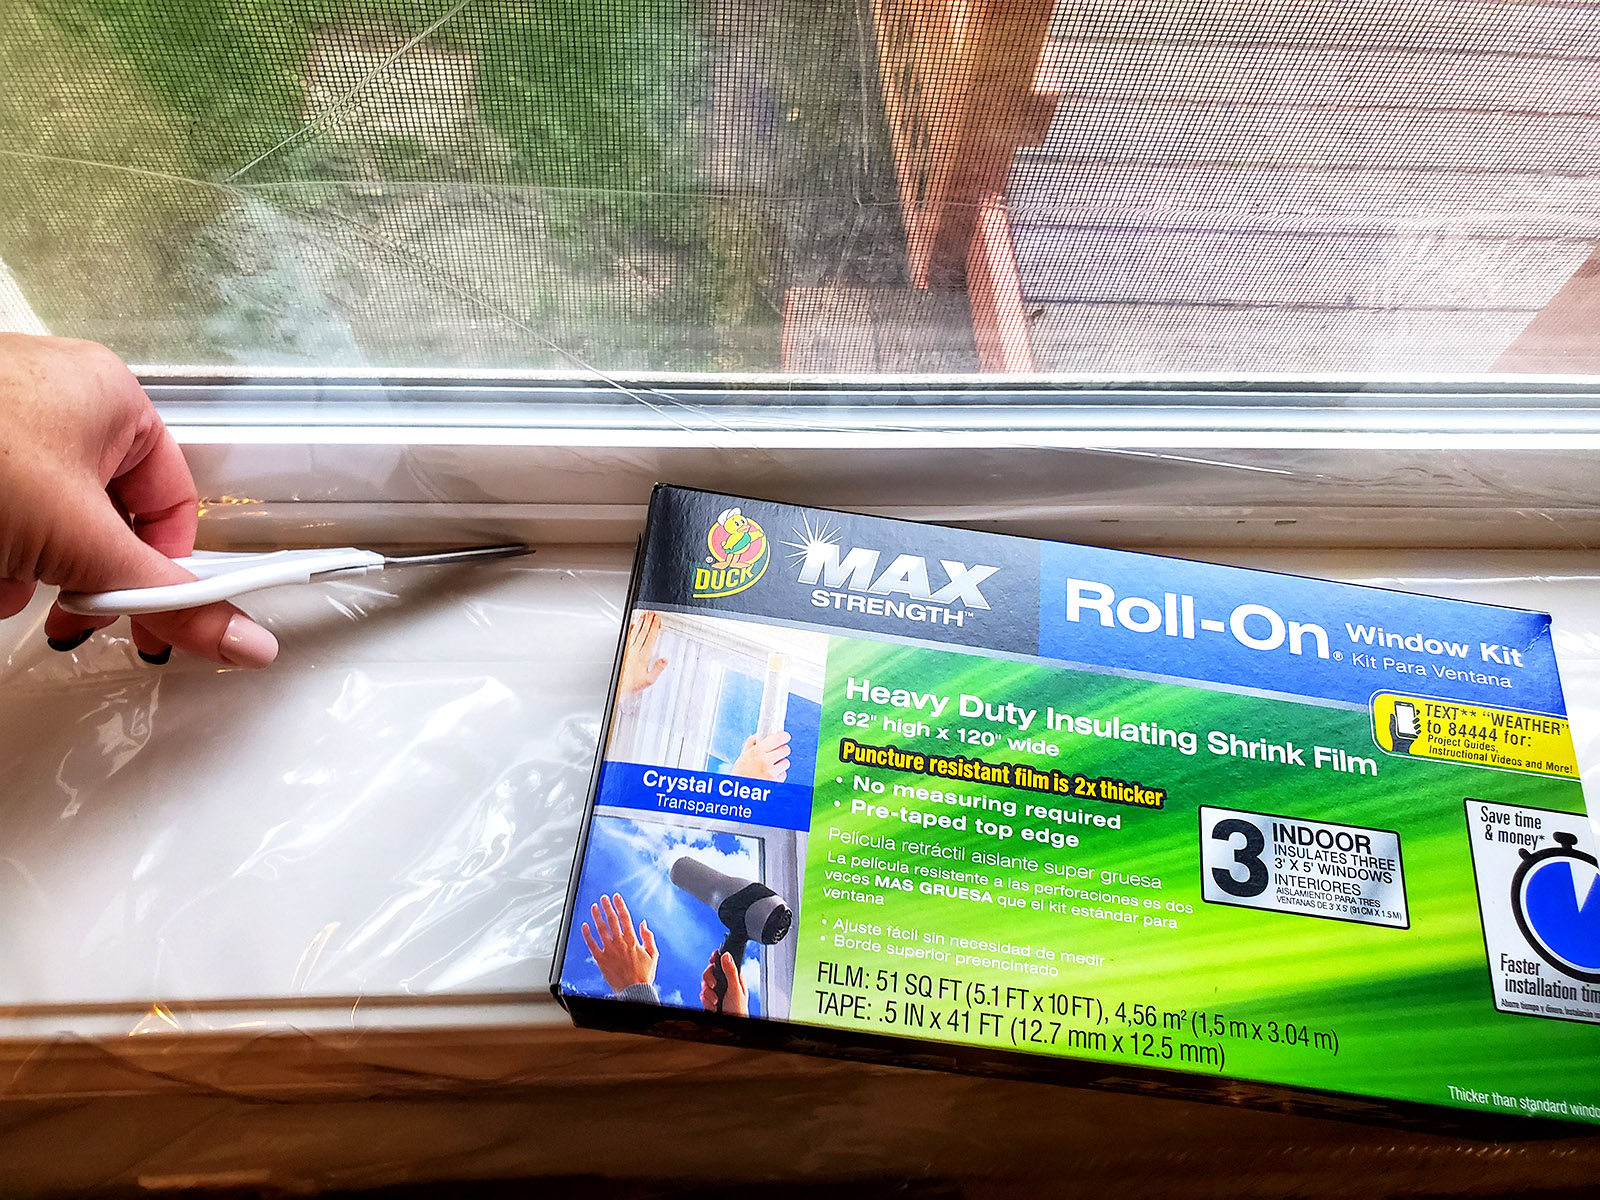
In addition to the kit, available at Walmart, you will need rubbing alcohol, scissors, and a hair dryer.
Start by making sure the window is clean and dry. Wipe window surface with rubbing alcohol. Go ahead and use the hair dryer to be sure the window has dried completely.
Step 1: Apply tape and roll of film
If the window area feels cold where the tape will go, warm it up a bit with the hair dryer. This will help the tape stick better now, and all winter.
Press the tape firmly with your finger, or even a dry cloth to get good contact.
To attach the actual film, start in the top left corner of the window and press the sticky tape across the top of the window. Leave a 2-inch overhang on the right and the left sides.
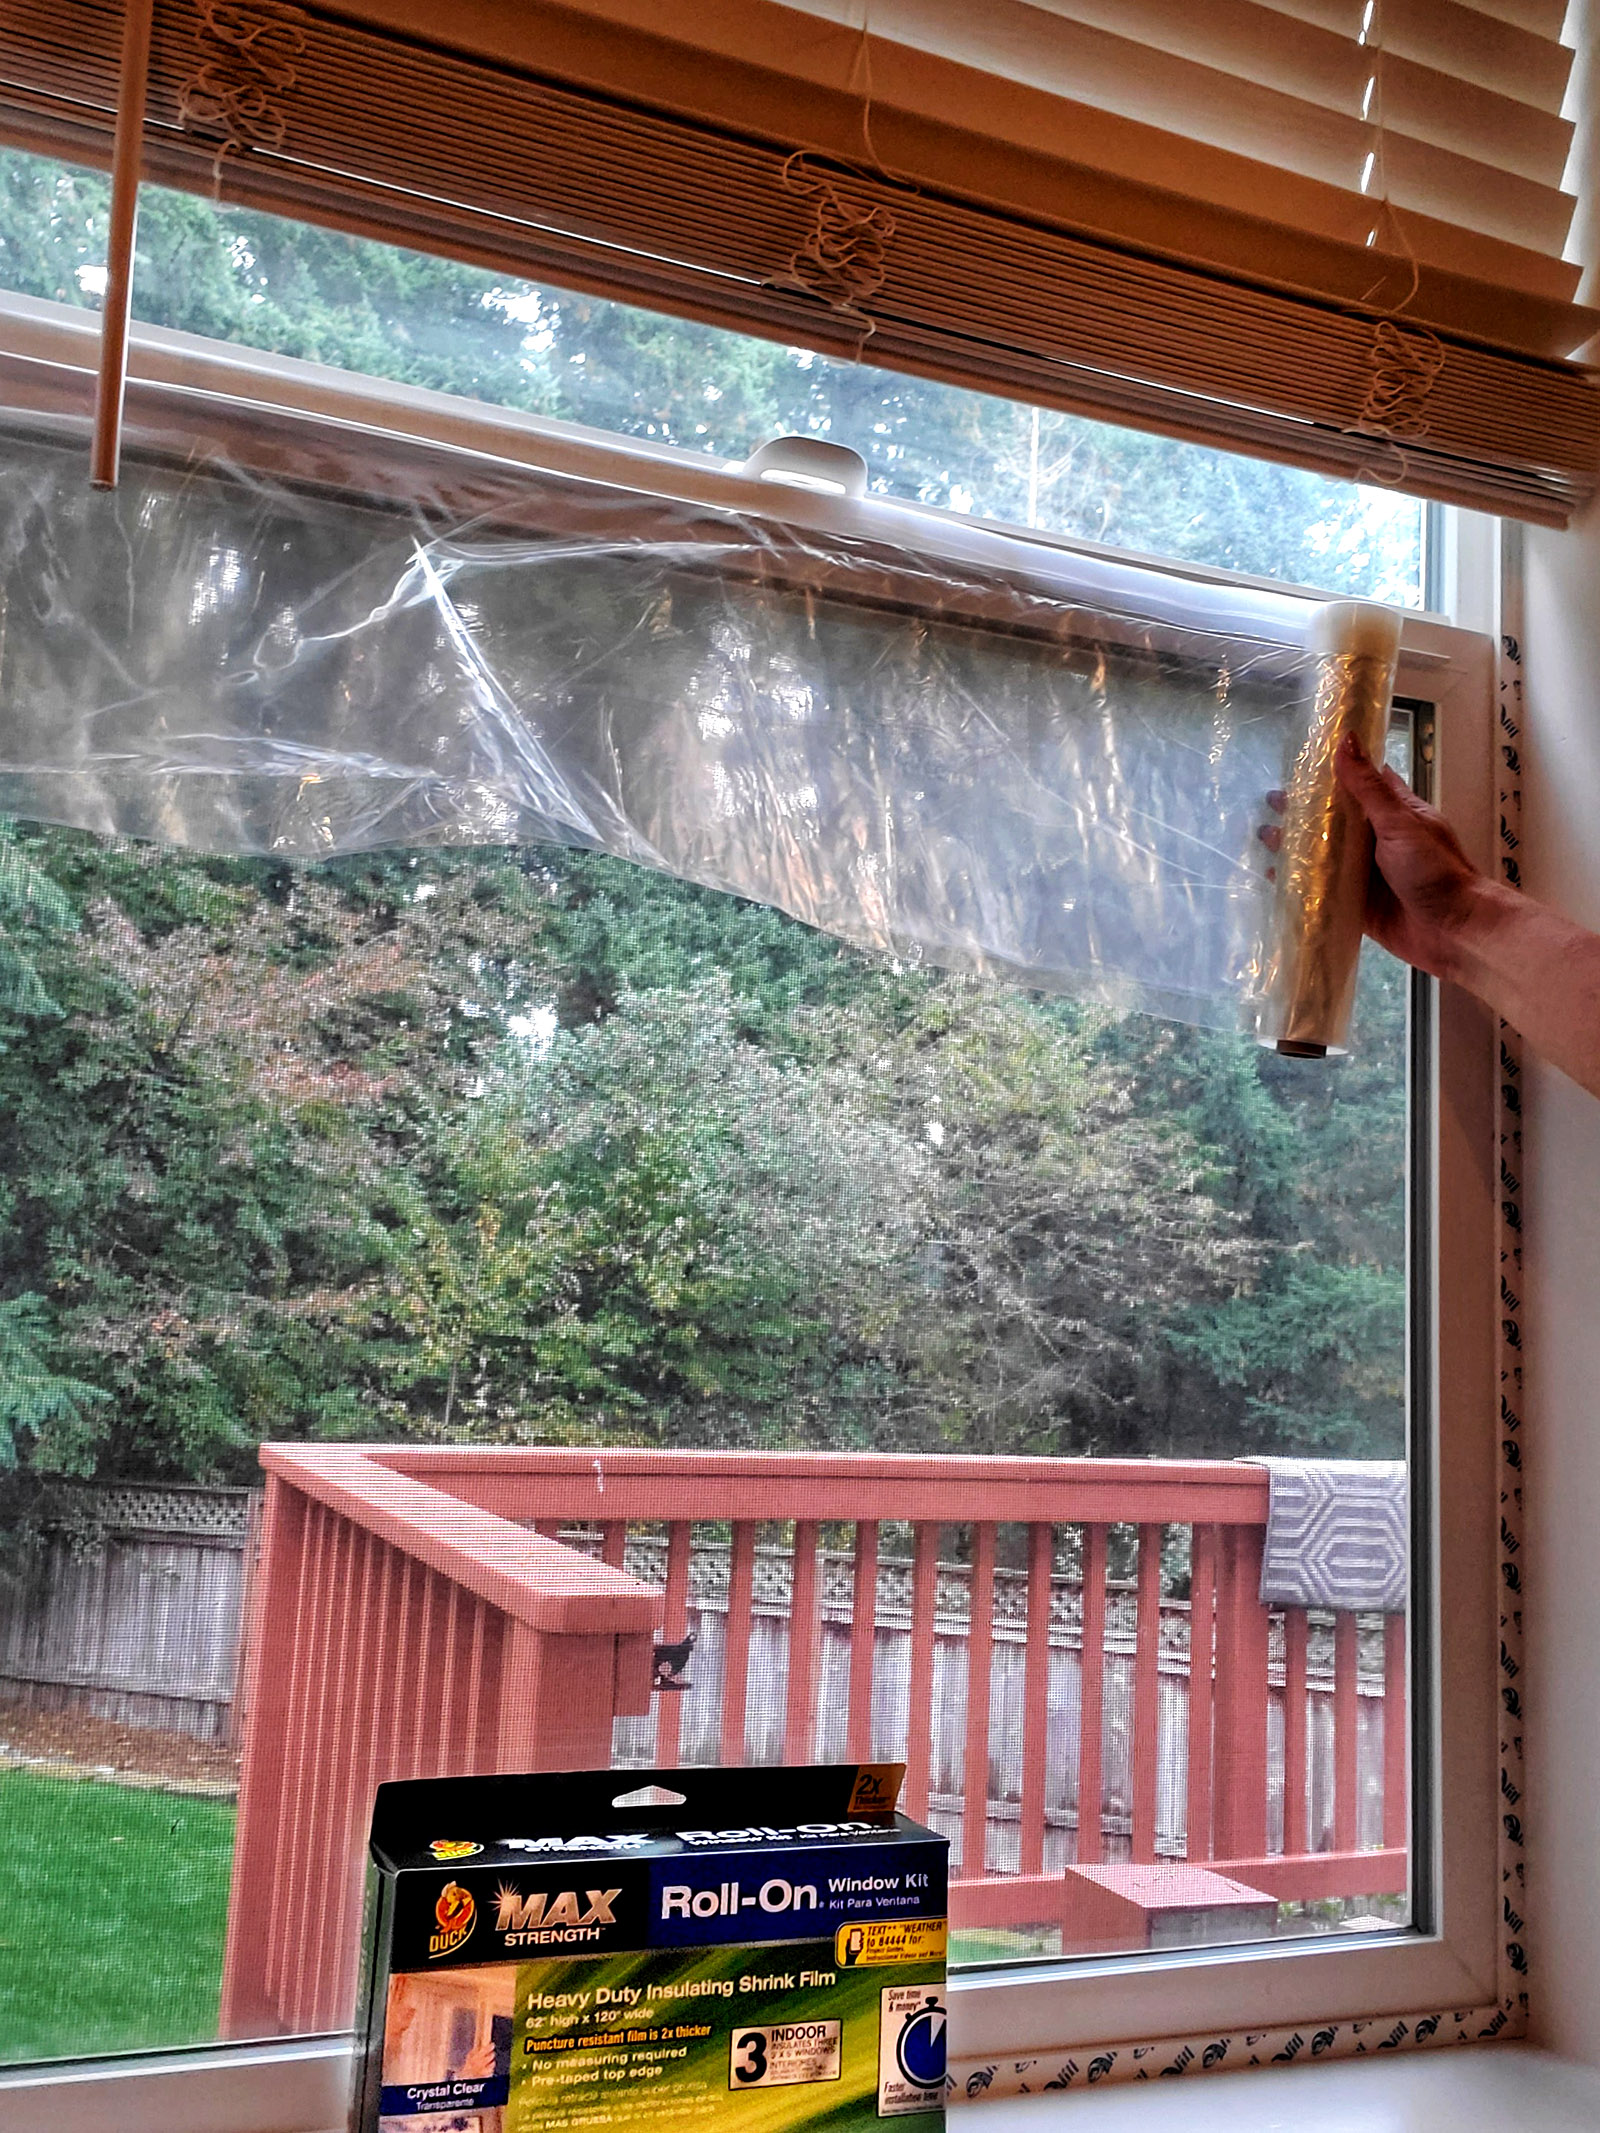

Now the tape liner can be removed from the sides and bottom tape strips.

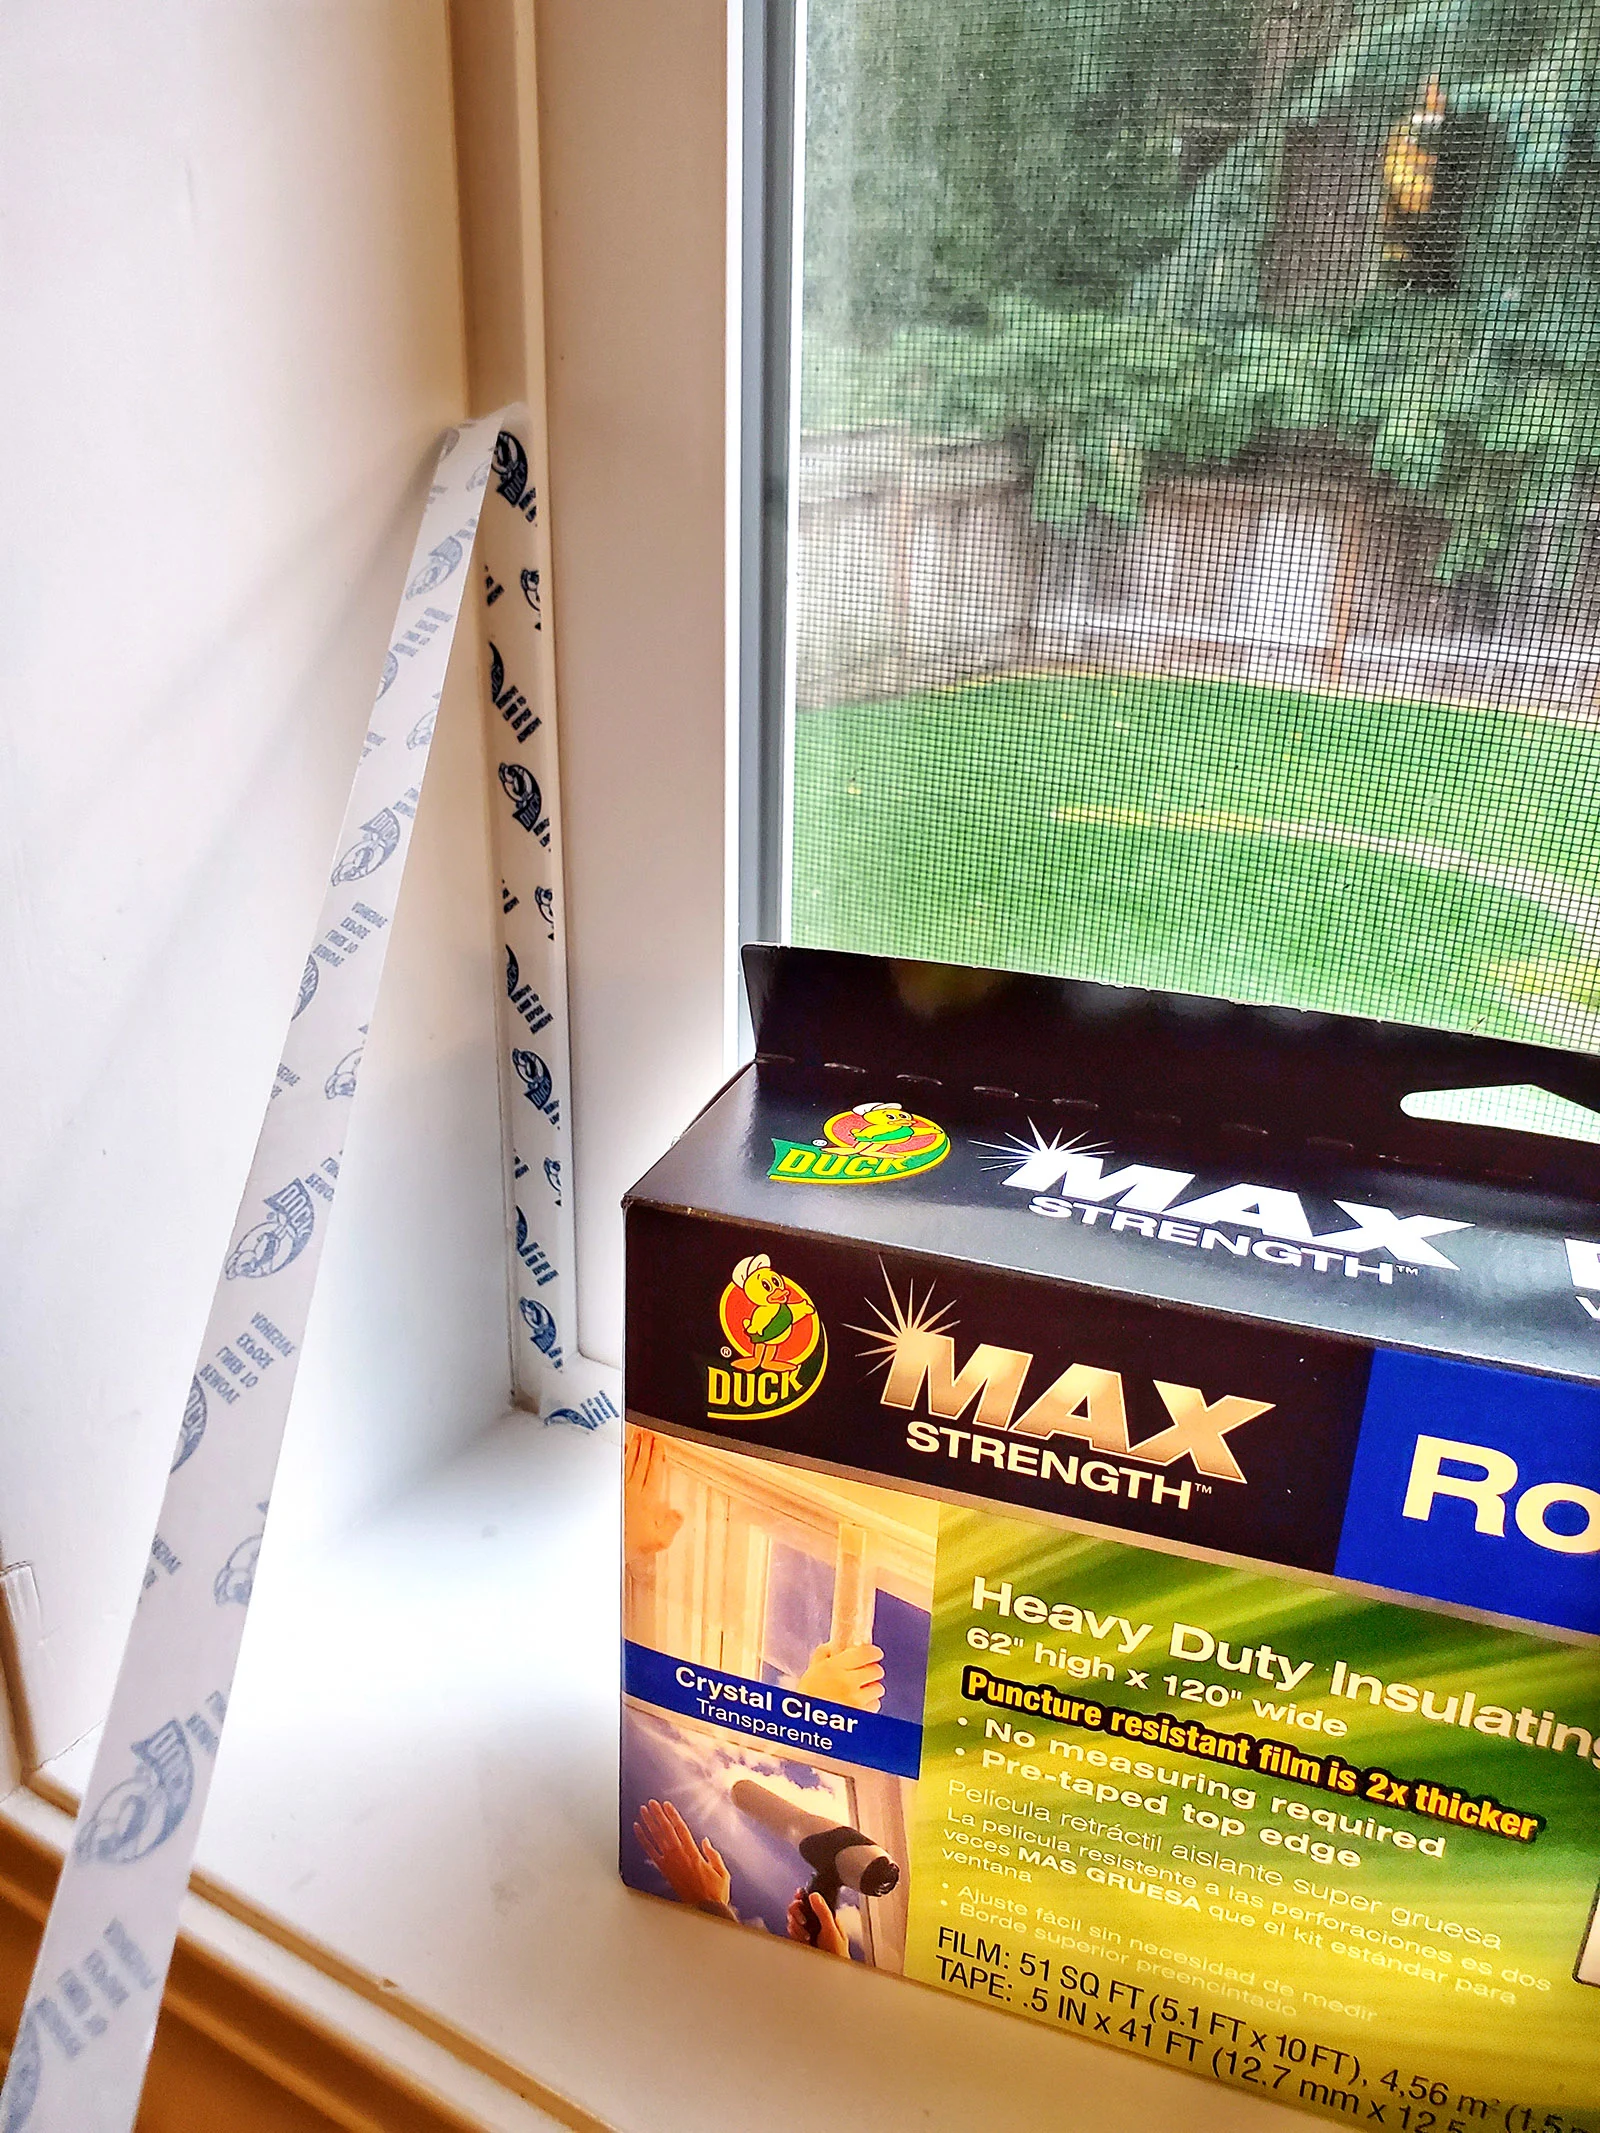
Step 2: Unfold the film
Unfold the film and lightly press into place on the tape. Reposition any film if needed to remove wrinkles. Once the film is positioned correctly, press it firmly onto the tape.
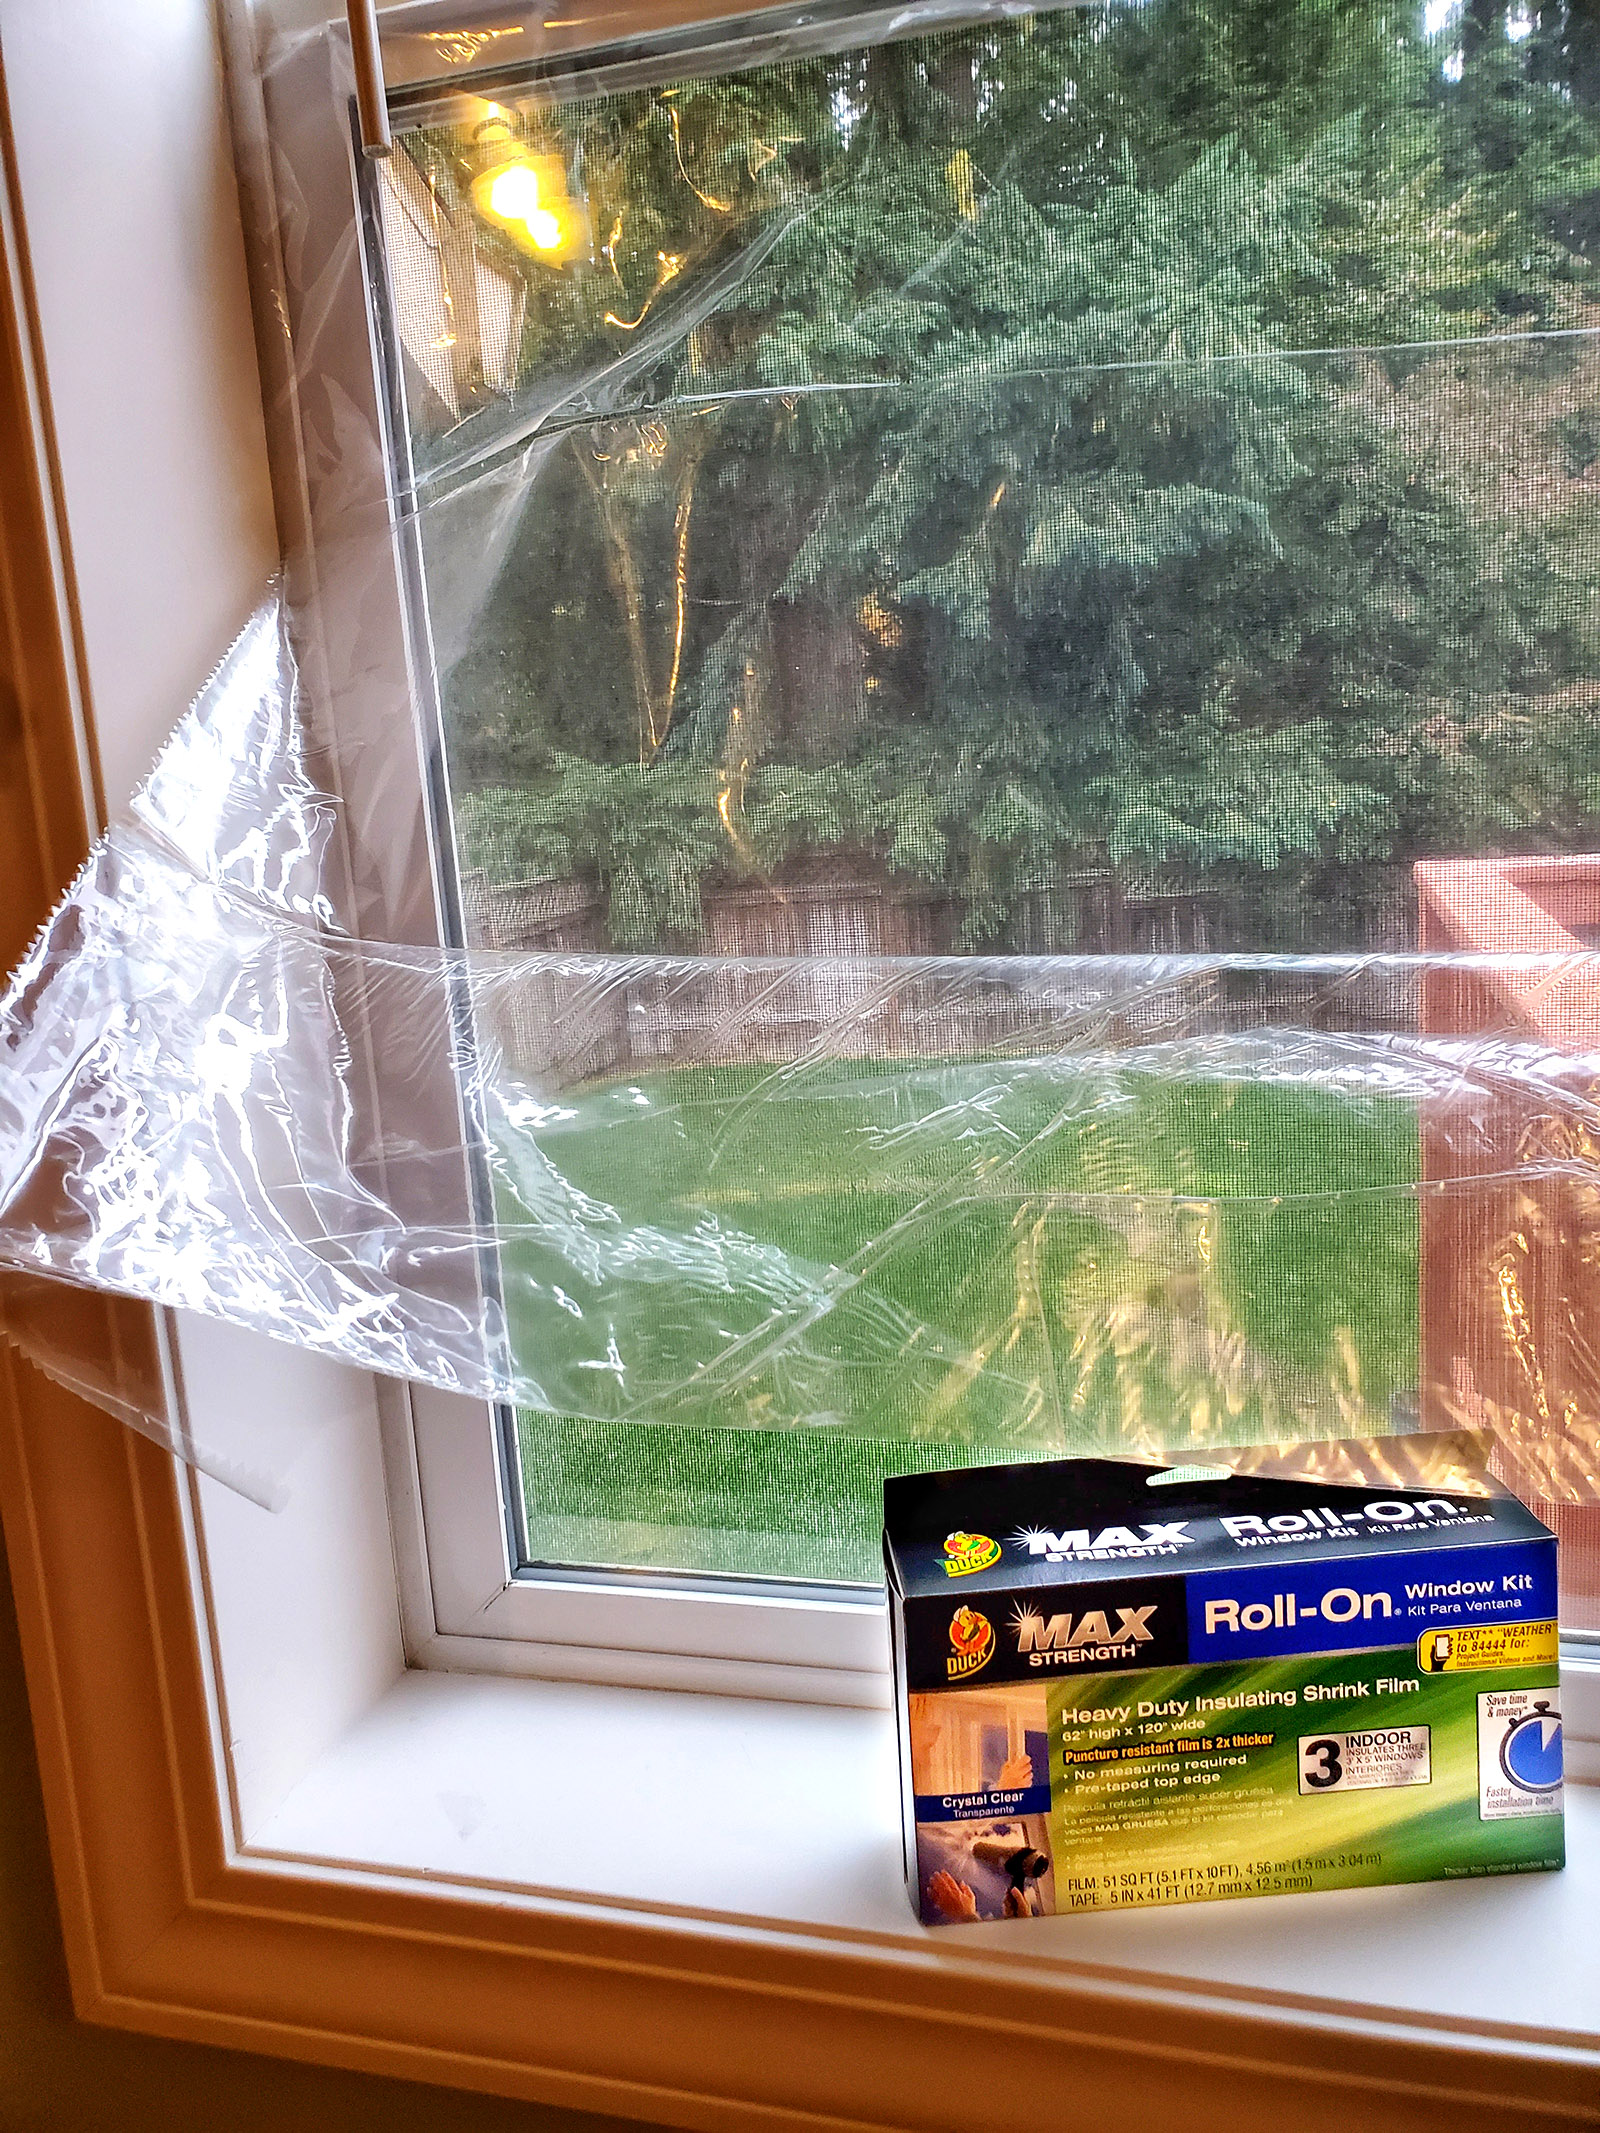

Step 3: Shrink
Use the hair dryer to shrink the film and insulate the window. This process will also remove any remaining wrinkles.
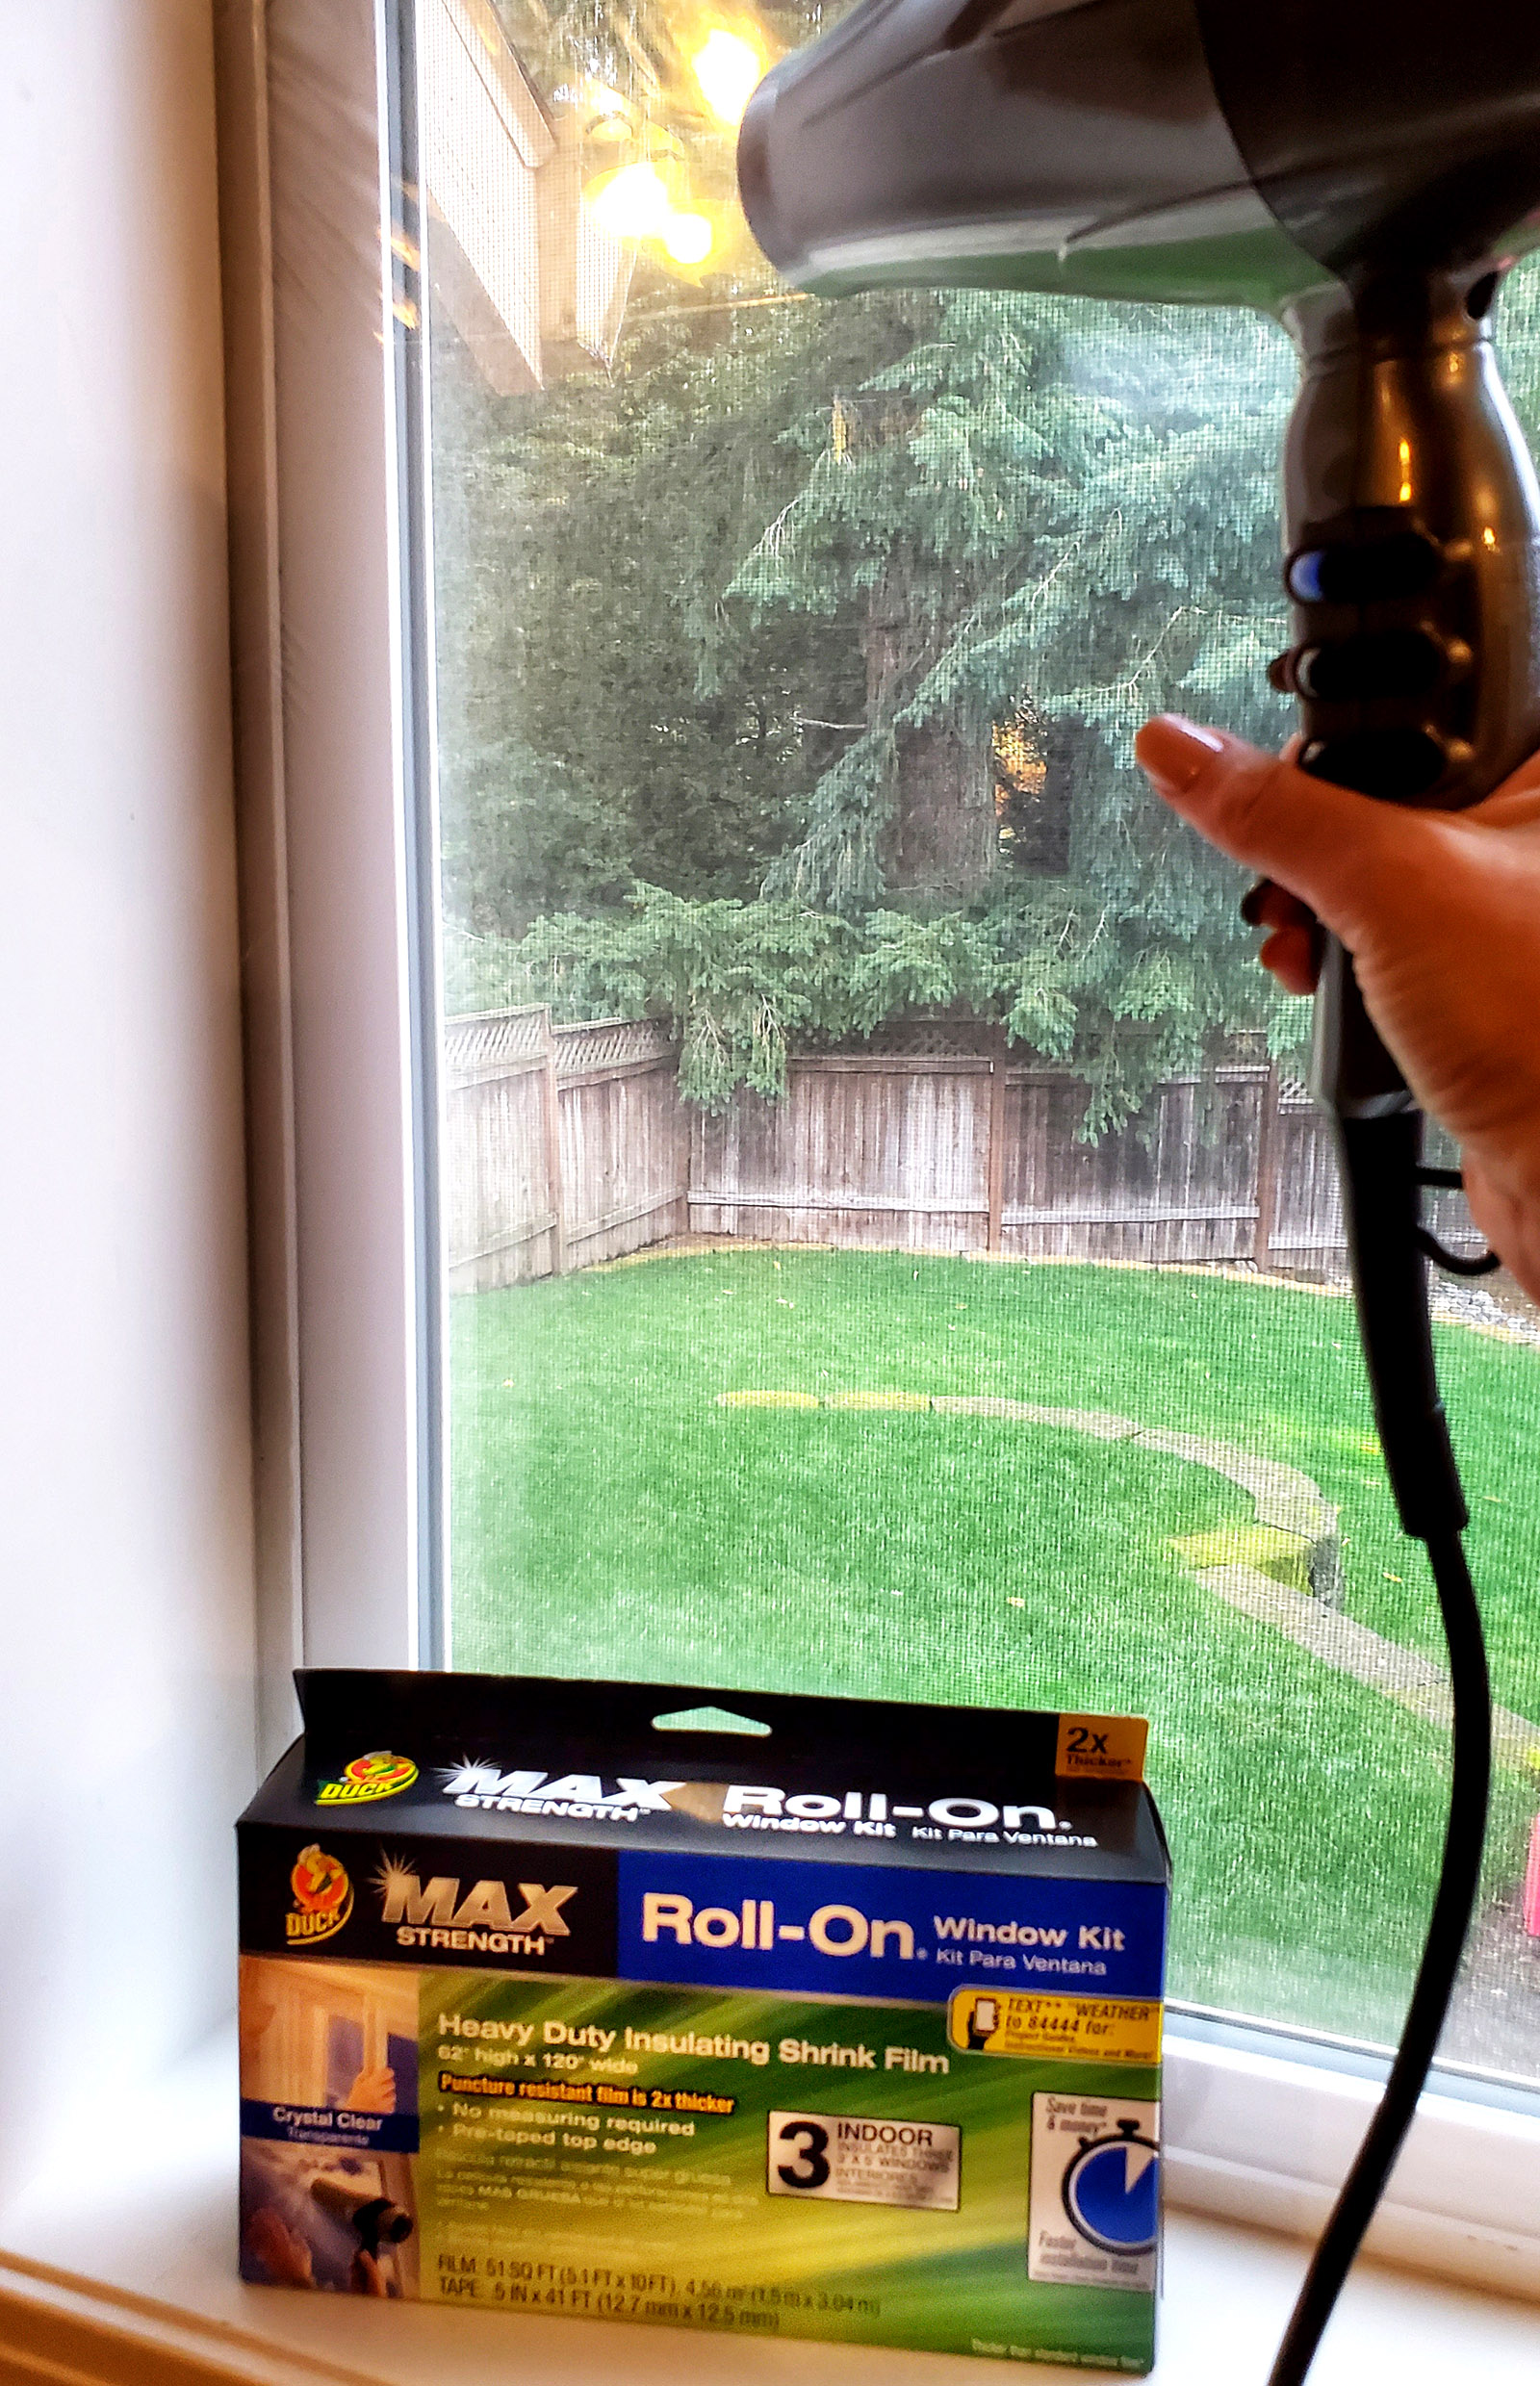

For best results, keep the hair dryer 1-2 inches from the film. Heat for 30-60 seconds and do not touch the film with the dryer or overshrink the film.
Trim any excess film with scissors or a protected razor blade.

The Duck Max Strength Roll-On Window Kit film is puncture resistant, making it great for homes with kids or pets (we have both!)
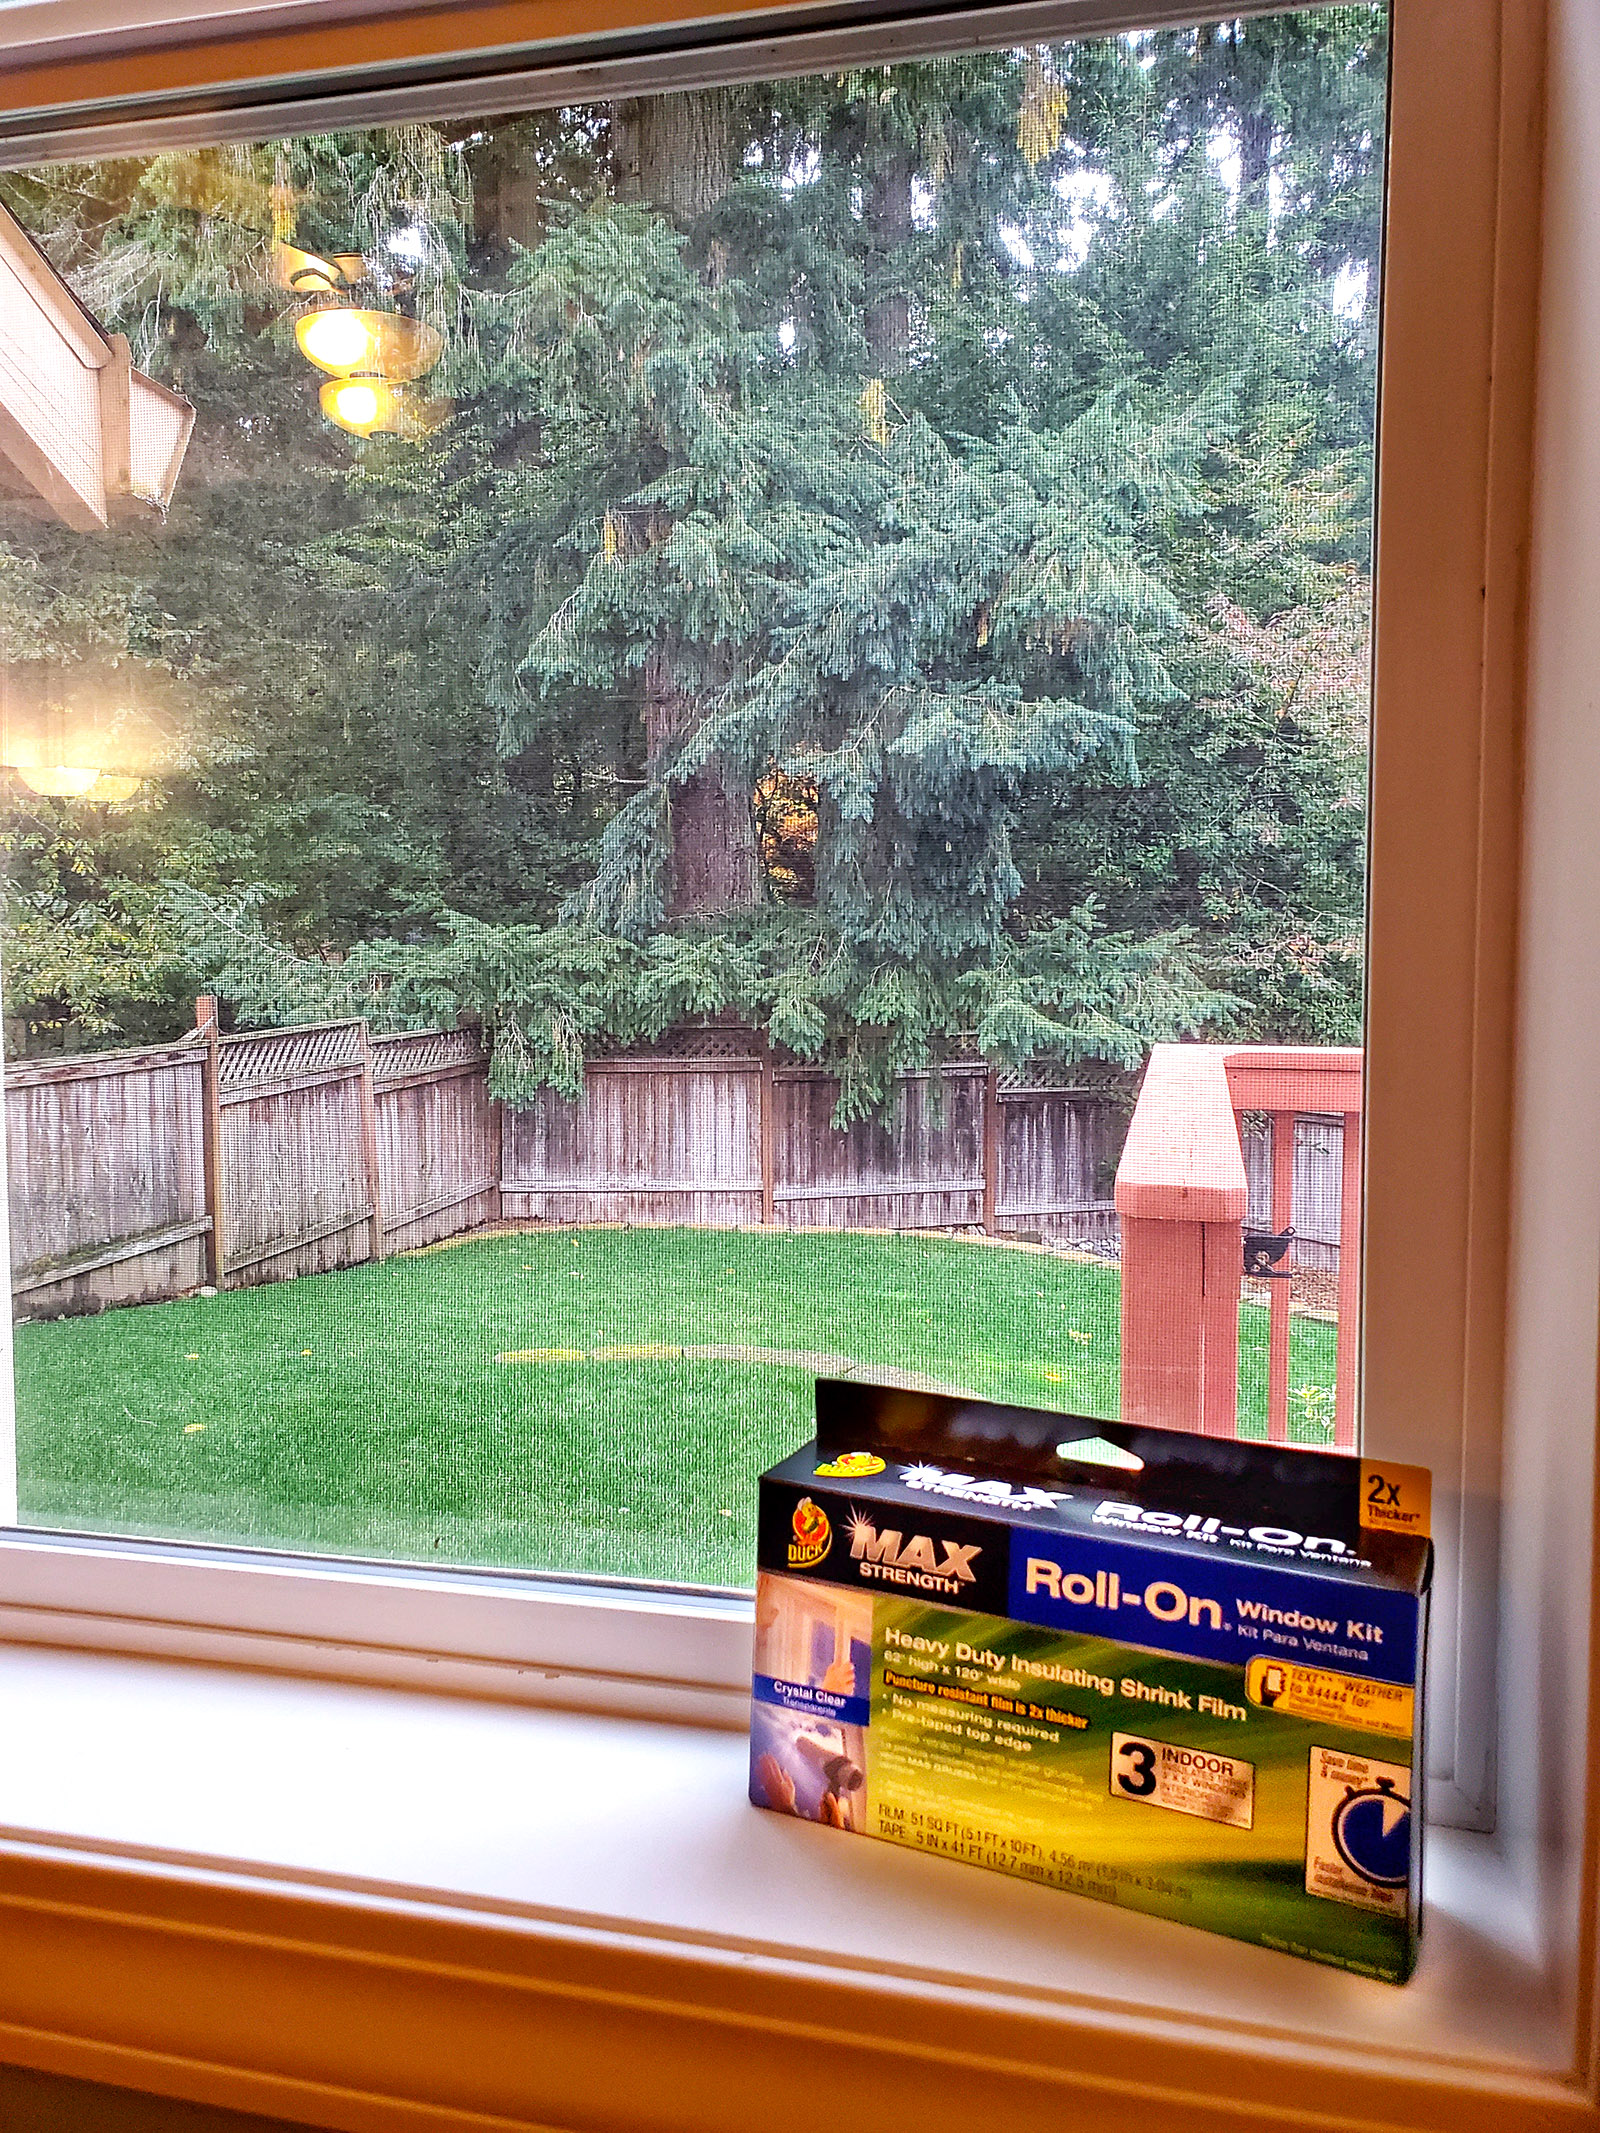
Here you can see a side-by-side comparison of the before and after windows. You can’t even tell that it’s there!
This weatherproofing film is recommended for indoor use on painted wood, aluminum, vinyl and finished or varnished wood. It is not recommended for use on plaster, drywall, or unfinished wood. If paint is already cracking or peeling, the tape may pull it off.
To remove the film when the weather warms back up, start at one of the top corners. Lift the tape edges and slowly pull the tape back on itself. The window film may be recycled in some areas, so check with your local recycling service. So stop by Walmart and get your windows ready for winter too.