
**Still having a fabulous time in Portugal, but here’s one more scheduled post for you before I get back. And here’s a not-great picture of a great view 🙂

In my two years of blogging I’ve discovered that I don’t live in a part of the country that’s densely populated with craft bloggers. With that being the case, I love when I get to meet or make connections with someone local who loves the same stuff I do! Several months ago I met Gemia who lives nearby and she recently started up a blog with 3 other crafty souls. When she asked me to do a guest post for The Phat Quarters I of course said yes. This is the tutorial I shared over there.
My two girls don’t have a very extensive jewelry collection, and mostly what they have is little plastic beaded stuff. But what they do have is often in a tangled up mess in a box and they never wear it.
So I turned a plain Ikea MALMA mirror into a cute place for their necklaces and bracelets to hang.
Here’s what you’ll need to make one yourself
Ikea mirror
| Source |

paint (I used regular craft paint in a light blue)
brush
sandpaper
nails
hammer
saw tooth hanger
Start by painting the frame of the mirror. You can tuck paper around the actual mirror to keep paint off of it, but if a little gets on, it scrapes off easily as well. You may need to do a few coats.
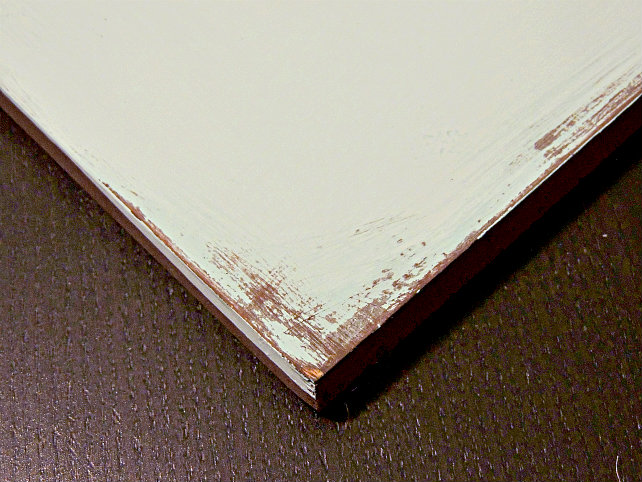
When it’s completely dry, sand corners and edges as desired to distress.
Find the center on the top back of the mirror and install the saw tooth hanger.
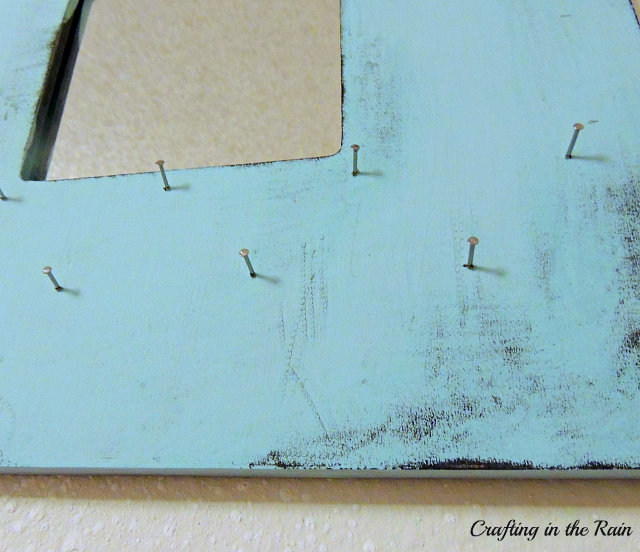
Then on the front of the mirror, set small nails all around the edges, alternating placement so pieces can hang down.
Hang on the wall, preferably at a low enough level where your kids can reach it, and add necklaces and bracelets. Hopefully they’ll think it looks so cute they’ll put the items back at the end of the day too 🙂

I’d love to hear how you tame your kids’ jewelry. Then go check out the Phat Quarters Blog and tell them I sent you 🙂
affiliate links