I hope you enjoyed the run-through of Craft Camp Day 1. Don’t forget to go enter to win some of the awesome face paint markers we used too!
Here’s what our second day looked like:

Day 2:
Paint Ink Effects paper (I ironed on later)
Mad Libs
Snack (pretzels and marshmallows)
Duck Tape pen holders and pens
Day 2 Details
I split the girls into two groups of 5 and had one group stay inside at the table to play Mad Libs. I took the other group outside where they got instructions on how the t-shirts would work. They each got a piece of plain white paper and painted an abstract design with Ink Effects paint. I had one paint brush to go with each color and they moved around the table to use the one they wanted. This made it so they didn’t have to rinse out their own brush every time they wanted to switch colors.

They also picked the design they wanted to go with their shirt. I had pre-designed flowers, hearts and a bird. When they finished the groups changed places.
Then we had snack and busted out all the Duck tape I have. Each girl got an empty, clean can and two pens and they pretty much did everything on their own. I was around to help with tearing, cutting, etc. Remind them to be careful with scissors of course, and luckily my own daughter was the only one who ended up needing a bandaid.

You’ll notice the same purple plastic table cloths I used on each of these card tables. I borrowed the tables and didn’t want them to get ruined of course. The plastic was perfect–I just patched it tape if it go holes in it, and at the end of the week I tore them off and tossed them.
(I did this later when everyone was home) To actually make the shirts I cut the design they wanted from freezer paper. I ironed it down, covered the extra parts of the shirt with paper towels and misted the shirt with the Ink Effects base spray.
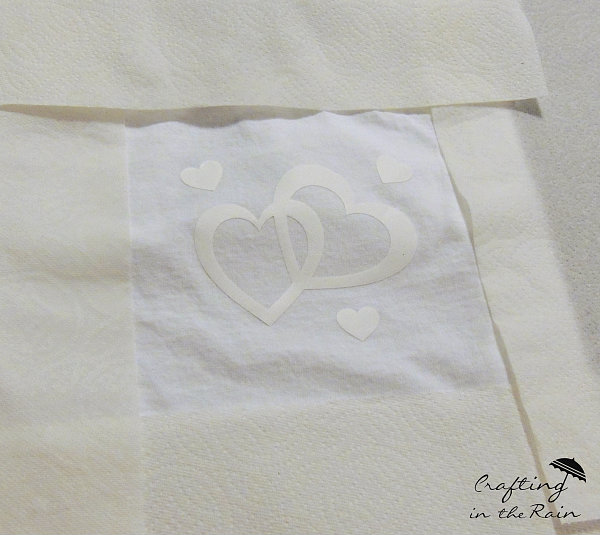
This makes the ink absorb into cotton fabrics. When that dried I ironed the painted design (with a white paper barrier under the iron) for 3 minutes, moving the iron to keep the heat even, then peeled everything off. The areas under the freezer paper were left white, and everything else had the transferred ink.

