• About
  • Contact
  • Shop
    • Facebook
    • Instagram
    • Pinterest
    • YouTube
  • Crafts
    • Disney
    • Kids
    • Sewing
  • Holidays
    • New Year
    • Valentine’s
    • St Patrick’s
    • Easter
    • Mother’s and Father’s Day
    • July 4th
    • Halloween
    • Thanksgiving
    • Christmas
  • Cricut
  • DIY
    • Cleaning
    • Organization
    • Projects
    • Scroll Saw
  • Downloads
    • Printables
    • SVGs
  • Recipes
  • Life
    • Family
    • Fashion & Beauty

Crafting in the Rain

How to Use Rafflecopter- Free Version

Uncategorized

This post may contain affiliate links. As an Amazon affiliate, I earn from qualifying purchases. I receive a small commission at no cost to you when you make a purchase using my link.

4 Nov 2015
  • Share
  • Tweet

I’m writing this post for fellow bloggers who want to know how to use Rafflecopter, and want to use it without paying for the upgrades. I’m going to show you how to set up the form and also create your own entry options.

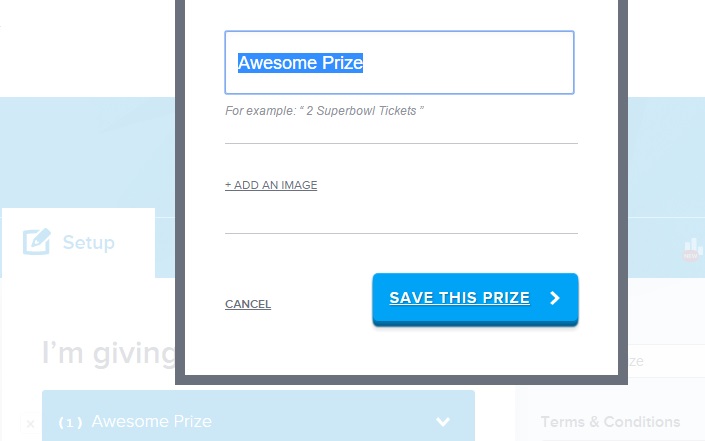
Start by logging in and and click on “I’m giving away” so you type in what your prize will be. Click “Save this prize.”


Next you want to add the entries. Some of the options are free (like Visit a Facebook Page) and you can enter the page that should be visited.


To do some of the other options, (or ones that aren’t listed) just create your own.


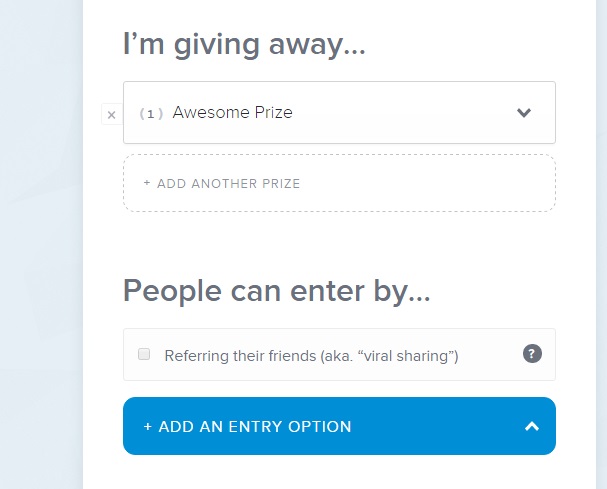
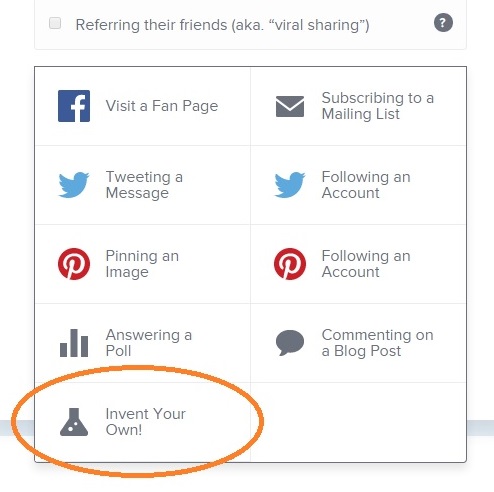
Click “Add an entry option.” and click the “Invent your own”


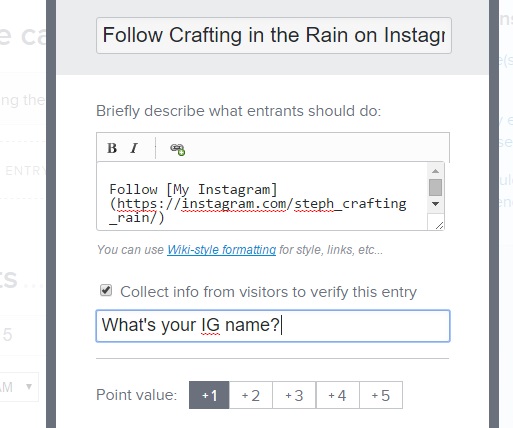
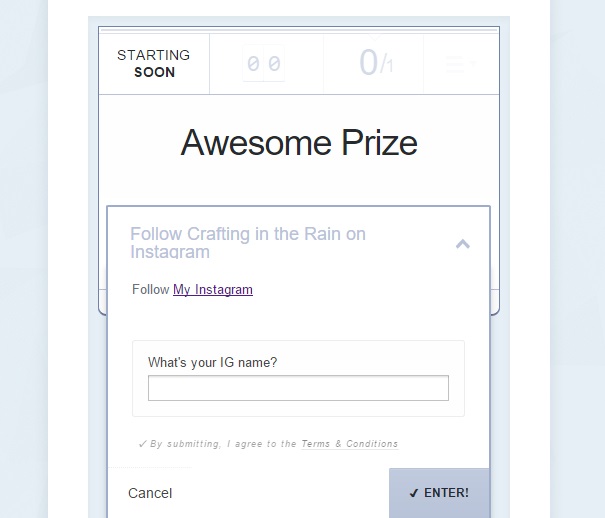
Type in the top box what you want the entry to say in the form. I put “Follow Crafting in the Rain on Instagram.” Then in the box below type “Follow” then click the link icon (it’s just to the right of B and I)  Replace “your text to link here….” with the text you want hyperlinked. And then replace “https://your-url-here” with the destination URL.


Like this. Then decide if you want the user to type something to verify (like their IG name) or just unclick the box to have no requirement there.


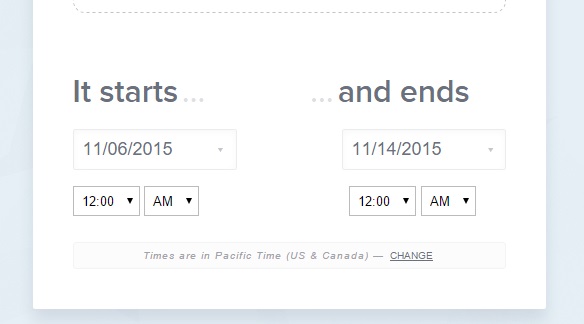
Add an other entries you want and set the start and end time. Unless you want to pay, you can’t change the hour of the start and end time. So just make your giveaway end at midnight on the end date by picking “12 AM” of the next day. (For example, this giveaway will run through midnight on November 13th)

Next click “Preview and Install”

I like to double check all my entries by clicking “Preview all options.”  You can click and move entry options around if you want to change their order.

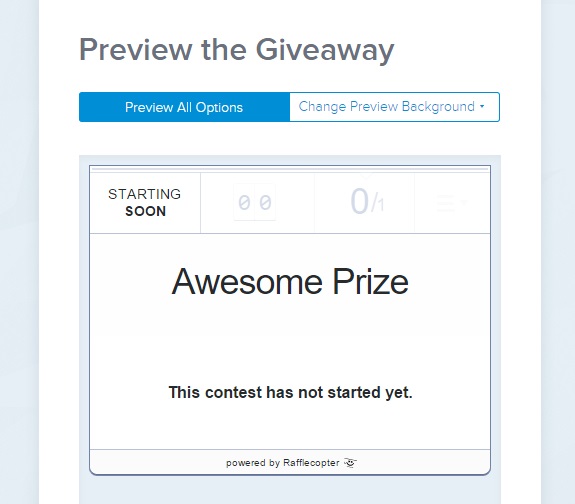
Then I can select each entry, click on the links to make sure they all work, and then go back an make any needed changes. 


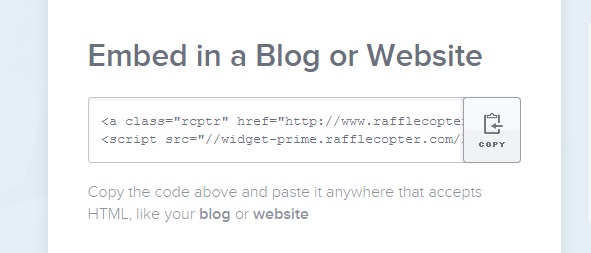
Now click on the copy icon next to the embed box and paste it in the html of your blog post.

So I hope that all made sense and you’ve learned some things about how to create your Raffleopter giveaways. Let me know if you have any questions!

Image Map

Related Posts:

  • How to Use Cricut Mug Press
  • Use Cricut Joy to Make Gifts
  • How to Use Waterslide Paper

Leave a Comment

« California Trip and Mitsubishi Outlander Sport
College Student Gift Guide »

Leave a Reply Cancel reply

Your email address will not be published. Required fields are marked *

This site uses Akismet to reduce spam. Learn how your comment data is processed.

Hi, I'm Stephanie - Welcome to Crafting in the Rain where I've been blogging about the crafty life since 2011. Read More…

Archives

  • Home
  • About
  • Contact
  • Disclosure
  • Index
  • Privacy Policy

Stephanie Paxman is a participant in the Amazon Services LLC Associates Program, an affiliate advertising program designed to provide a means for sites to earn advertising fees by advertising and linking to amazon.com.

Copyright © 2011-2023 Crafting in the Rain