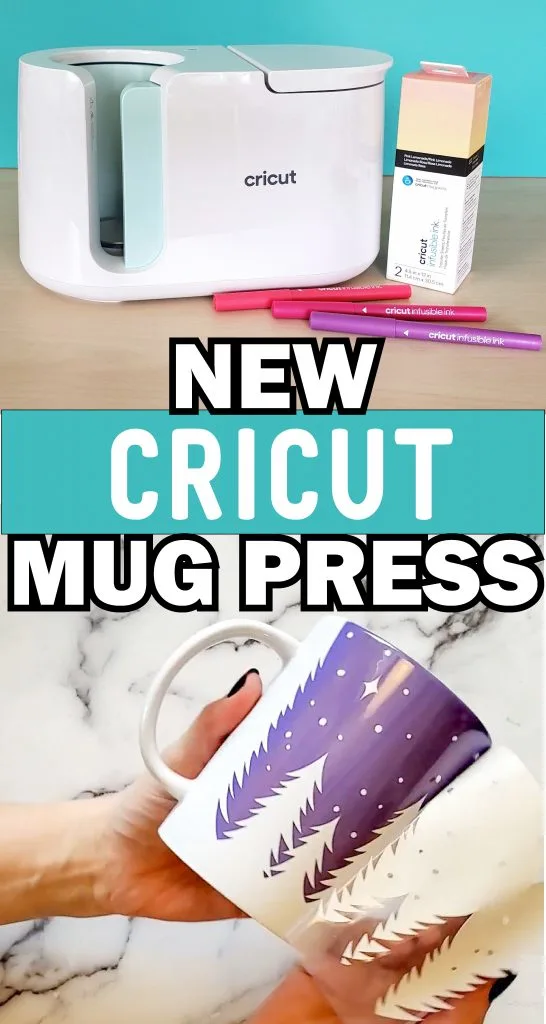
So you want to learn how to use the Cricut Mug Press! You’ve come to the right place. I have been able to play with this newest member of the Cricut family for a few weeks and I’m loving the results.
This post is brought to you in partnership with Cricut. All thoughts and opinions are my own.
If you have tried making a mug previously with vinyl or iron-on vinyl, you’ve likely been disappointed. But no more – you can now make easy mugs with Infusible Ink!
Read about the Cricut Mug Press here.
Supplies for Infusible Ink Mug
- Infusible Ink sheets, pens and markers
- Laser copy paper (if using pens or markers)
- Butcher paper (for pens or markers)
- Heat resistant tape
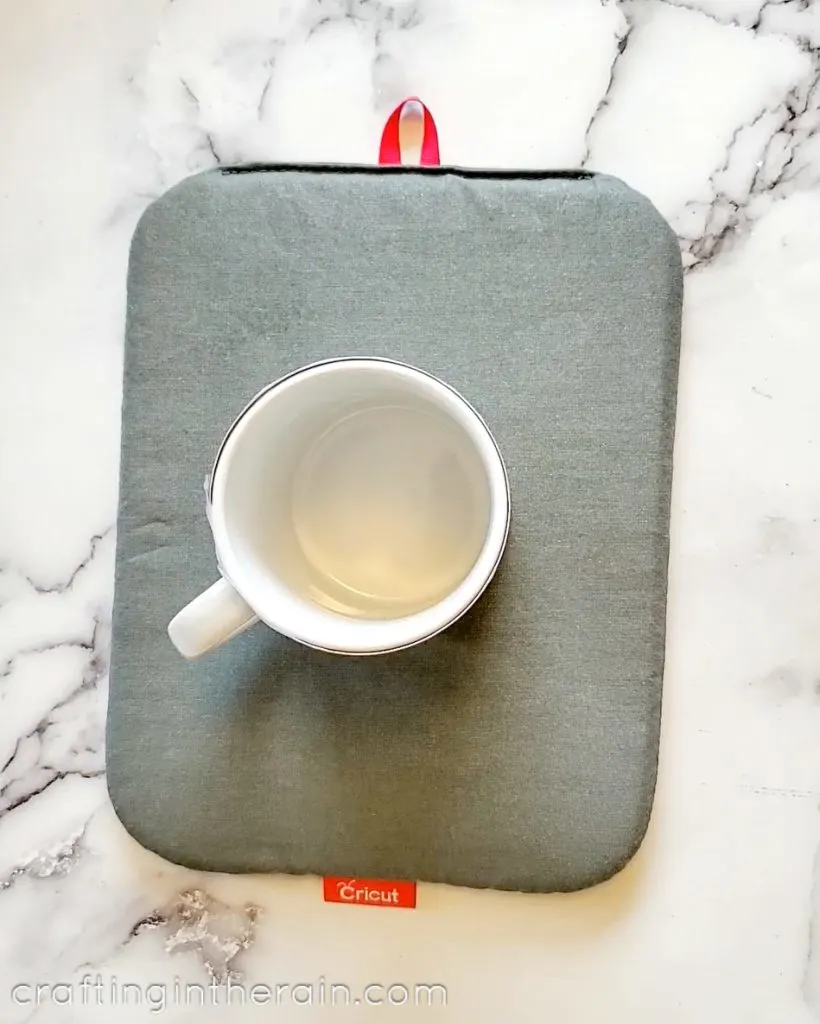
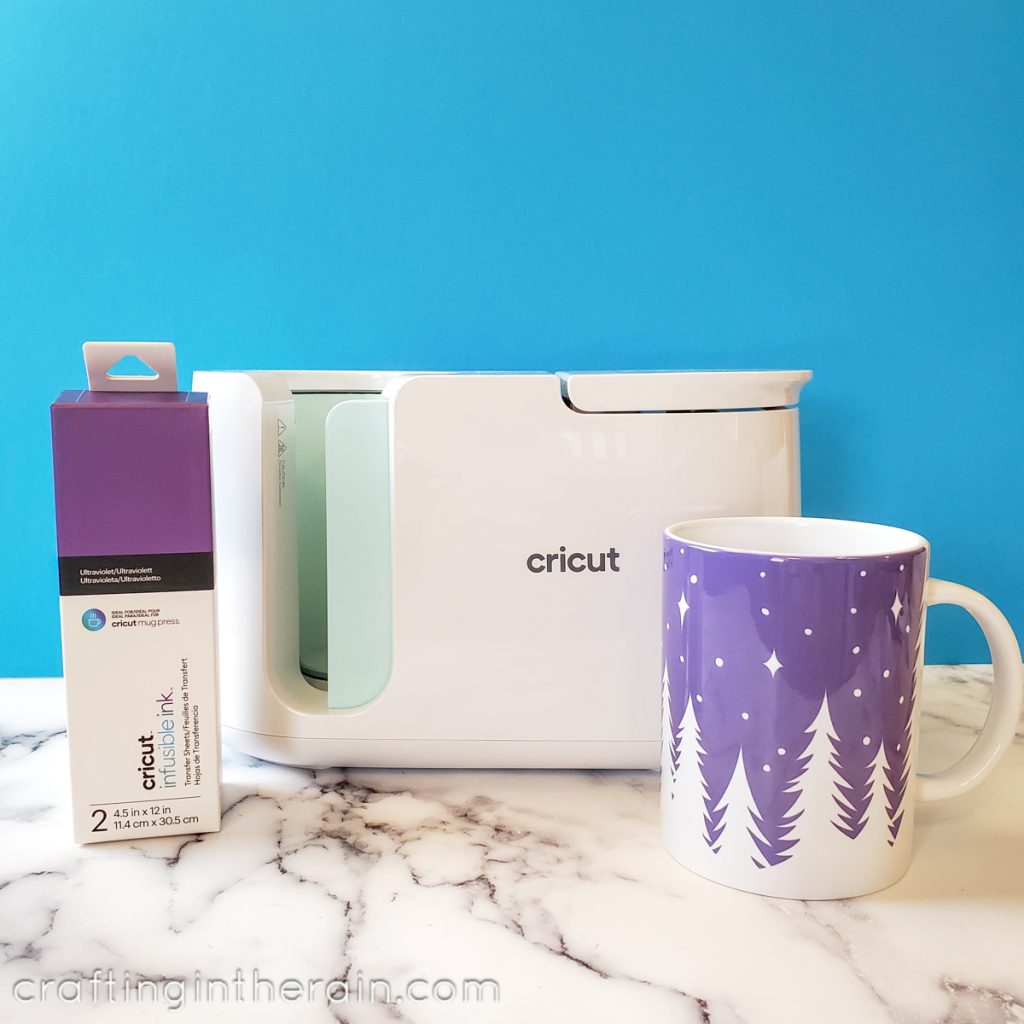
- Cricut Mug Press
- Cricut Mug
- EasyPress mat (or other heat safe surface for letting the mug cool after pressing)
- Lint roller
What is the Heat Guide for?
Since the Cricut Mug Press regulated its own temperature and timer, you don’t need to set anything on the machine. The Cricut Heat Guide will remind you how to properly prep the mug and if it needs layers of butcher paper or not.
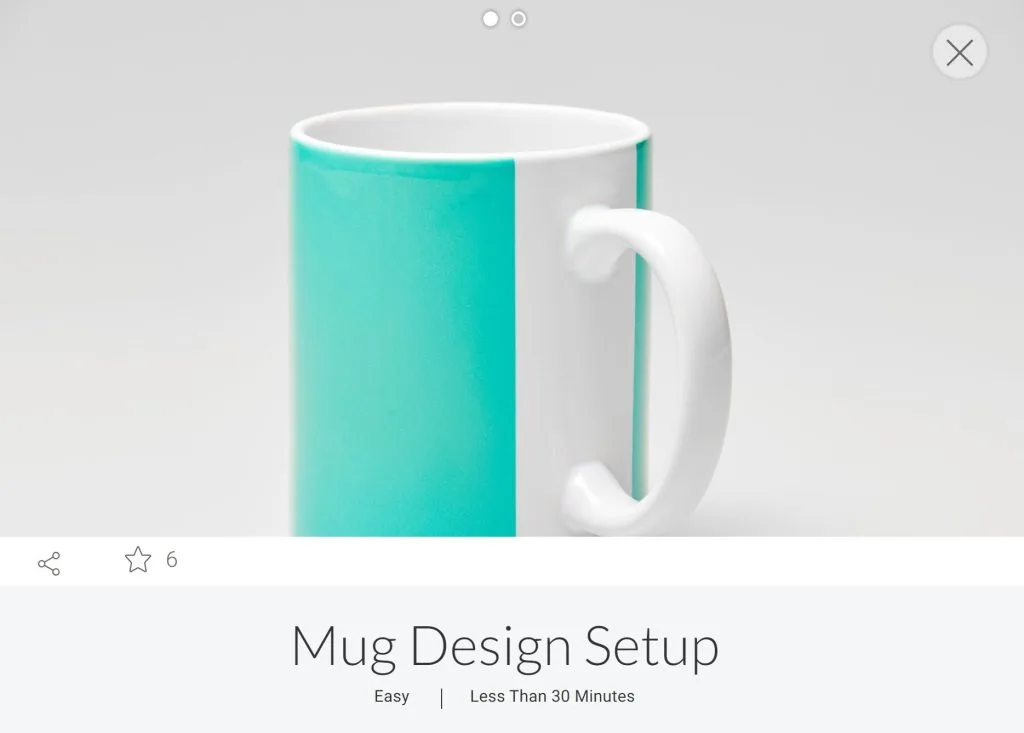
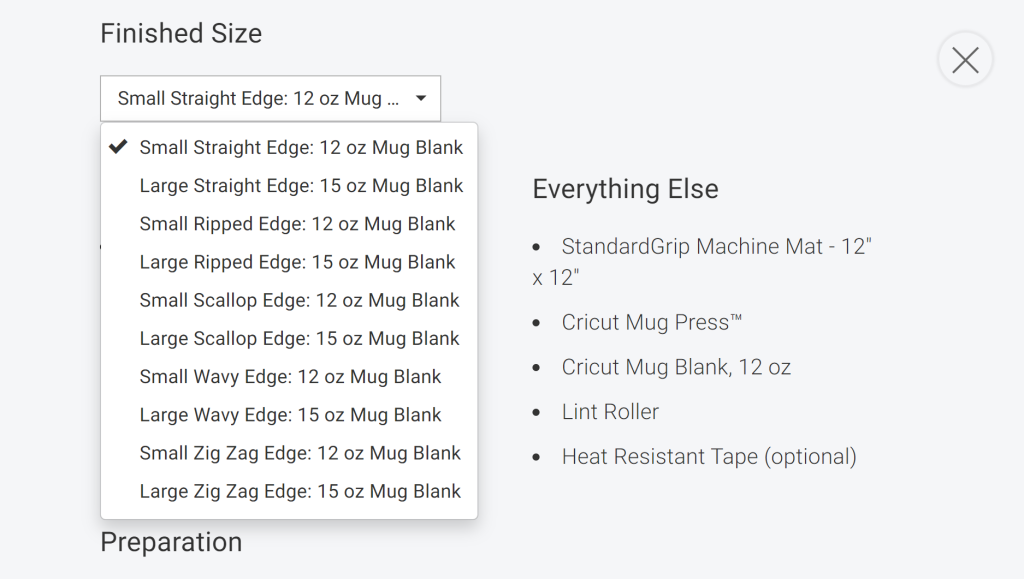
One of the best parts about the Cricut Mug Press is how easy it is to create a design in Design Space. There are some mug designs you can add as images. Or use this template to choose the size of the mug (small or large) and the edge you want.
Design Mug in Design Space
Design Space has several preloaded designs specifically for mugs. To find these designs, search image sets for “MUG.”

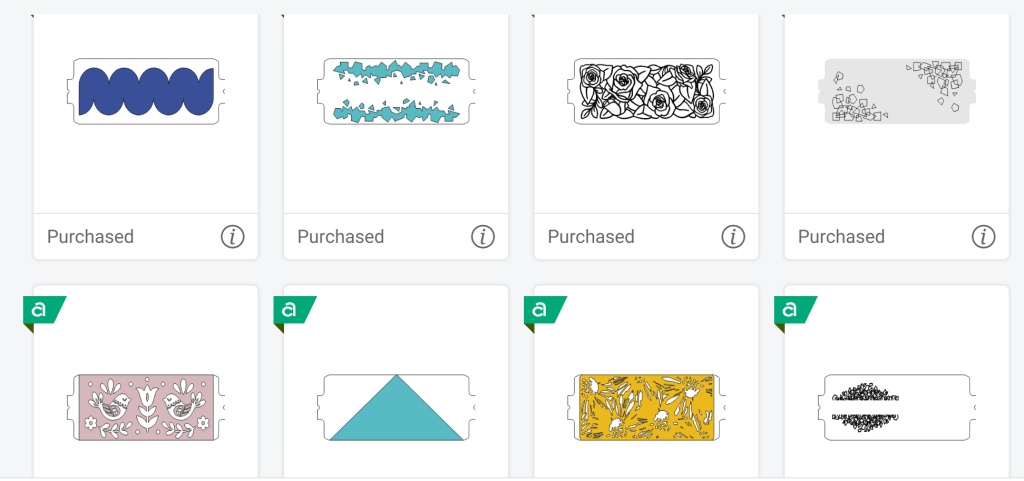
You can also search in Projects for “Mug Design Setup” where you can add in images or words of your choosing to the existing template.


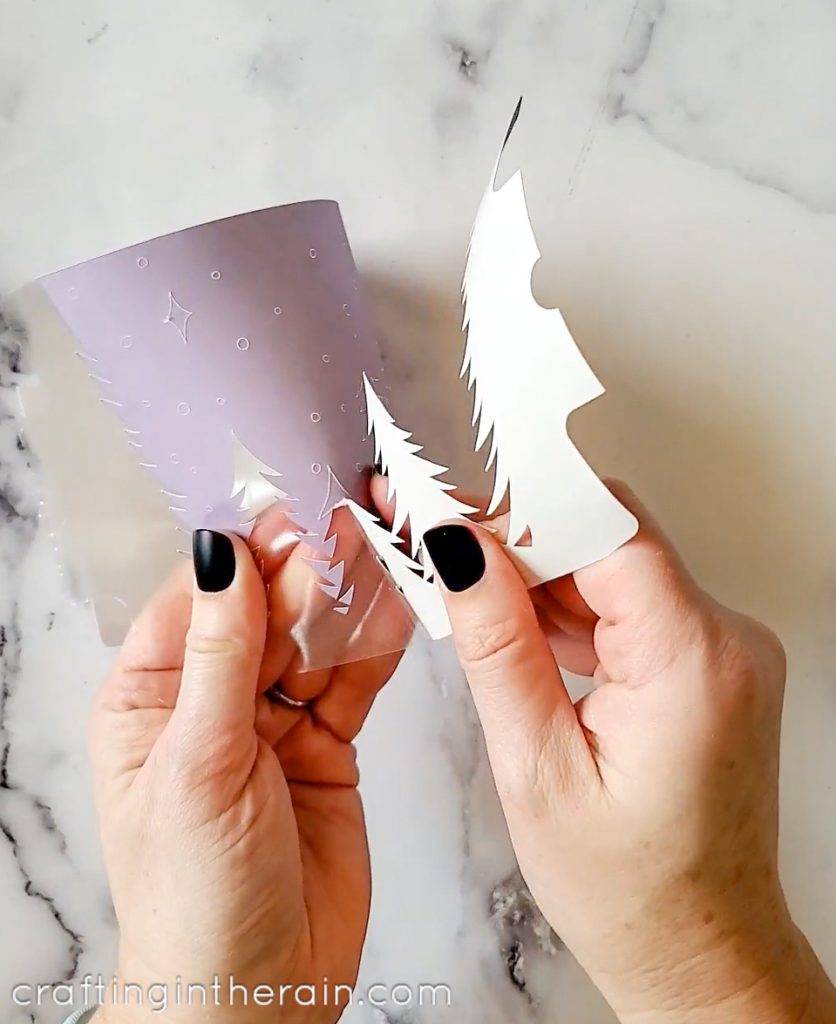
The special thing to note about mug projects in design space is that they will cut the design from the Infusible Ink sheet, and then do a double cut around the whole outline to cut through both the sheet and the clear liner. This makes application to the mug so much easier! I have found that changing the pressure to “more” when sending to cut gives the best result.
Just like any other Infusible Ink project, make sure to mirror before cutting.
Steps to make an Infusible Ink Mug
With the design cut and weeded, prep the mug. Also turn on the Mug Press to start heating. (Make sure to activate the Mug Press before using it for the first time.)

Use a sticky lint roller to remove any particles or dust that may be on the mug surface.
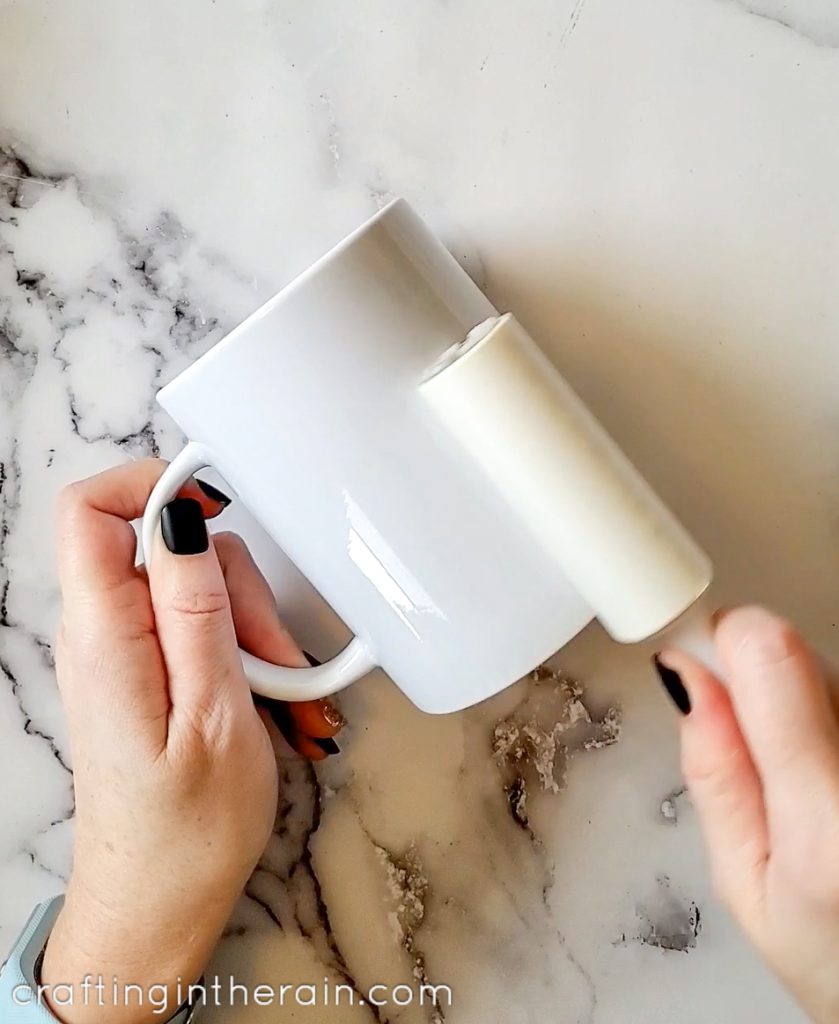

Position the Infusible Ink sheet onto the mug. Center one end tab under the handle, and you can use the table surface to help keep the sheet level while wrapping around the mug.


If needed, the design can be pulled away and repositioned. It takes some practice to get it centered and level.
It’s also a good idea to put heat safe tape around any corners of the design, or places where the sheet looks like it may be lifting up as all, as this could result in a lighter ink transfer in this area.
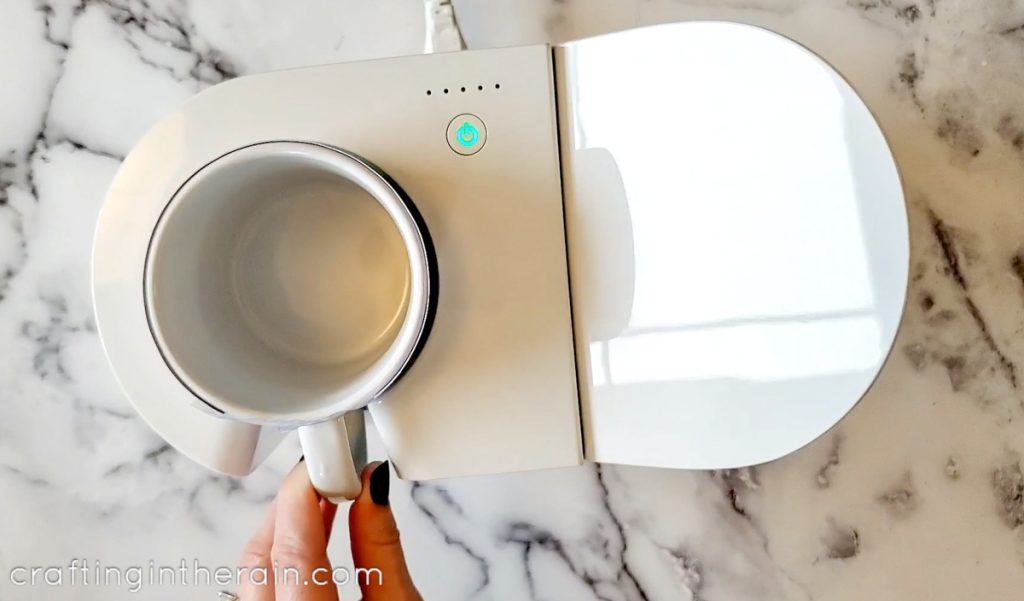
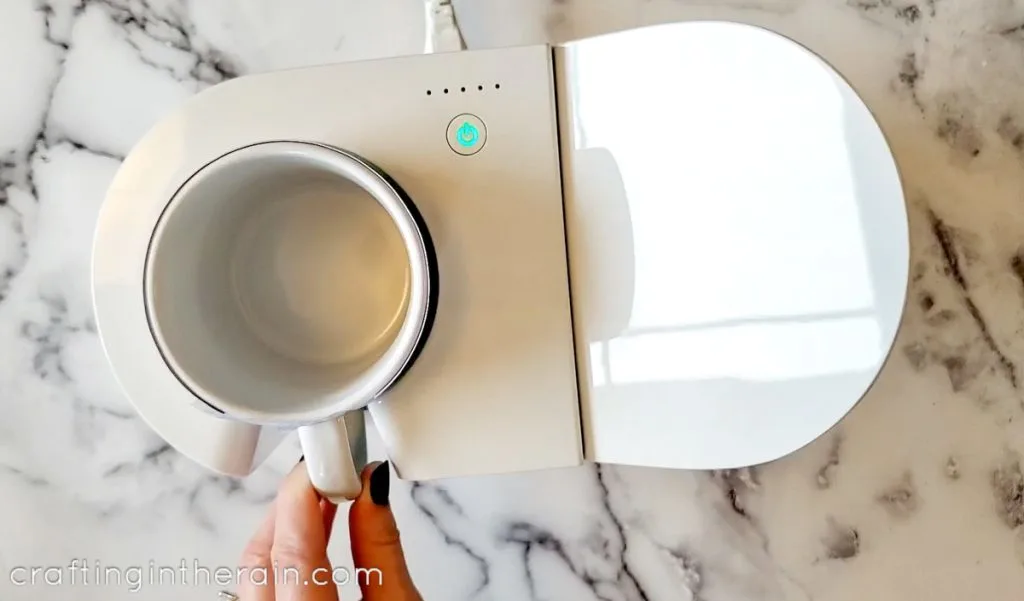
When the Mug Press beeps, indicating it is ready, lift up the lever on the right side of the machine. Hold the mug handle and lower it down into place. Be sure to not touch the hot plate.
Press down the lever to lock the heat place in place. No need to do anything else! Track the progress with the flashing led lights. The press time is around 6 minutes and will adjust slightly as needed – it is monitored by the machine itself.
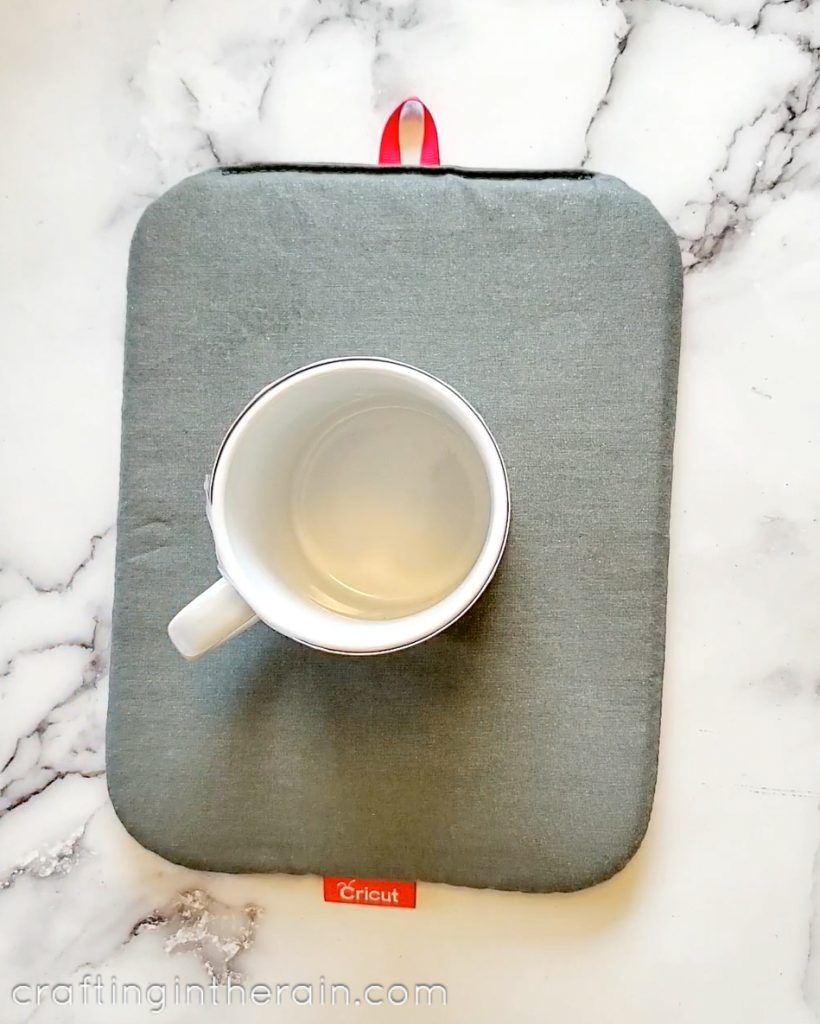
When the Mug Press beeps again, lift up the lever and lift out the mug by the handle. The handle remains cool, but the rest of the mug is still very hot. Place on an EasyPress mat or another safe surface to cool for 15-30 minutes so you don’t get burned.
When the mug is cool enough to handle, peel away the tape and the design. If you’re like me, you’ll be amazed at how vibrant the color is that transfers to the mug.

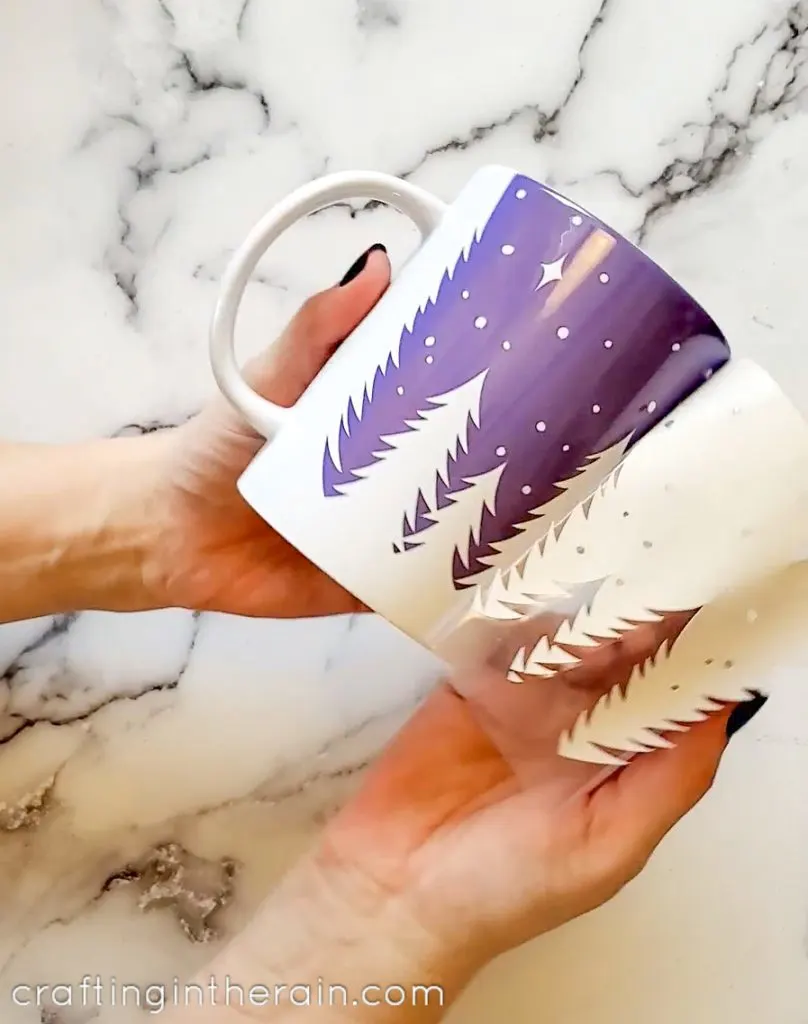
This design is dishwasher safe and completely permanent. The color will not fade, peel, crack or anything!

These Infusible Ink mugs make perfect gifts because they can be customized for everyone. Make a personalized pair for a newlywed couple, design punny mugs for book club, and create custom mugs for any gift.
Troubleshooting for making Cricut mugs
- Remove all dust, even if you can’t see any, with a lint roller to prevent stray dots from appearing on the mug
- Make sure the design is taped flat and tight to the mug with no wrinkles or gaps – this includes running long strips of tape all around the bottom of the mug
- Double-check that you have applied the design to the mug correctly – I accidentally did one upside down, and it was not good 🙂
- Trim ink sheet liner as close to the design as possible – the original ink sheets have grid lines and the words “Cricut” and “Infusible Ink” At the high temperature that the Mug Press requires, these lines can transfer a faint yellow color to your mug.
- NOTE – the small ink sheets created for the specific mug size do not have these grid lines.
I hope you are excited about the possibilities of making Infusible Ink mugs. If you have any questions, drop them in the comments so I can help you out.

Rachel Ball
Monday 25th of March 2024
Hi, I followed the instructions to use my mug press, bought the correct products and used it for the first time. When it cooled down I removed it and the ink hadn’t transferred to the mug. Can you help me out please as I’m not sure what I’m doing wrong?
Kristin
Sunday 21st of November 2021
Do you know where I can find the template for the night sky with the trees… it’s beautiful but I can’t find it on design space.
Stephanie
Sunday 21st of November 2021
Yeah of course! Search for "Night Time Forest Mug Design" in design space and it should come up for you - there should be a large one and a small one.
Ideas for Cricut Projects - Today's Creative Life
Monday 4th of October 2021
[…] Gold DIY Designer Mug – Cricut now has its own Cricut Mug Press. It’s the coolest little machine ever! See how to use a Cricut Mug Press. […]
20 Fun Sublimation Mugs made with Cricut Mug Press
Thursday 6th of May 2021
[…] 18. Forest Sky Mug […]
Ilene Goodson
Thursday 15th of April 2021
can you ever overlap the infusible ink paper or must always be a single sheet of paper for a design