Anyone planning on replacing flooring in your house soon? We’ve been working on our main floor remodel and had to remove baseboards. This post will help you out as I show you how I removed all the baseboards on our main level. We took out carpet and laminate wood flooring and replaced it with better laminate and tile.

In order to cut costs and save us a ton of time by not having to cut new baseboard pieces we decided to re-use all the existing baseboards. It really was a life saver to do it this way, because look at all the tiny pieces we have going around rounded corners. I’m so glad we didn’t have to cut all those!

Here are the tools you’ll need for removing the baseboards with little to no damage:
 |
| (affiliate links) |
- Utility knife
- Putty knife
- Wonder Bar
- Pliers
- Kneepads
–optional, but totally recommended!
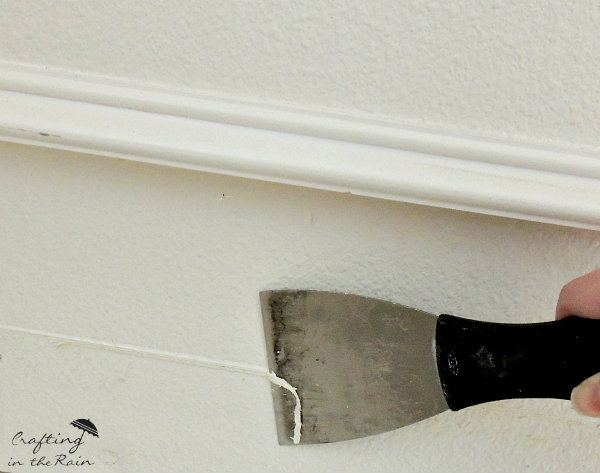
Step 1: Use the blade to cut a line across the top of the baseboard where it meets the wall. This will break the seal of any paint or caulking and prevent your wall from tearing apart.

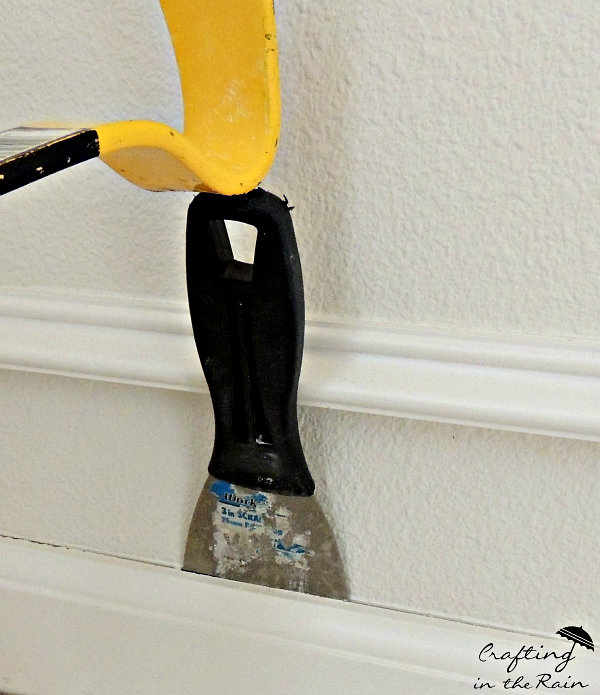
Step 2: Use the putty knife to start to pull the baseboard away from the wall. You may need to tap the handle with the crowbar. When there is enough space, work the bar behind the baseboard. Position the putty knife against the wall so the crowbar’s leverage doesn’t break through the drywall.
Step 3: Use the Wonder Bar to pop the baseboard away from the wall. It has more power than the small crowbar and will do this job more quickly. Work your way down the wall until the whole board is removed.

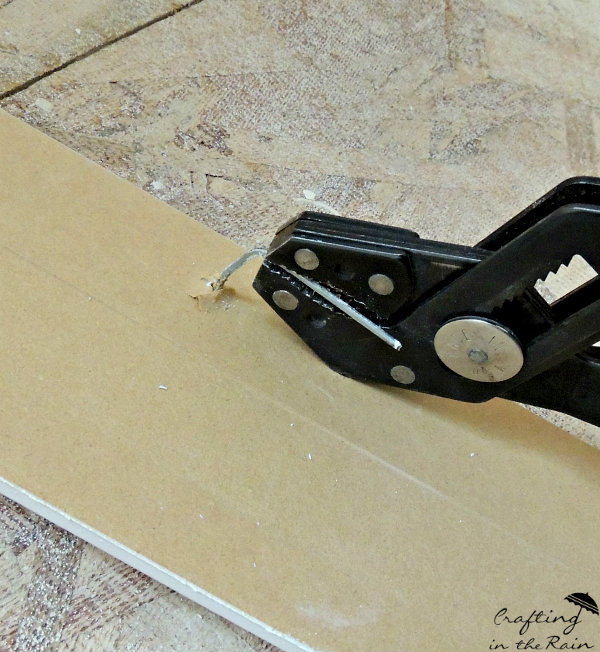
Step 4: Remove the nails using the pliers. If any of the nails break, or remain in the wall, tap them flat using a hammer.
Step 5: Label each piece of baseboard and the wall to match. This will ensure that each piece goes back to exactly the right place. I found it helpful to start over in each room too. Hallway baseboards were labeled as H-1, H-2 and so on.

Step 6: Smooth out the baseboards by running the putty knife across the top to remove any caulking or paint that has stuck. Do the same to the wall.
Now that they are removed, pull up your carpet or other old flooring. If you’re painting the walls a new color, like we did, this is this is the perfect time because you don’t have to worry about drips on the floor or taping off the baseboards!

Also, the baseboards are ready to paint. The next read How to Paint and Install Baseboards.