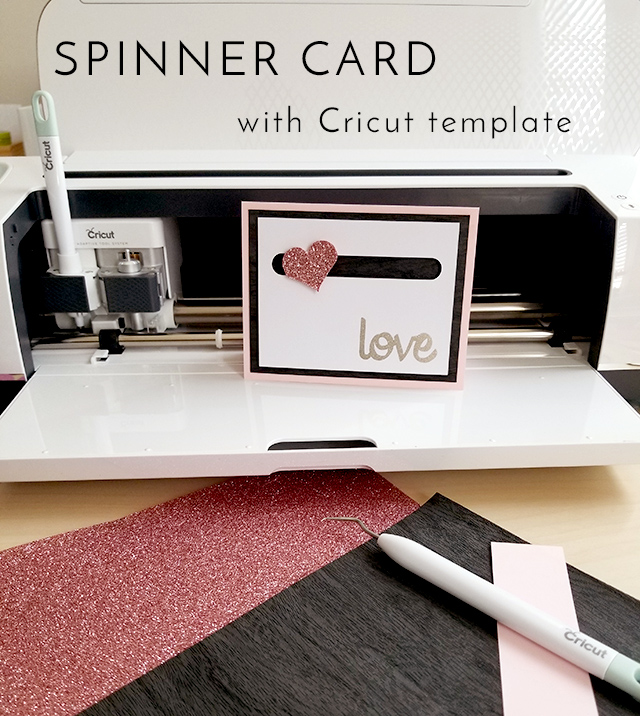
Hey everyone, quick walk through today on how to use this Spinner Card design space file Though the idea of the spinner card is not my own, I designed this file.
The way the spinner works is you have two pennies sandwiched around a small foam circle, and assembled so that it spins along the track.
So go to the file and – feel free to use any colors of patterns you want in your final card of course, but I’m going to reference the colors so you know the material to cut them out of. You can use this with a Cricut Explore or a Cricut Maker, since you use Design Space with both machines. (Read here for a review of the Cricut Maker)

Pink: Cardstock, and Scoring Wheel
White: Cardstock
Gray: Cardstock or other material – whatever look or color you’re going for (I used gray faux leather)
Blue: craft foam (this will go underneath the white layer, raising it up so that there is space for the penny to move freely)
For the heart shape, swap it to anything you like or delete it, to create the card you want.
You can also make the part that spins be any shape you want.

On mine, I took a picture of myself, removed the background in Photoshop and created a print then cut file that I could send to my printer, and then have the Cricut cut out. But that’s a tutorial for another day. Things like flowers, boats, planes, spaceships, and on and on, would be really cute!!)
How to assemble a spinner card

First, decorate the top layer with the track cut out. Add words, shapes, etc now, as it will be easiest to do before layering the rest of the card. Keep in mind that you don’t want to put anything with dimension to close to the track as it could interfere with the part you’ll have spinning later.

Next, fold the card base in half and glue down the gray layer. Then glue the two rectangle foam pieces to the back of the white cardstock. Keep them close to the edges, and not close to the track cut out.

Layer 1 penny, then the white cardstock (with the track going over the penny) then the circle foam piece, then the other penny, gluing the foam to both pennies (anything from Gorilla glue to a tape runner seems to work well.) Let that dry completely before trying to spin – you don’t want any glue getting on the track.
When that is dry, glue the white cardstock circle to the top penny, then layer the shape that will actually be spinning on top of that.

Glue the whole white cardstock / craft foam combination to the front of the card, and when that is dry, practice spinning the card! If you make one, I hope you’ll share it and tag me so I can see it!
Cricut Maker (on the Cricut site, or get it from Amazon with Prime shipping!)
Cricut Materials (like cardstock or craft foam)
Cricut Tool sets
Roxanne Renicker
Monday 12th of June 2023
Just received email from you with link to heart spinner card. The link doesn't work.
Looks like it would be cute.
Laura
Saturday 20th of August 2022
I found your file in the Cricut Community for this spinner card template. I used it to create a 16th birthday card for my nephew. Thank you for a wonderful file and easy to follow instructions!
Bailey
Friday 10th of June 2022
Thanks so much for this card! I just made it and it's so cute! I didn't have any craft foam, so I used some scrap cardstock and ran it through a brayer to give it the 3D effect. I couldn't find a font I liked for a word at the bottom (Cricut newbie here) so I added a sicker there instead.
Janice
Wednesday 7th of October 2020
I am not finding the file. Is it too old? I hope it's still available as it looks really cute. Thanks.
E Kappmeyer
Thursday 28th of May 2020
Is there a way to cut this card on the Cricut Joy?