
I love a good keychain, don’t you? Let’s Resin makes it really easy to make resin keychains with personalized initials and colors!
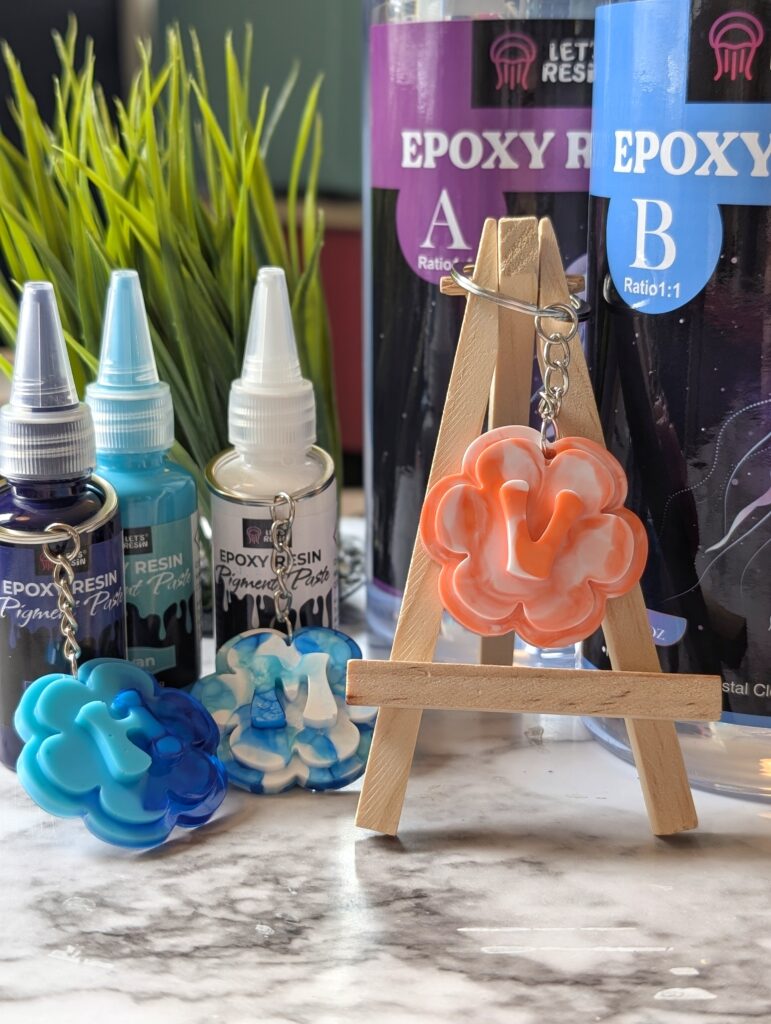
Let’s Resin sent me a resin keychain kit to try out. All thoughts and opinions are my own.
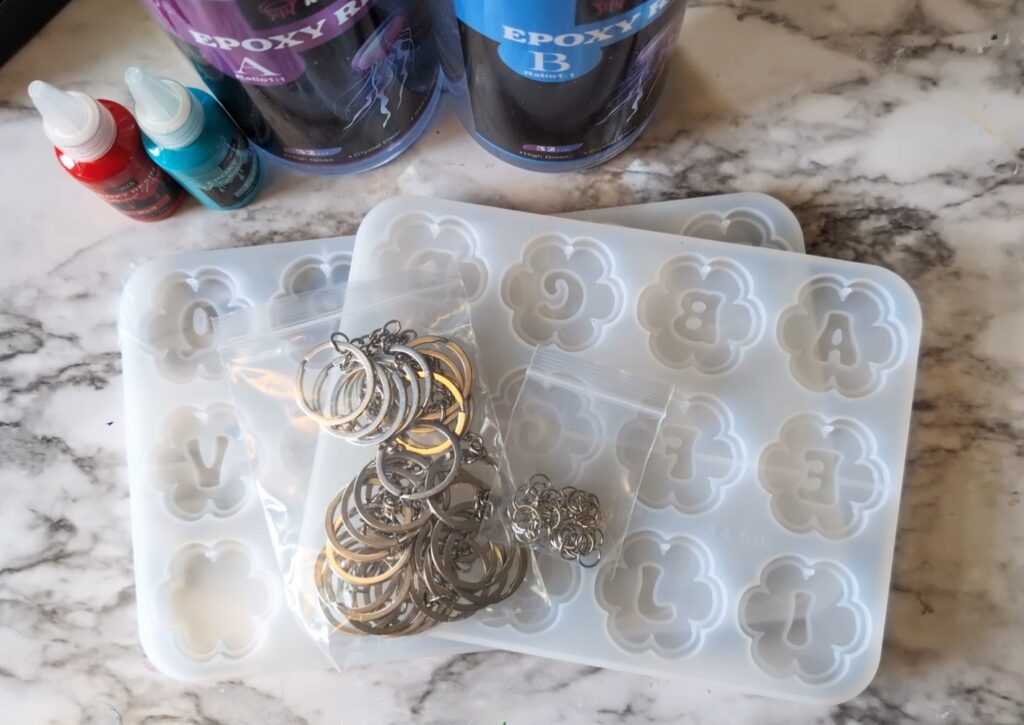
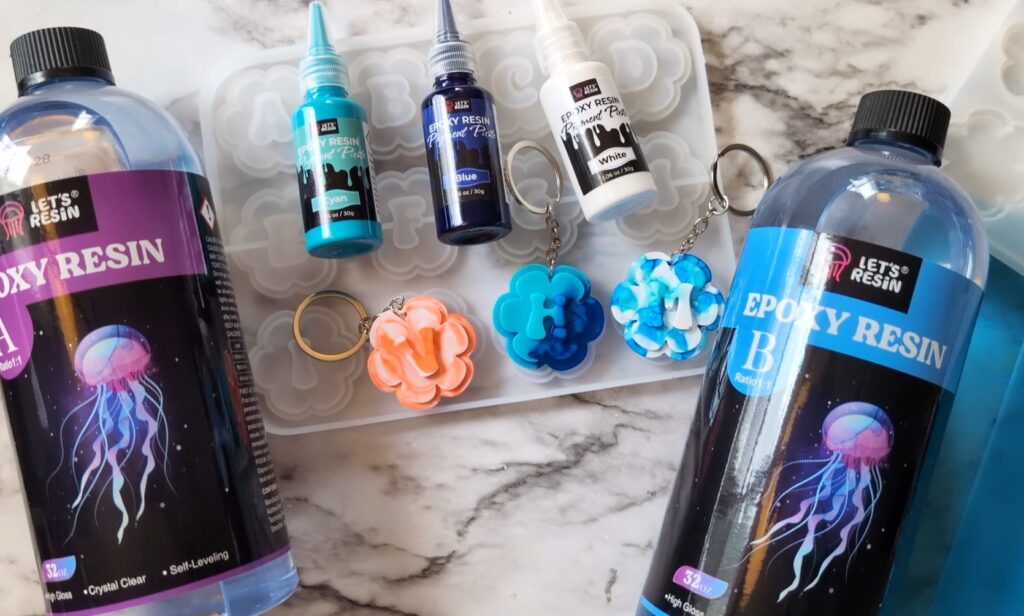
The floral keychain molds are really cute. The shape is a flower with two layers, and a letter in the bottom. There is also a blank one with no letter so you can make one with an embedded flower or image or something like that!
Shopping list:
* Minimize bubbles and ease stirring by placing resin containers in a few inches of warm water for 5 minutes before using. This is very useful if your craft space is on the cooler side. *
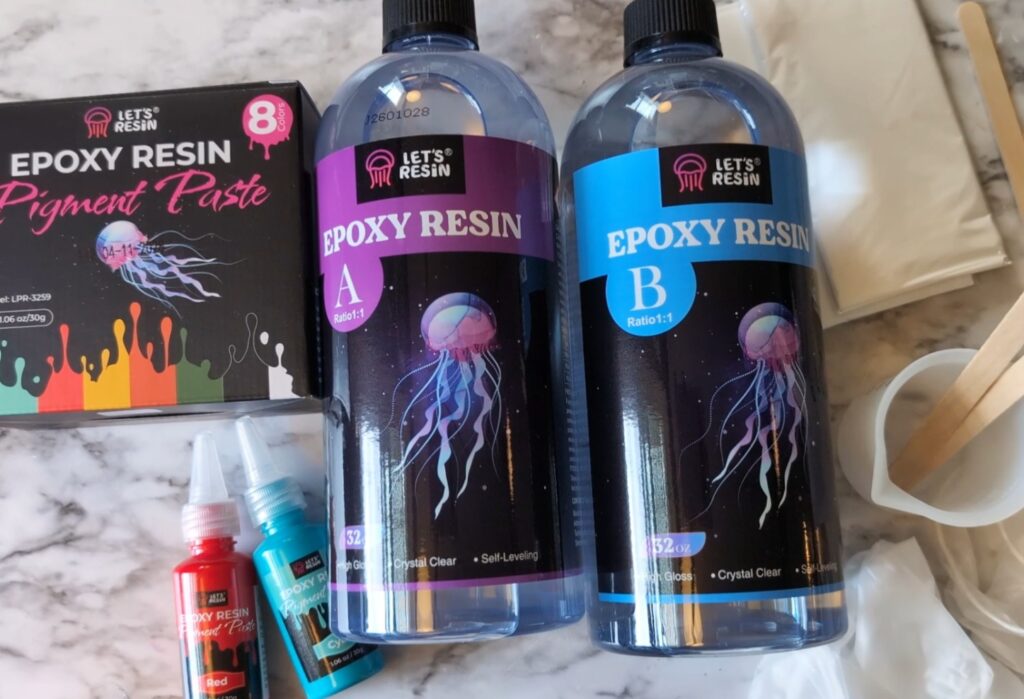
Prep for working with resin
Prep your work surface with a plastic sheet or a silicone mat. No matter how careful you promise yourself you will be, resin will drip somewhere, at some point.
For the same reason you also want to wear gloves. As you are pouring and measuring and mixing, some surface will get sticky and you will touch it.
It’s also recommended to work in a well-ventilated room (though I detected no smell while working with this resin.) And eyewear is a good idea too.
mixing resin
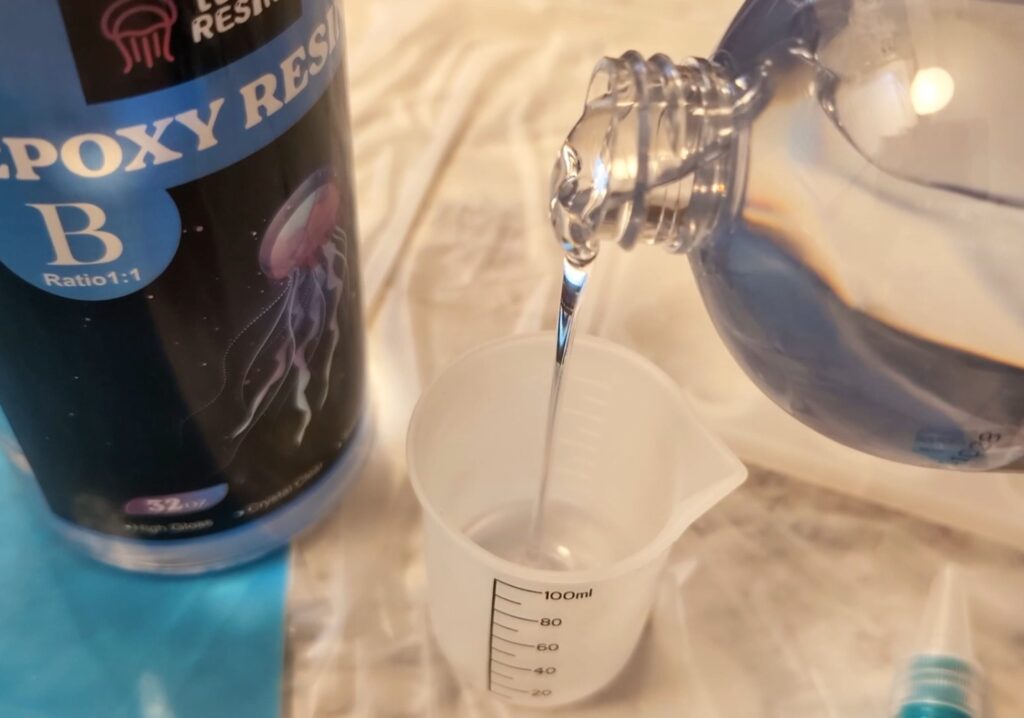
This Let’s Resin epoxy is a 1:1 part A and B. This means you pour equal parts of both bottles into a cup to mix.
I don’t like to overflow, so I mixed 40ml A and 40ml B to equal 80ml.
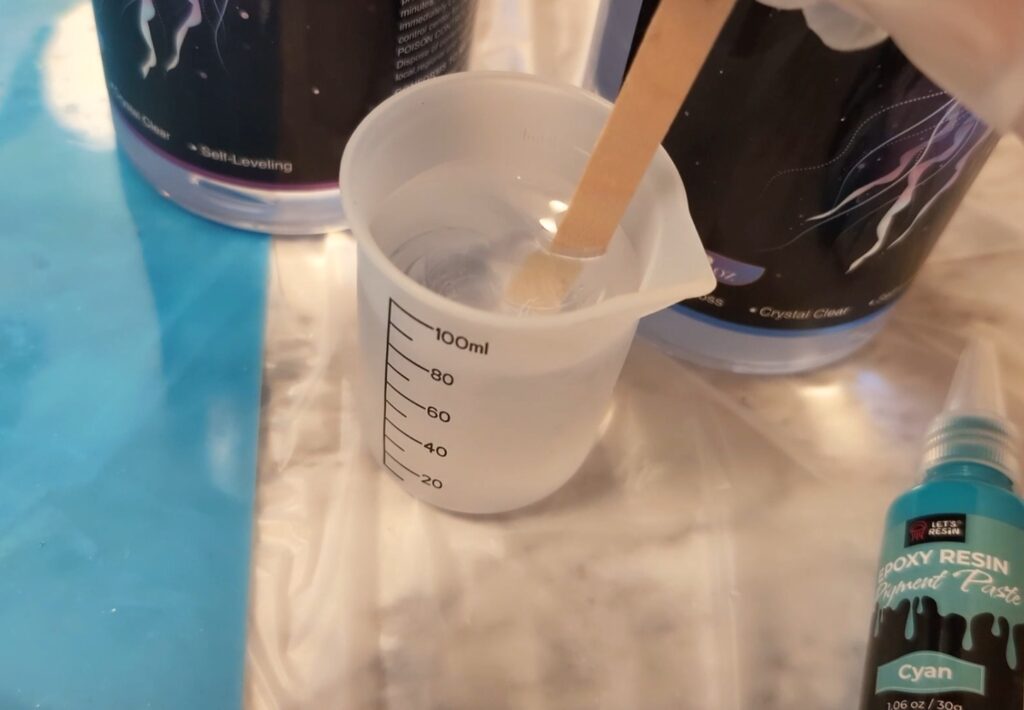
Stir the resin to thoroughly combine the two parts of resin. 1-2 minutes is recommended for this product. Make sure to scrape the edges and bottom well while you are mixing.
I mixed almost two minutes. The resin should look consistent with no swirls (bubbles are ok!)
coloring resin with pigment paste
I also got the Resin Pigment Paste to try out, and it’s super pigmented so a little goes a long way.
* Only for use with epoxy resin, not UV resin. *
In small 1oz mixing cups I added just one or two drops of the paste. I then poured in almost an ounce of the clear resin.
You can also experiment with adding a little more or less paste for opaque or transluscent finished.
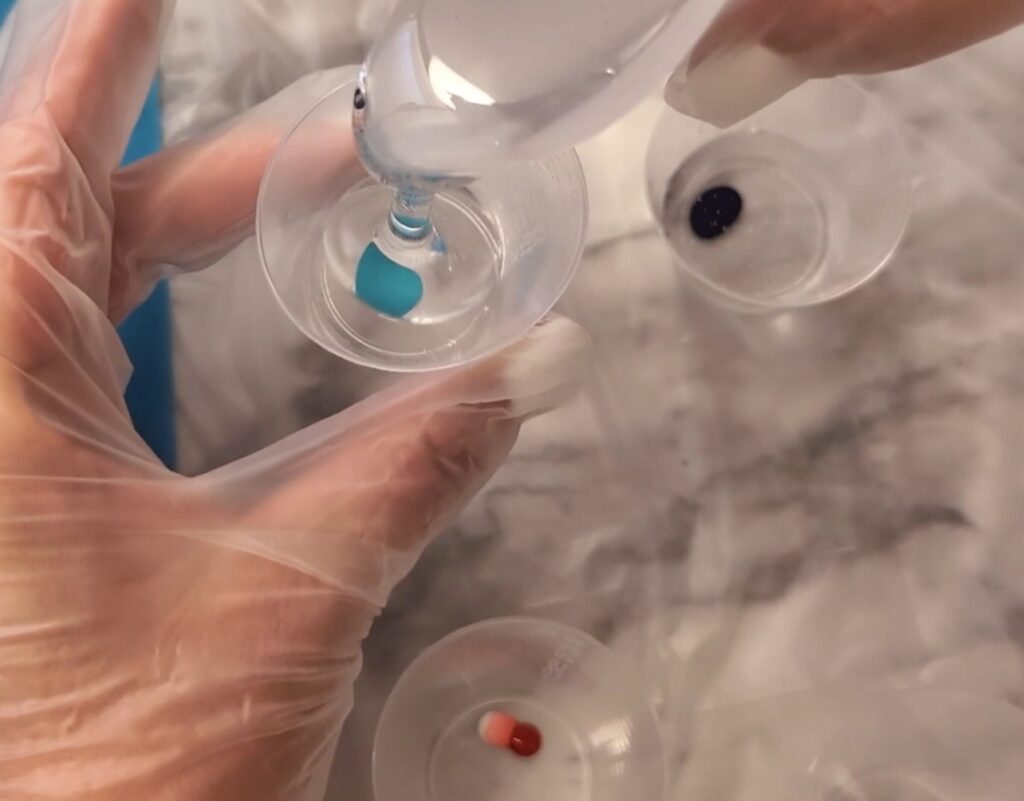
Stir until the color is even – and color mixing is also allowed.
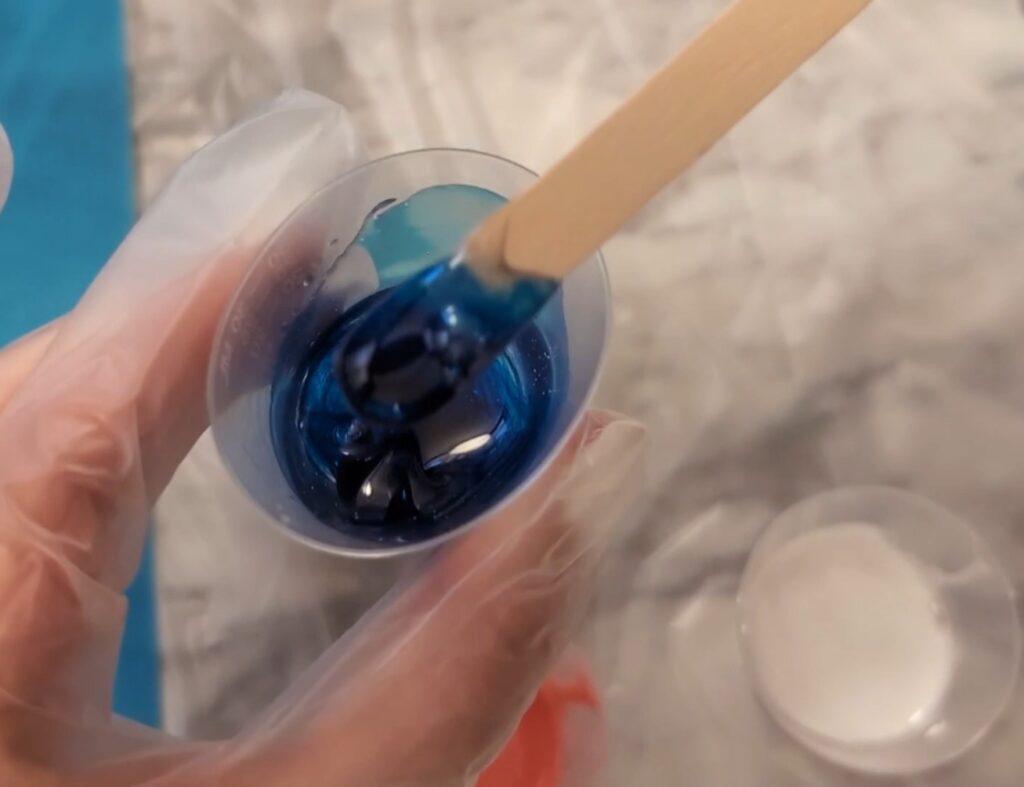
* I would like to experiment more with making a pink color. One drop of white with one drop of red created more of a coral color – still very pretty. *
resin pouring techniques
One option using these keychain molds would be to pour a color in the letter and cure several hours. Then pour another color to the first layer of petals. Cure for several more hours then finish with a final color, which would be the base color when flipped over.
This method requires mixing up new resin for each layer. So I decided to play with different pouring methods to pour all at once.
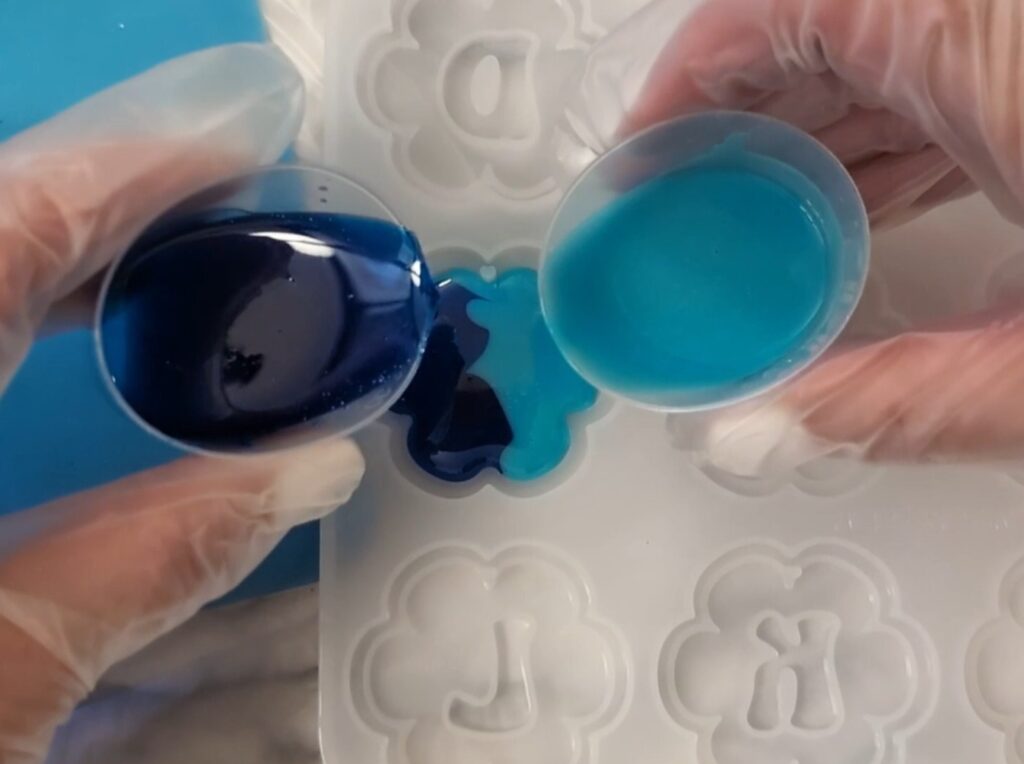
First I did two colors, poured next to each other, and swirled a bit with a stir stick. The letter would have been more swirled if I had used a toothpick and been sure to touch down in the bottom of the mold.
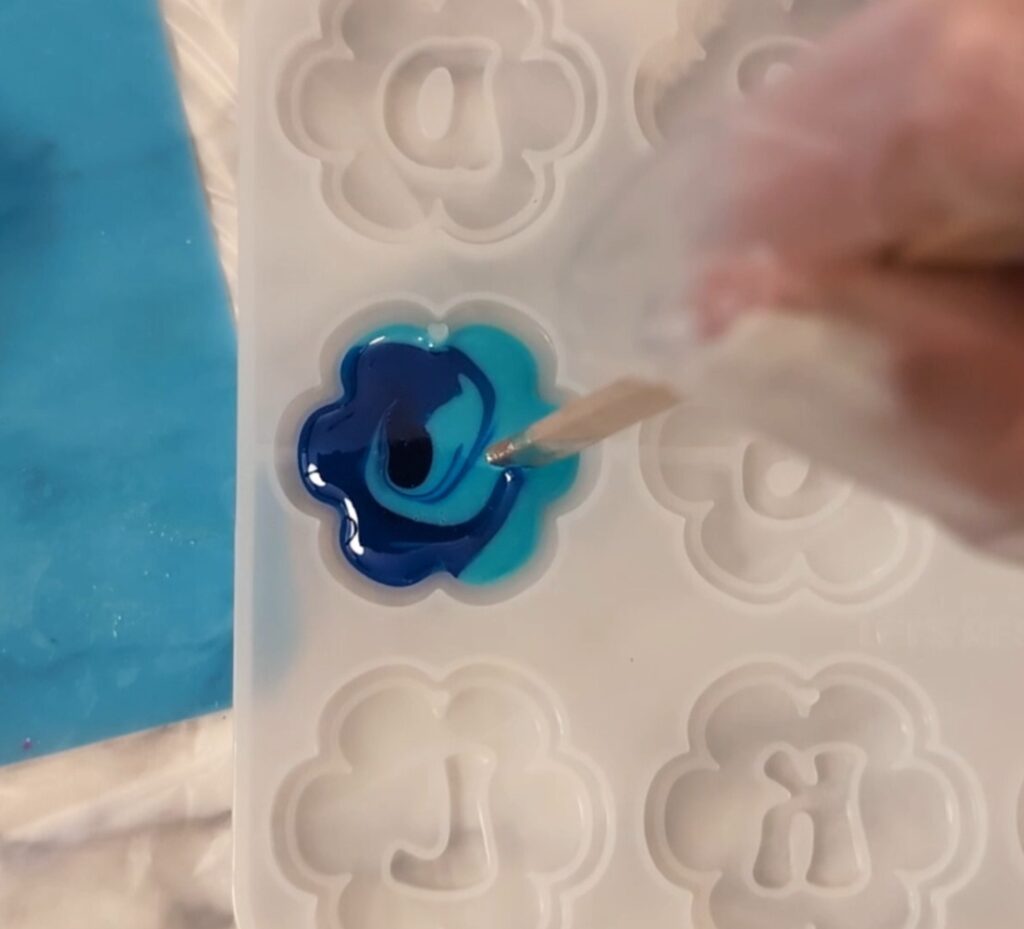
Next I did two colors, but poured only very small amounts at a time and kept pouring in the center of where I poured before. It created rings like this as I poured, and settled into a pretty swirl as it cured.
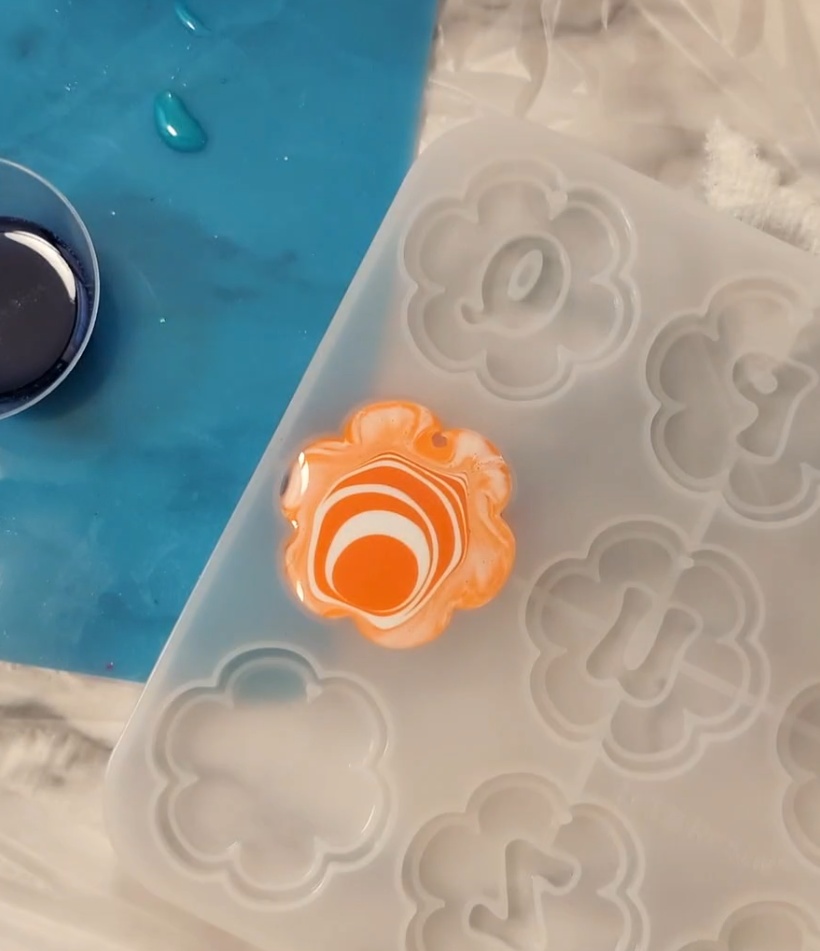
Last I used plastic disposable pipets to draw up three different colors and alternated dots of color all through the mold until it filled up.
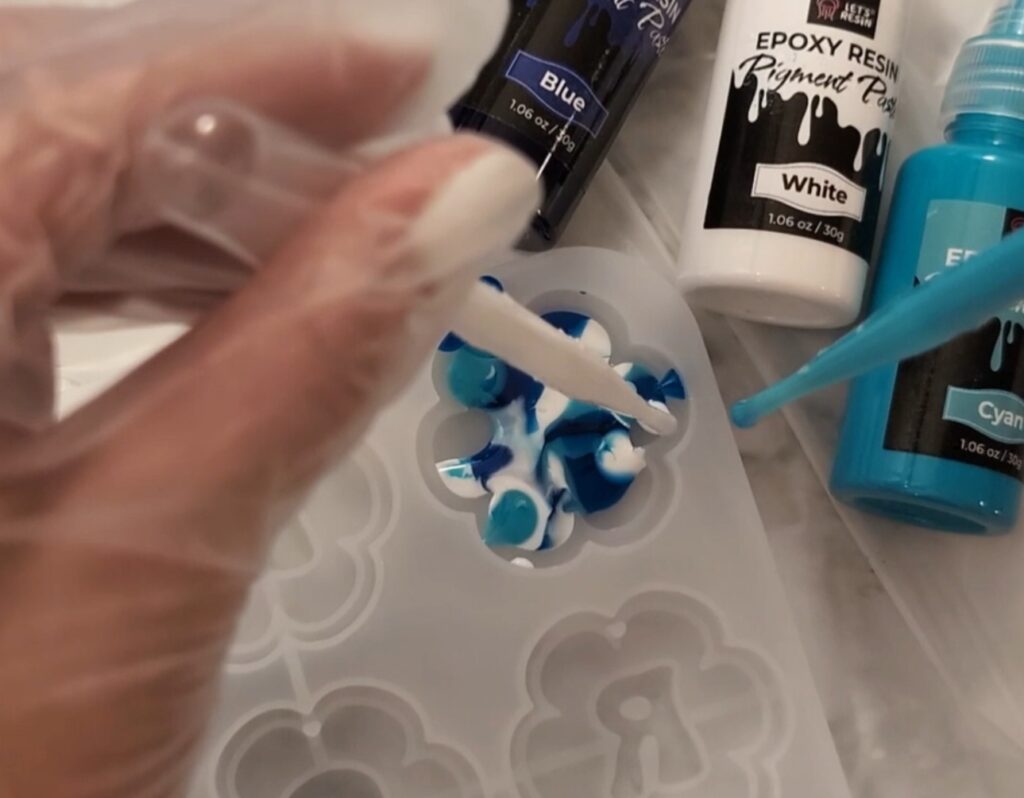
The molds are designed with a core pin, or a piece of silicone that sticks up and leaves a hole in the final project. It’s perfect because you don’t have to drill a hole later to add the keychain hardware!
Let the resin cure overnight (about 8 hours) and then it will be ready to demold. The flowers did still have a bit of bend to them, so be gentle with them, but they were plenty sturdy to work with. After 24 more hours they were completely set.
The flower alphabet molds also come with keychain hardware, so you don’t have to buy anything extra.
Assemble resin keychain
Slip an open ring into the hole of the flower, loop in the end of the chain, and close the ring with a pair of pliers.
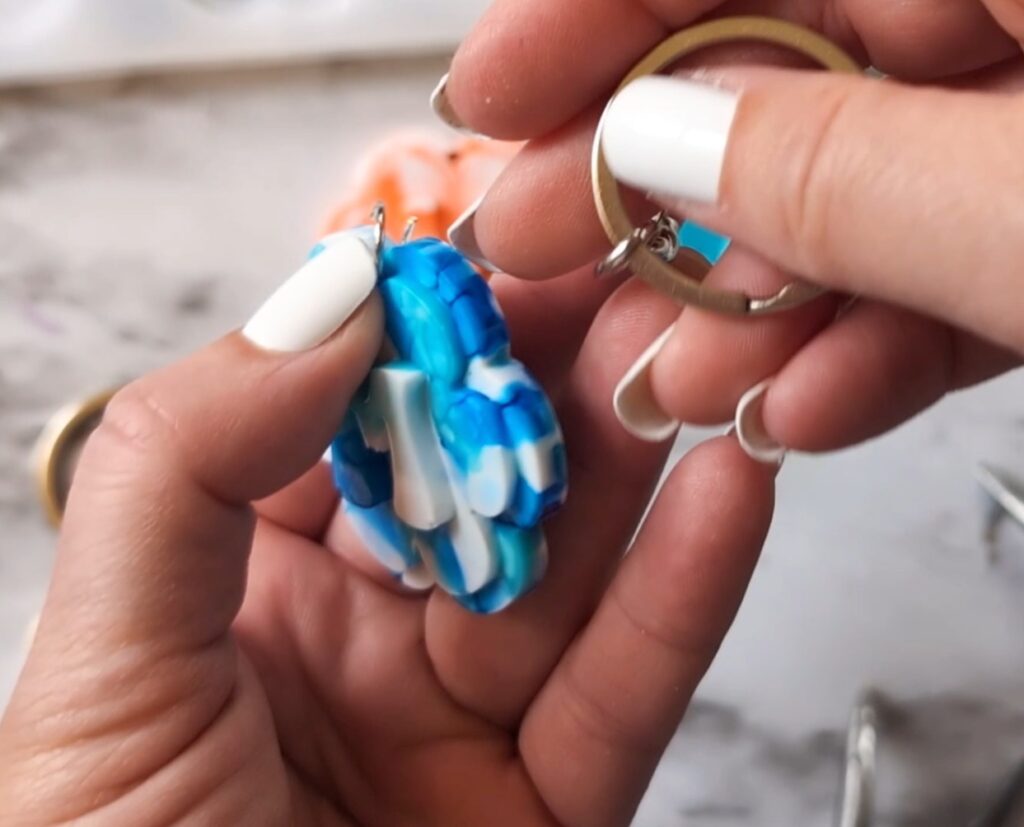
Then the keychains can be used for an actual keyring, a purse or packpack charm, a cute addition to a badge lanyard, or even tied into the bow of gift wrapping!
Resin keychains are one of those projects that are easy to learn but offer endless possibilities. Whether you’re making personalized gifts, party favors, or products to sell, you can create something completely unique with just a few simple supplies and a little creativity.
Don’t be afraid to experiment with different colors, glitter, dried flowers, or tiny embellishments—every pour is a chance to make something new!
If you make any resin keychains like this, I’d love to hear how your keychains turn out. Leave a comment below with your favorite design idea, and if you share your creations on social media, be sure to tag me so I can see what you make. Happy crafting!