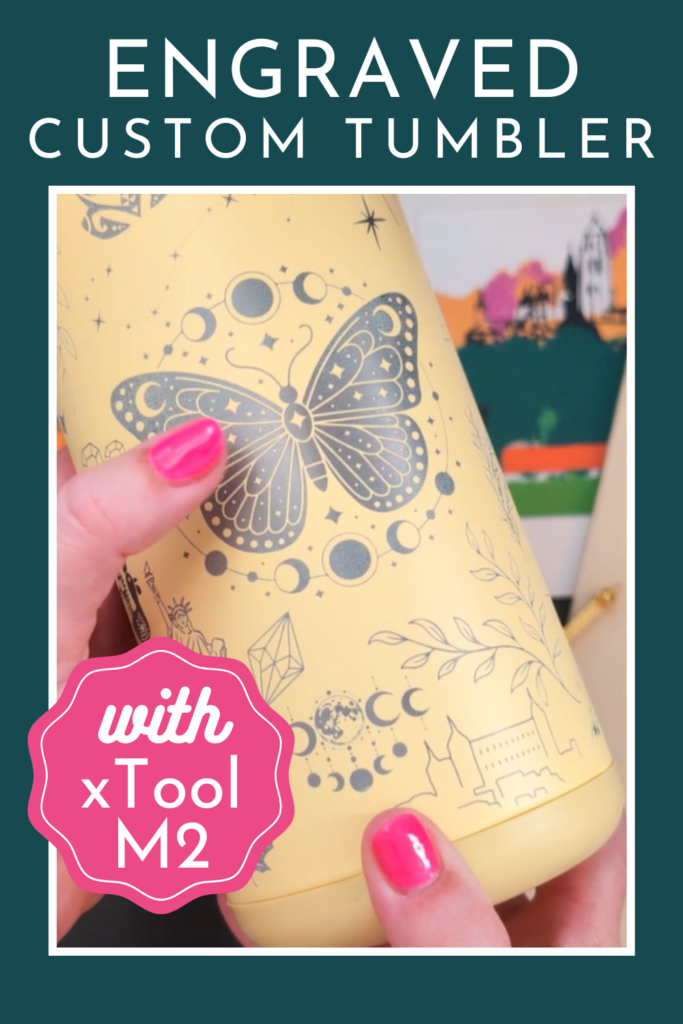
The xTool M2 has a rotary attachment that makes it possible to engrave tumblers and other cylindrical objects. One thing I especially like is that the laser module installs horizontally, so I didn’t need to use base risers to raise the machine up to accomodate the tumbler.
xTool provided this machine to me for review. All opinions are my own.
If you’ve been wondering if it’s time to upgrade from your electronic paper cutter to a laser engraver for home use, this project will help you make your decision I’m sure.
I’ve been enjoying learning about the features and capabilities of the xTool M2 over the last few weeks, and one of my first projects was engraving a tumbler.
I knew I wanted to make something personal rather than just adding a name or a simple design, so I created a tumbler filled with places, symbols, and things that are meaningful to me.
But first, let’s look at the setup.
Installing the Rotary Attachment
The rotary attachment is easy to install. As you unbox it the first time, be sure to keep all the parts and pieces together in a box or container so you’ll always have what you need for whatever you’re engraving.
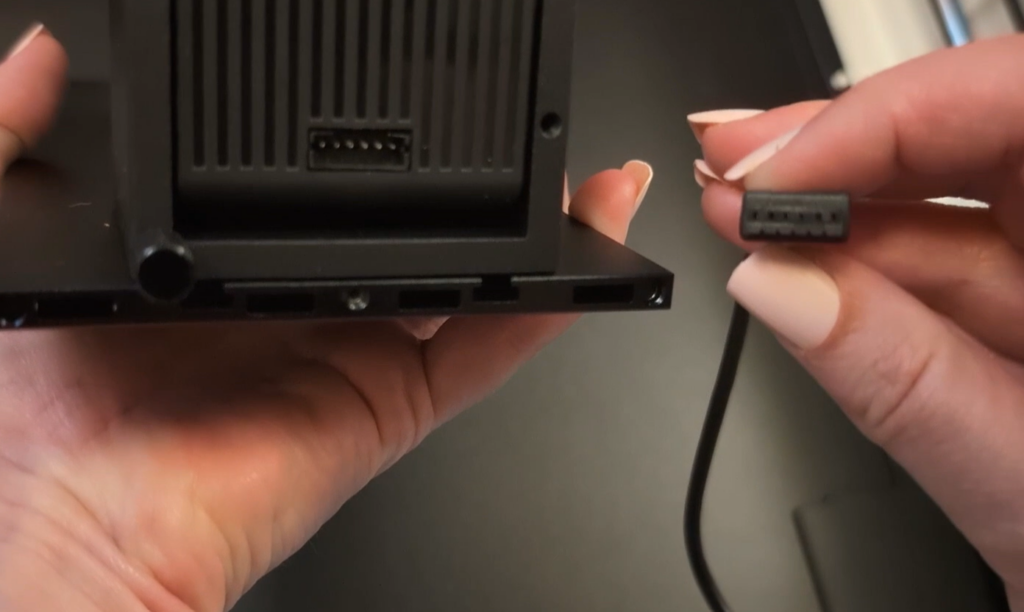
First, locate the cable. Insert the pin end into the back of the rotary attachment.
Then connect the other end to the appropriate port on the right side of the laser towards the back, by the power cord.
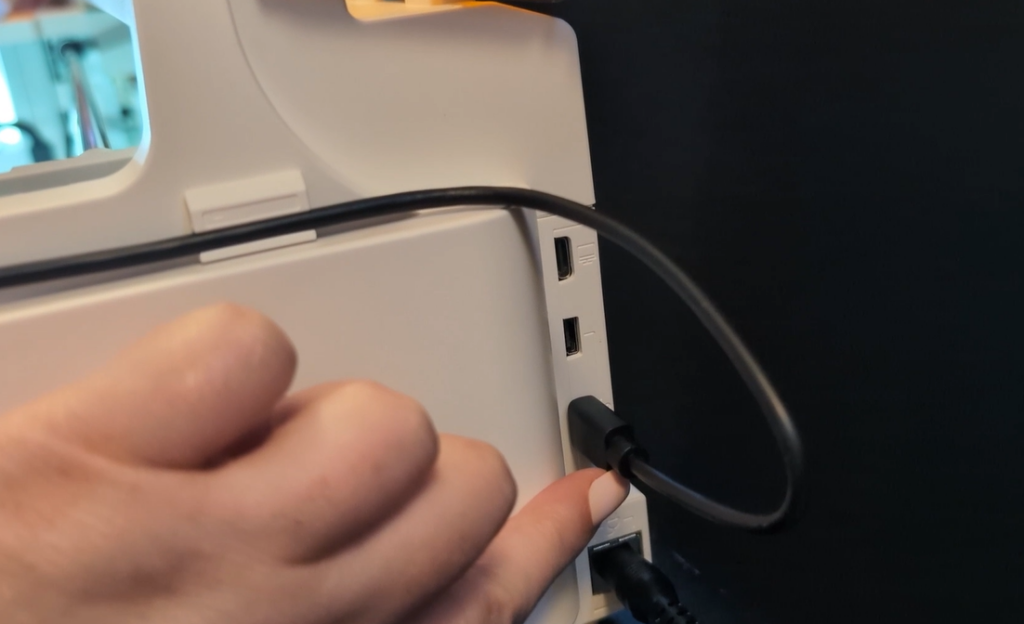
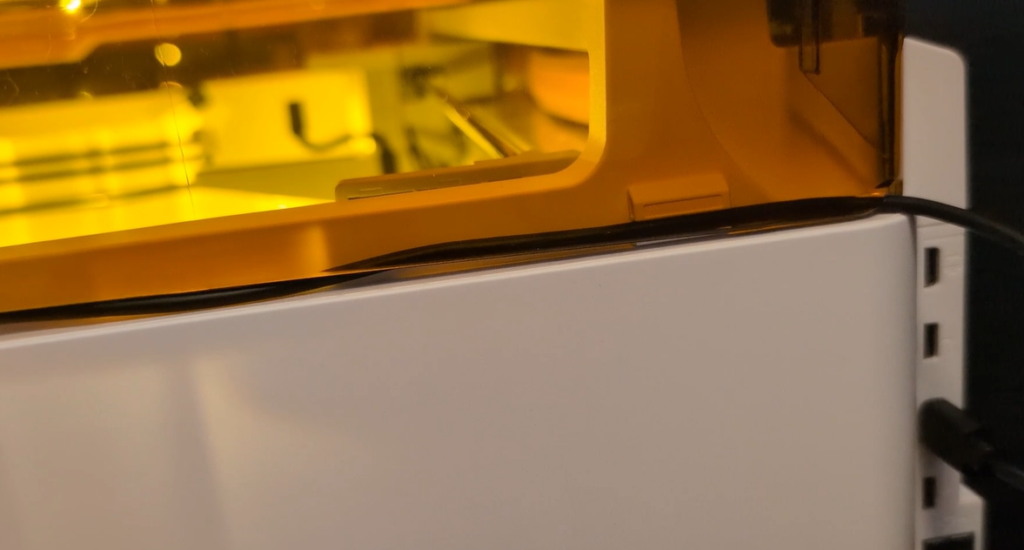
Tuck the cord under the tabs so that the lid can still close completely.
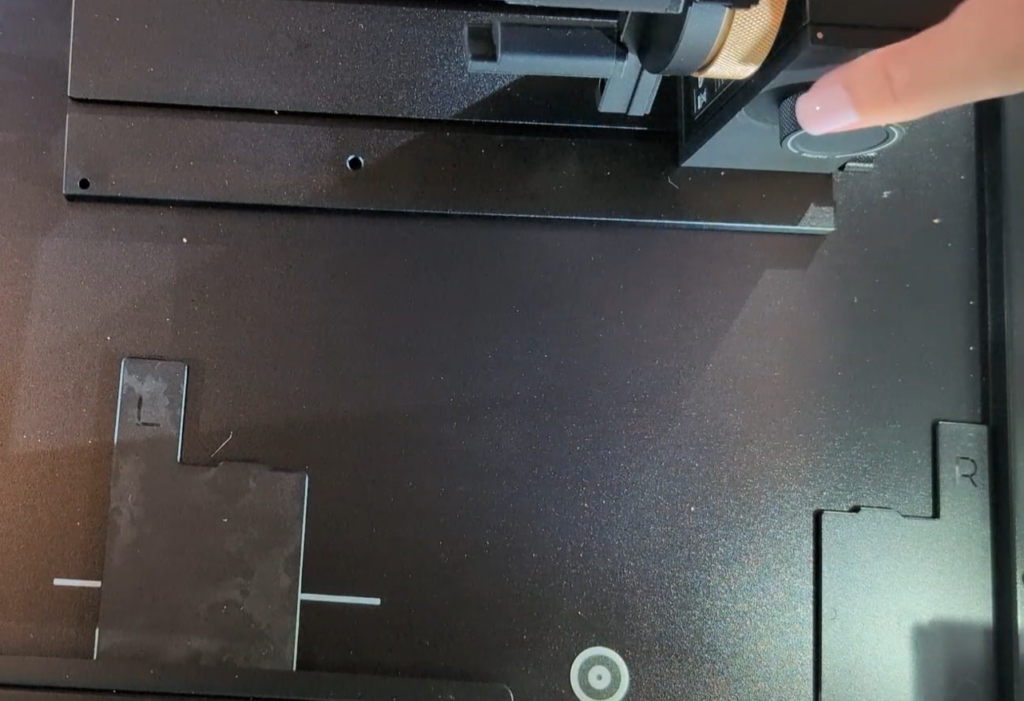
To position the rotary attachment correctly, place the spacers inside the machine and slide the rotary into place. They’re even labeled with L and R, so you really can’t mess it up.
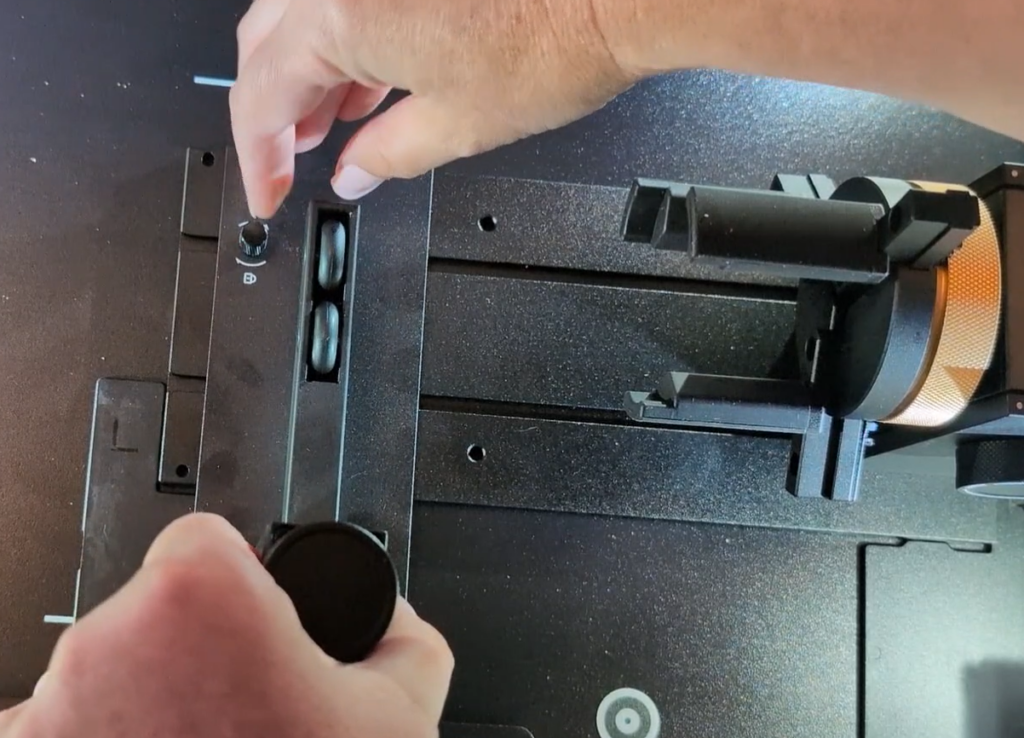
The rotary attachment box includes a rolling stabilizer. It helps support the end or middle of your item so that it stays level during processing.
Slide it into the tracks from the left and use this knob to tighten this down.
Since there are several options for securing your tumbler, choose the one that works best for the shape and size of the tumbler you’re using. For this project, I used the Extended Jaw with inner grip.
Twisting the gold ring towards you causes the jaws to move towards the center of the rotary – this makes a tighter grip from the outside. For an inner grip, twist the gold ring away from you and the jaws move away from the center.
Practice this a couple of times and you’ll see exactly what I’m talking about.
With the tumbler installed on the jaws, set the level across the top and raise or lower the support rollers until it’s level.
Installing the Laser Horizontally
The next step is to change the direction of the laser module.
Unplug the laser module, then gently pull it away from the magnets and set it aside.
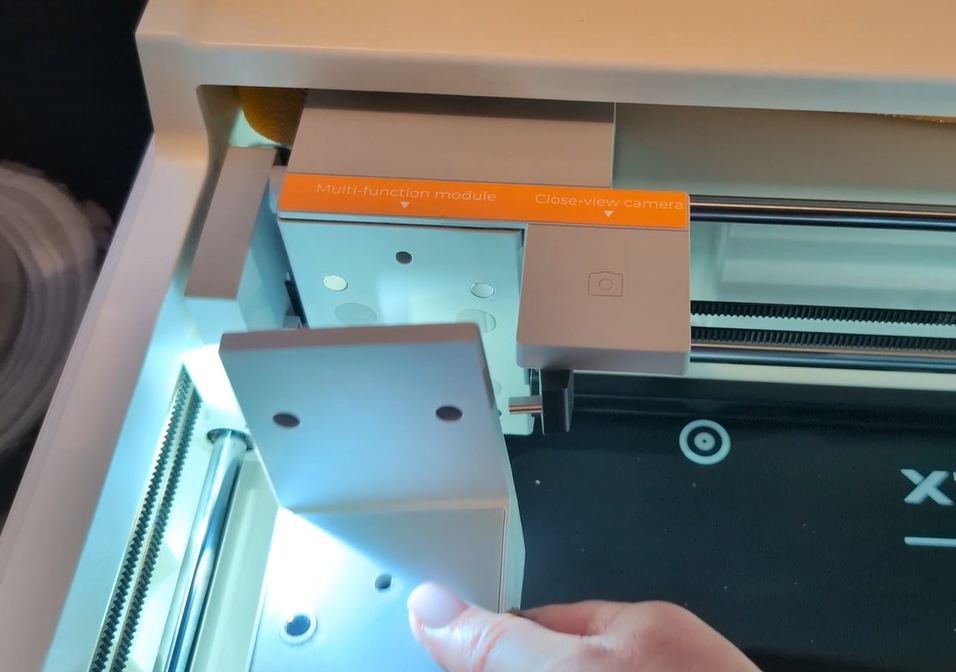
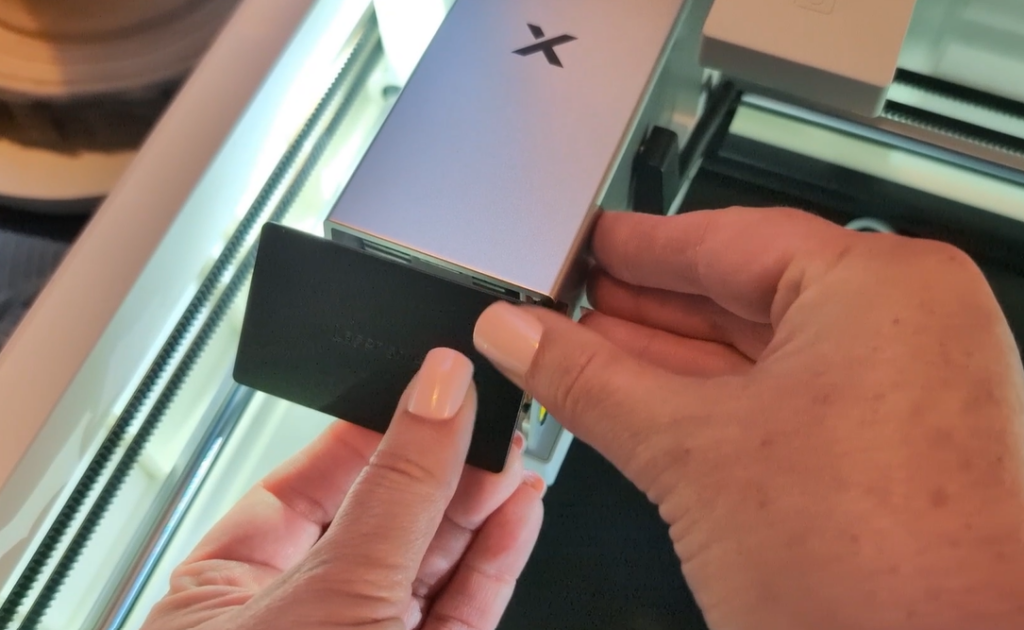
Install the horizontal attachment piece, then replace the laser module in the horizontal position.
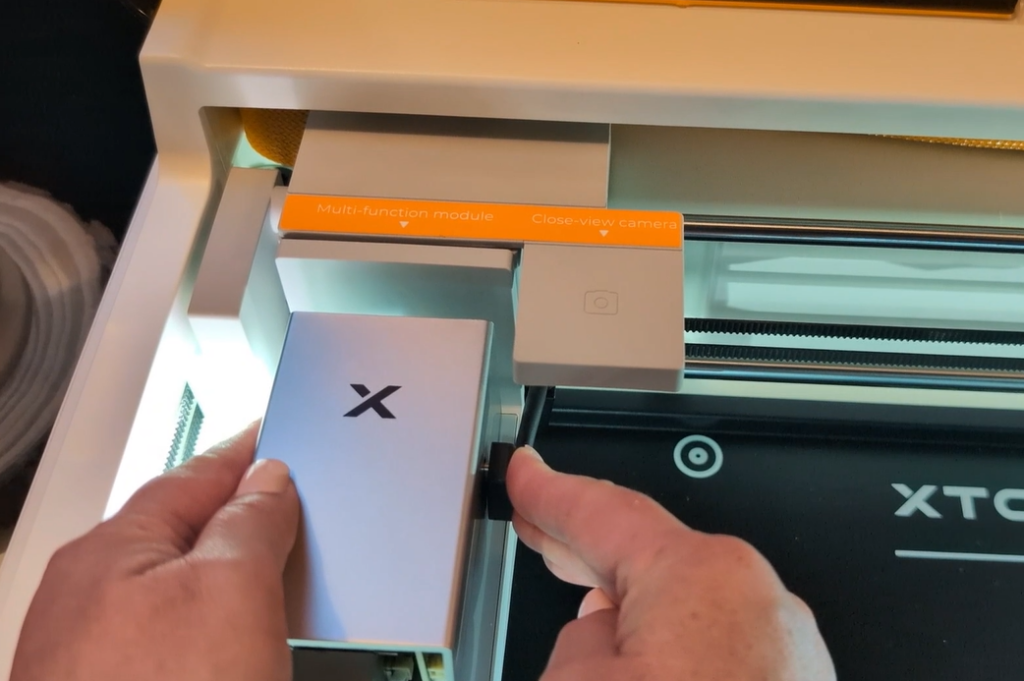
Plug it back in and add the shield over the top. The lid of the xTool M2 does protect your eyes, but this is just another layer of protection.
Designing the Tumbler
I created my design in Canva.
First, I measured the circumference of the tumbler. That measurement became the width of the design area I could use.
I also measured the flat portion of the tumbler, from the top of the silicone base to the point where the tumbler began to curve. This gave me the height of my usable design area.
Then I started adding and layering design elements.
I wanted the design to have a slightly mystical look, so I used elements like a moon and butterflies as part of the overall design. But I also wanted the tumbler to include things that were specifically meaningful to me.
I used elements from Canva and Creative Fabrica, along with designs that I drew myself. I even included a little dog head based on my own chihuahua, as well as buildings and landmarks from places I’ve visited in Spain and Portugal.
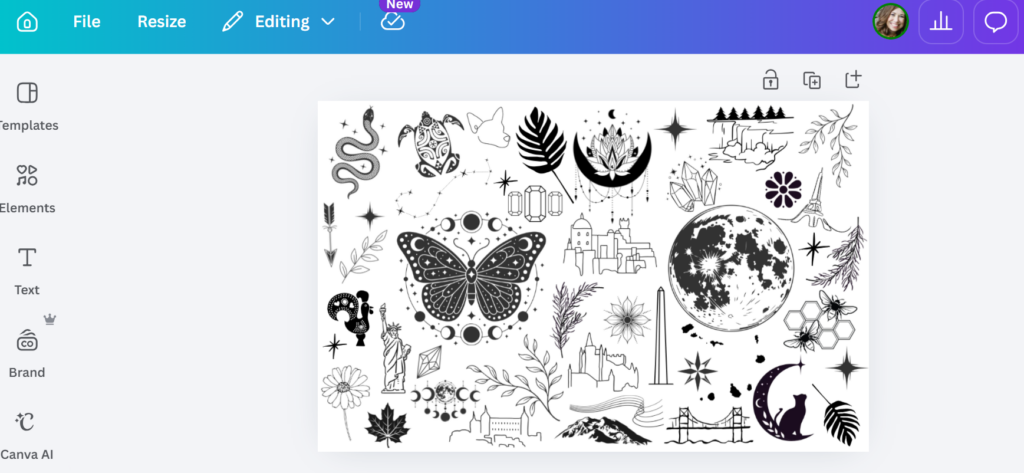
Once I had the design finished, I exported as a single PNG.
THEN, I brought the PNG back into Canva to increase the shadows and contrast of the overall image so that it would engrave well. Then I exported the design as a final PNG.
Setting Up the Engraving
In xTool Studio, I imported my design and connected to my M2.
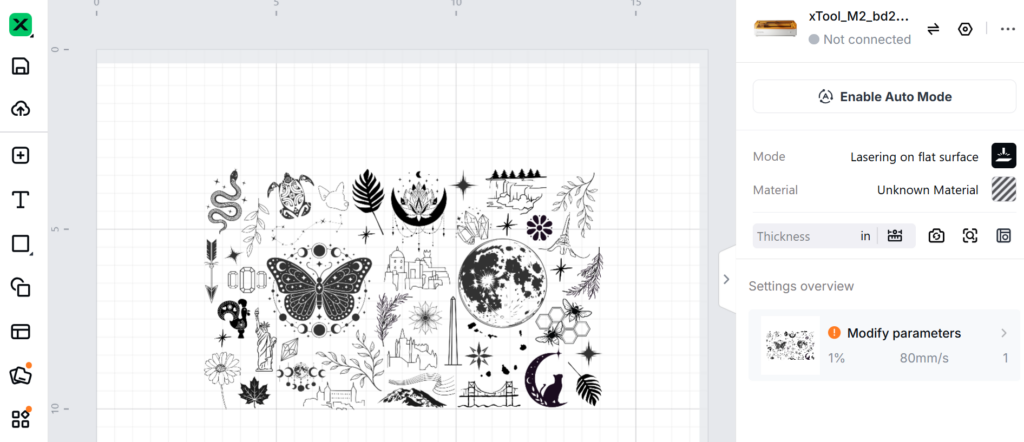
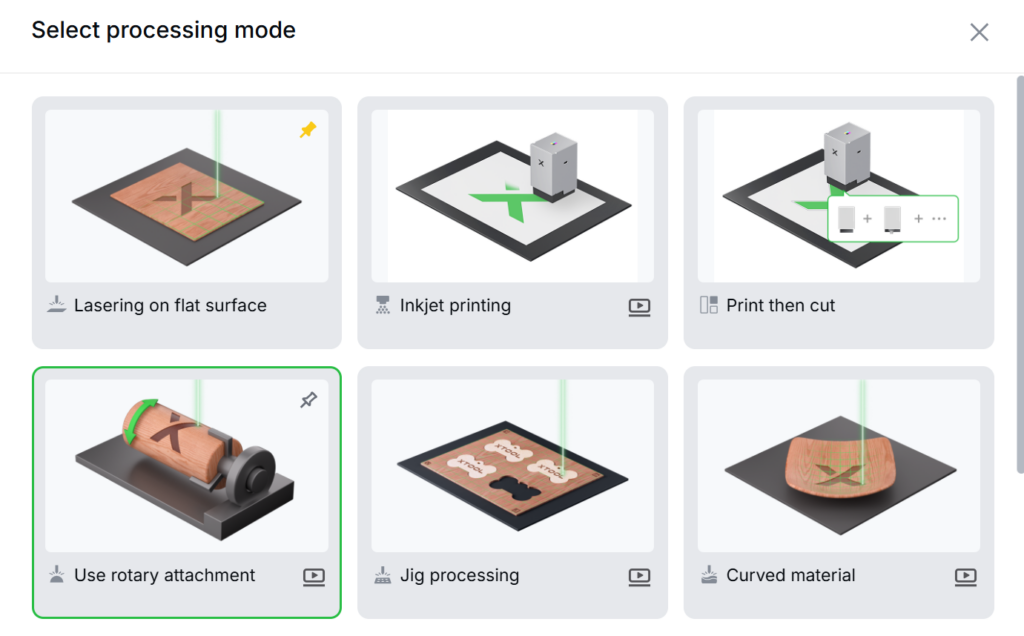
Go to the processing mode and change to Use Rotary Attachment.
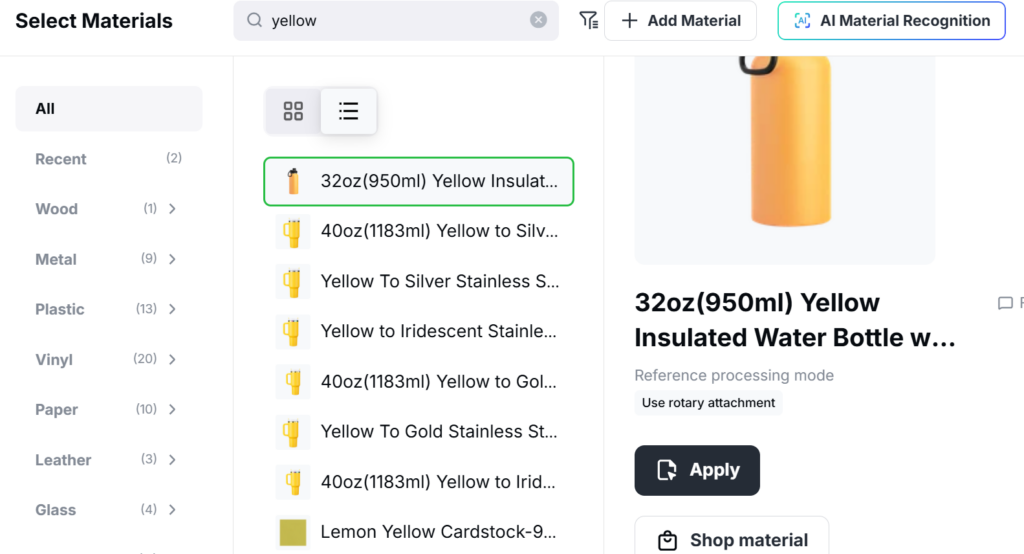
I also selected the appropriate material setting for the tumbler. I like to use the xTool materials library to get a base for the power and speed settings. Choose the material and click Apply.
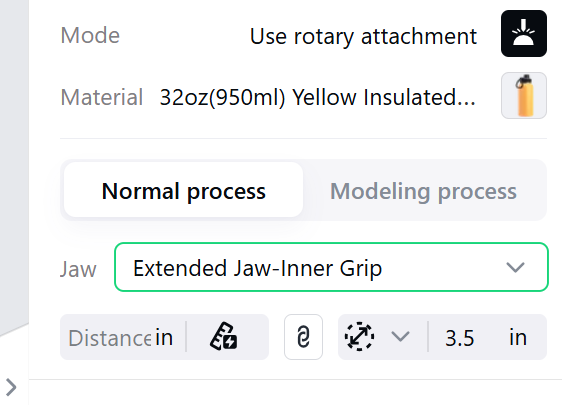
Next, I measured the diameter of my tumbler and entered that here. By selecting one of the xtool materials, it preloads that measurement too – but I need it to match my tumbler, which is a little smaller.
I aligned the image and checked carefully to make sure the design stayed within the usable area of the tumbler and didn’t extend over the top or bottom edges.
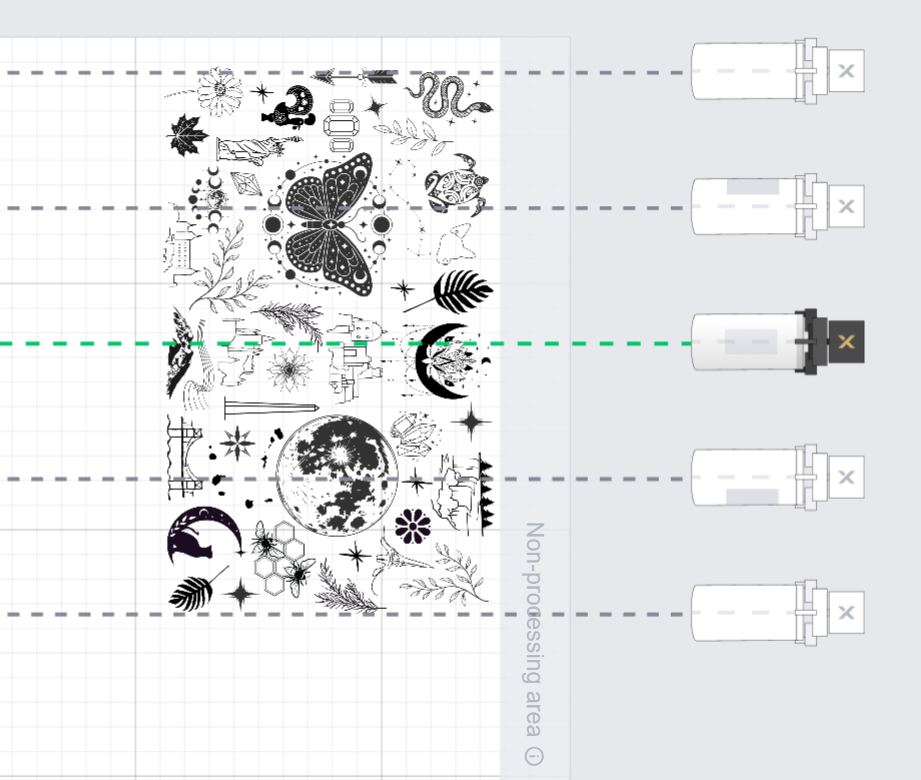
Set the Distance by doing a manual or auto measuring. Follow prompts in xTool Studio to measure.
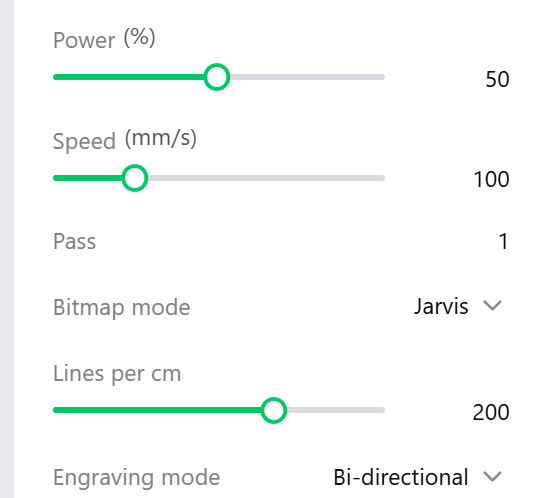
Here are the settings for engraving a tumbler in the M2.
- Power 50%
- Speed 100 mm/s
- Pass 1
- Bi-Directional
The default will be Uni-directional – I changed this because the original engrave time was going to be over 5 hours (since it’s a full wrap design)
With Bi-directional, the engrave time cut to just over 2.5 hours.
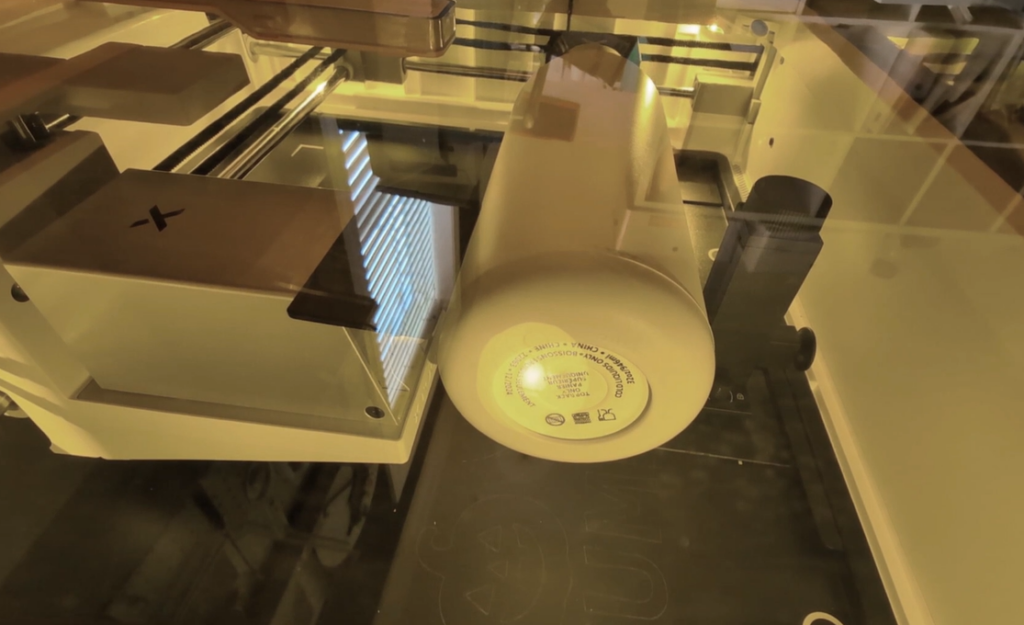
After closing the lid, I was ready to begin the engraving.
Click the Framing button and then the button on the machine, and watch where the laser goes to confirm that the laser design will go where you intent on the tumbler.
Click Process, then Start, and push the button on the machine.
The laser slowly moves from left to right as it engraves each line of the design. Meanwhile, the rotary attachment does the faster work of rotating the tumbler to bring the next section of the design into position.
Don’t Panic When Your Tumbler Looks Dirty!
As the laser removes the powder coating, the exposed metal underneath begins to show.
While the tumbler is being engraved, the smoke and residue can make the design look dark, dirty, and kind of gross.
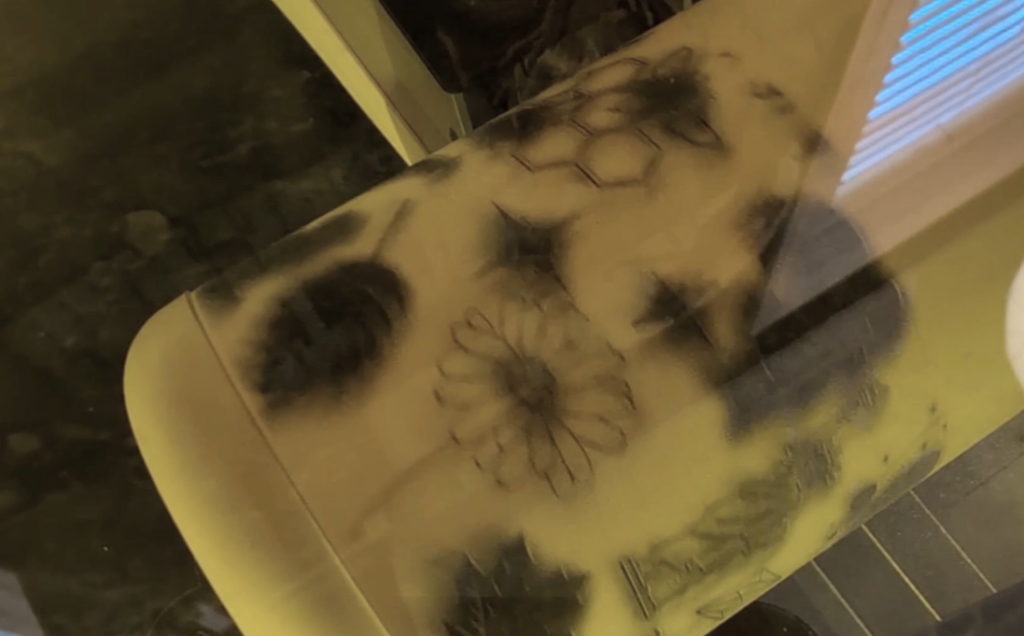
Don’t worry—your tumbler isn’t ruined!
Once the engraving was finished, I opened the lid and removed the tumbler from the chuck.
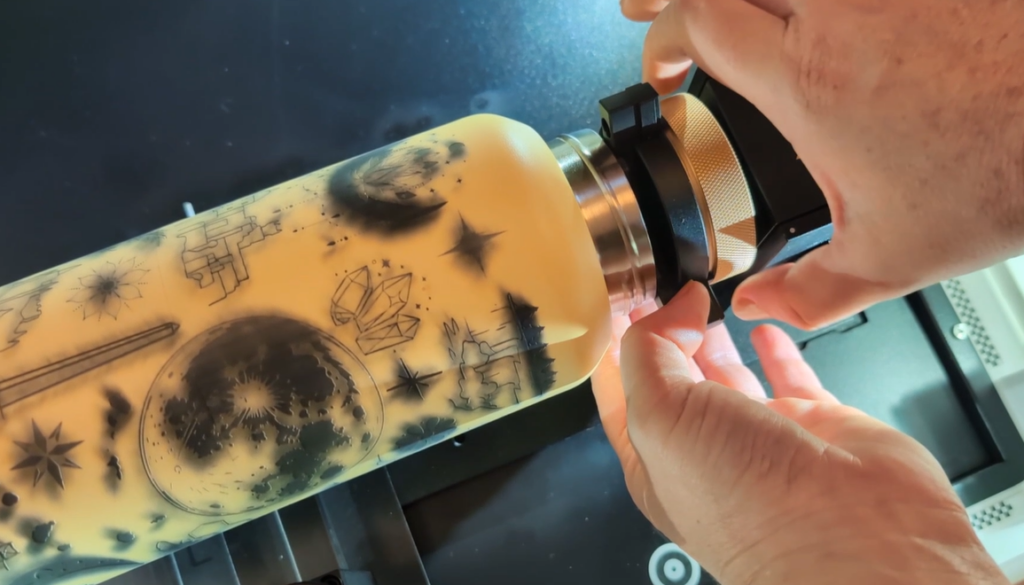
Hold the black jaws and twis the gold ring towards you to loosen the grip and release the tumbler.
Then I took the tumbler to the sink for cleanup.
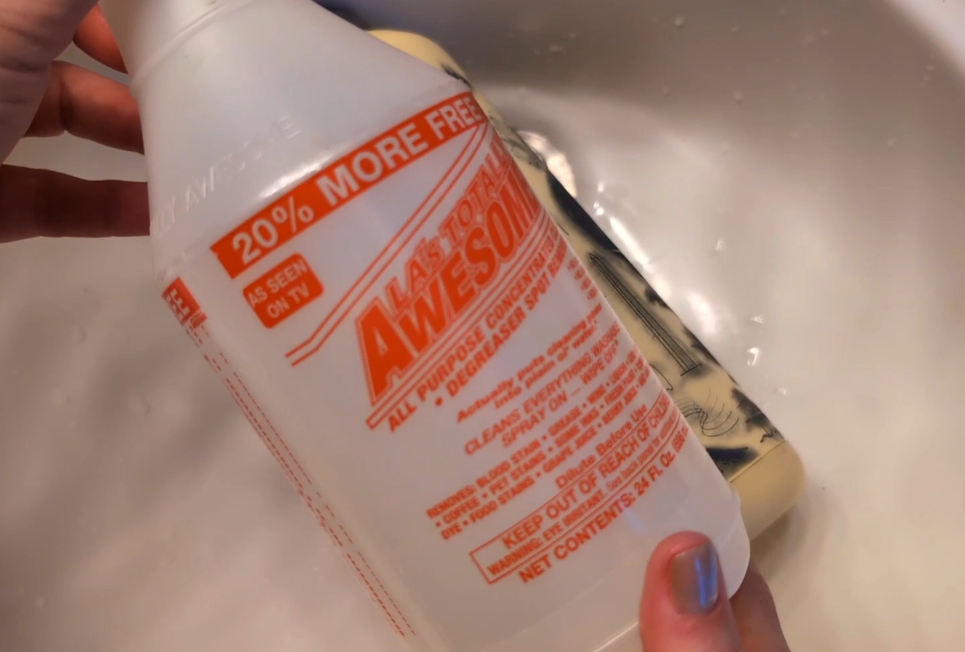
I sprayed it with LA’s Totally Awesome (get it from Dollar Tree) and let it sit for about a minute. Dawn Powerwash also works but it’s more expensive.
Then I rinsed it and sprayed it again, using a microfiber cloth to remove the smoke and residue from the surface.
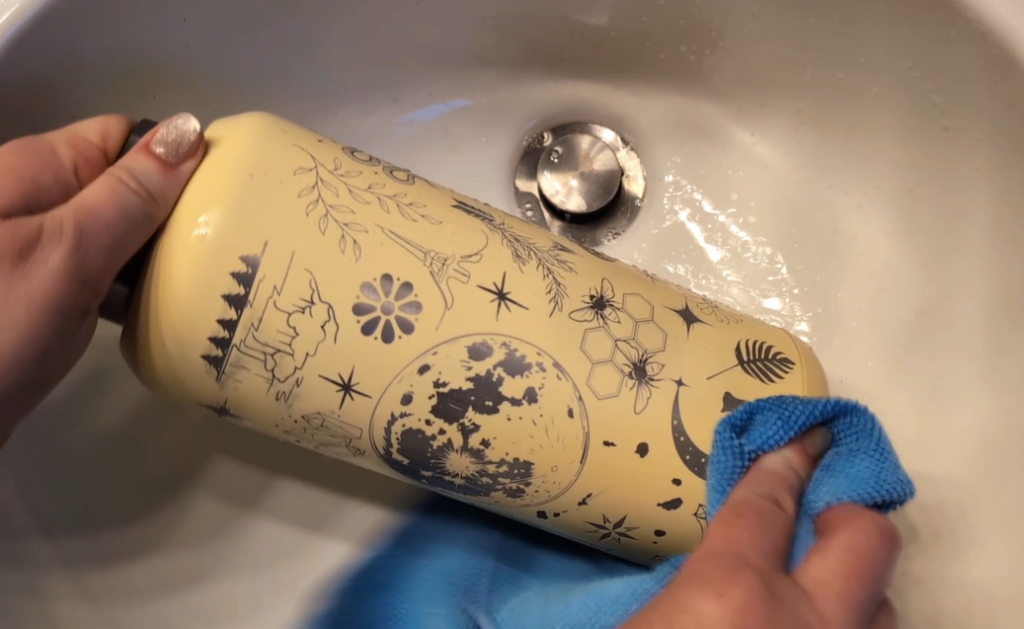
The silver underneath the powder coating really began to shine as the residue was removed.
Make sure the tumbler is thoroughly washed and rinsed before using it.
The Finished Tumbler
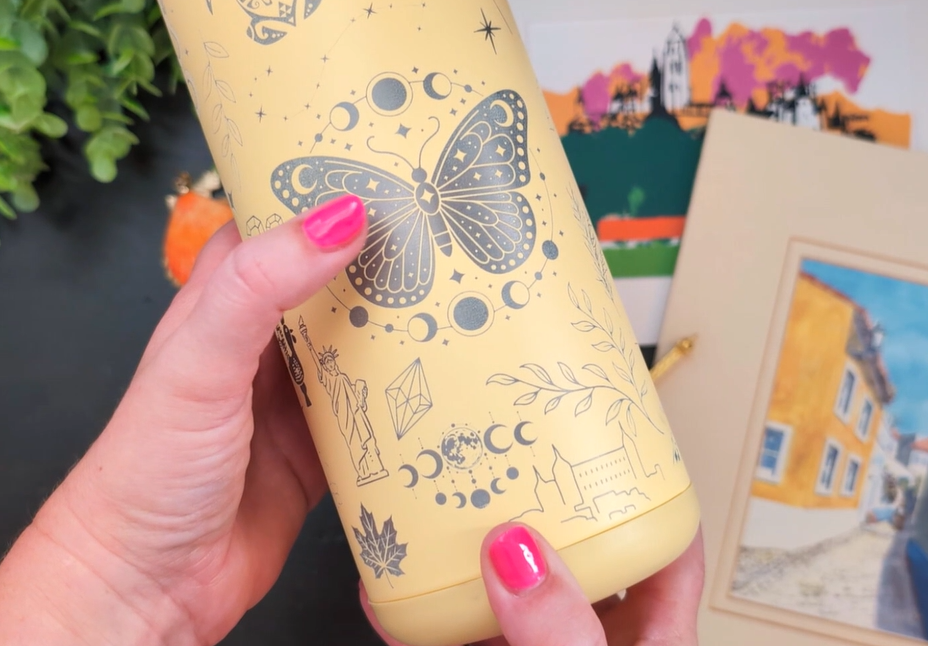
Here’s a closer look at the finished tumbler—and the story behind some of the design elements I chose.
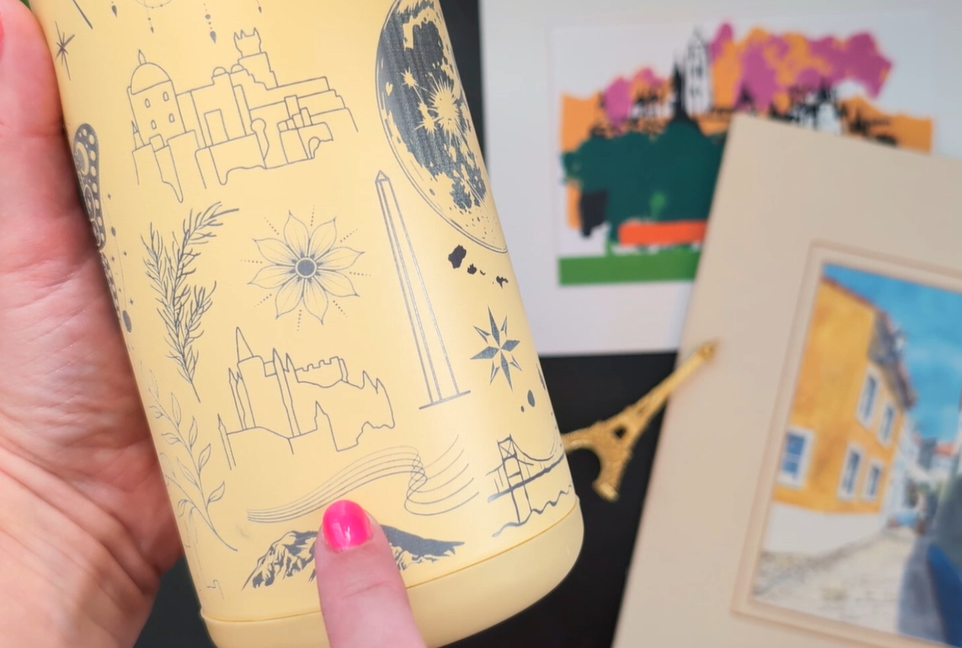
I started with a few elements I simply liked, including the mystical-looking moon and butterflies. But I also added a collection of symbols and places that are meaningful to me.
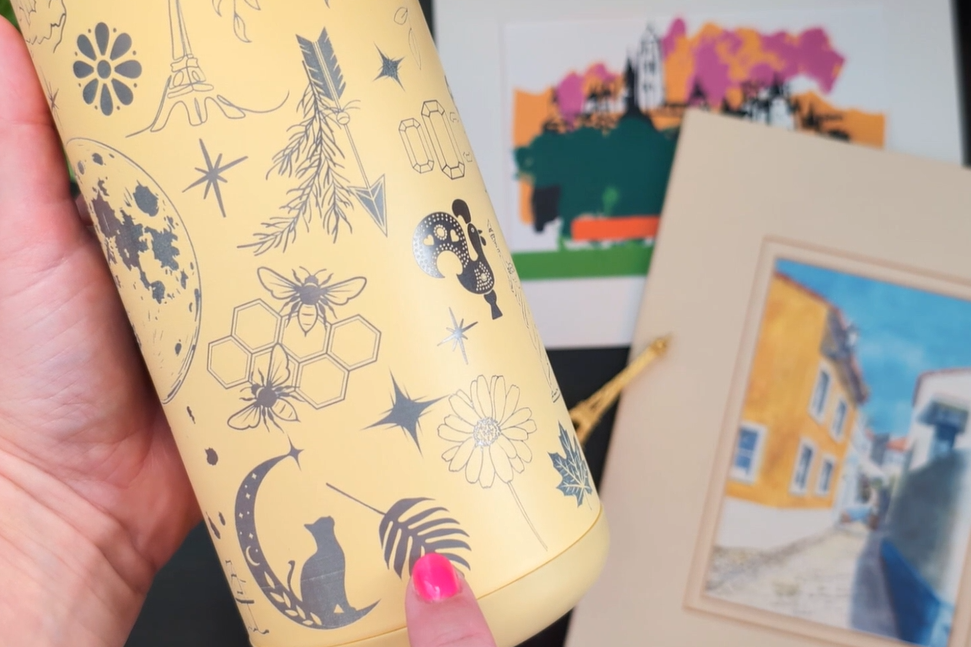
Some of the elements include:
- A crystal representing The Gem State (Idaho) where I grew up
- Other states we’ve lived: Palm branch (California), Pine branch (Oregon and Washington) Bees and honecomb (Utah)
- For some states we’ve visited: Niagara Falls, Golden Gate Bridge, Sea Turtle, Washington monument, Statue of Liberty
- Buildings from cities in Portugal and Spain I’ve been to: Sintra, Toledo, Segovia
- Cape Verde islands – I lived there for a year when I was 21
- Canada’s maple leaf
- Eiffel tower
- The rooster also represents Portugal (and fun fact, the bridge in Lisbon is a sister bridge to Golden Gate!)
- Scorpio constelation
- Lotus – my dad called me Lotus Blossom when I was little
- Gerbera daisy, the first flower my husband gave me
- Doodle of my chihuahua’s head and a cat on a moon
I love that this tumbler is more than just a pretty design. It has a collection of little reminders of places I’ve been, things I love, and pieces of my life all wrapped around one cup.
Tools and Supplies
Here’s everything I used to make this engraved tumbler:
- xTool M2
- xTool rotary attachment (comes with above link)
- Yellow powder-coated tumbler
- LA Awesome
- Microfiber cloth
- Canva and Creative Fabrica
Are you looking for an affordable laser engraver that you can use for your small business or own craft hobby? The xTool M2 is a great option. Have questions about making an engraved tumbler with the xTool M2? Ask me in the comments!
I hope this inspires you to design your own tumbler filled with your own “special places and things.”