The Cricut Maker can cut tissue paper with the rotary blade and the cuts come out so clean! I haven’t ever tried cutting tissue paper with the fine point blade, but I know the Maker works so well because the rotary blade doesn’t drag, so it doesn’t tear.

I made some Cricut tissue paper flowers by cutting out 4-inch scalloped circles. Open this Design Space File if you want to use exactly what I did.


Supplies:
Tissue paper: 1, 2 or 3 colors.
Paper circle
Adhesive vinyl (I used a metallic blush color)
Hot glue
Frame
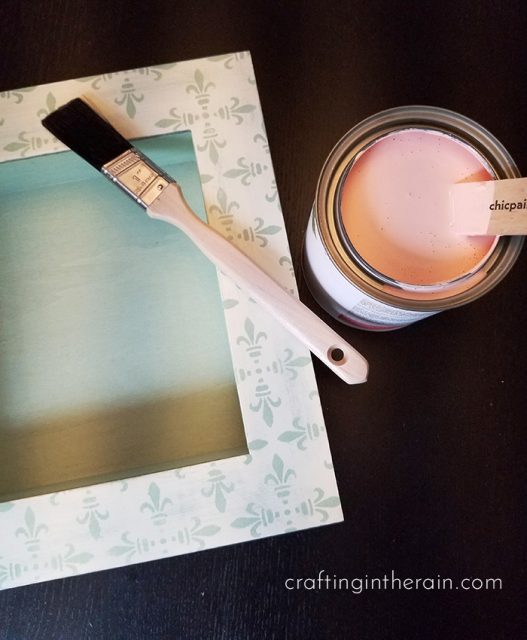
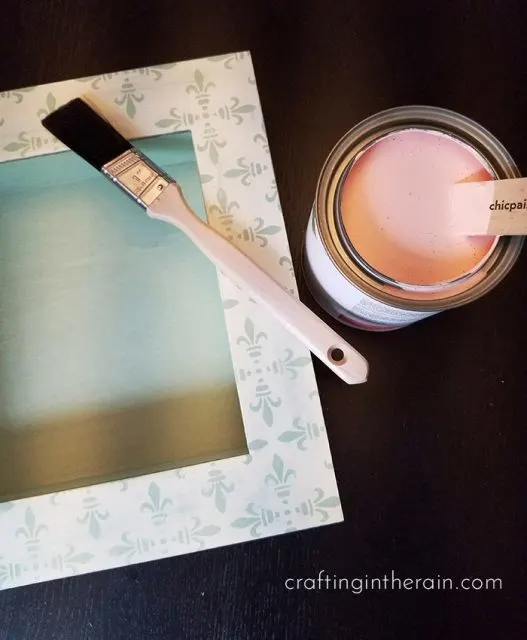
Paint
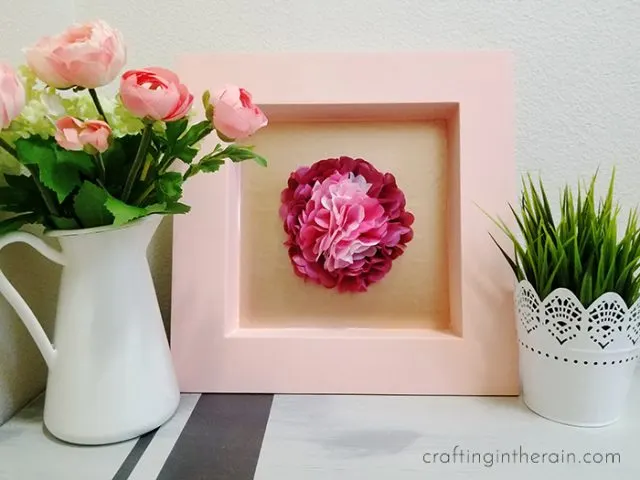
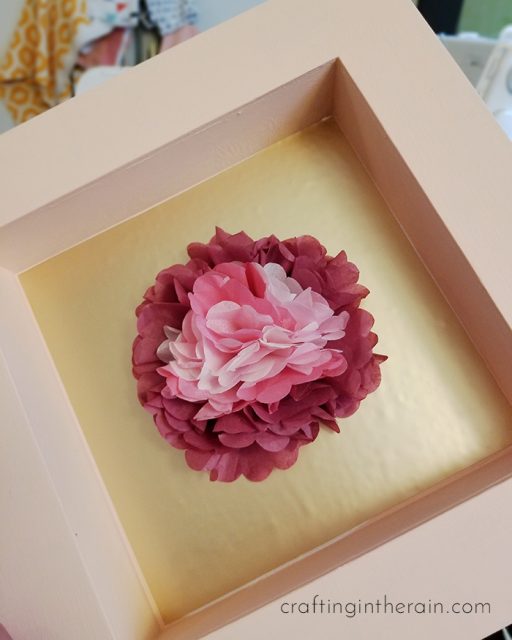
Paint the frame if desired. This box frame was left over from another project from a few years ago. I painted two coats of light pink paint. When the paint is dry, cut a piece of the vinyl or cardstock to fit exactly in the back of the frame.
Cutting tissue paper with Cricut
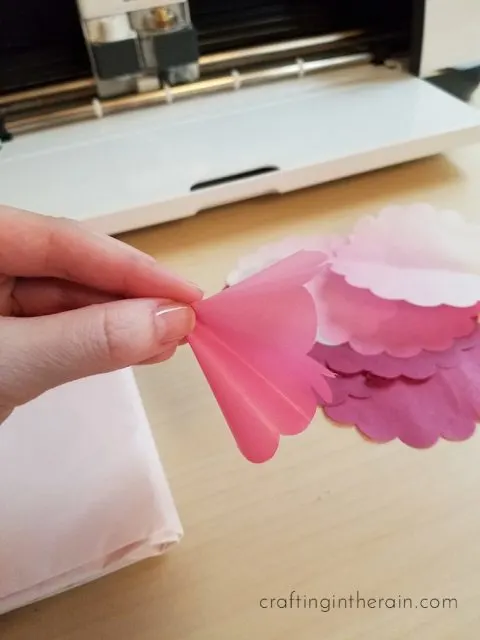
Press a piece of tissue paper onto a blue mat – this is the LightGrip mat, so the tissue paper can come off after it’s cut. One trick I found for releasing the tissue from the mat: use the spatula to get under a few petals. Then gently peel the tissue away, slowly and using a slight back and forth motion.

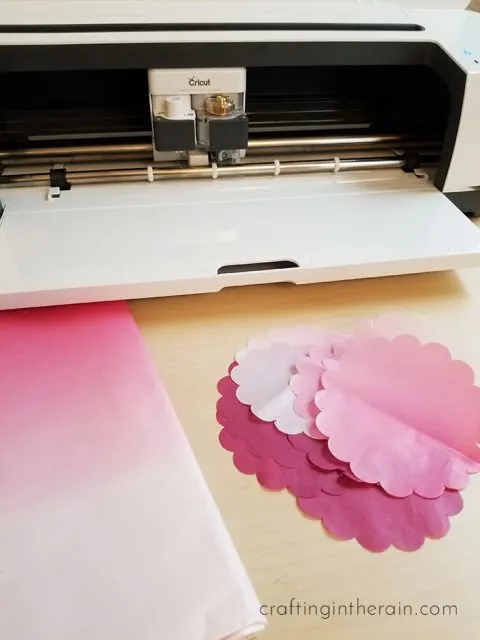
Cut 16 tissue paper scalloped circles and pinch each one in the center. Dab hot glue on the end and attach it to the paper circle.

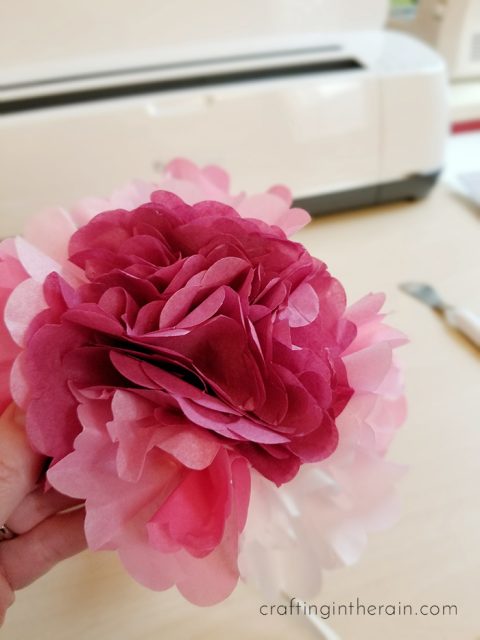
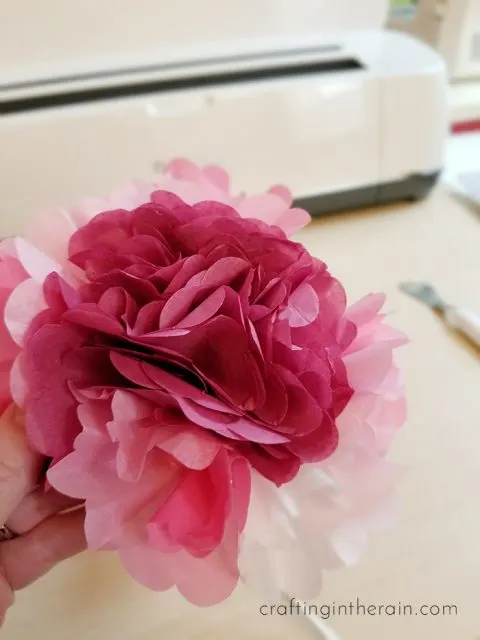
Fluff out the tissue, gently, and when it looks good, glue it to the frame.

What else would you use cut tissue paper for? I think these flowers would be really cute on a wreath, a sign, or to top a birthday present! You can also make felt flowers with your Cricut.
For more tissue paper Cricut projects, check out these links:
The Best Paper Flower Tutorials to help you create paper flowers
Monday 10th of October 2022
[…] also shares a tissue paper flower she cut using the Cricut. I love this tutorial because it makes it fairly easy to create and she provides the cut […]