{DIY craft room storage}
I’ve been working on making my craft room (the bonus side of our bedroom) a more functional space. My first order of business was to go through all of my boxes, baskets and bins to sort out all my supplies and see what I really had, and what I really wanted to keep. When I grouped all my paint together, I knew I wanted some better paint storage than just boxes. They were hard to get to and it was hard to see what I had.
I was inspired by the Ana White spice rack plans, and then modified them to make it work better for me and my paint. I also made it fit my big yellow cabinet so I could attach it right on the side.

Step 1:
Buy wood and make cuts.
7 (1×6) @ 16.5 inches
2 (1×6) @ 39 inches
Step 2:
Paint two long pieces (the sides)
Then I designed a pattern to cut with the X-Carve.

A little bit of sandpaper cleaned up any rough edges.

Step 3:
Four pocket holes (two in each side) in the bottom of each shelf. This was my first time drilling pocket holes and learning to use the Kreg Jig . I discovered that if you don’t tighten the collar down enough on the drill bit, it will slide, causing the holes to be deeper than you intended and you will have to drill knew holes everywhere. So I got to practice making a lot of pocket holes 🙂

Step 4:
Build the outside of the shelf unit by attaching one of the shelf pieces to one of the side pieces. I used a corner clamp to try to hold it tight for me.

Repeat on the 4 corners.
Step 5:
Add shelves and top backing pieces. Between the top two shelves I put a piece of the 1×6 on the back so I could drill through it and mount it to my cabinet. You can see I ultimately decided to not put the plywood backing on the shelves, like the original plans has.
My shelf distances were thee of them at 5.5, then 8 and 10 inches. That way I’d have some room for a few of my taller items.
Step 6:
Paint/ touch up paint and top coat. I used DecoArt satin varnish.
Step 7:
Hang. Holding the shelves up to the side of the cabinet we drilled with 1/4 inch bit all the way through the backing piece and the cabinet. Then we secured it with 1/4 inch bolt, nut and washers. That thing isn’t going anywhere.

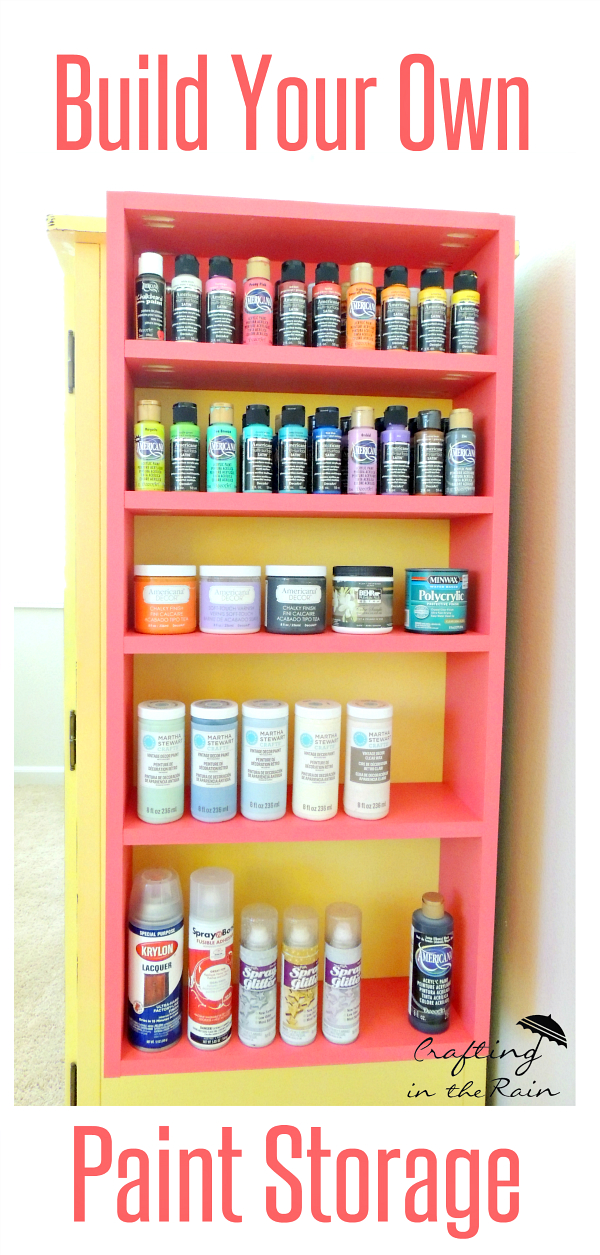
Finally I added all my paint and I love the way it looks!

Do you need some craft storage ideas? These DIY shelves just might be your answer!

some links may be affiliate
Have a Daily
Tuesday 15th of September 2015
What a clever idea for such creative storage! Thanks for sharing it with SYC.hugs,Jann
elaine @cookinandcraftin.com
Tuesday 15th of September 2015
These are so cute!! I need one for my craft room!! Thanks for sharing on My 2 Favorite Things on Thursday...hope to see you again this week!! Pinned!
Kelsey Poofy Cheeks
Monday 14th of September 2015
First I must say I LOVE the yellow cabinet!! I love the bright colors you picked and the design you did on the outside is really cool! Yay for pretty craft storage :) :) -Kelsey
Angela Neese Rathbun
Friday 11th of September 2015
Organizing always makes me happy, and when organizing looks this pretty and colorful, its really the best of all worlds! Thanks for linking up with us at The Creative Circle!
Atta Girl Amy
Thursday 10th of September 2015
So clever to mount this to the side of your cabinet. Love how this turned out with the carving on the side.