We were sent an X-Carve machine from Inventables to review. All thoughts and opinions are ours alone.
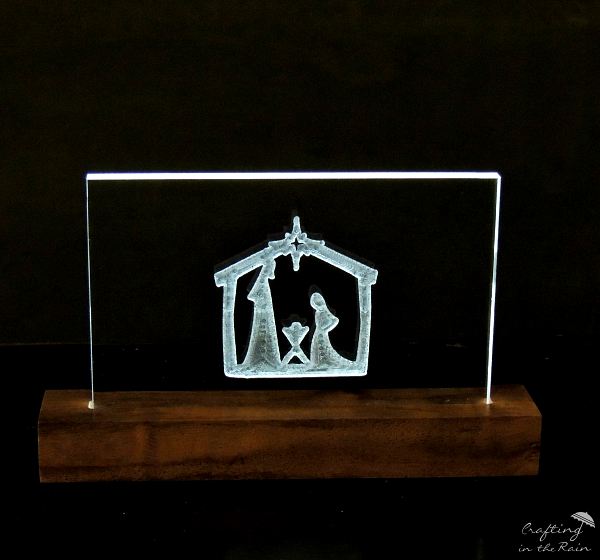
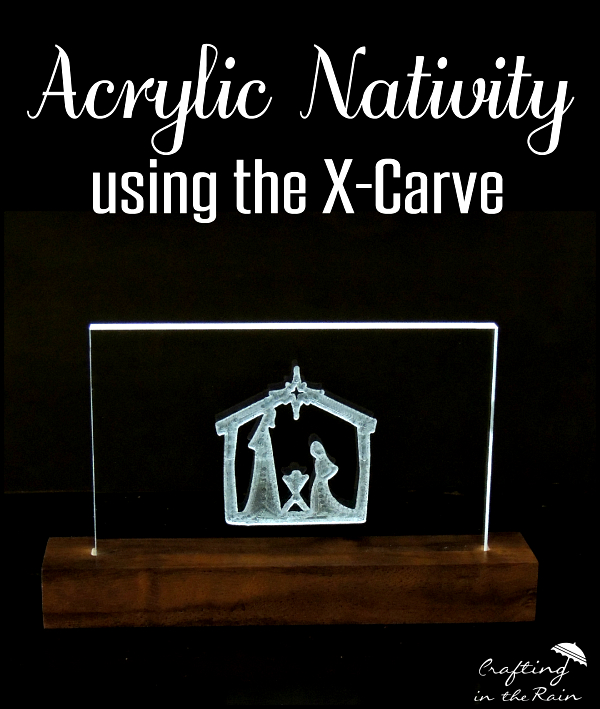
We’ve got another X-Carve tutorial for you today. This is one that Steve dreamed up, and it turned out even better than we imagined! It’s a nativity carved into a piece of acrylic, then set in a wooden stand that includes a strip of LED lights.
Here’s the supply list:
- 4×6 3/8 inch thick acrylic
- 1 inch thick 1.5 inch wide, 7.5 inches long wood for the base (we used Koa–a beautiful wood from Hawaii)
- LED Strip Lights Kit
- 1/16 inch carbide two-flute downcut endmill (available on ebay) to carve the acrylic
- wood glue
- sandpaper
- spray lacquer
Steve set up the cut in Easel and carved the nativity image, regularly blowing the cut bits of acrylic away with the air compressor.

We did a few test carves on scrap wood because we wanted to make sure the acrylic piece and lights would fit perfectly.
The base was cut into two pieces which are each carved. The top piece is carved all the way through, but with a 1/4 inch ledge on each side for the acrylic to rest on. The lights then go under and be able to shine up into the acrylic without the acrylic actually touching the lights. We can buy new parts to continue to use the leftover LED strip.
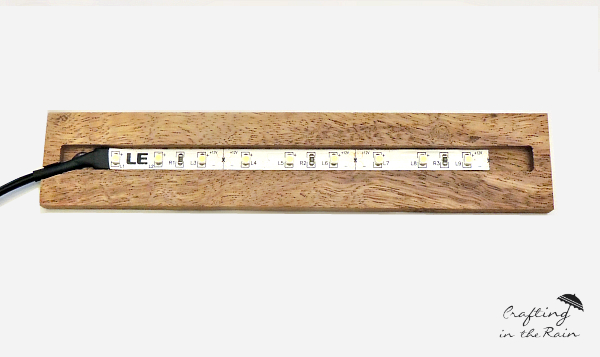
The bottom piece has a groove cut for the light strip to rest in as well as a slot for the wire to come out so the lights can be plugged in.
We installed the light strand (cut to fit) into the bottom of the base and secured the wire with a bit a hot glue. Then use dwood glue and clamps to attach the top piece. When it was all dry, it was sanded and got a few coats of spray lacquer.

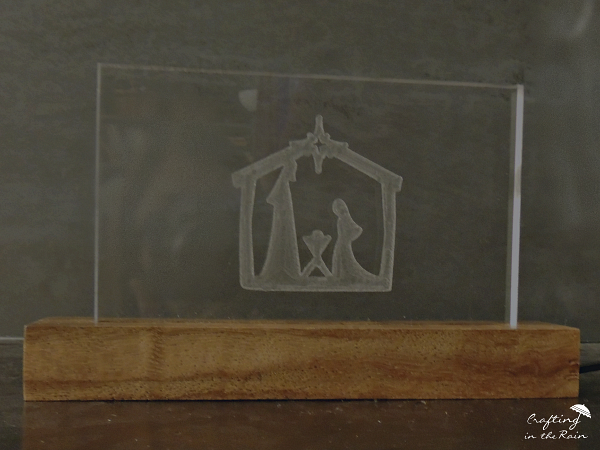
Here’s how the piece looks with the lights off.
And here’s the end results with the lights on. Isn’t it so pretty! We’d love to hear what you think!
Watch the video from Steve’s YouTube channel–it’s so cool to watch the X-Carve in action! And be sure to check out Inventables for more information. Project write up here.

Valerie Earnest
Monday 14th of September 2015
That is so gorgeous! How creative you two are- and such a cool machine!
Holy Craft
Monday 14th of September 2015
I am super impressed! That is so awesome! It's got my wheels turning for Christmas crafting!