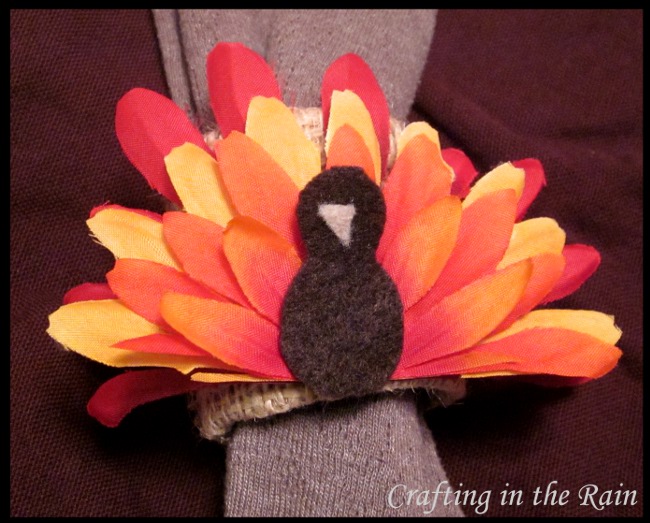
Stock up on fall flowers now so you can create a simple and adorable flower turkey!

These are my little flower turkeys and I’m going to show you how to whip up a rafter of your own. (That’s the right word for a group of turkeys, I checked on Google.)
Here’s your supply list:
Glue gun
Felt (I used brown and tan)
Flowers–fall colors are nearly free at craft stores now because Christmas has moved in!
Optional: Napkin rings and burlap, googly eyes, hair clip

First you’ll need to separate your flowers. The little plastic stem should pop right off and you can take each layer of petals off.

Stack different colors of petals in a way you like them, with each layer being a little smaller than the one under it.

Glue layers together with hot glue.
Cut in half.

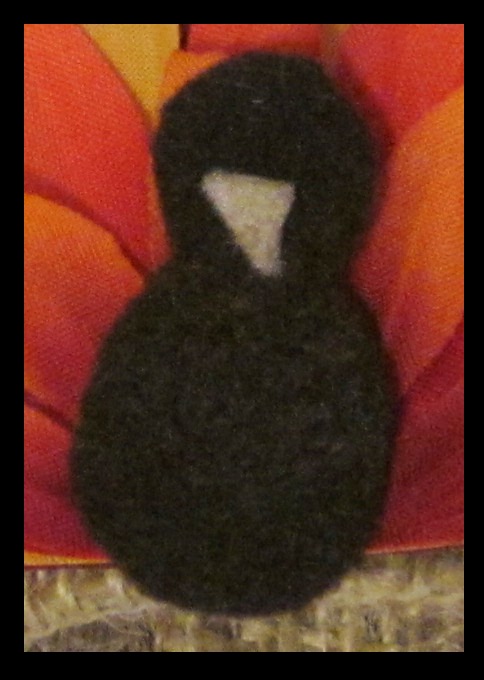
Cut a turkey shape out of brown felt and glue it to the flowers. Add a tiny tan triangle for a beak. I liked how they looked at this point–though if you wanted you could also add little googly eyes and a red wattle (thanks again Google!) they’d be really cute too.
To make the napkin rings I grabbed these little cardboard rings that I’ve had in a box for a couple of years (I knew I’d use them some day!)

I cut a strip of burlap to fit around it and secured it with the hot glue.

Next I put a ring of glue around the inside and tucked each end down in. Your fingers will thank you if you’ve got a dual temp gun set at warm instead of hot 🙂
I also decided that these would be cute in my girls’ hair so I attached a couple of them to clips.

If you make some of your own, I’d love to see them!

Visit this post for great edible place card ideas.

Click here if you’re looking ahead for Christmas crafts
More Thanksgiving Kids Crafts:
Hand Print Party
Kids Turkey Crafts
Thanksgiving Teacher Gift
Turkey Sodas
Fabric Scrap Turkey
Thanksgiving Tree
Kids Drum Craft
Dipped Nutter Butters
Craft Stick Thanksgiving Crafts
Woodland Folk Toys
The Ultimate Thanksgiving Round Up - Everyday Party Magazine
Thursday 3rd of November 2022
[…] Large Letters by The Kingston Home Find it here Flower Turkey Craft by Crafting In The Rain Find it here Fall Candle Centerpiece by That's What Che Said Find it […]
Fall Craft Stick Trio -
Tuesday 24th of August 2021
[…] Easy Flower Turkey from Crafting in the Rain […]
Thanksgiving Kids Craft Ideas - Tin Can Drum - Paging Supermom
Saturday 26th of June 2021
[…] Easy Silk Flower Turkey […]
100 Colorful DIY Fall Home Decorations ~ GODIYGO.COM
Monday 15th of March 2021
[…] Flower Turkey from Craft Ingintherain […]
niaggi
Thursday 27th of October 2016
I bought a bag of flower heads at a dollar store. It has a lot of fall colors in it. They save the flowers that fall off the bunches of flowers and sell them for 1$. I had no idea what I was going to do with them but now here is one idea. Thank you!!!