• About
  • Contact
  • Shop
    • Facebook
    • Instagram
    • Pinterest
    • YouTube
  • Crafts
    • Disney
    • Kids
    • Sewing
  • Holidays
    • New Year
    • Valentine’s
    • St Patrick’s
    • Easter
    • Mother’s and Father’s Day
    • July 4th
    • Halloween
    • Thanksgiving
    • Christmas
  • Cricut
  • DIY
    • Cleaning
    • Organization
    • Projects
    • Scroll Saw
  • Downloads
    • Printables
    • SVGs
  • Recipes
  • Life
    • Family
    • Fashion & Beauty

Crafting in the Rain

Easy Geode Pendant Necklace

Crafts

This post may contain affiliate links. As an Amazon affiliate, I earn from qualifying purchases. I receive a small commission at no cost to you when you make a purchase using my link.

10 Mar 2015
  • Share
  • Tweet
This shop has been compensated by Collective Bias, Inc. and its advertiser, Colgate-Palmolive. All opinions are mine alone. #OpticSmiles #CollectiveBias.

When I was younger…think teenage years, I didn’t like to “smile with my teeth.” For some reason I was scared to give a big smile. It definitely contributed to some of those awkward school dance pictures.

Thankfully I’ve since learned to appreciate my big smile that shows off all my teeth. A smile after all, is the best accessory, right? I just started trying Colgate® Optic White® Express White Toothpaste to make my smile shine even more. Express White is a no hassle way to get whiter teeth in just three days* by simply brushing!

It contains 2 times more hydrogen peroxide (the professionally recommended whitening ingredient) than Optic White Sparkling Mint toothpaste. At Walmart you can find the 3oz and 4.5 oz sizes with the travel size coming to select stores on March 14th.

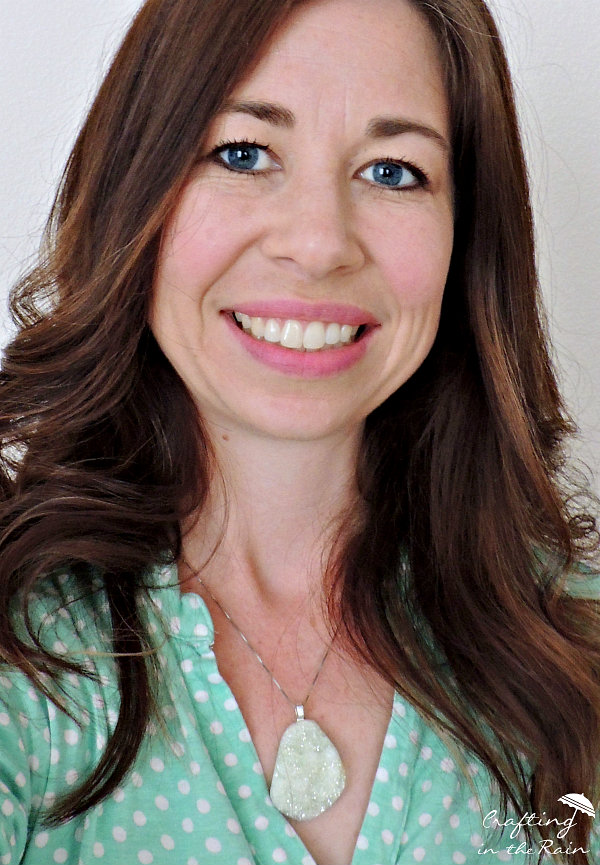
To go along with the your most important accessory, I whipped up an easy necklace as well.

I picked up a single pendant and bail from the craft store. I had an empty necklace chain at home, but you could make or buy one if you don’t have one already.


Simply attach the bail to the back of the pendant with a bit of E6000 and let dry several hours or overnight. Then it’s ready to add to your chain and wear.

Do you make your own accessories often? I’d love to hear about the last thing you made! (Have a blog? Leave a link to your post in the comments!)

*For best results, use as directed for 4 weeks.

For more jewelry tutorials, see these posts:

Gold Painted Wood Beads
Wood Slice Necklace
Denim Rosette Necklace
Disney Princess Necklaces
Paper Earrings
Leather Necklace

Related Posts:

  • Resin Cat Earrings and Necklace
  • Easy Mug Gift Ideas

Leave a Comment

« Craft Month A-Z Week 1
Carrot and Dirt Pudding Cups »

Leave a Reply Cancel reply

Your email address will not be published. Required fields are marked *

This site uses Akismet to reduce spam. Learn how your comment data is processed.

Hi, I'm Stephanie - Welcome to Crafting in the Rain where I've been blogging about the crafty life since 2011. Read More…

Archives

  • Home
  • About
  • Contact
  • Disclosure
  • Index
  • Privacy Policy

Stephanie Paxman is a participant in the Amazon Services LLC Associates Program, an affiliate advertising program designed to provide a means for sites to earn advertising fees by advertising and linking to amazon.com.

Copyright © 2011-2023 Crafting in the Rain