Anyone who has worked with burlap before knows it can be messy, hard to cut, and even harder to make it keep its shape without fraying. Learn how to cut burlap with the Cricut and solve all those problems.

Prep burlap for cutting
Here are the supplies you’ll need: (some links are affiliate)
Cricut Maker
Burlap
Transfer tape
Green mat
Iron-on vinyl (I used Rose Gold Foil)
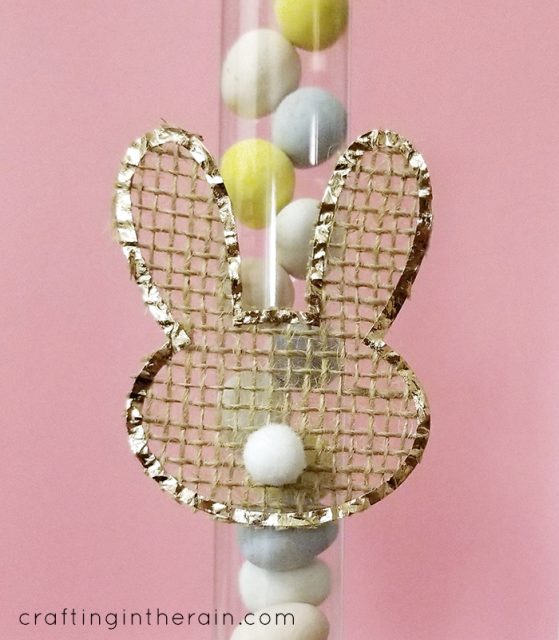
To show you how to cut burlap with a Cricut, I’m making some burlap bunnies for some cute Easter candy tubes.

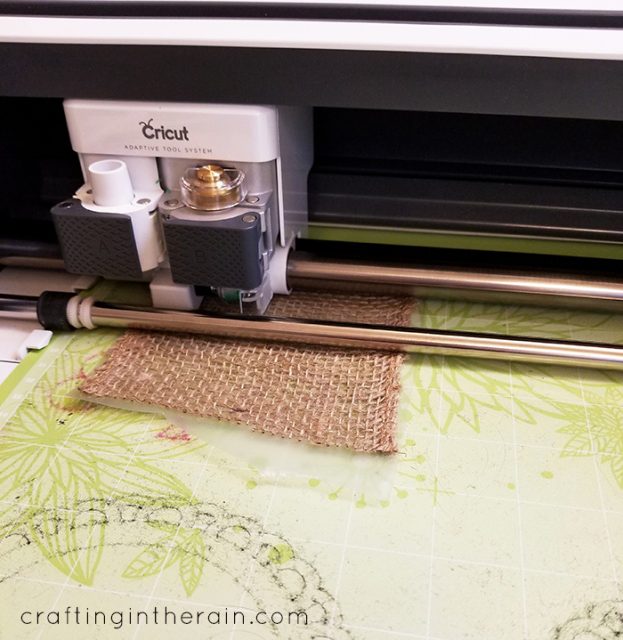
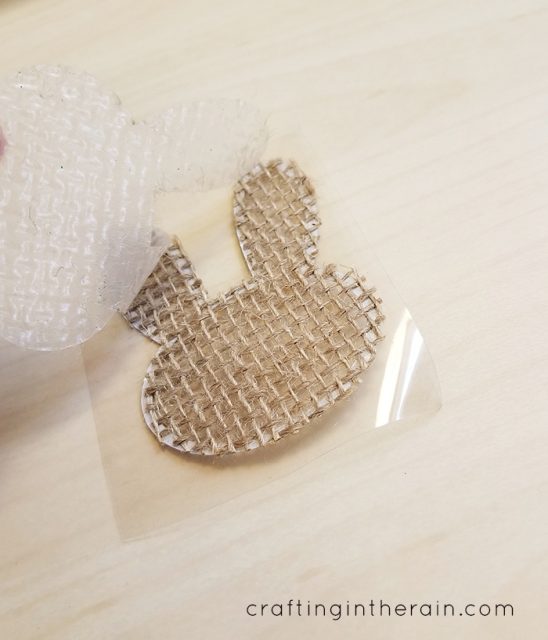
Open this Design Space file. Press burlap down onto the sticky side of a piece of transfer tape. Then stick it to a green mat, with the burlap side up. The transfer tape does two things.
1- It keeps the burlap from leaving tiny fibers all over the mat that could be hard to clean off.
2- It helps the burlap keep its shape and not fray.
Click “Make it” to send the project to your machine. Make sure the rotary blade is installed. Cut the solid bunny shape out of the burlap.
Cutting burlap
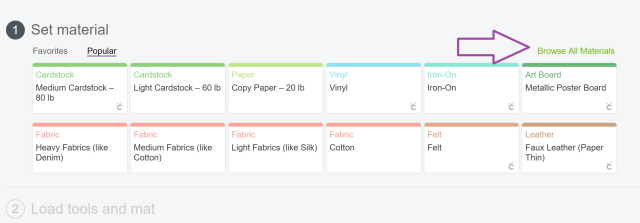
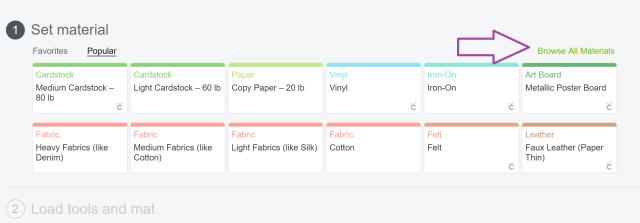
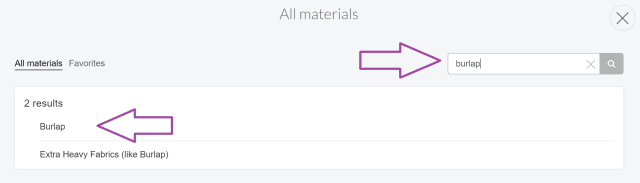
Search the materials bar for “Burlap” and click the first one that comes up.

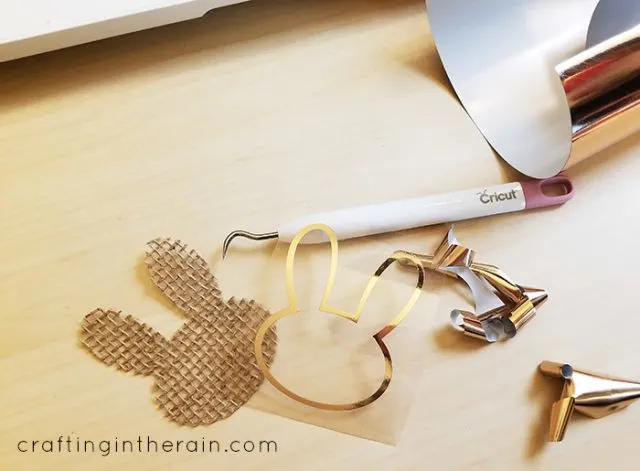
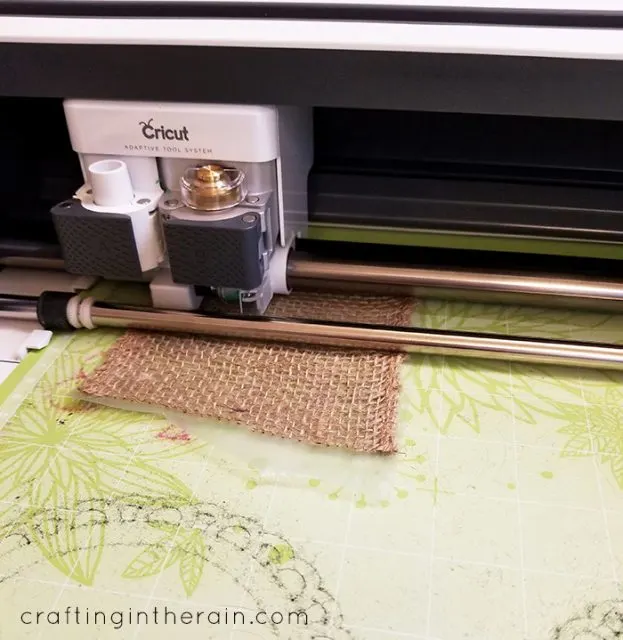
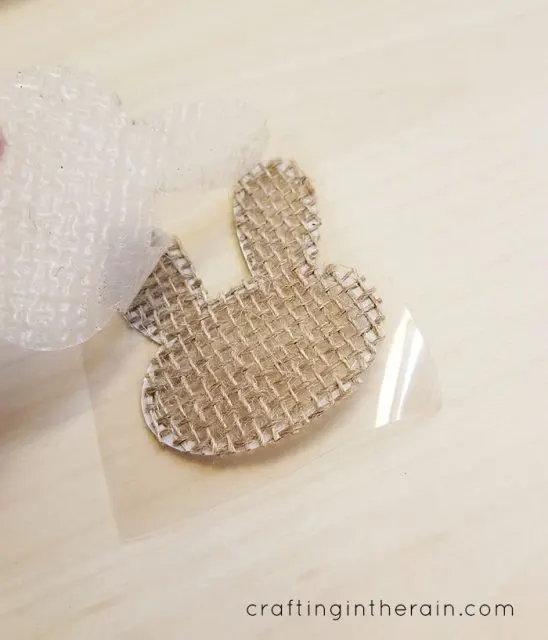
Load the mat and click cut. Remove the mat and remove the cut, but keep the transfer tape on the back for now.
Apply iron-to burlap
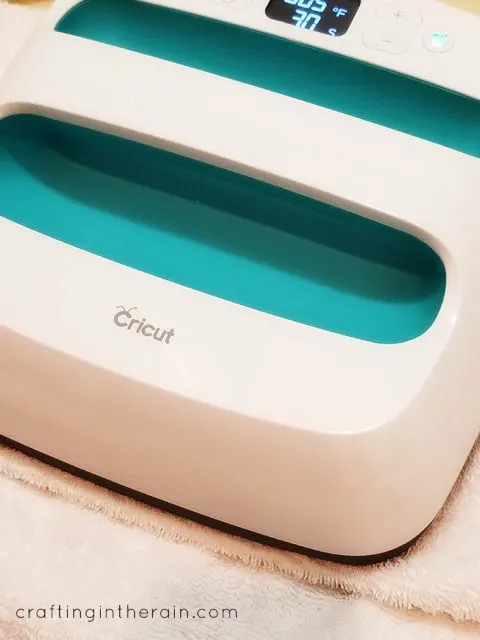
Cut the bunny outline from iron-on vinyl (I used metallic rose gold) Remember to put the shiny side down on the mat, and switch the fine point blade back in the machine, and MIRROR the image. Weed out the extra vinyl and layer onto the burlap bunny. Then apply with an iron, or an EasyPress. (If using an EasyPress, set the temperature to 305 and timer to 30 seconds. Learn more about the EasyPress here.)

Peel off the transfer tape and the plastic carrier sheet from the iron-on vinyl. **Depending on your project, and especially if you’re not adding an iron-on vinyl border to your shape, you might want to leave the transfer tape on so for stability, and keeping your edges neat.**
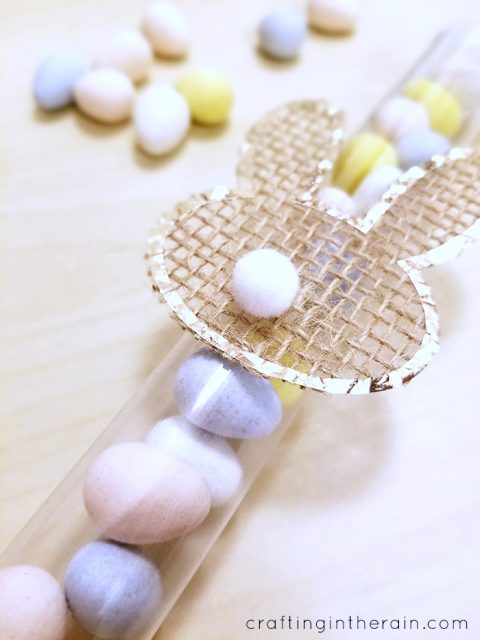
I used these cute bunnies on plastic candy tubes. Just a dab of glue, plus a tiny white pom pom gives it the final touch. They would make great place cards for Easter dinner, or additions to Easter baskets.

Are you feeling encouraged to cut burlap with a Cricut now? Try any one of these great ideas and let me know how it goes!
25+ Cricut Easter Crafts and Projects - Over The Big Moon
Wednesday 24th of March 2021
[…] You could use this simple DIY in so many ways -- create a bunting, treat tag, napkin ring, etc! SEE THE POST COLORABLE EASTER CARDS These little colorable Easter cards are the perfect touch to any Easter […]
Mrs Major Hoff
Wednesday 21st of March 2018
Genius! I had no idea about the transfer tape. Plus these are so adorable!