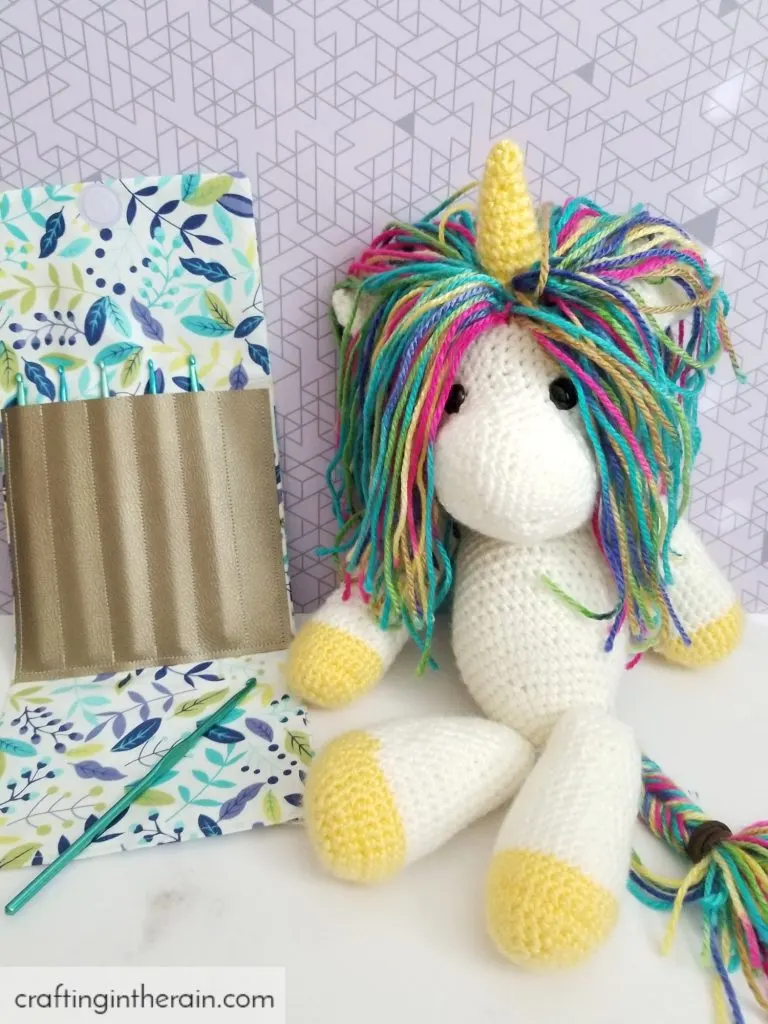
Learn how to make this free crochet hook pouch pattern.
This is a sponsored conversation written by me on behalf of Cricut. The opinions and text are all mine.

My oldest daughter has recently started to crochet. She’s having so much fun with it, and I love seeing her pick up new hobbies – even if it’s something that’s not my skill. This is all thanks to YouTube and patterns online. We noticed that it didn’t take long to build a collection of crochet hooks that were forever getting lost in the couch or bottom of a bag. (some links affiliate)
So I made a crochet hook holder pattern and whipped this up in less than an hour. Now there’s a place, at least in theory, where all the crochet hooks can live!
The best part about this pattern is that I was able to cut everything with my Cricut hand tools – no electronic machine required! Want to see how I did it?
Crochet hook pouch supplies
Lightweight fusible interfacing (6 x 15 inches)
Cotton fabric (12 x 15 inches)
Faux leather (5 x 5 inches)
Velcro circles – adhesive
Iron-on vinyl
Cricut Self-healing Mat
Acrylic Ruler
Stainless steel cutting ruler
Rotary cutter
True Control knife
EasyPress 2
READ THIS POST ON everything you need to know about Cricut hand tools.
Sewing the crochet hook holder
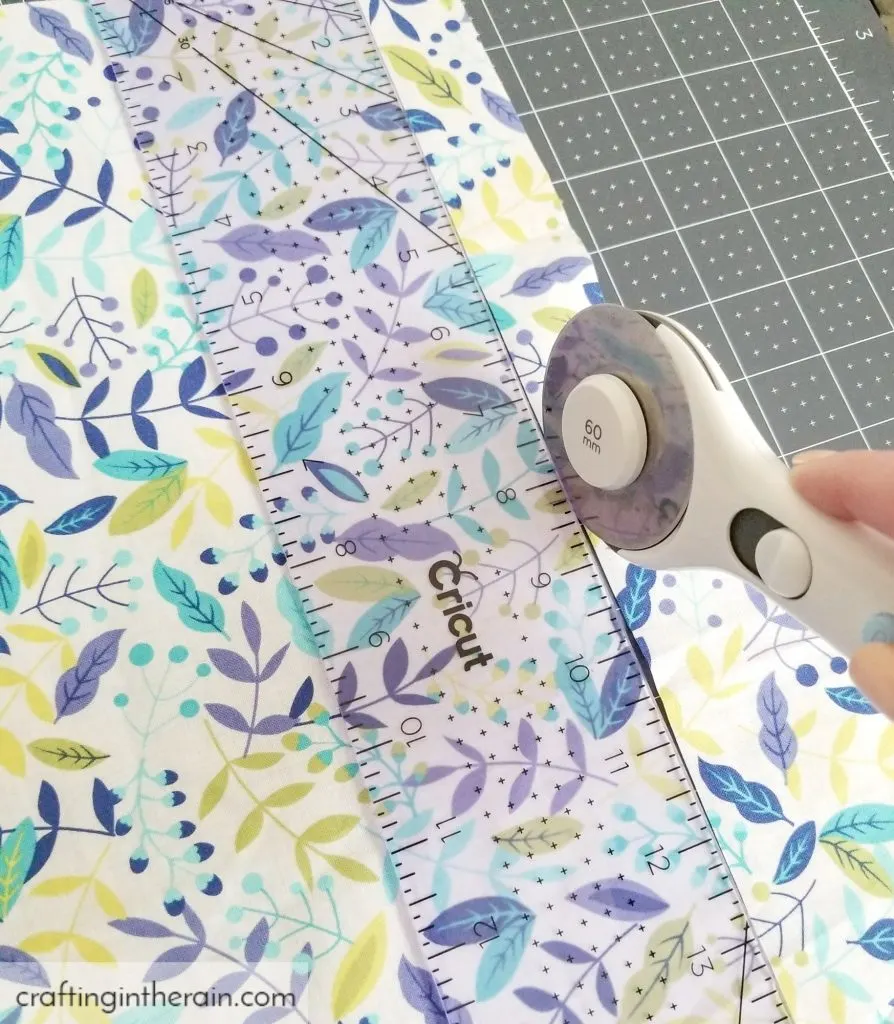
Use the rotary cutter and acrylic ruler to cut the interfacing to 6 x 15 inches and the fabric to 12 x 15 inches. The clear acrylic ruler lets you line up markings easily to get nice straight lines.

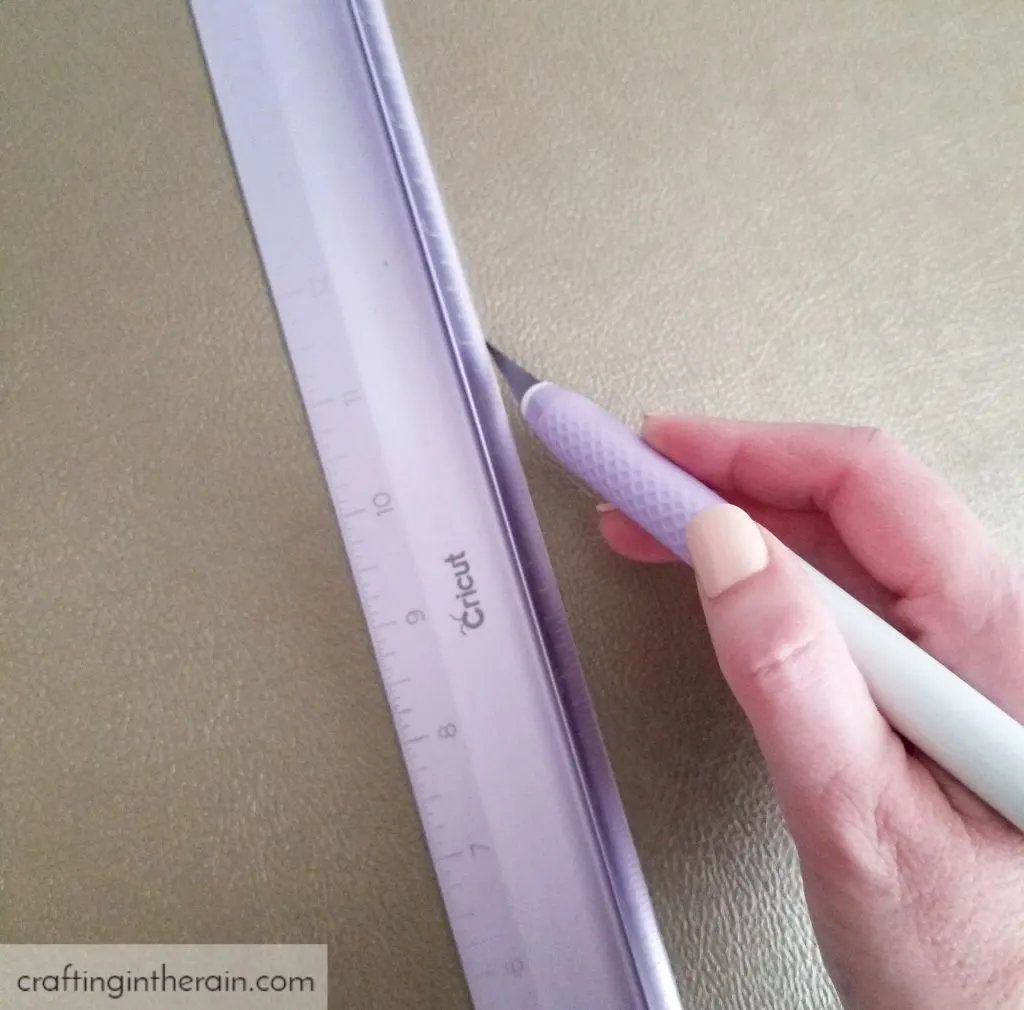
Use the True Control Knife and stainless steel Cutting Ruler to cut the faux leather to a 5 inch square. Just like I want to use fabric scissors on only fabric, I want to use my rotary cutter on only fabric too.

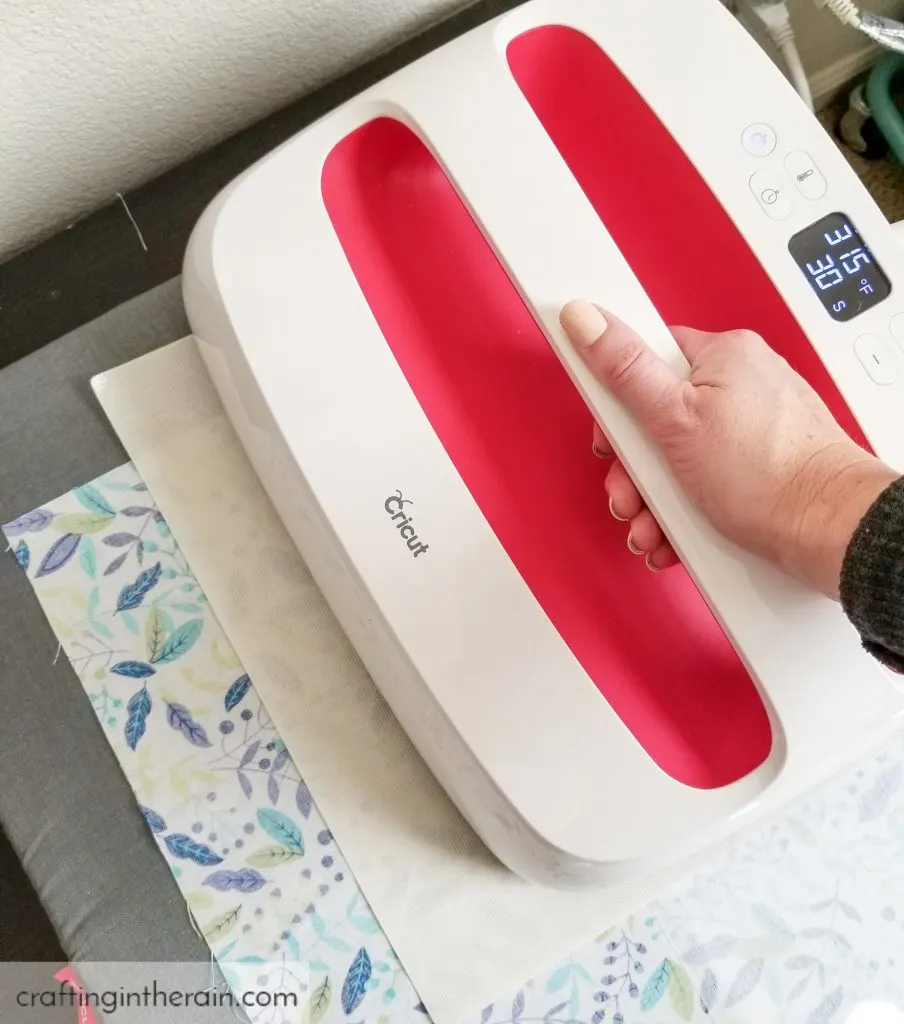
Next, apply the interfacing to the wrong side of the fabric, covering half of the fabric and lined up with the 15-inch side. Spray it with water and use the EasyPress 2 set to 315. Press for 30 seconds.

Fold the fabric in half, right sides together. Sew with 1/4 inch seam allowance on the long side and one short side. Turn right side out.
Press seams with the EasyPress. Fold the unsewn edges in and top stitch closed.
Clip the faux leather piece 4 inches down from the top of the fabric. Sew bottom and two sides close to the edge.


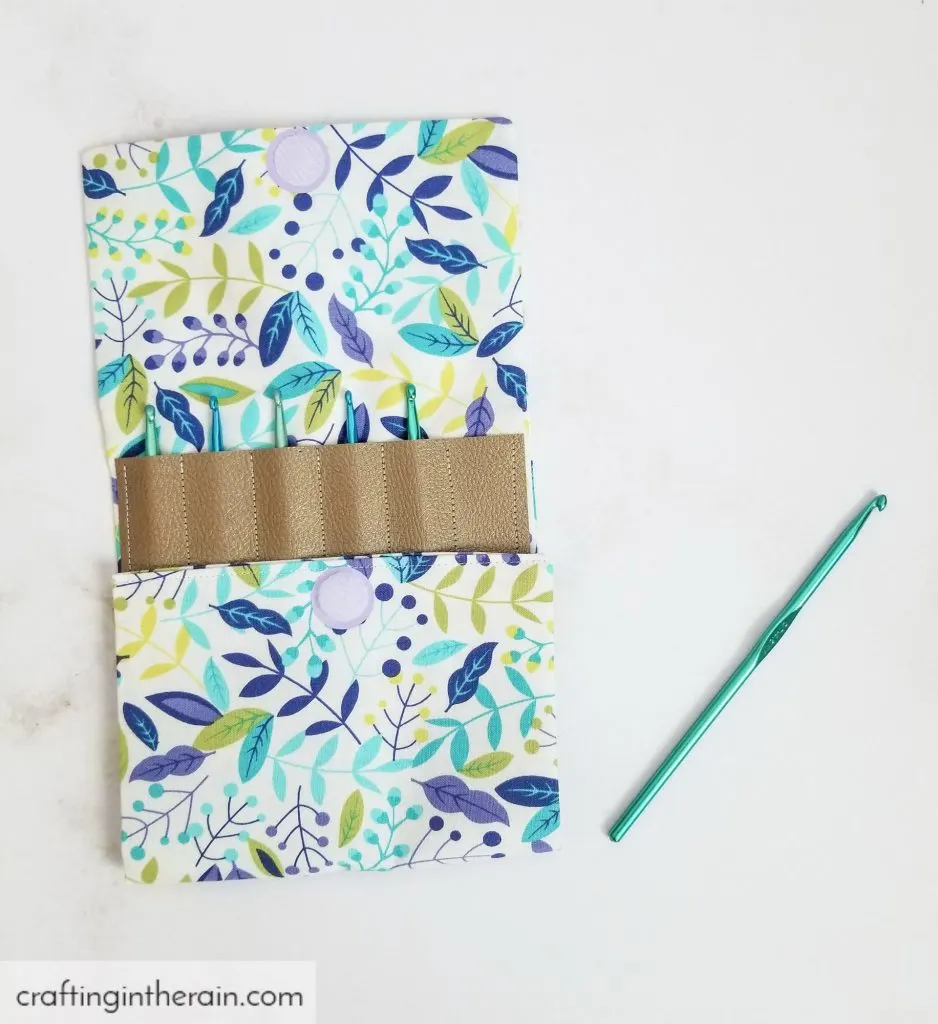
Use tape to mark the dividing lines that will hold the crochet hooks. I made them just under an inch apart. You can make some sections larger if you have thicker crochet hooks to store.

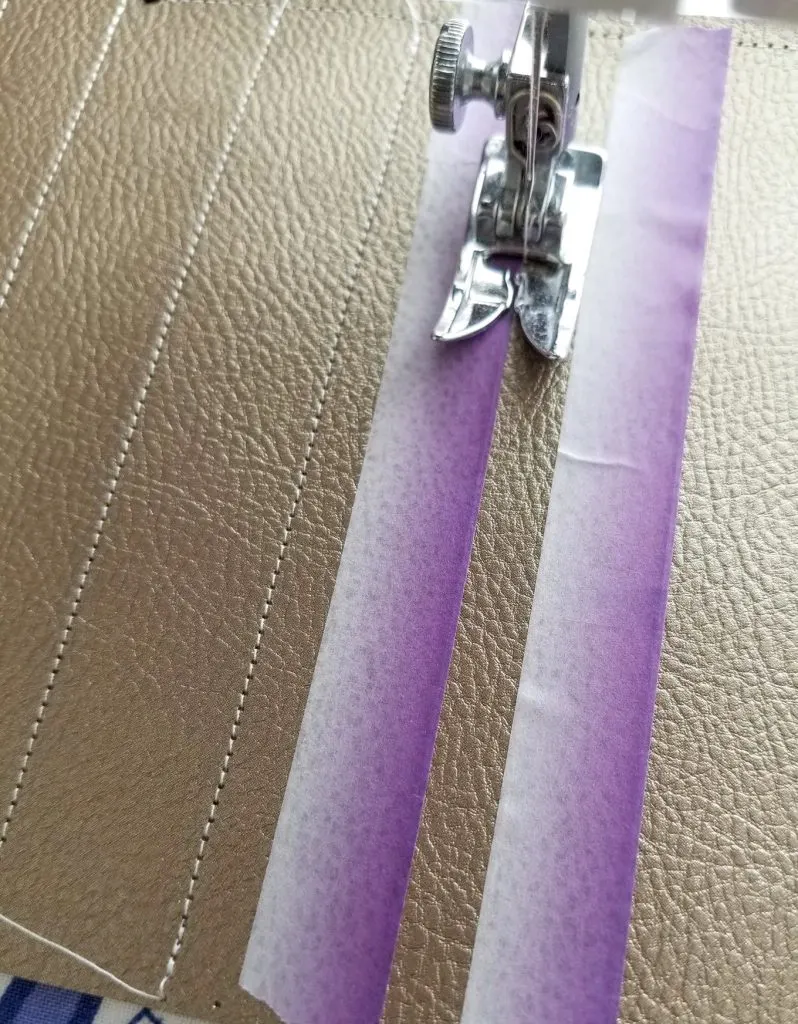
Sew the dividing lines and back stitch and the top and bottom.

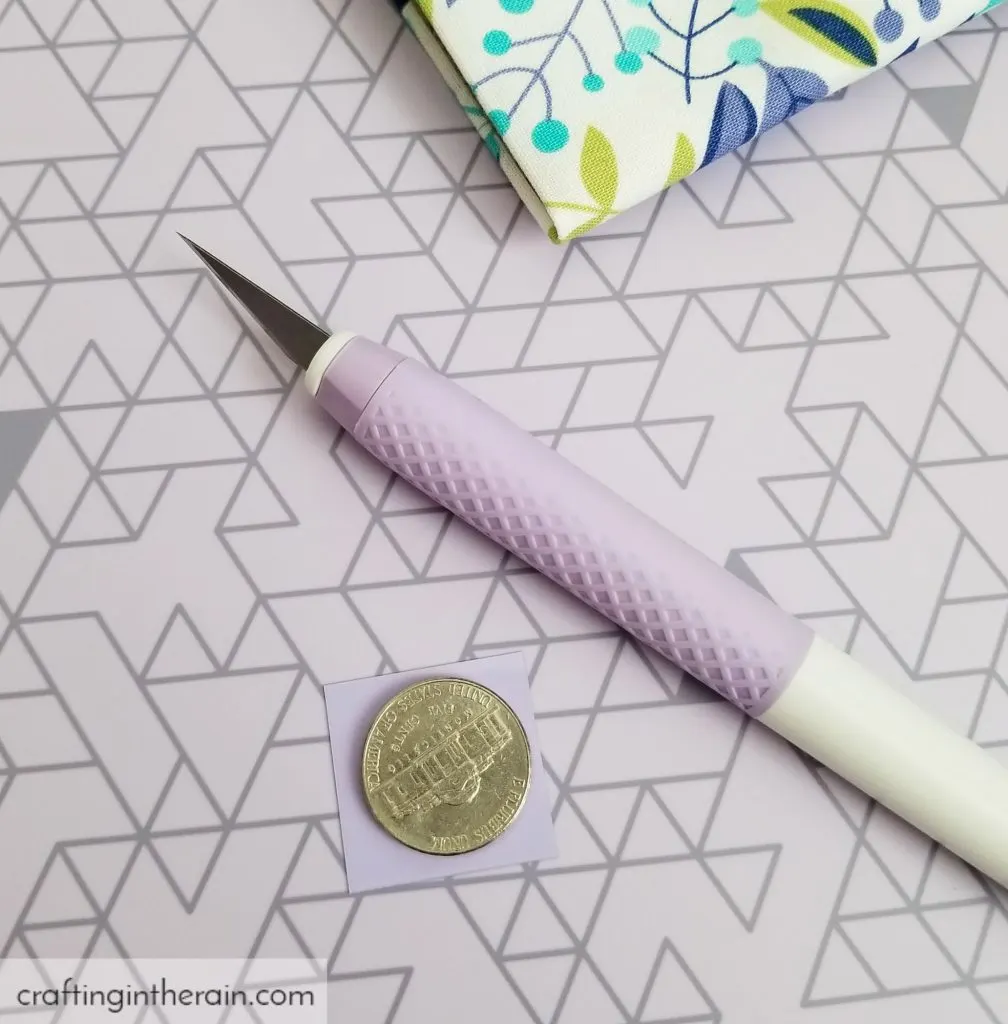
Cut two circles from the iron-on vinyl by cutting around a nickel with the True Control knife. Be careful of course! You could cut these circles with one of the Cricut machines – but as promised, this tutorial is tech-free.

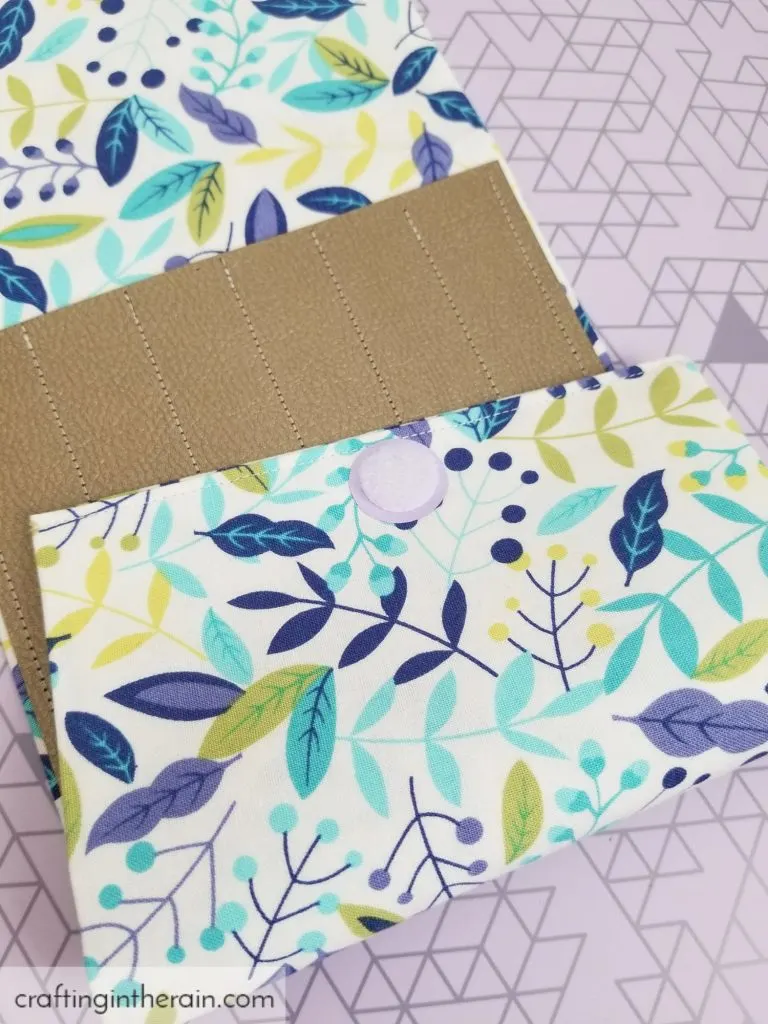
Apply the two circles to the fabric with the EasyPress. Then the adhesive Velcro circles will stick right to it so the crochet hook pouch can close. The flaps ensure that the crochet hooks won’t slip out the top.

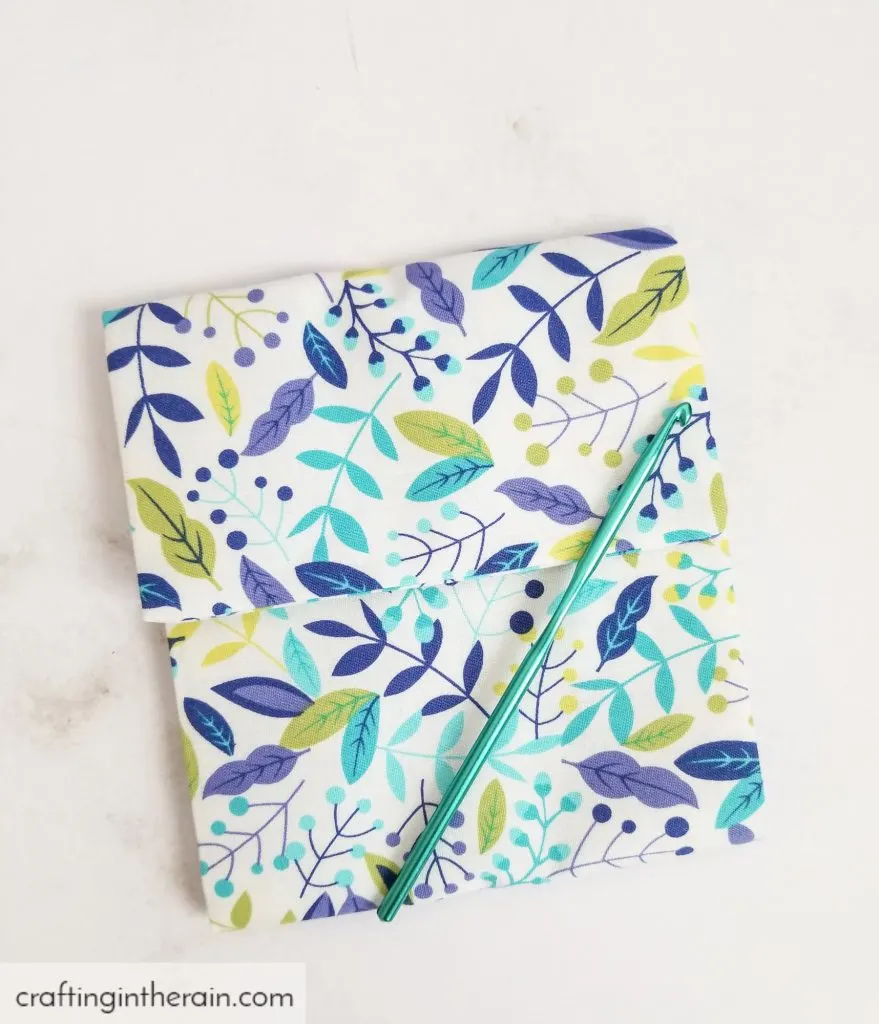
Cute and useful – my favorite combination in craft projects. Would you make one of these for yourself or as a gift?