Last year, after attending the launch of the Cricut Maker, I wrote a post all about what I’d learned that the Cricut Maker can do. Now that I’ve been using my own for over a year, I figured it was the perfect time to let you know what I think of it now, and compare the Cricut Maker vs Explore Air 2.

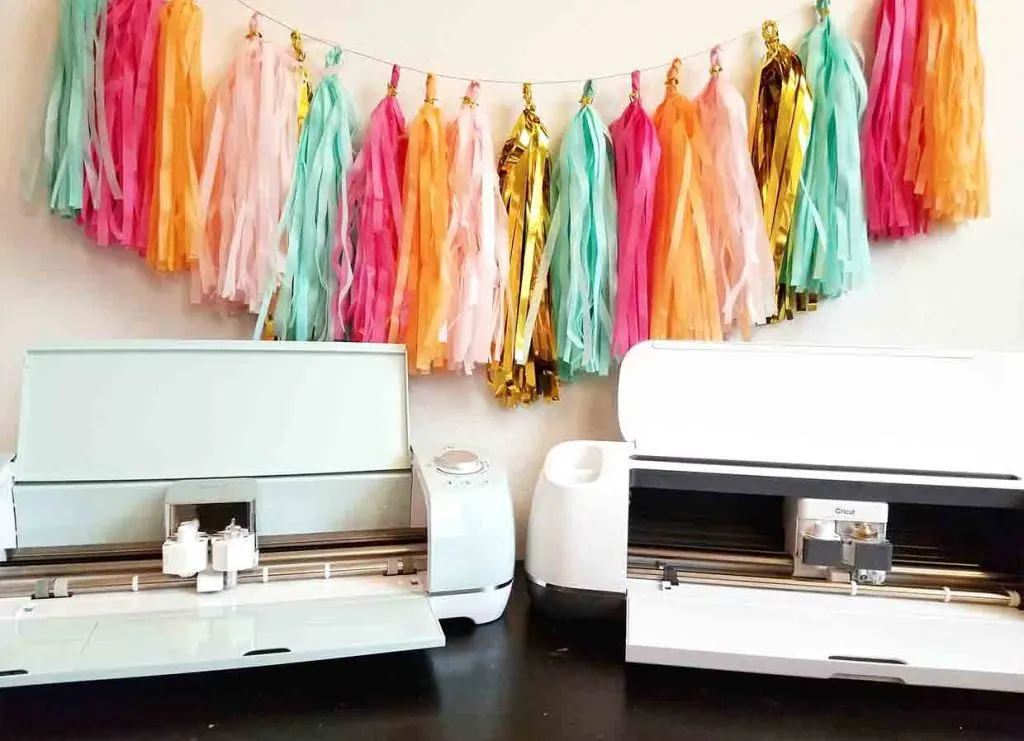
The Explore Air 2 machines share some of the same features with the Maker. You can write and cut (depending on the material) up to 2 times faster, they both have built-in Bluetooth to connect wirelessly to your computer, tablet or phone, and they are both easy to learn how to use.
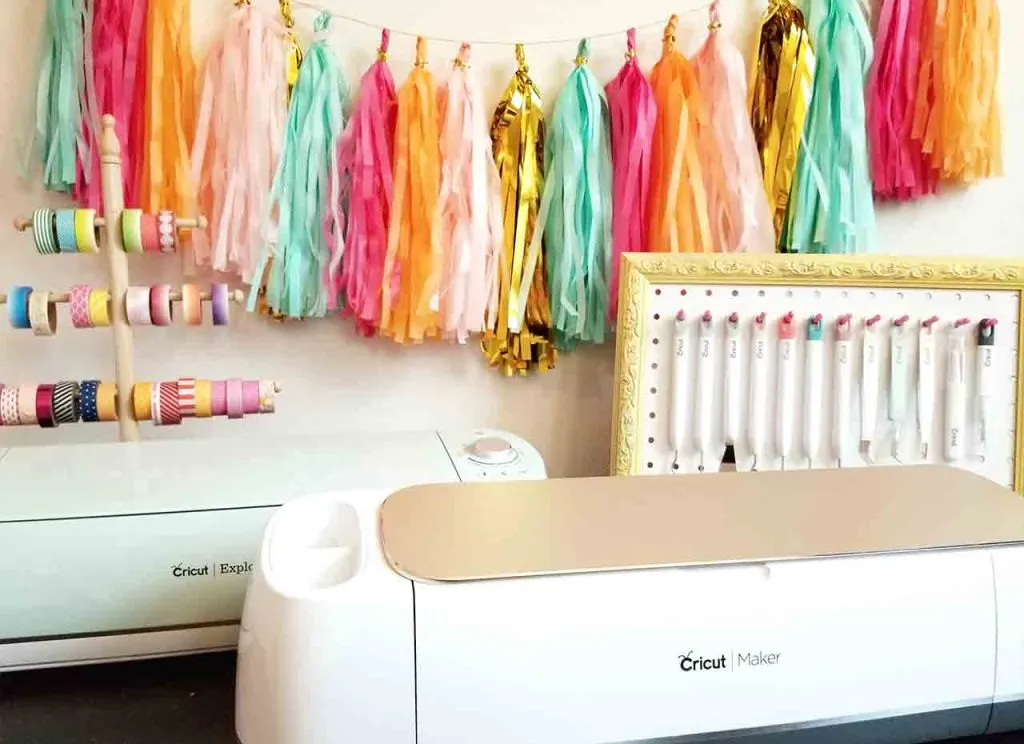
The Cricut Maker explodes the possibilities of what I can make because of the Adaptive Tool System. With the capability to apply 4kg of pressure, and the gear system that controls new blades so precisely, I can cut so many more materials. The Cricut Maker can cut everything that the Explore Air 2 can, like vinyl, iron-on, cardstock, sticker paper and poster board, and adds materials like leather, felt, chipboard and fabrics of all kinds.

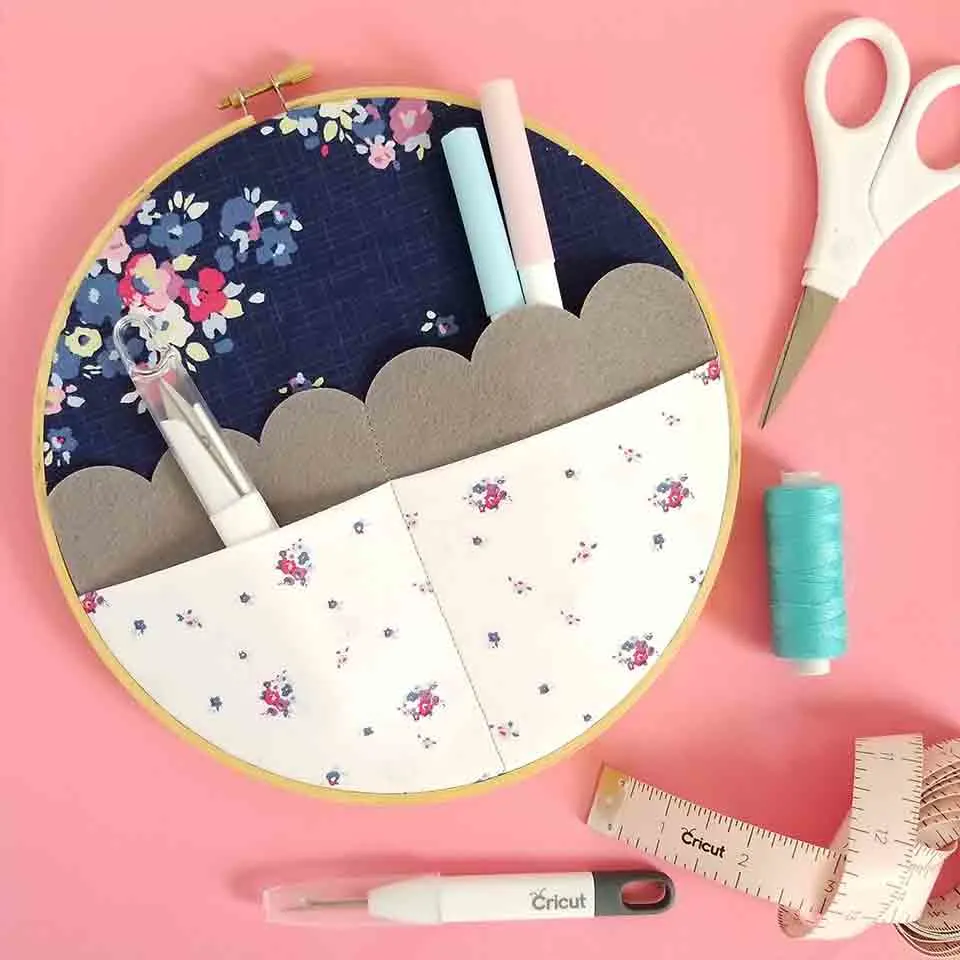
My two favorite materials to cut with the Rotary Blade are cotton fabric and felt. If I were trying to make this with the Explore Air 2, the blade would have to drag across the material. Since the Maker uses the Rotary Blade, there is no dragging , the edges are clean, and the shape never gets distorted. This embroidery hoop organizer uses fabric and felt, so let me show you how easy it was to make with the Cricut Maker.
Embroidery Hoop Organizer

Open the Hoop Organizer Design Space project.
Then you will need the following supplies and tools:
8-inch embroidery hoop
2 coordinating fabrics (I used Blue Carolina)
1 piece of felt
EasyPress 2 and mat
Sewing machine
Cricut Maker
Pink fabric mat
Cricut fabric pen
Pins
Hot glue

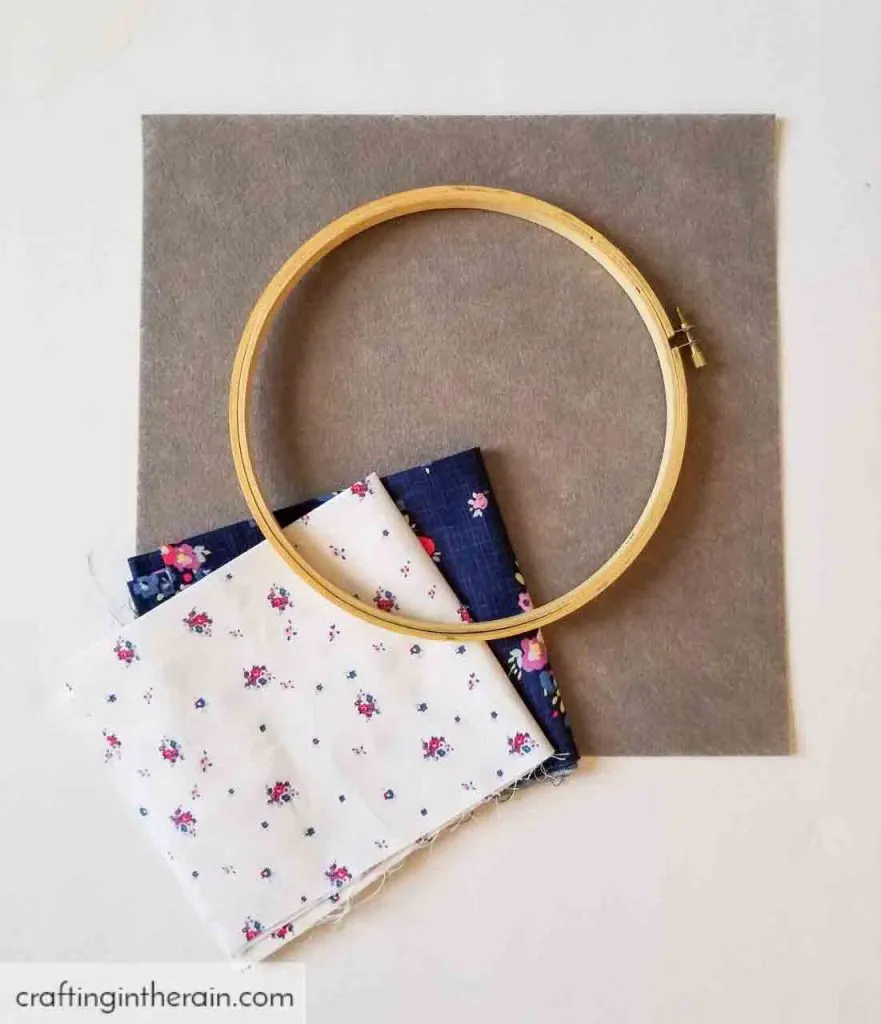
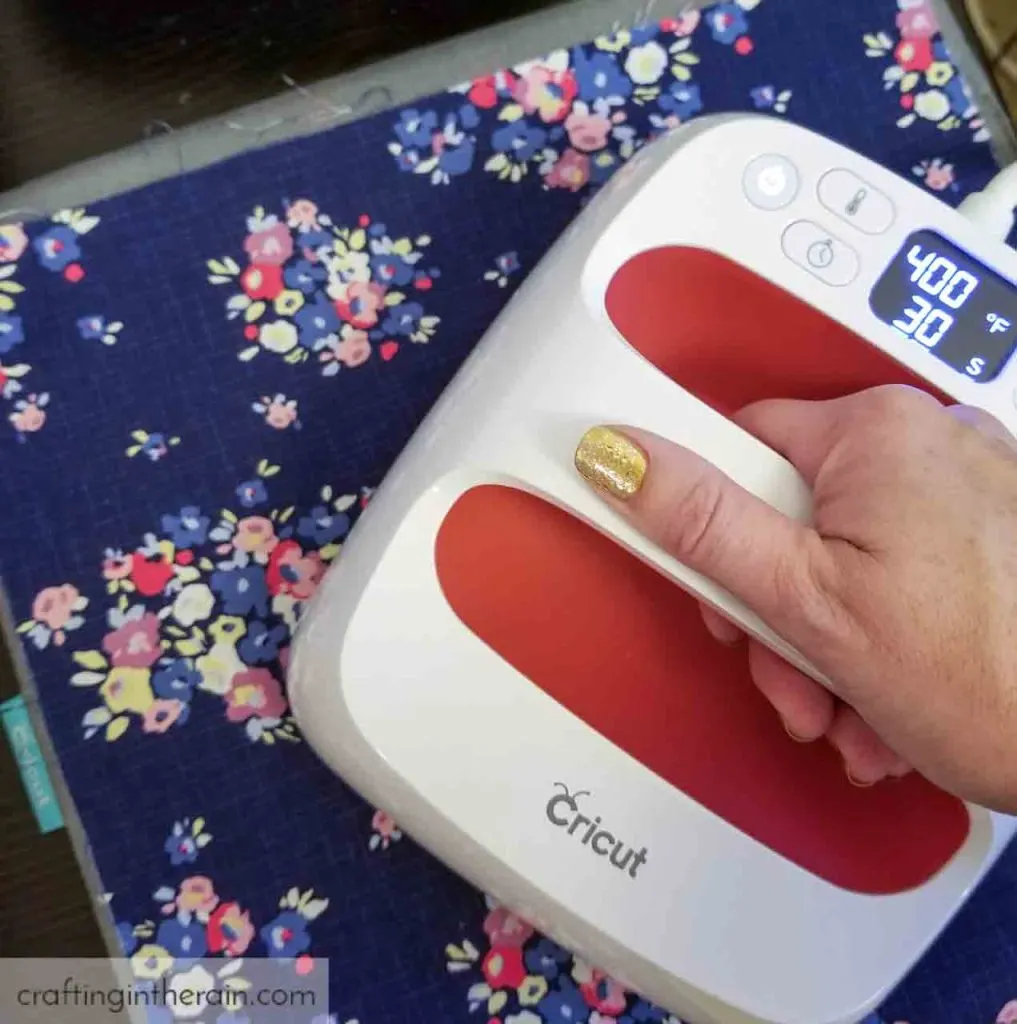
Use the EasyPress 2 set to 400 to smooth out any fold lines or wrinkles from your fabric.

Use a pink fabric mat for the fabric and the felt, if using Cricut felt. If you are using a “fuzzier” type of felt, you may want to stick a piece of transfer tape to the back of the felt before pressing it down on the mat. This decreases the fuzz that will be transferred to your mat.
Add the fabric pen to clamp A and install the Rotary Blade to clamp B.

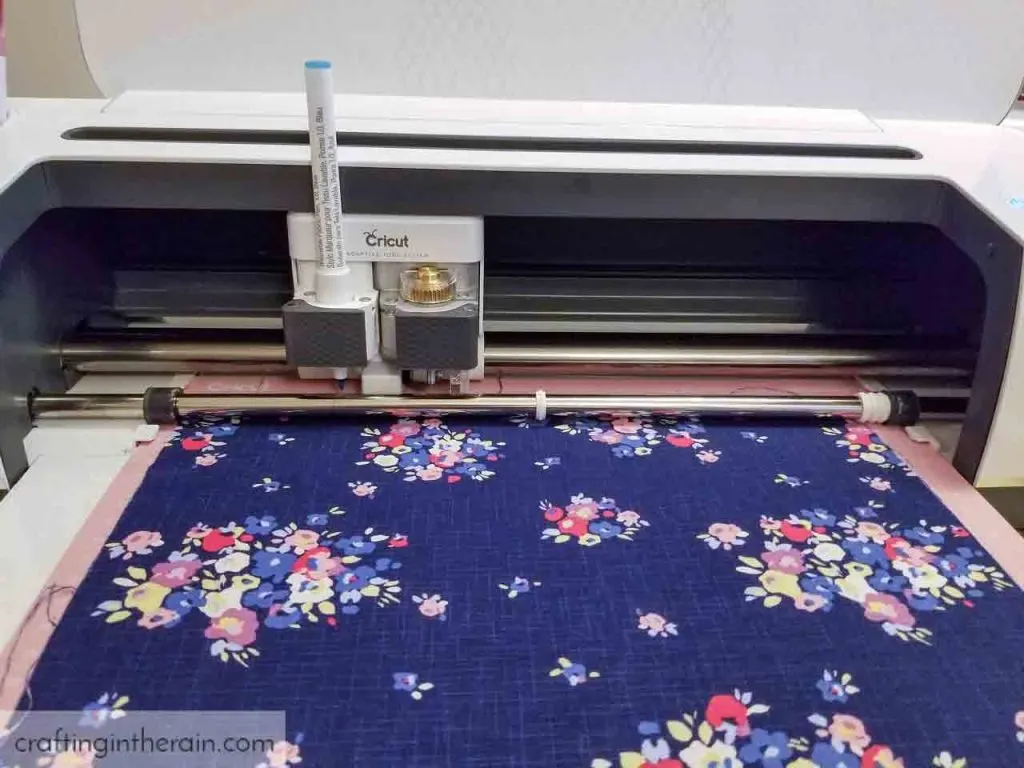
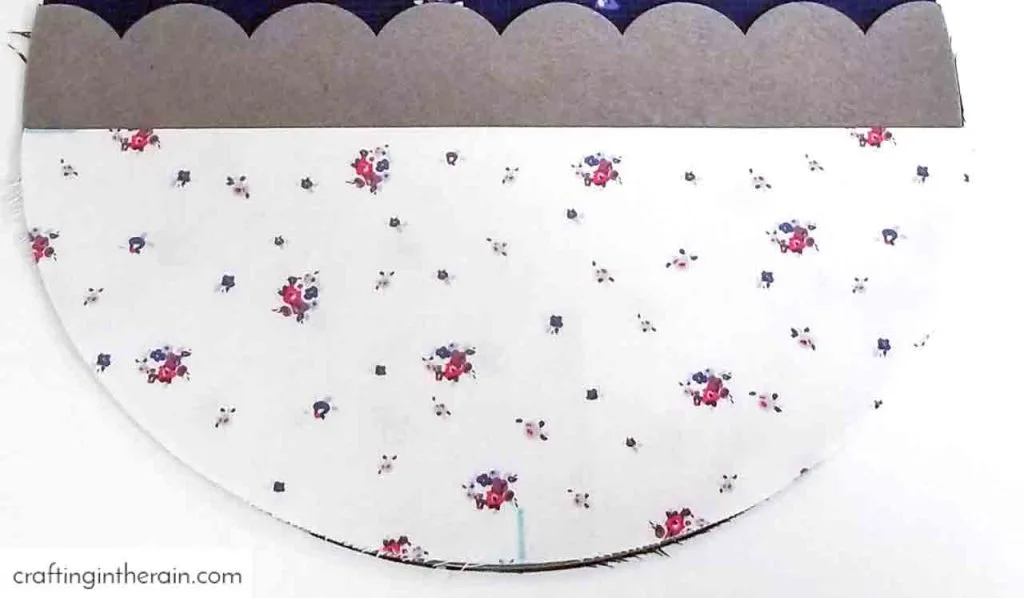
Cut the shapes from the file. The blue circle is for the main piece. The pink circle is for the folded fabric pocket. The gray shape is for the felt pocket.
Fold the fabric pocket in half, matching up the lines. Use the EasyPress 2 to get a crisp, flat, fold line.

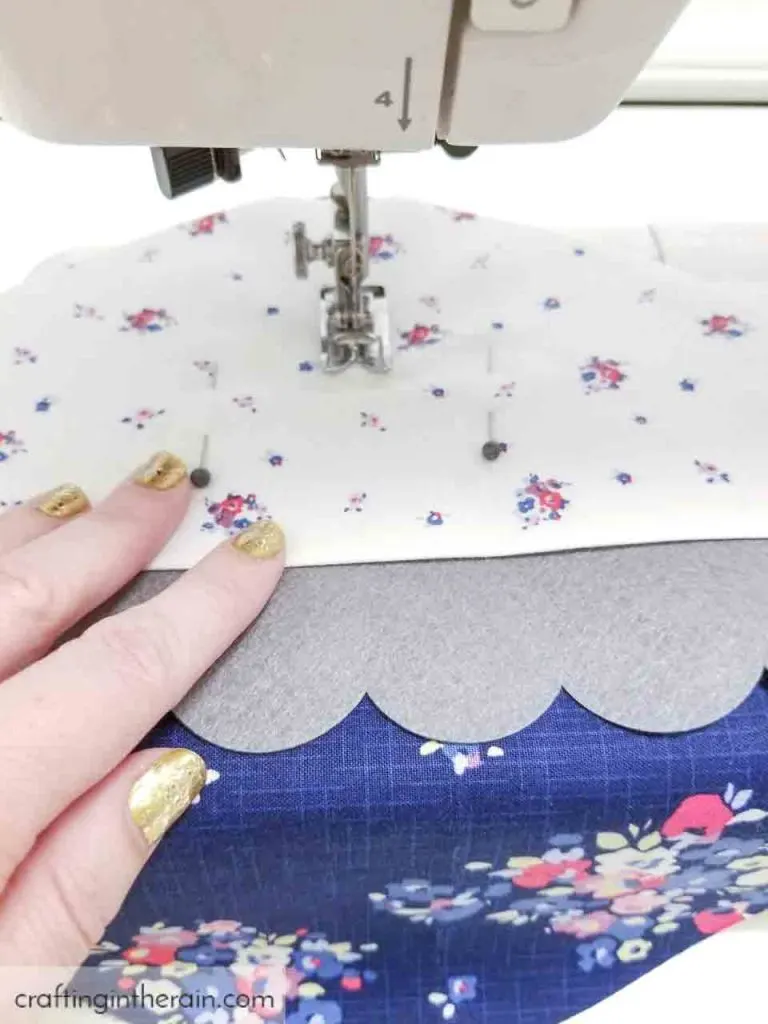
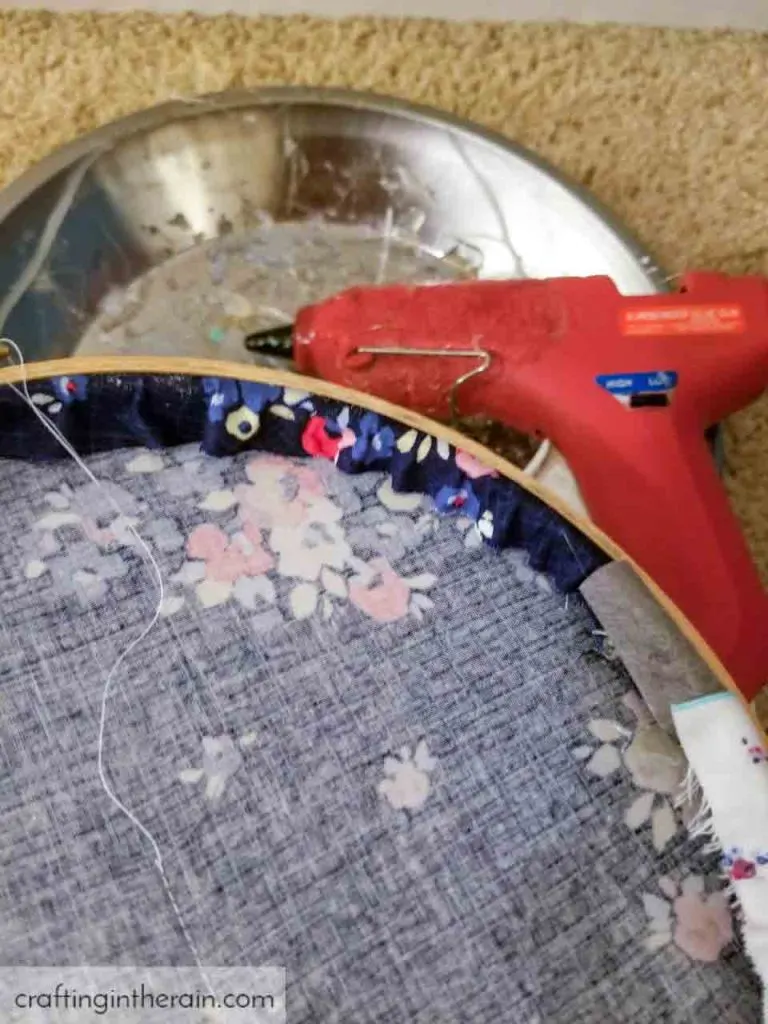
Layer all pieces so that the blue pen lines match up on the bottom. Pin layers together and sew a line from the bottom of the layers to the top of the felt layer. Pull strings to back and tie.

Center the fabric layers in the embroidery hoop and tighten the screw. Secure with hot glue on the back side.

DIY Leather Valet Tray

For the Knife Blade, I love using it to cut leather. I also used the Scoring Wheel on the leather to make this leather valet tray.
Get Leather Valet Tray Cricut Project here
Supplies and tools you will need:
Cricut Genuine Leather
Waxed thread, (mine came in this great leather tool set)
Paint (optional)
Cricut Maker
Knife Blade
Scoring Wheel
Purple strong grip mat
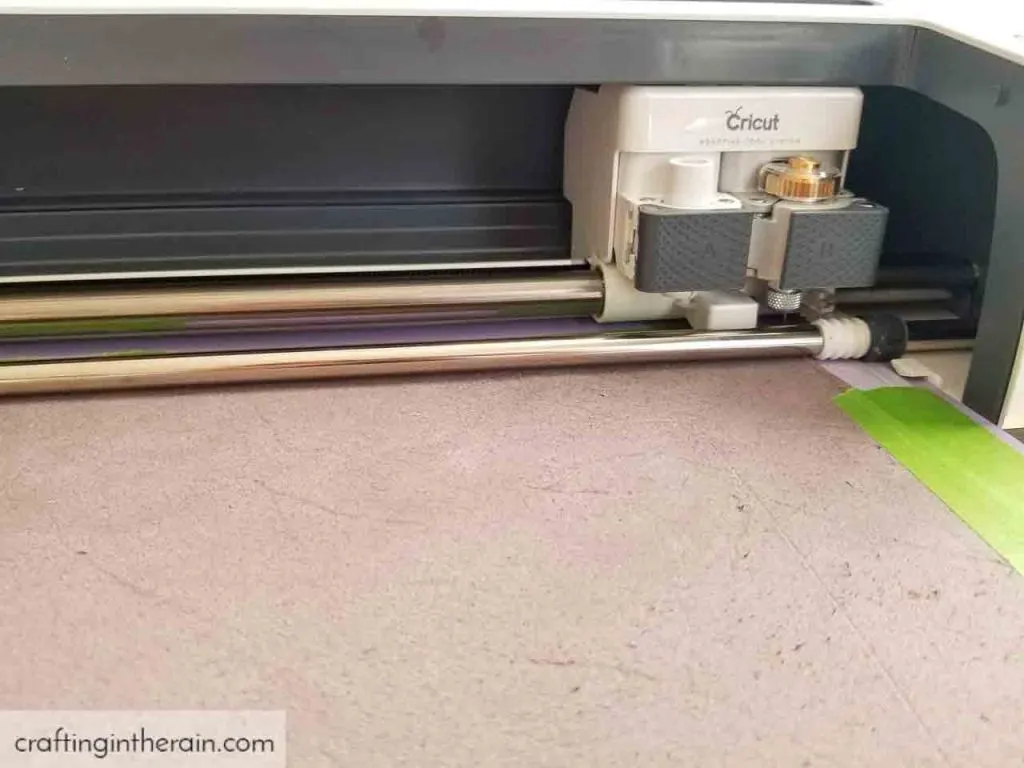
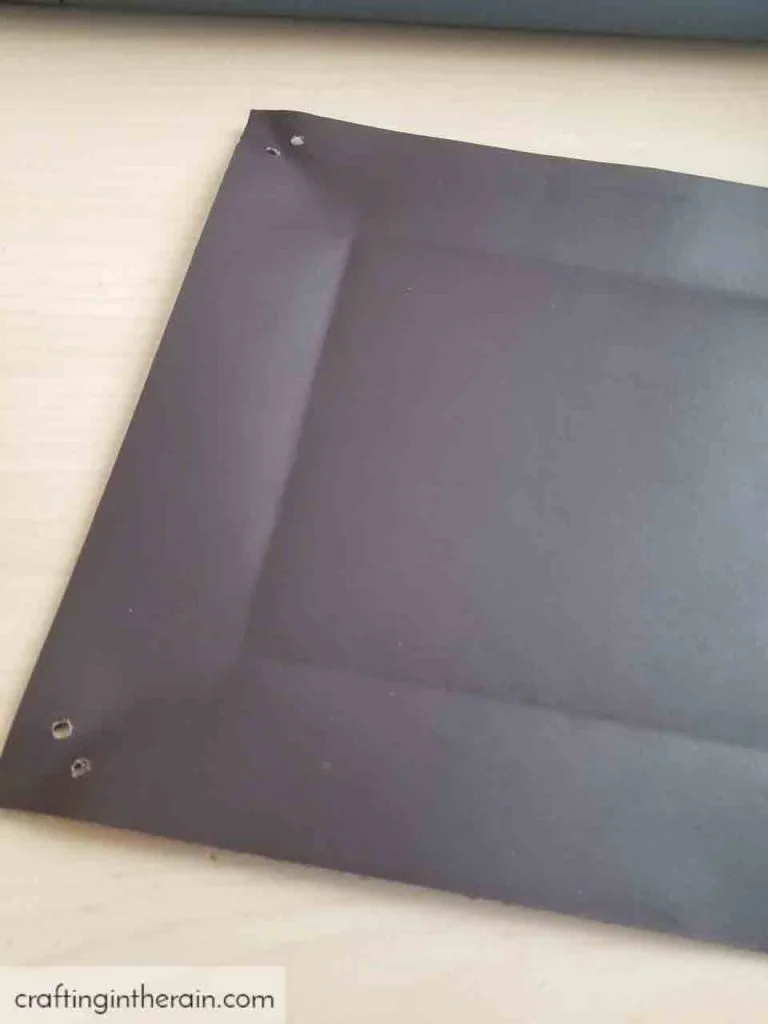
First, slide the white star wheels all the way to the right side of the bar. Trim a strip off of the leather so that the wheels won’t pass over it. Otherwise, those wheels could make marks in the leather. Tape the leather right-side down to the mat.

In the custom materials, search “leather” and select “2-3 oz garment leather.” If you select the Cricut Leather, it will prompt you to install the Deep Cut Blade. I have tried that and much prefer the Knife Blade for cleaner cuts.
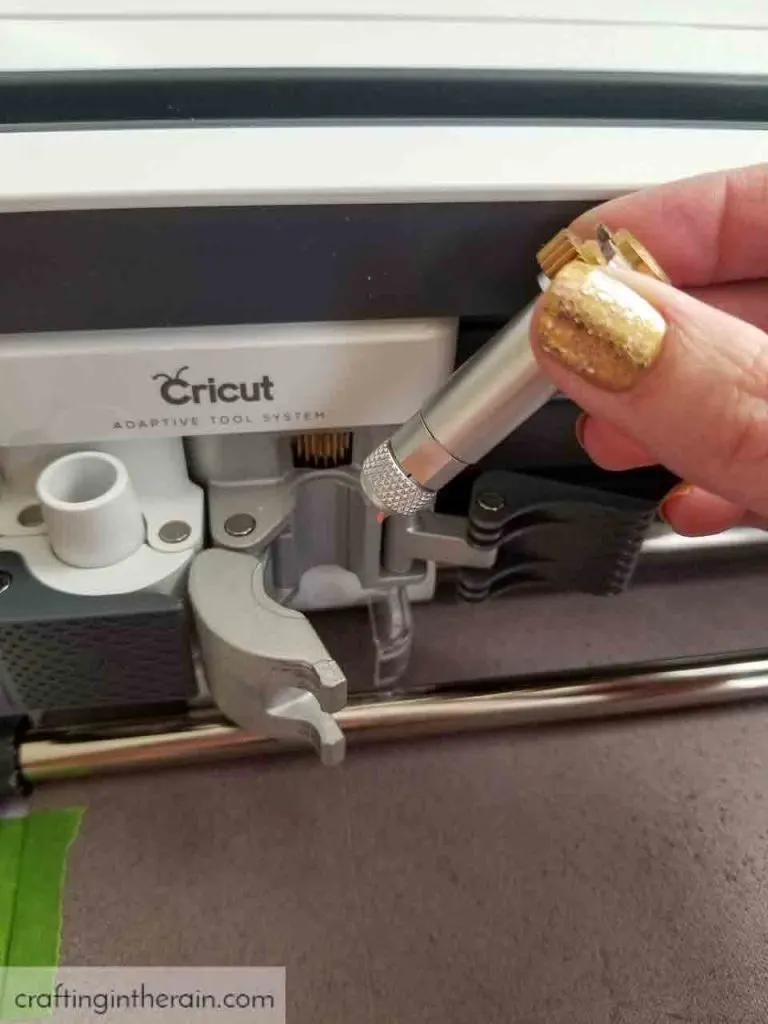
Install the scoring wheel and load the mat into the machine. The wheel will score the inside square, making the sides of the leather easier to fold up.
Then swap in the Knife Blade. It will make 4 passes on the leather, and it may need another pass added at the end, so be sure to check before you eject the mat.

Remove the leather from the mat, and use the TruControl Knife to finish the cuts of the circles if they are still holding on.

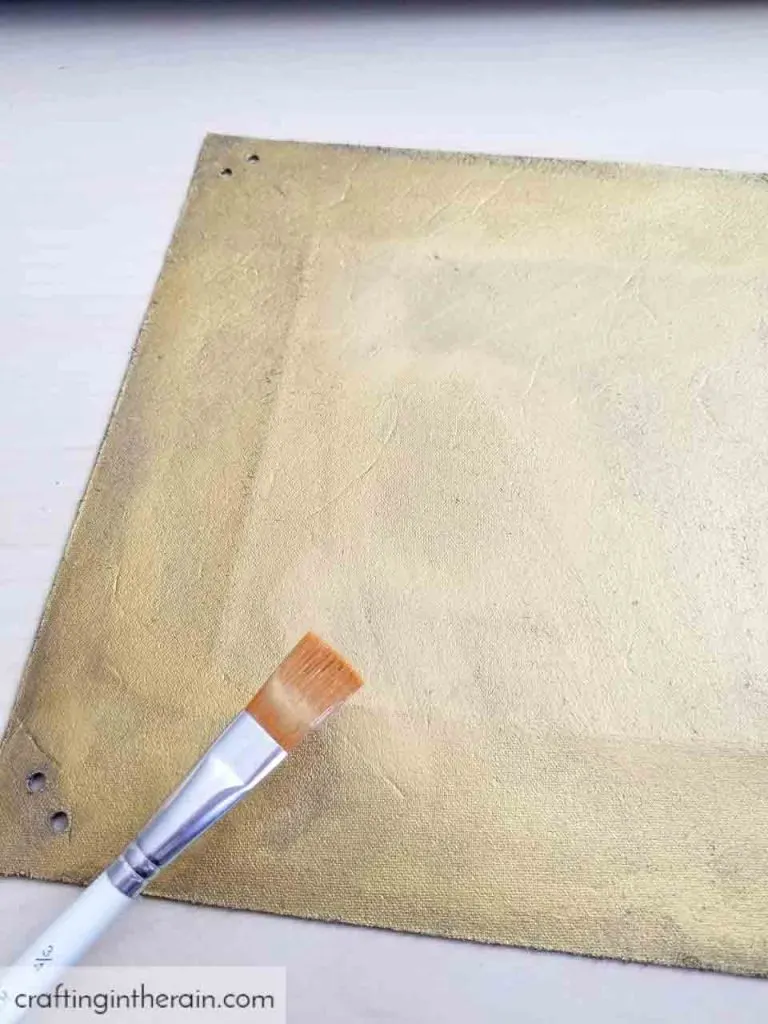
If you like, you can paint the back side of the leather, since it will be showing on the sides. But you can also leave it unfinished.

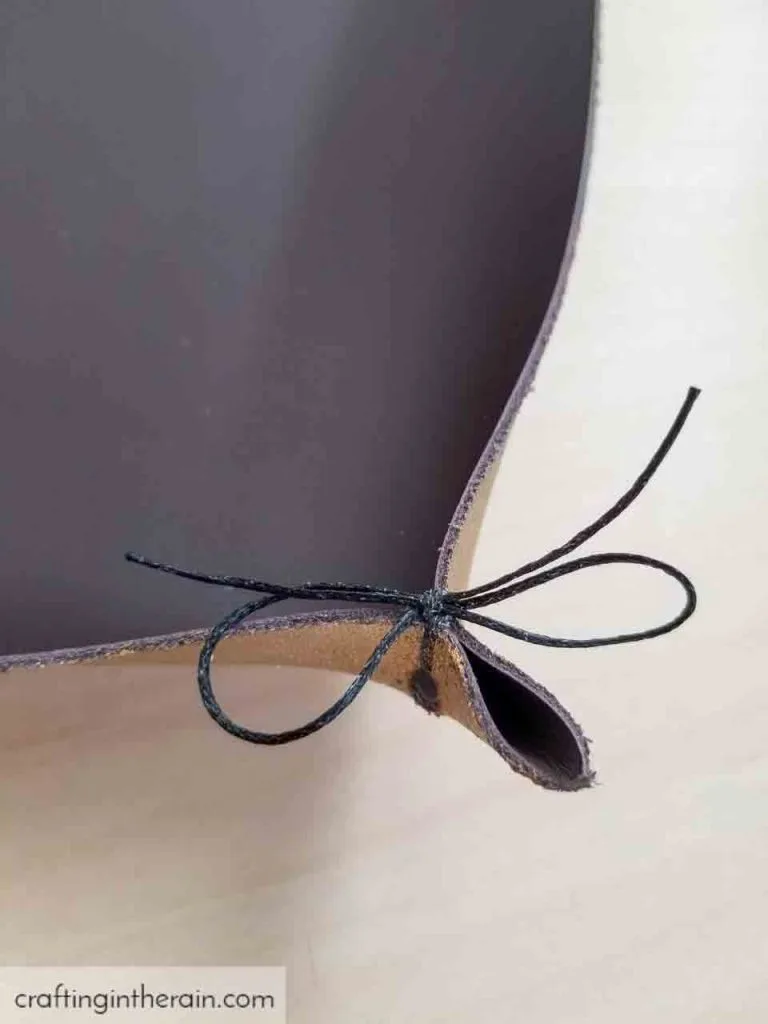
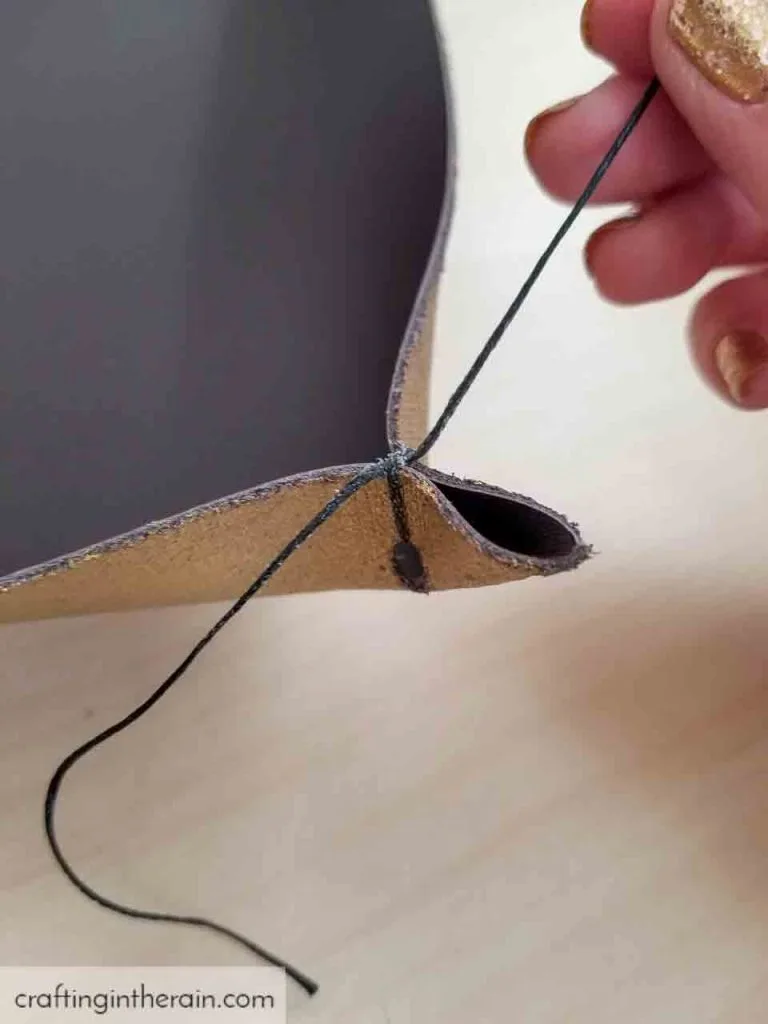
Cut a 6 inch piece of waxed thread, used for leather crafts, to tie up the holes and pinch the corners closed. And the tray is ready to be used!


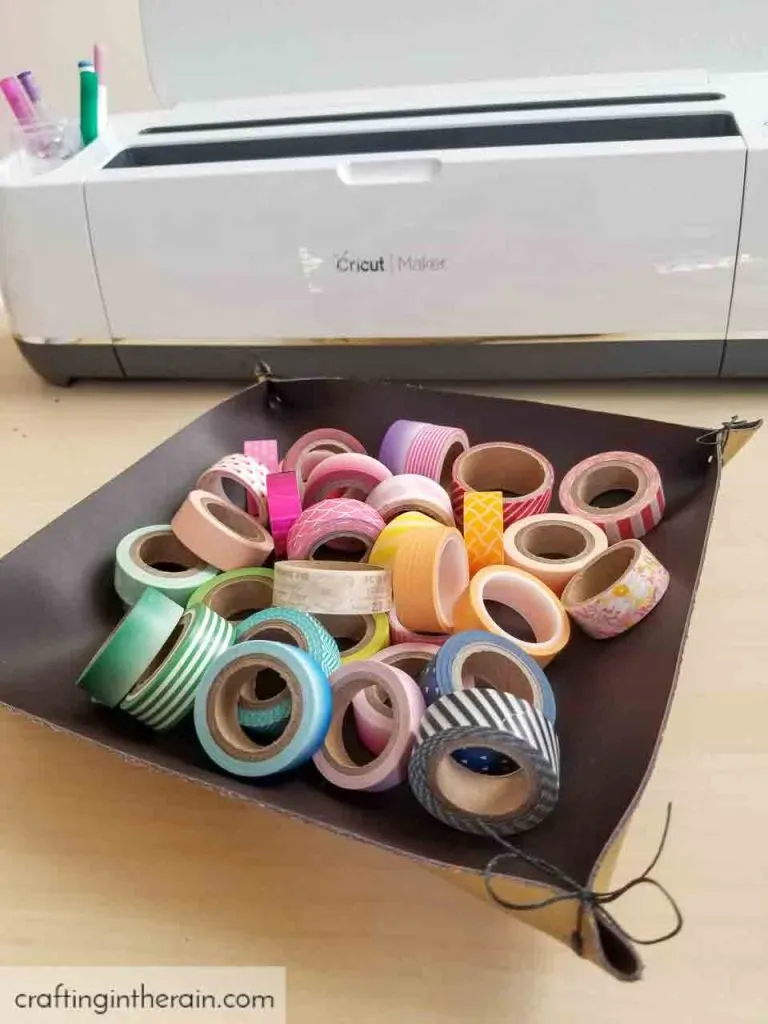
I love being able to make projects that are so functional and also stylish! Having the Cricut Maker means I can imagine bigger and create more. If you’re thinking of a Cricut Maker vs Explore Air 2, what questions do you have
This is a sponsored conversation written by me on behalf of Cricut. The opinions and text are all mine.


Crystal
Saturday 19th of January 2019
Hi I’m new at the Cricut machine I have a Explorer Air2 do you have a step by step tutorial showing how to open zip files and download SVG PNG and all the different files If so can you email me directions Thank You