While Amy is guest posting here, I’m posting over at her place–find out what I did with an old sweater from my closet. Then check out the rest of her great blog!
Hi I’m Amy from Nap Time Crafters!

 I LOVE every kind of craft, but if I had to pick a fav it would definitely be sewing for my little girl. I also love decorating my apartment with very budget friendly projects. Nap Time Crafters is home to 90 free Tutorials {and growing!}, the American Crafter Competition, Friday Favs Party, & a Giveaway every Saturday! And today I have a quick summer outfit to share with you…
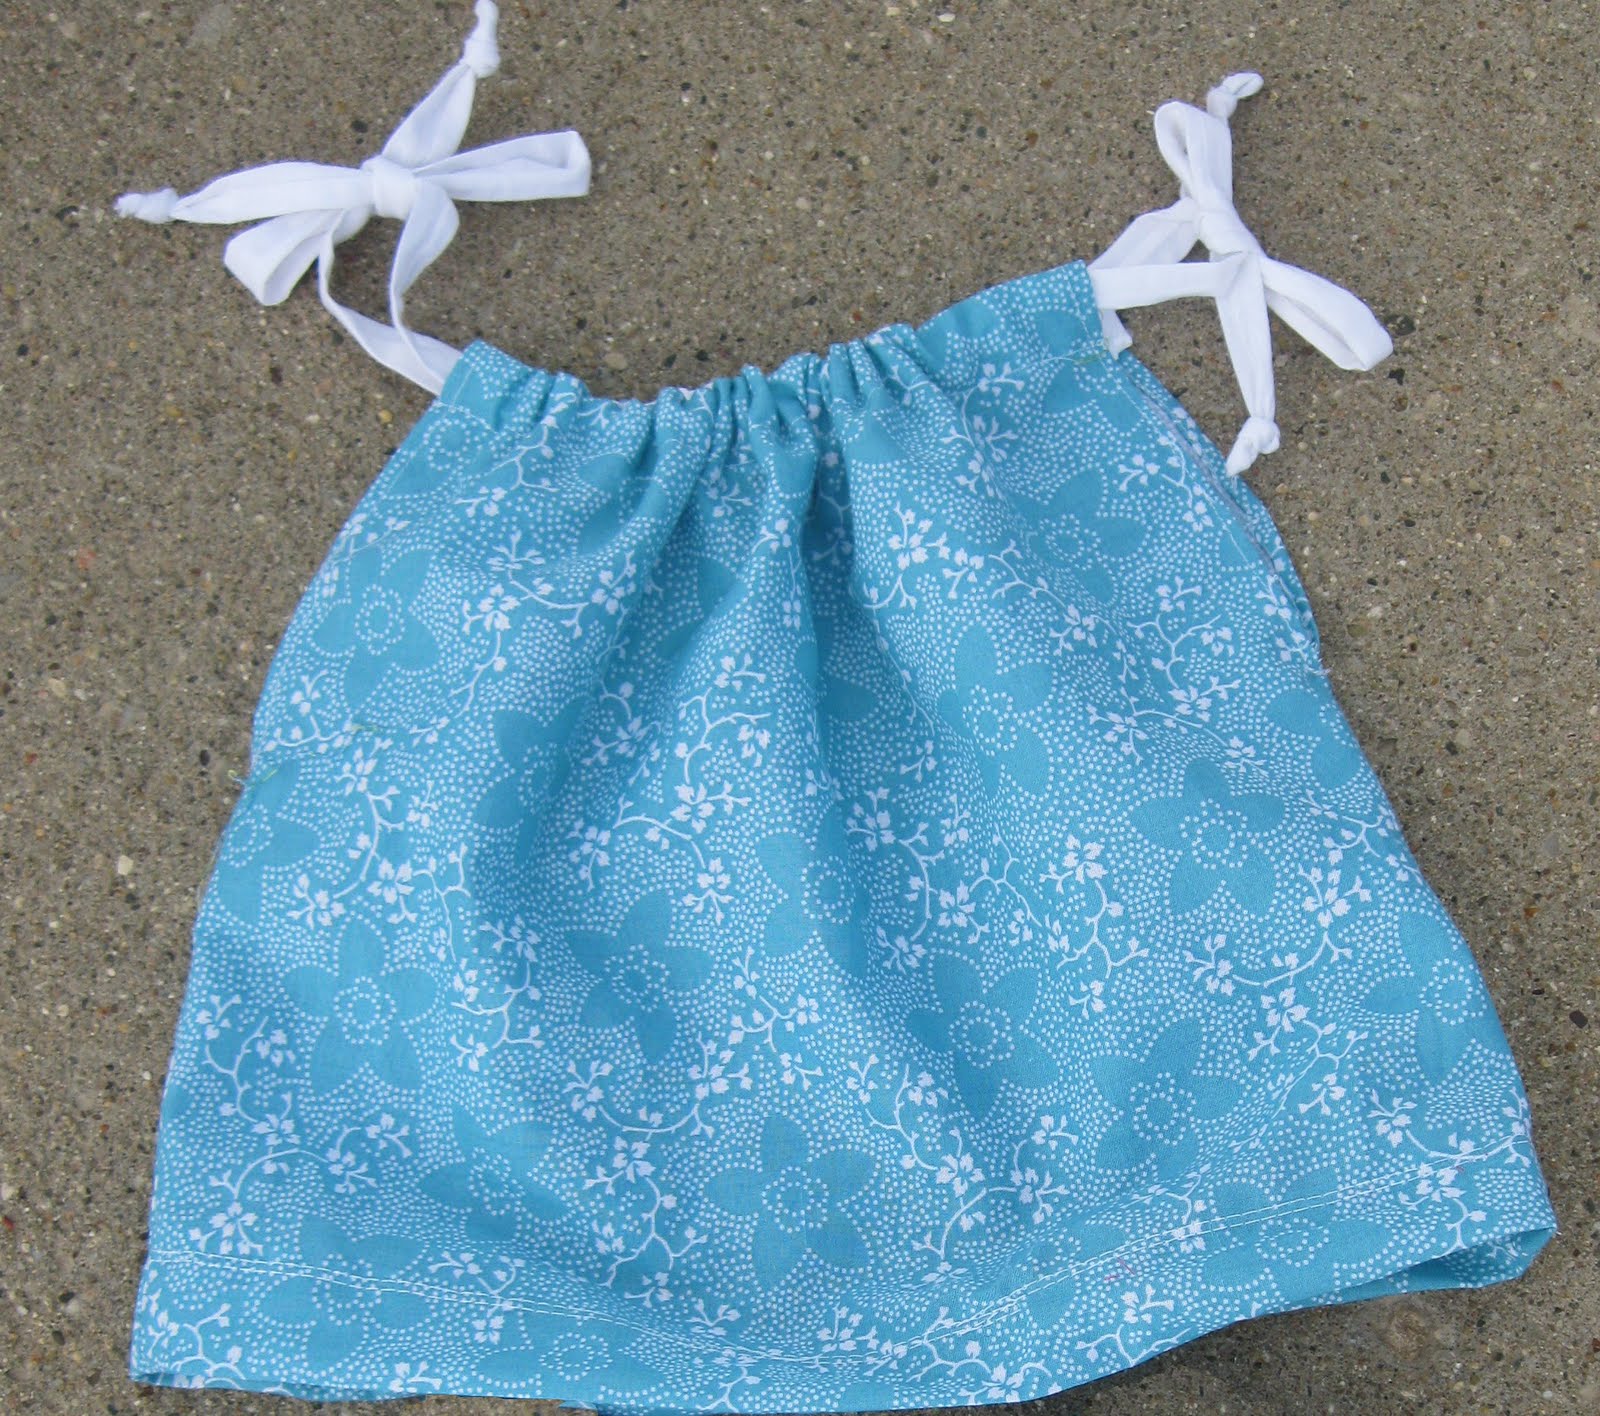
The Tie Sun Suit is ready to be your go-to summer outfit! Lightweight, adjustable, and super quick to sew!
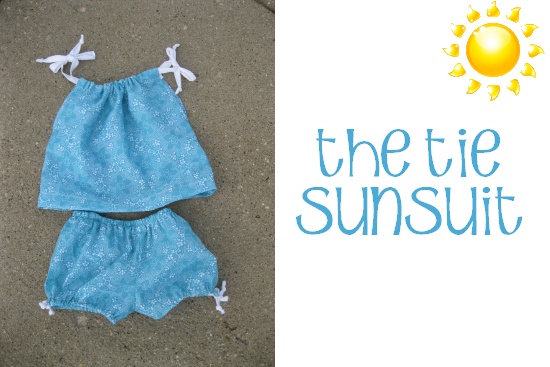
Oh and did I mention adorable???

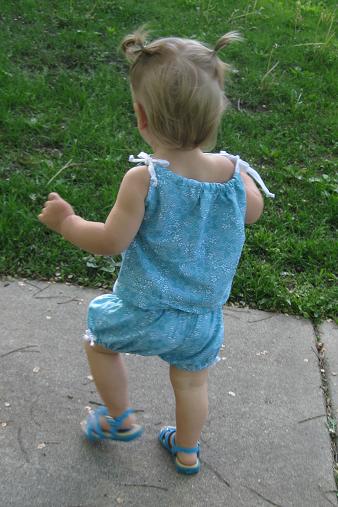
Of course I’m a bit biased, but you really can’t beat chubby baby thighs in a sun suit:) I’m thinking I need to make a couple more of these- so perfect for a hot day!


let’s get started!
- 1/2 Yard fabric (for 18 mos. size). This was just enough so you might want to get a bit more
- Bias tape sewn shut, ribbon, or cord
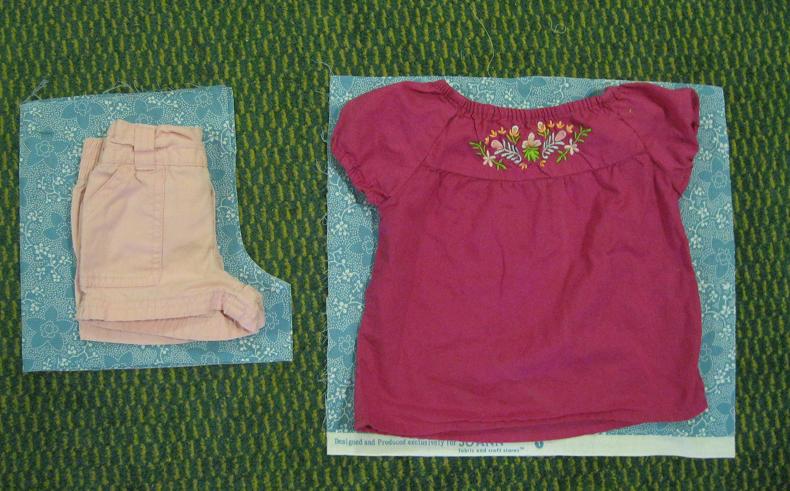
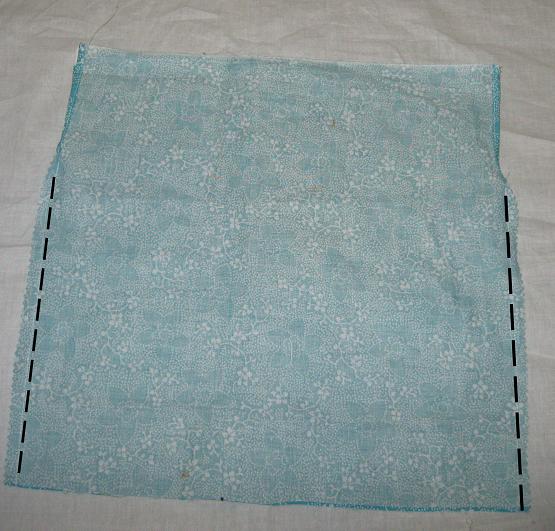
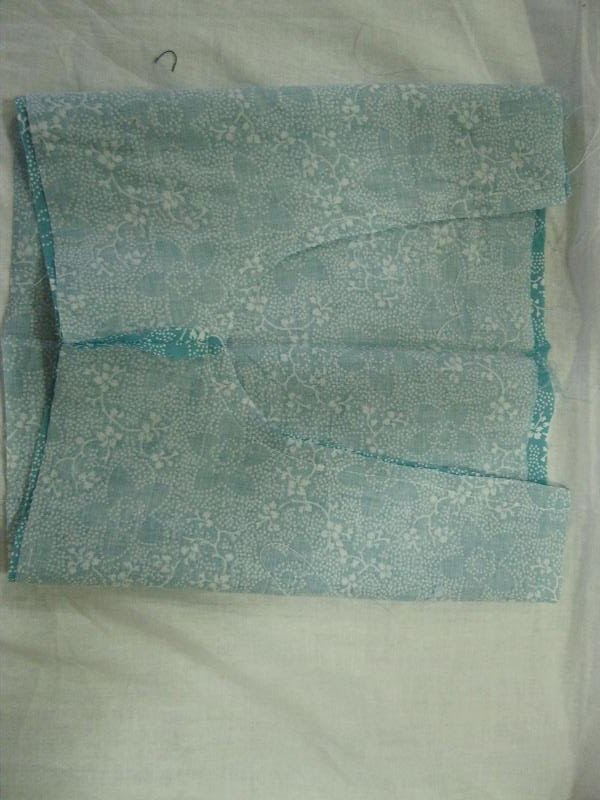
1. Cut out your pieces. Use another pair of shorts as a guide- add about 2″ to the outer side and leave room above and below for your casings. The top pieces are just 2 squares
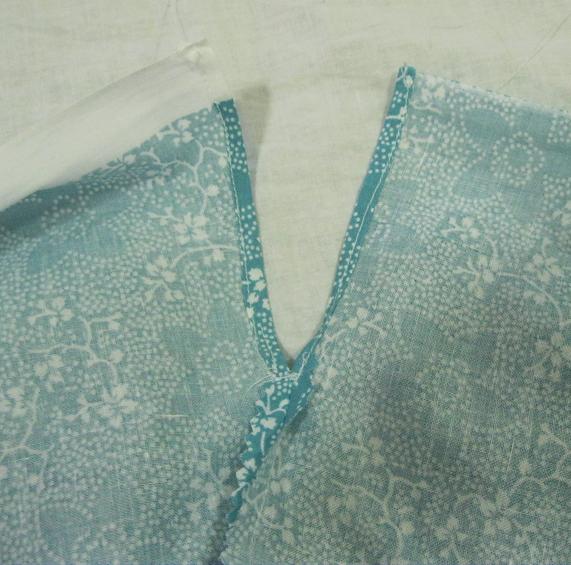
3. Turn the top edges over twice and edgestitch to finish the armhole. Sew back and forth a couple times across the point of the “v” to keep your side seam from ripping
4. Turn the top edge over twice and stitch to form a casing on the front and the back.
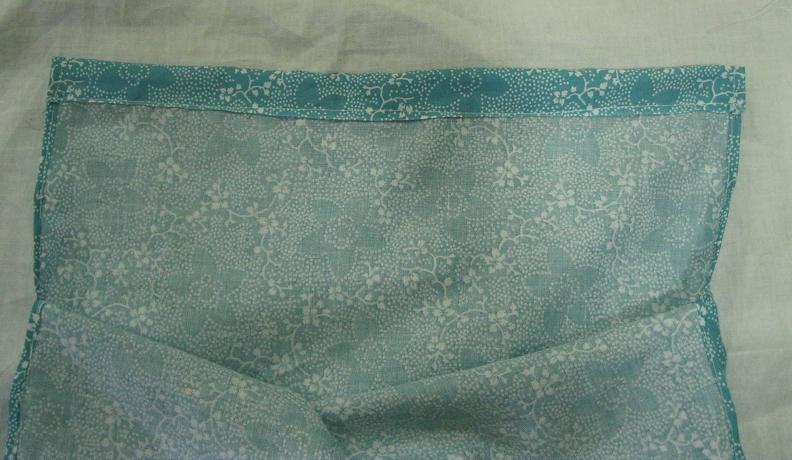
5. Thread a ribbon through the front and the back piece and tie at the shoulders. Hem the bottom edge. Done with the top!
6. With right sides together sew up the inside of each leg.

7. If you cut on the fold then make a 2″ish cut up the outer side leg starting at the bottom edge. Turn the edges over twice (just like on our top) and edgestitch. If you didn’t cut on the fold then only sew part way down the side and then finish your edges (again just like the top)

8. Slide your legs inside each other with RST and stitch the crotch.
9. Turn the top edge of the waist over twice and stitch to form a casing, leaving a small gap. Thread your elastic through, tack the ends together and then stitch up the gap (***sorry no photo, but it’s just your basic wasit)

10. Turn the bottom edges over twice and stitch to form a casing. Thread your ribbon through and tie at each side

Have fun! We’re off to the park…
Thanks for having me:)

Thanks Amy, that’s so cute!
