These DIY Frozen Ornaments may feel a few years past their prime, but I originally wrote the tutorial in 2014 for Undercover Tourist.
Since then, we’ve had a second Frozen movie, an Olaf special or two, and so many kids dressing up as characters for Halloween. So I think the magic of these ornaments can live on.
Make these glitter ornaments for the Frozen fans in your life. You can leave them plain or add some vinyl to them to dress them up a little. Aren’t they cute?
- Glass or plastic bulb ornaments
- Floor wax OR Beacon Glitter-it
- Glitter – blue, dark pink or purple, and white
- Funnel
- Vinyl for decoration
- Paper towels
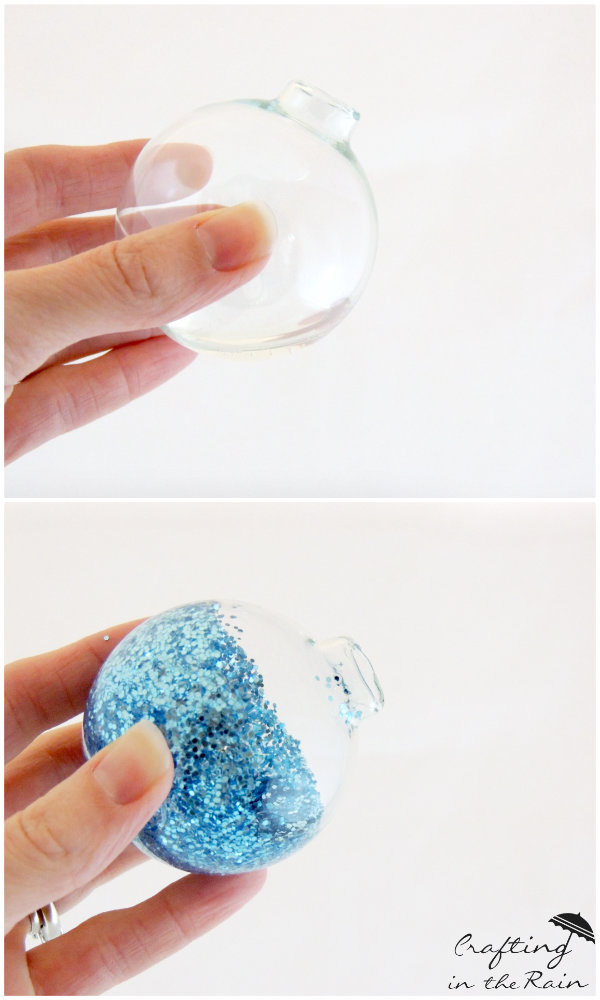
Pour some floor wax or Glitter-it into an ornament and gently swirl it around to coat the inside of the ornament.
Pour extra liquid back into the bottle.
Use the funnel to pour glitter into the ornament and use a paper towel over your finger to cover the top. Shake to get the glitter to stick to the ornament. Extra glitter can be returned to the container.
Replace the ornament top. The blue is for Elsa, pink/purple is for Anna, and the white is Olaf.

Add some vinyl decoration to make them match their characters even more. Elsa got a snowflake, Anna got a small flourish like on her dress, and Olaf got a carrot nose.
I kind of love the idea of having a whole Disney-themed tree. These would fit in perfectly.
Do you have a favorite? Any Frozen fans still in your house?
Also, see how I made the blue glitter trees.


Susan
Tuesday 7th of February 2023
I am not understanding your "OR:" in your instructions. Are we using both the floor wax first and then the gloitter. If not what is the purpose of the floor wax. Pour some floor wax "or" Glitter-it into an ornament and gently swirl it around to coat the inside of the ornament.
Pour extra liquid back into the bottle.
Use the funnel to pour glitter into the ornament and use a paper towel over your finger to cover the top. Shake to get the glitter to stick to the ornament. Extra glitter can be returned to the container.