This is a sponsored conversation written by me on behalf of Cricut. The opinions and text are all mine.
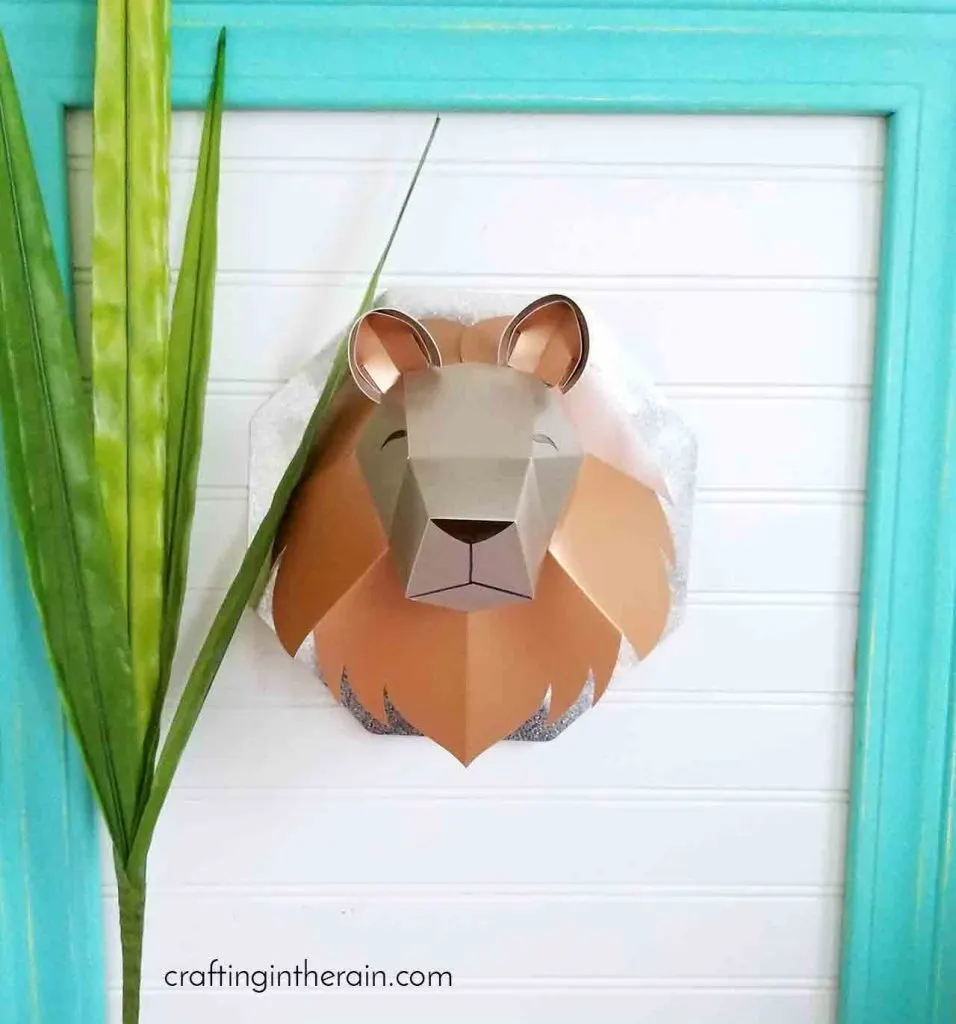
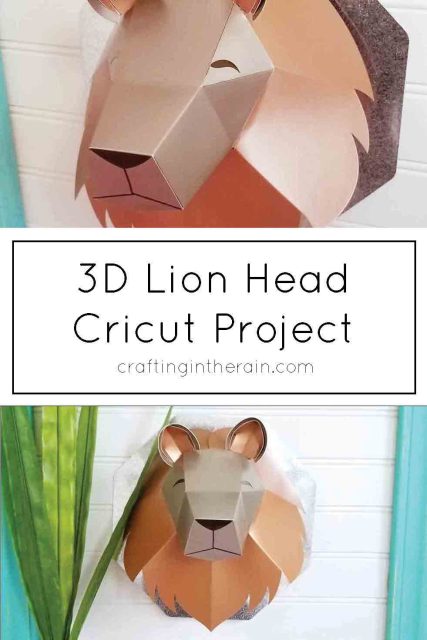
Last week I wrote about how to use the Cricut scoring wheel. Today I want to show you the 3D lion head I made out of metallic poster board using the double scoring wheel.

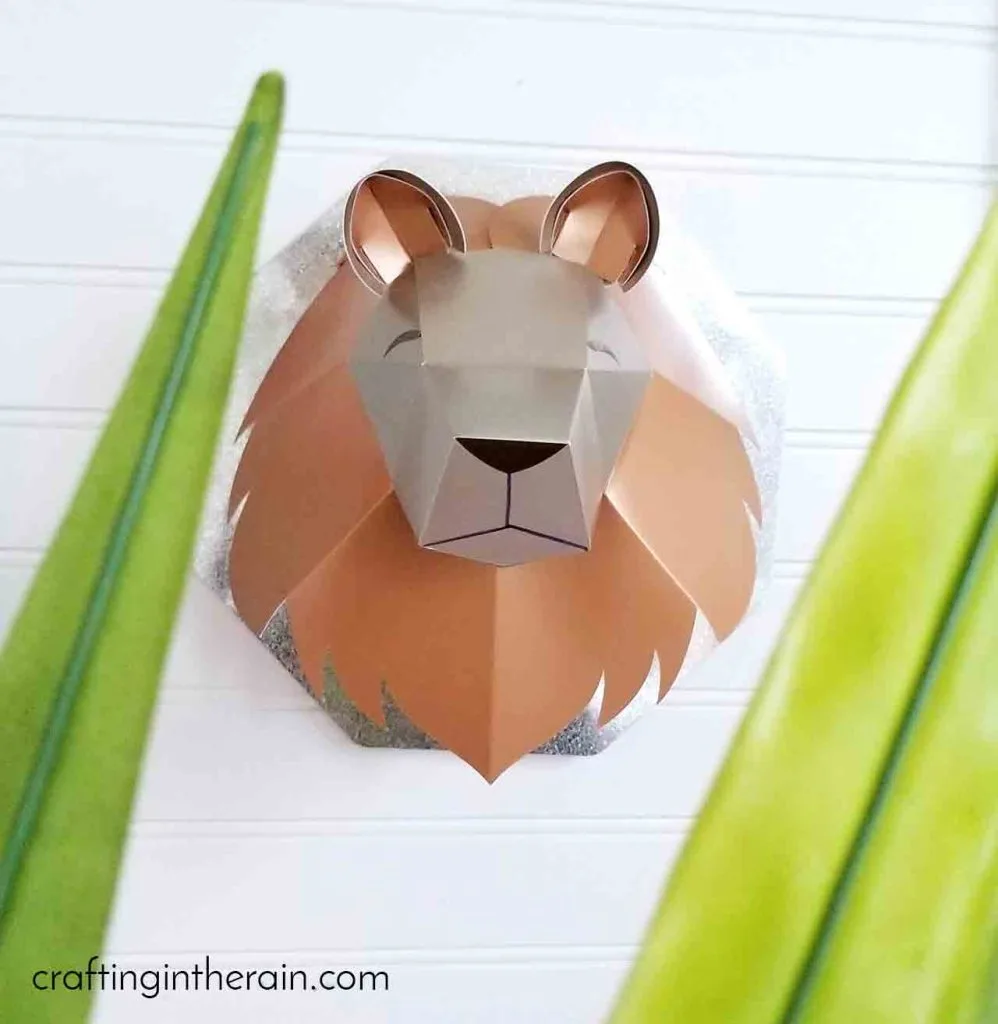
3D Lion head design space project
This 3D lion head is a ready-to-make project, and it’s free if you have Cricut Access. Click here to learn about Cricut Access Plans.
The final size of this project is about 8.5 inches across, measuring the back hexagon shape. If you are using 12×24 cardstock, you could make it slightly larger.
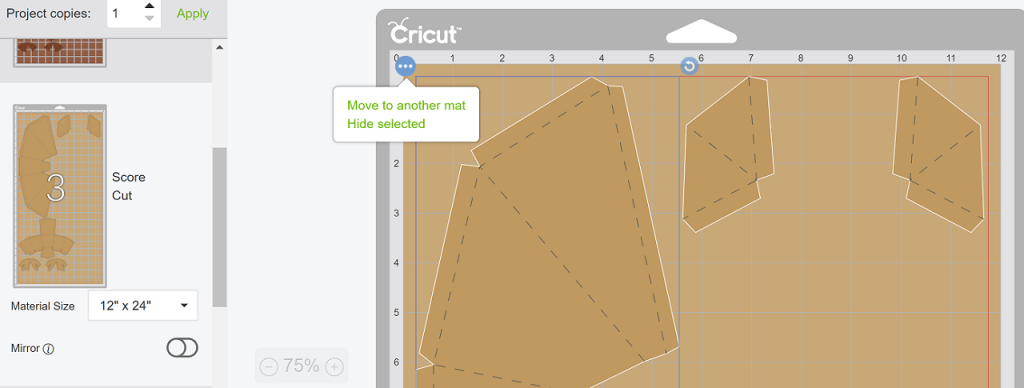
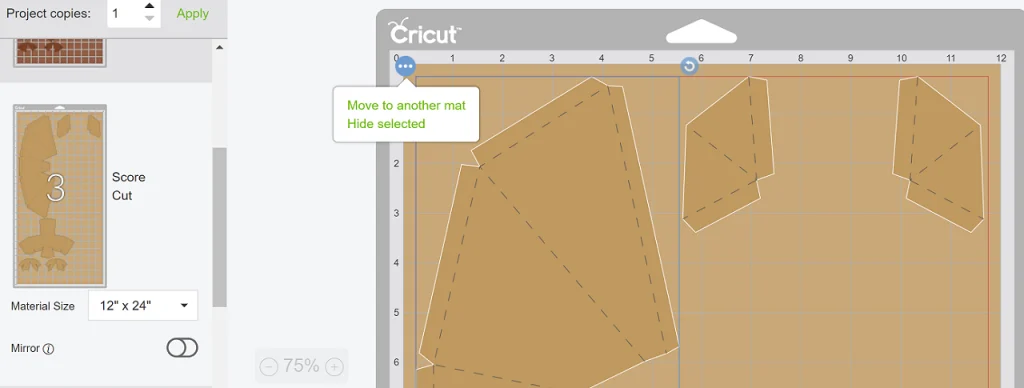
Open the Design Space Project (this canvas is sized exactly the size that I made it.) At this size, and using just 12×12 materials, you’ll need to move this light brown shape to another mat, and rotate it, so everything will fit.
Supplies for 3D Lion head:
- Metallic poster board
- Glitter cardstock
- Black vinyl
- Permanent marker
- Glue gun
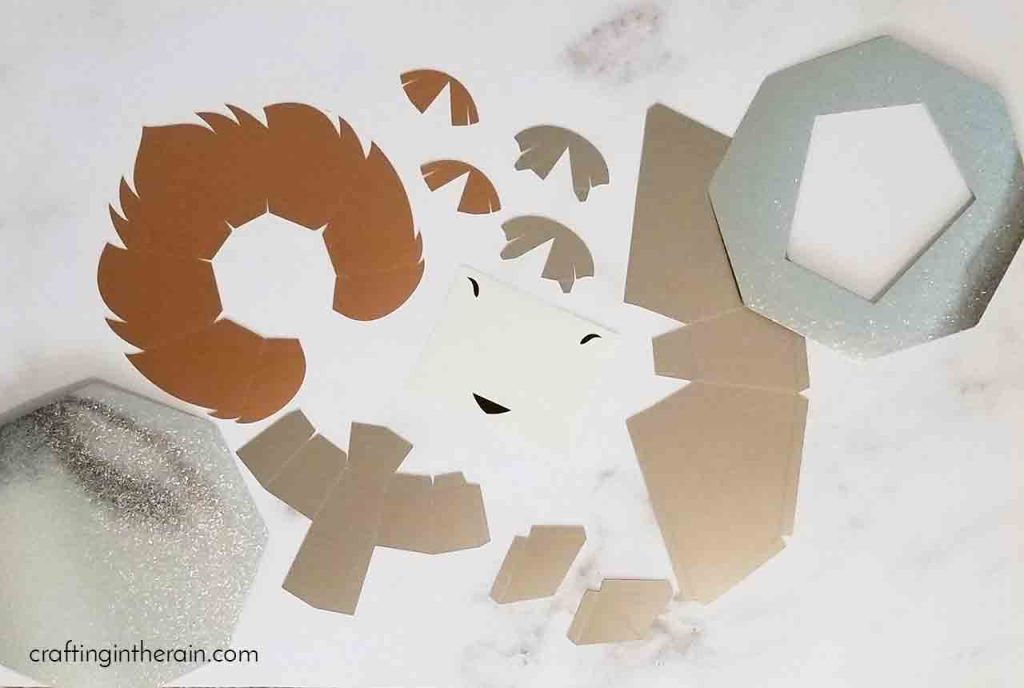
Install the Double Scoring Wheel into the Cricut Maker and send the project to cut. I used metallic poster board in light brown, dark brown and Glitter cardstock in silver.
Once a mat is done scoring, put the fine point blade back in to cut. *Design Space will prompt you to do this!
I turned off the pen lines in the project because the Cricut pens would smear on the slippery surface of the poster board. Click on the “eye” icon to hide the pen layer.
I cut the eyes out of black vinyl because I didn’t want to deal with gluing small pieces. I love working smarter not harder!

Assembling the 3d lion head
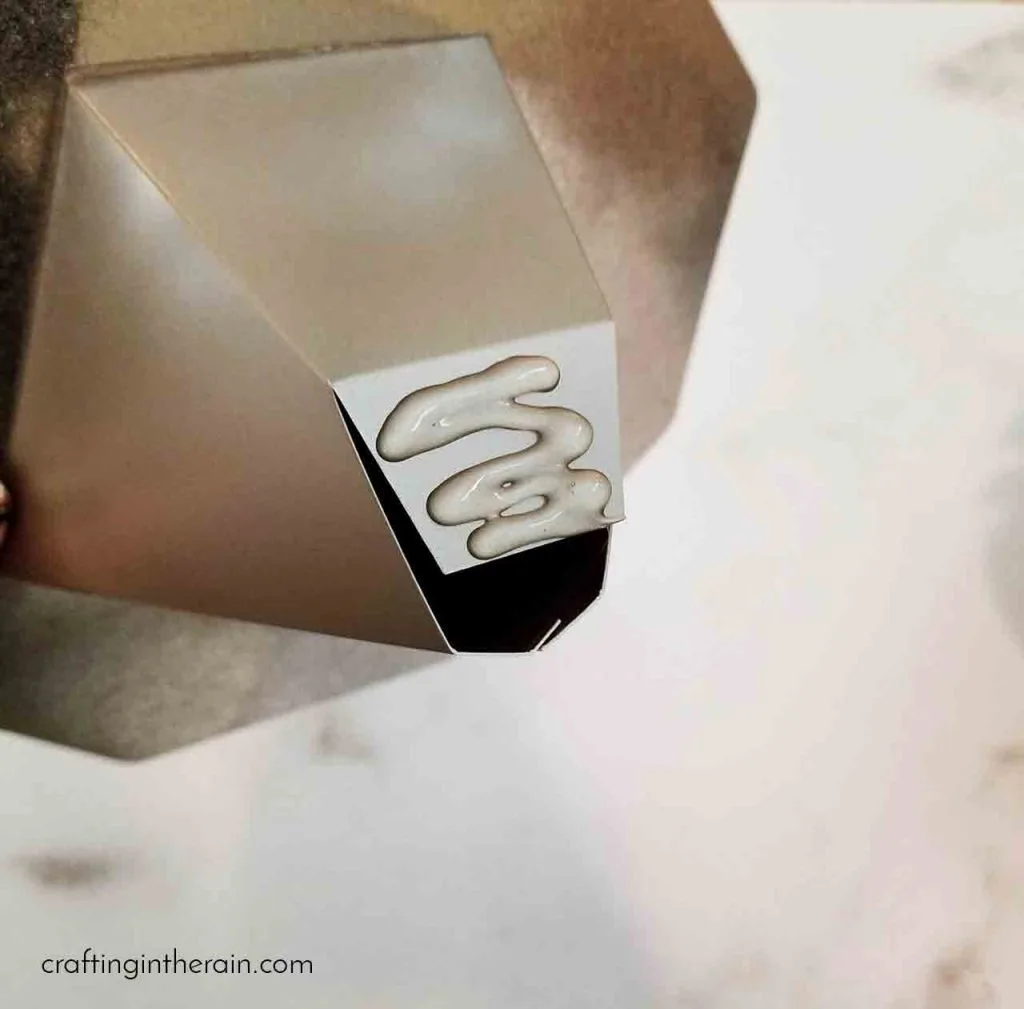
The double scoring wheel works best when you score on the back side of the material and fold into the”double line.” Like this.
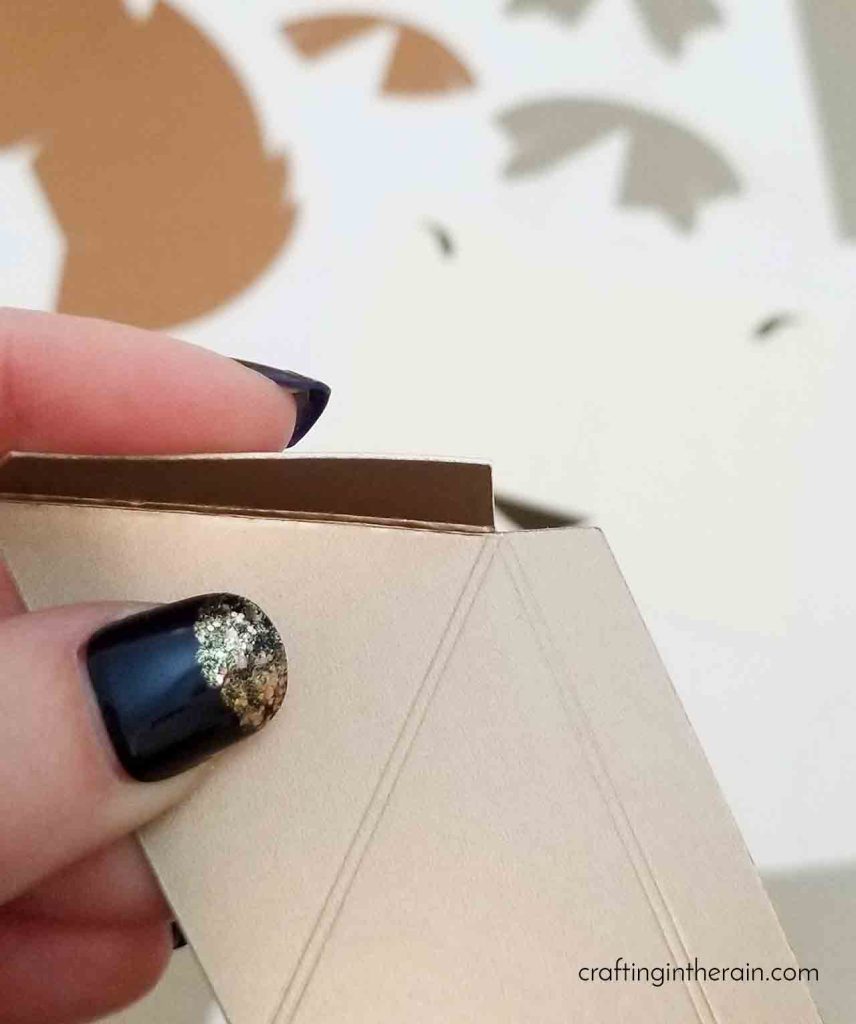
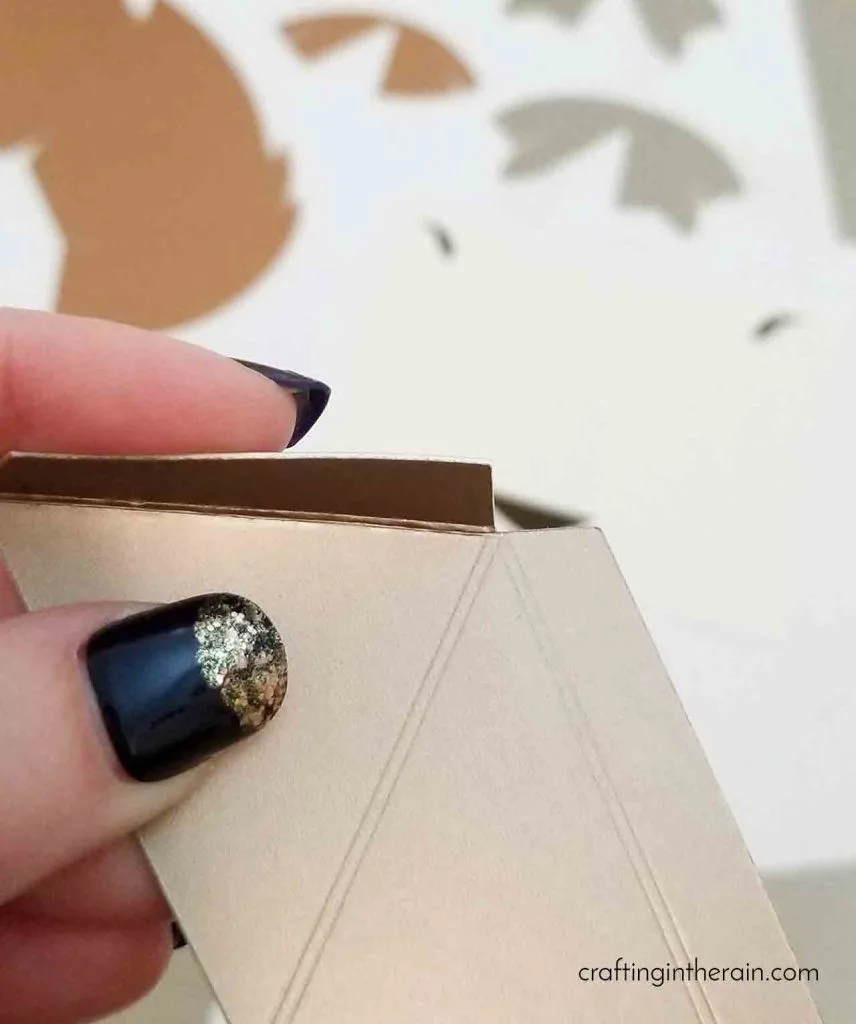
A couple of the folds in the lion head project have to go the other way though, so just fold gently.
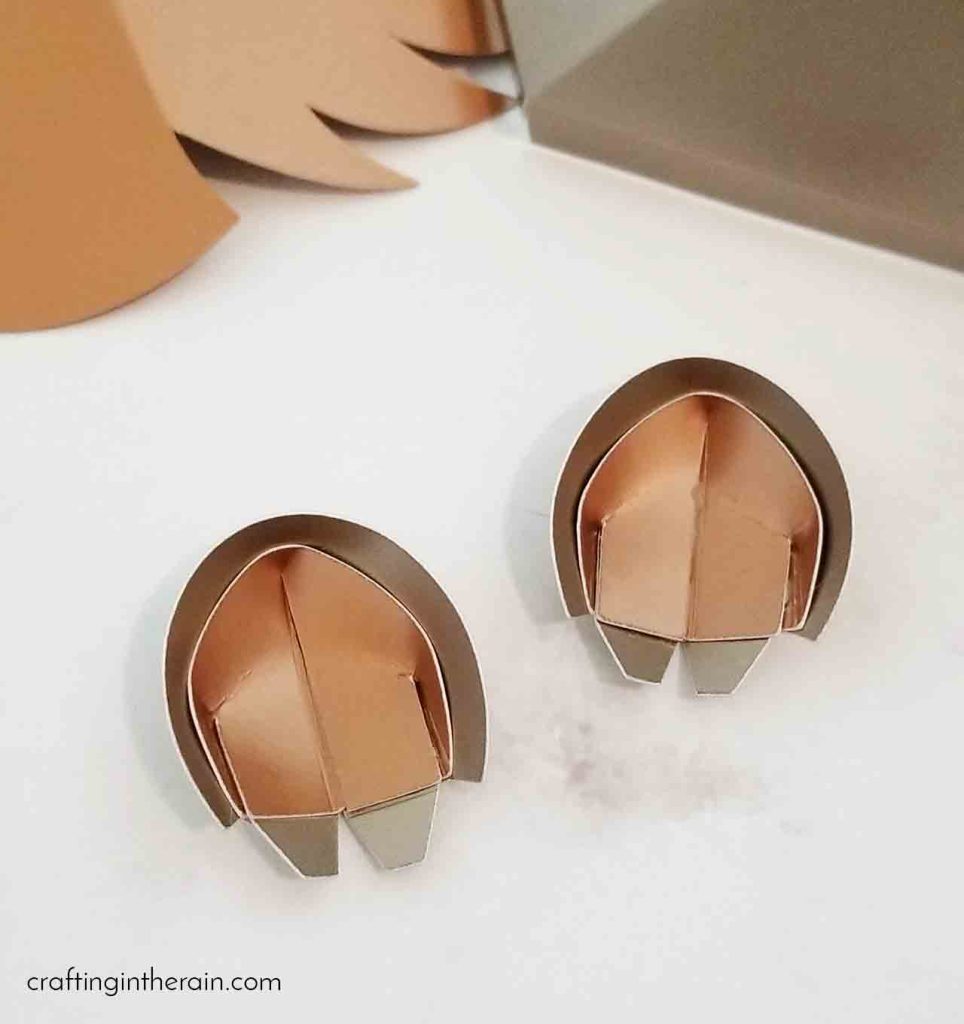
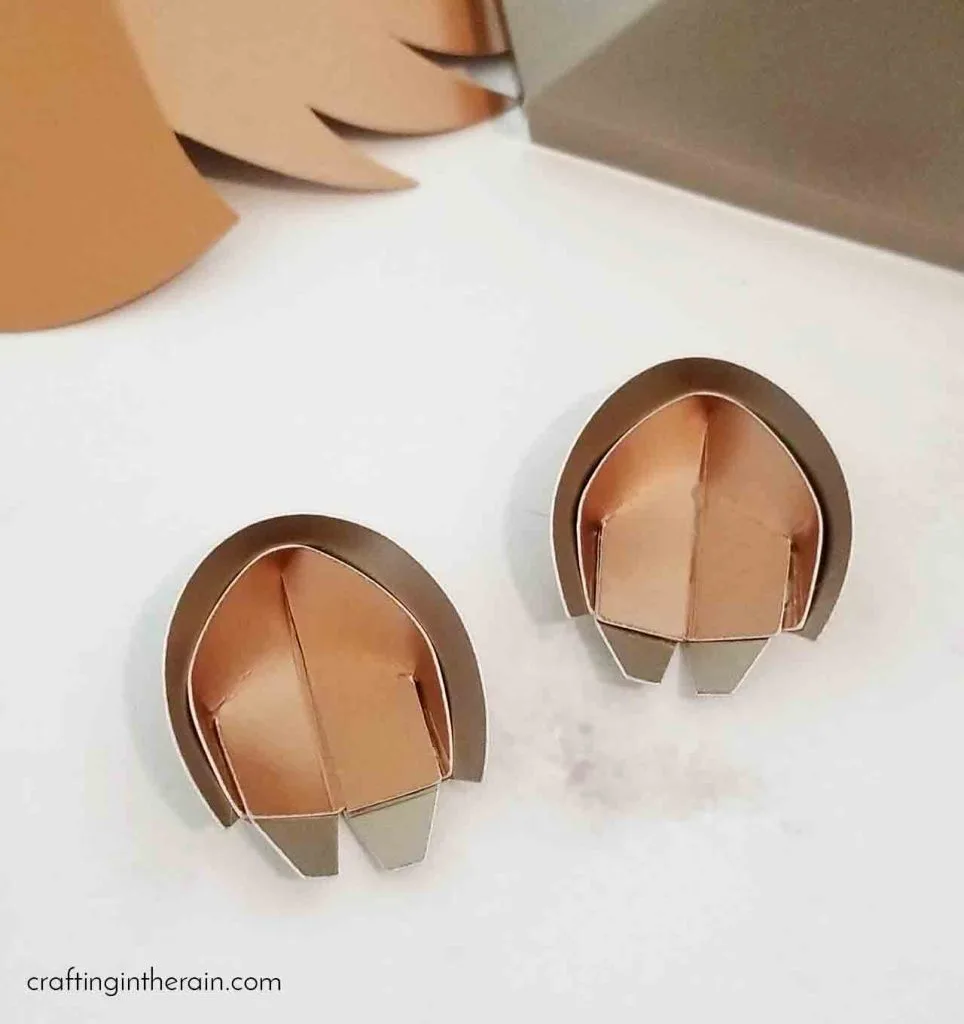
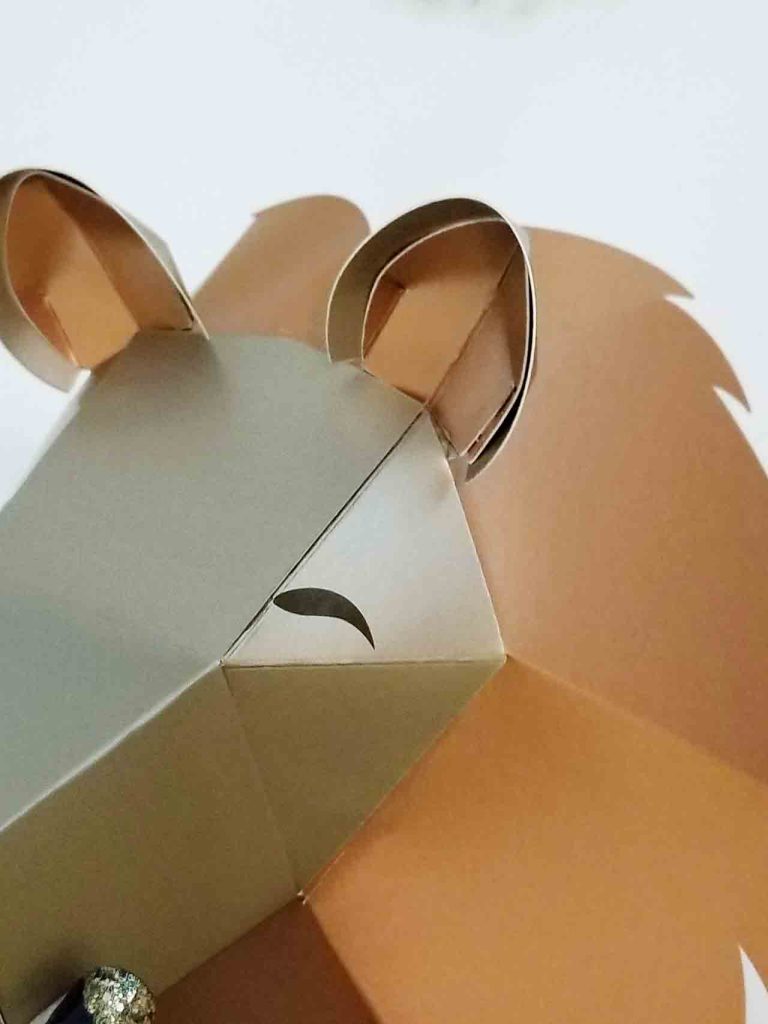
Start with the ears. Fold the creases and glue the tabs.

 Then slide behind to make the ear shape. The inner and outer ear pieces will curve. Glue the inner piece to the outer piece and fold the tabs behind to finish the curved shape.
Fold the second largest light brown piece with the folds going in, except for the top flap, which folds up. Then fold the eye pieces with the middle fold going in, and the tabs glued to the larger piece. Add nose and eye vinyl, and draw in mouth lines.

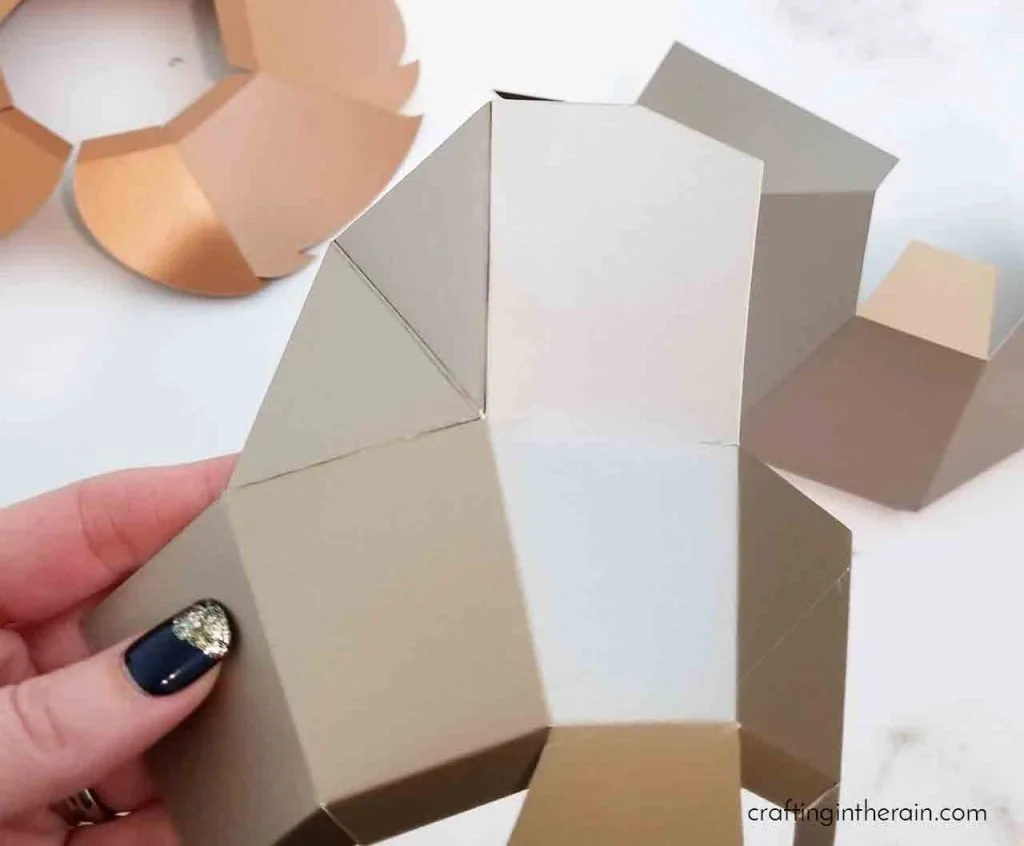
Glue the ears to the top corners of the face piece. Then fold the mane with folds going in, then the tabs come out so they can glue inside the face piece.

Fold the largest light brown piece so it comes together like a cone and glue the edge to secure.

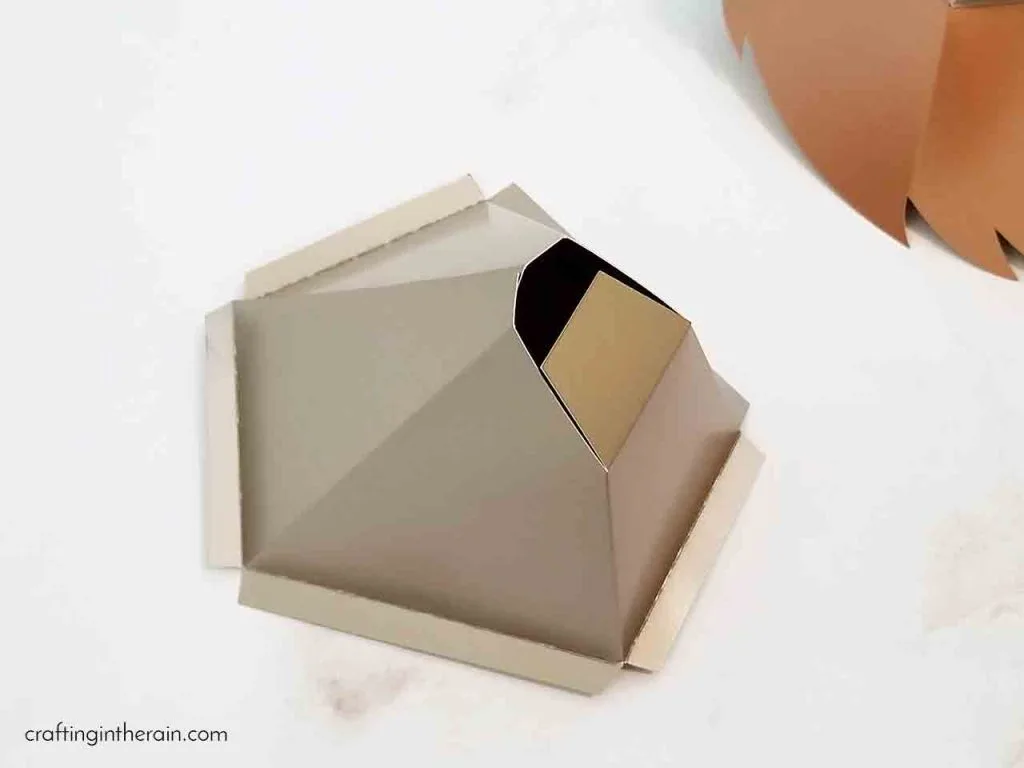
Slide the octagon shape with the cut out over this piece and glue the tabs down.

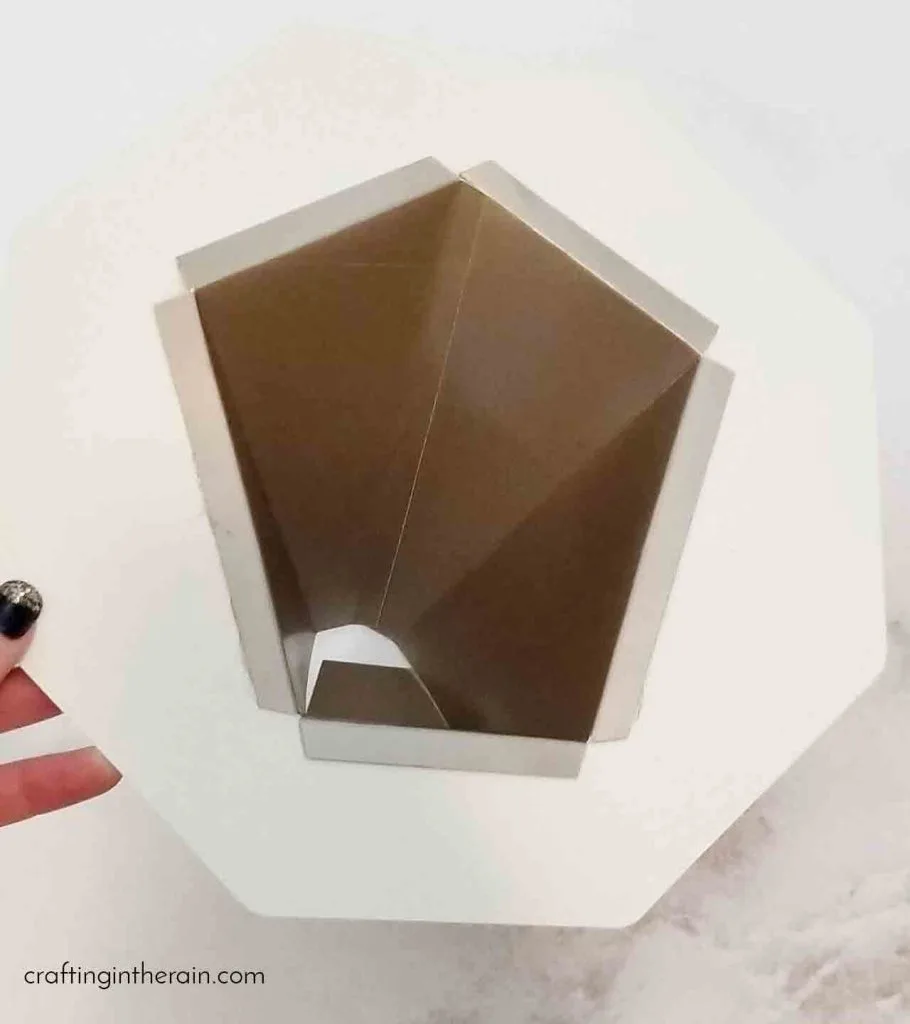
Glue the solid octagon piece to cover this hole.
Add some hot glue to the end of the piece now sticking out of the octagon.


Slide the lion head over this piece to secure it. The head will still have a bit of “wobble” and that’s ok.
I was really happy with how it all came together, and how great the folds looked, even with the thick coated posterboard. Do you think you’ll try to make one?

Teresa Rea
Tuesday 4th of June 2019
Hello, I just finished putting together the 3D lion head project. I love how it turned out.. I am working on a church bulletin board for VBS, but I need the Lion head to be bigger. I am new to using the Cricut and design space. Is there a way to adjust the size, of the ready -to -make project, to make this 3D Lion bigger? Thank you