
I love the Cricut Maker Adaptive Tool System. It’s what allowed the machine to release with a fabric cutting rotary blade, then later the powerful knife blade, and newest scoring wheels.
Who knows what tools they’ll add next! But this means I’m running out of room to store all these great tools. They don’t all fit in the little cubby in the machine anymore.
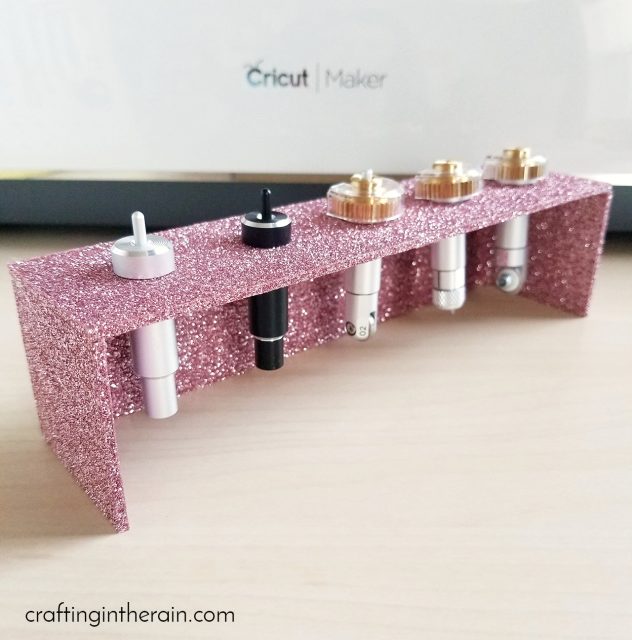
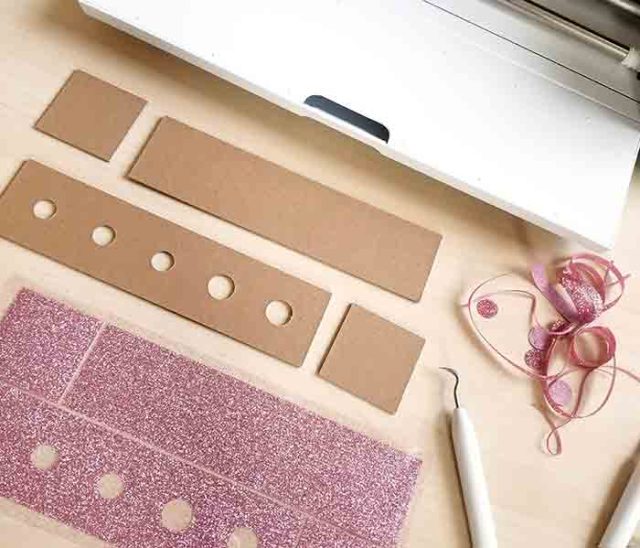
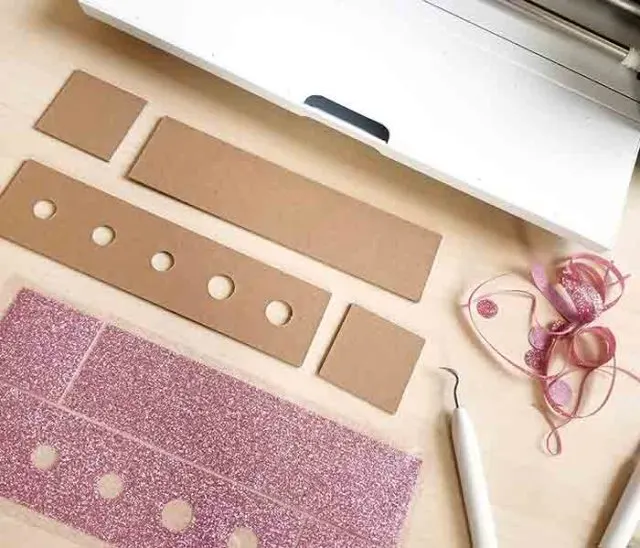
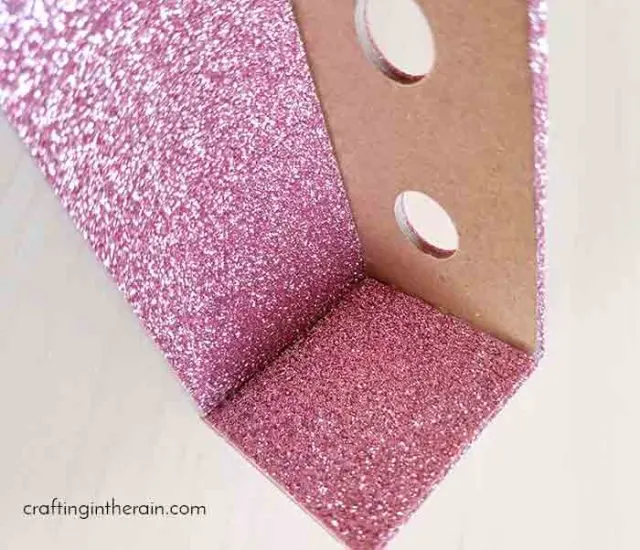
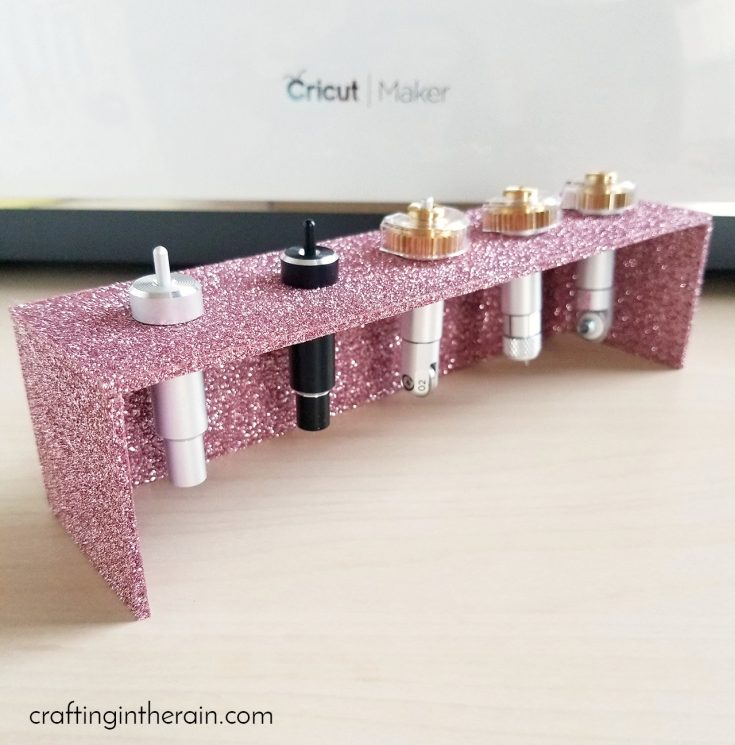
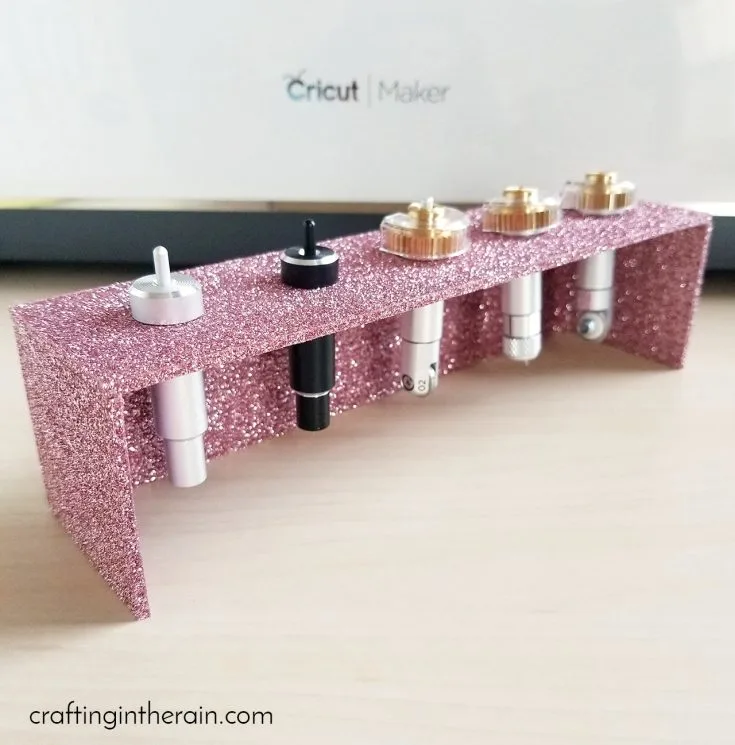
When I discovered the Cricut Maker Tool Holder project in Cricut Community by Nicole H, I knew I had to make one for myself. There are 6 holes, with 2 being larger for the rotary blade and scoring wheel.
I decided to cut mine from chipboard and cover with glitter iron-on vinyl.
Tips for using Cricut Chipboard
- Open the package of chipboard and let it sit for at least 24 hours to acclimate to your house temperature and humidity.
- Use the Knife Blade (I usually find the best price there on Amazon) – remember the Knife Blade can only be used with the Maker, and using a laptop – no phone or tablet.
- Move the star wheels (the little white wheels on the metal bar in your machine) all the way over to the right.
- Tape the chipboard down to a purple mat, and make sure that you position it with the 11-inch side going across, and the 12-inch side going down, so that the star wheels won’t run over it at all. This could jam the machine.

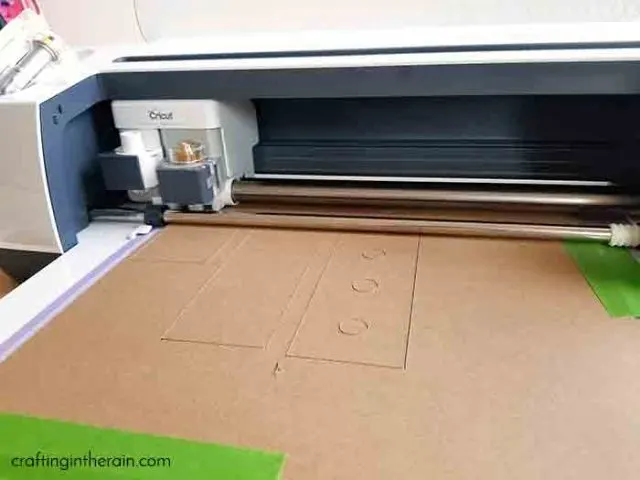
- You will need to check your cuts before the machine finishes all passes. Most chipboard projects are getting set at about 20 passes, but most people find their cuts have completed by about 10-14 passes. Mine finished at 8! So don’t set your machine to cut with the knife blade and then walk away.
**How to check: pause the cut and lift up part of the chipboard, or use a weeding tool to try to remove an inside cut to see if it releases cleanly. If it does, you can eject the mat. If not, let it do another pass or two and check again.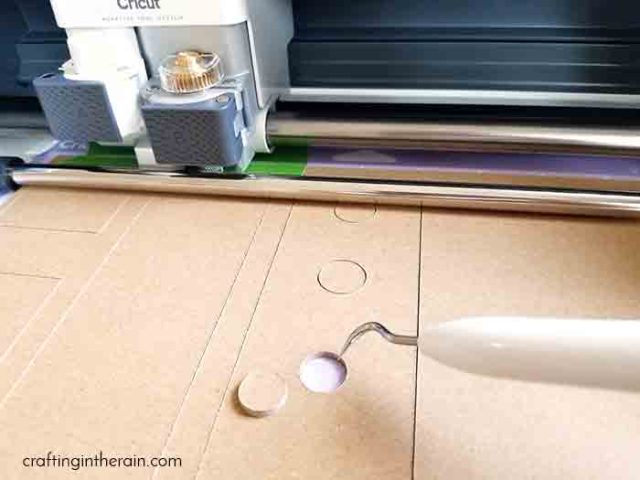
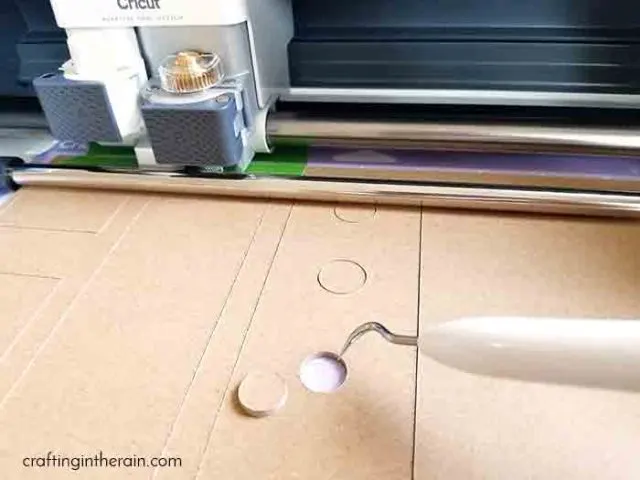
- Sometimes a corner or small piece may be not quite cut through. Use the TruControl Knife to carefully trim and release the last part of the design.

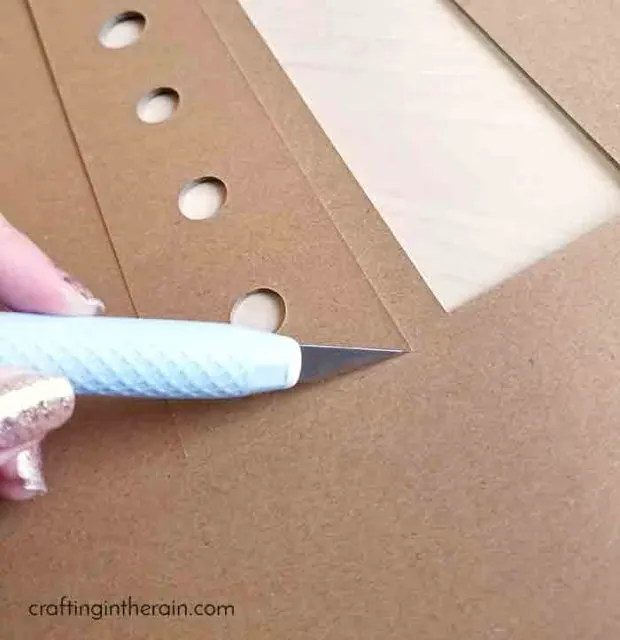
So there are my recommendations for cutting chipboard with the Cricut Maker. This project can also be made with basswood. Then you could paint it or stain it, and it would look really cool.
I wanted to cover mine with pink glitter iron-on, so I cut the project out again using glitter vinyl.
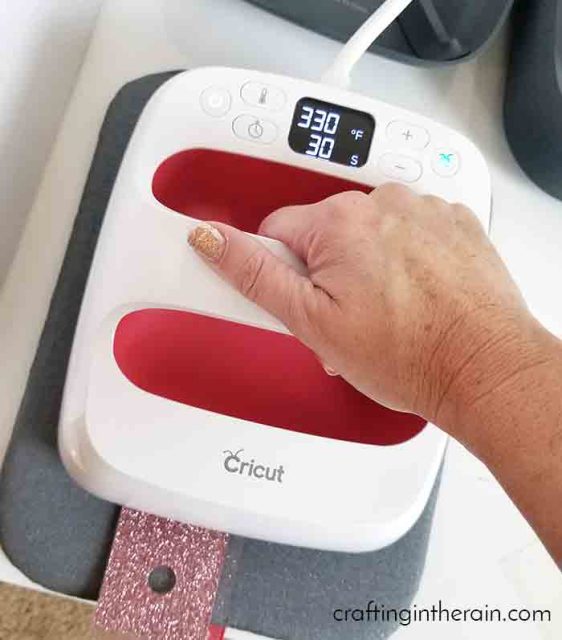
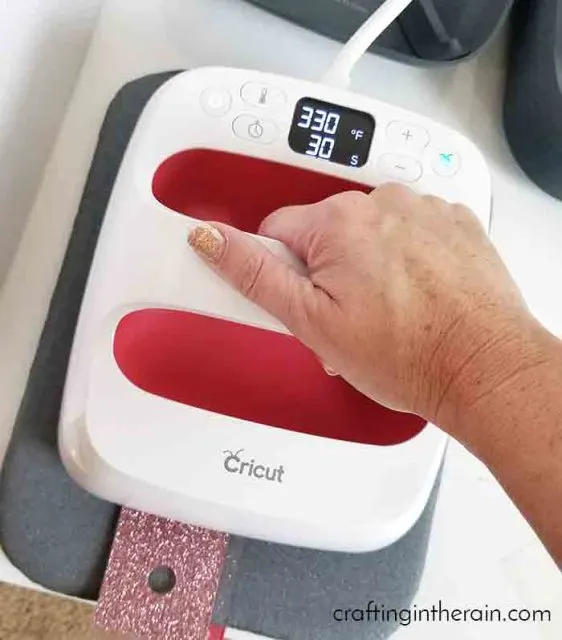
I used my small EasyPress 2 to adhere the glitter iron-on to the chipboard. I set the EasyPress to 330 and pressed for about 15 seconds. **The chipboard will start to bend a little with the heat.
To combat this, I put the pieces under some heavy boxes as soon as I peeled off the carrier sheet. This helped the chipboard flatten as it cooled. Plus, the way it’s glued together at the end, the pieces stay flat.
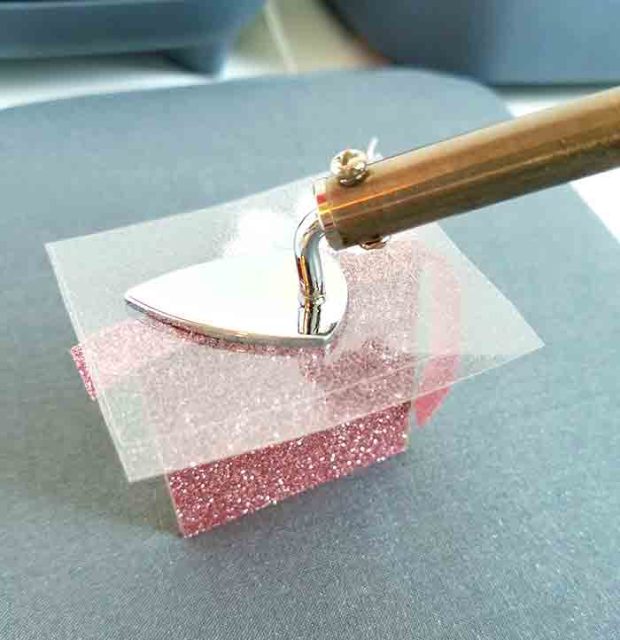
I also used my tiny craft iron to apply thin strips to the edges of the chipboard that would be showing.

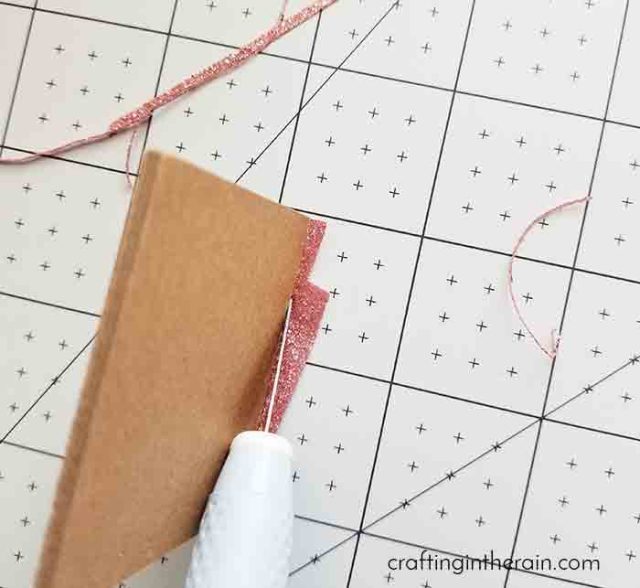
I used my TruControl Knife and the EasyPress 2 (which I loved using – safety guard so I couldn’t slip and cut my fingers, non-slip base, and stainless steel straightedge) to trim the excess iron-on away from the pieces. Go slowly so you don’t gouge out any part of the chipboard.

When all the pieces were glitter-fied, I use hot glue to assemble the holder.

DIY Cricut Maker Blade Holder
Use the knife blade in the Cricut maker to cut chipboard and create a holder just for all those amazing blades you're collecting.
Materials
Tools
- Cricut Maker
- Knife Blade
- TruControl Knife
- Glue Gun
Instructions
1. Open the package of chipboard and let it sit for at least 24 hours to acclimate to your house temperature and humidity.
2. Install the Knife Blade into the Cricut Maker
3. Move the star wheels (the little white wheels on the metal bar in your machine) all the way over to the right.
4. Tape the chipboard down to a purple mat.
5. Check the progress of the cuts. Mine finished at 8 passes! So don't set your machine to cut with the knife blade and then walk away.
6. Cut the project out again using glitter iron-on vinyl.
7. I used my small EasyPress 2 to adhere the glitter iron-on to the chipboard. I set the EasyPress to 330 and pressed for about 15 seconds. Remove the carrier sheet and set under a heavy book so it stays flat while cooling.
8. Trim away any excess with a TruControl knife.
9. Use a glue gun to assemble the blade holder.
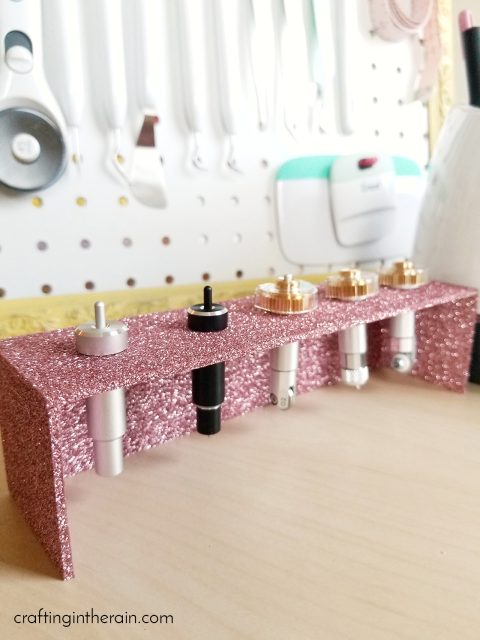
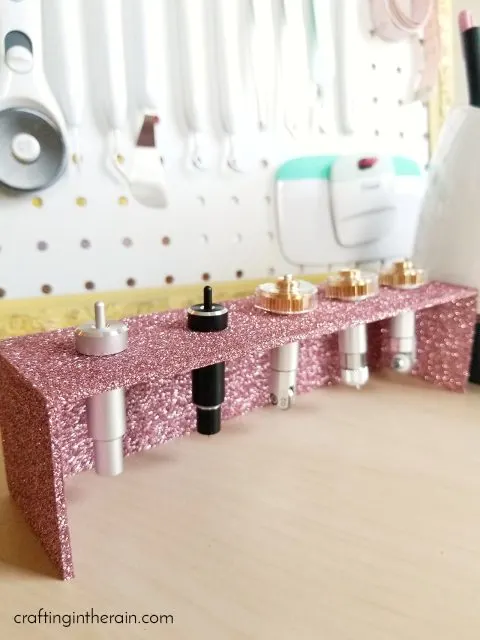
This holder fits all the blades and tools that I currently own. I love that it keeps the tools secure and safe from chipping or dulling the blades. Check out this post if you want to see more of the pegboard Cricut tool organizer that’s in the background of this picture. It’s another great way I keep my tools organized and visible.
danielle
Sunday 14th of April 2024
I am looking for something to hold my blades for my Air 2..
21 Brilliant Cricut Supplies Storage Ideas — Offbeatbros
Tuesday 26th of April 2022
[…] Via Craftingintherain […]
The Ultimate List of Cricut Storage and Organization Hacks for All Your Supplies • Jojo & Bella
Thursday 31st of March 2022
[…] Read More… […]
The Best Cricut Storage + Organization Ideas for Vinyl, Cardstock & More!
Friday 4th of February 2022
[…] PEG BOARD My pegboard is absolutely my favorite way to store my Cricut tools (and a whole bunch of other stuff!) My version is from IKEA—all of the hooks and bins are designed to work with their system. I thought the whole thing was very reasonably priced and has made my whole craft room so much more usable. Read More… CRICUT TOOL ORGANIZER One of my biggest struggles was organizing my Cricut blades. Mine were a jumble in the storage cup of my Cricut. Then I found this AMAZING organizer from Uniquely Why Not—it stores all of my blades and tools perfectly, including space for the new Maker tool tips. I have more than one set of hand tools as well, so there’s a set in this holder and a set on my pegboard. Read More… DIY CRICUT TOOL HOLDER If you’d rather DIY yourself a Cricut tool holder, you can do it using your Cricut Maker! Stephanie shows how to make this handy tool organizer using chipboard. Read More… […]
RC
Thursday 25th of February 2021
I haven't cut chipboard before. Can I apply the vinyl first, then cut?