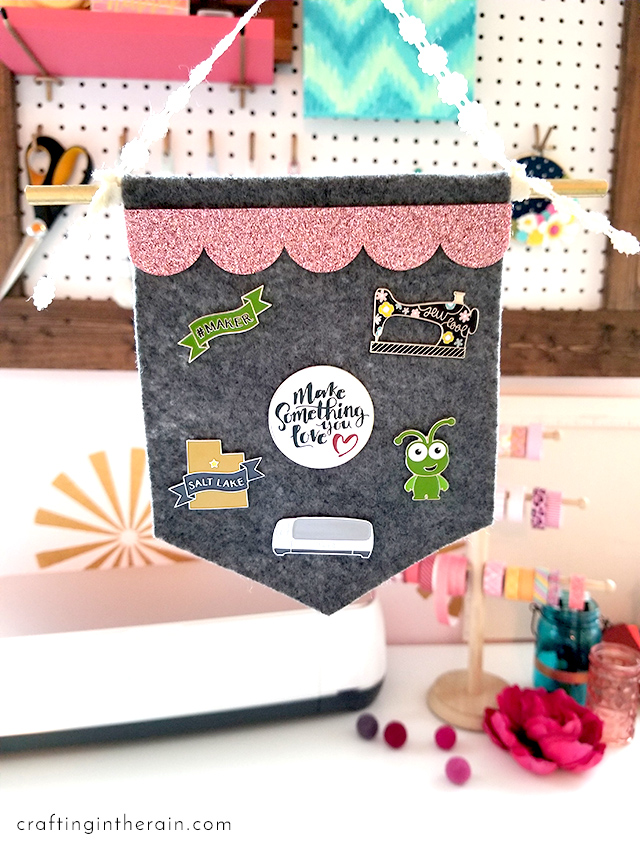
Make a Flair Pin Display banner out of felt with the Cricut Maker
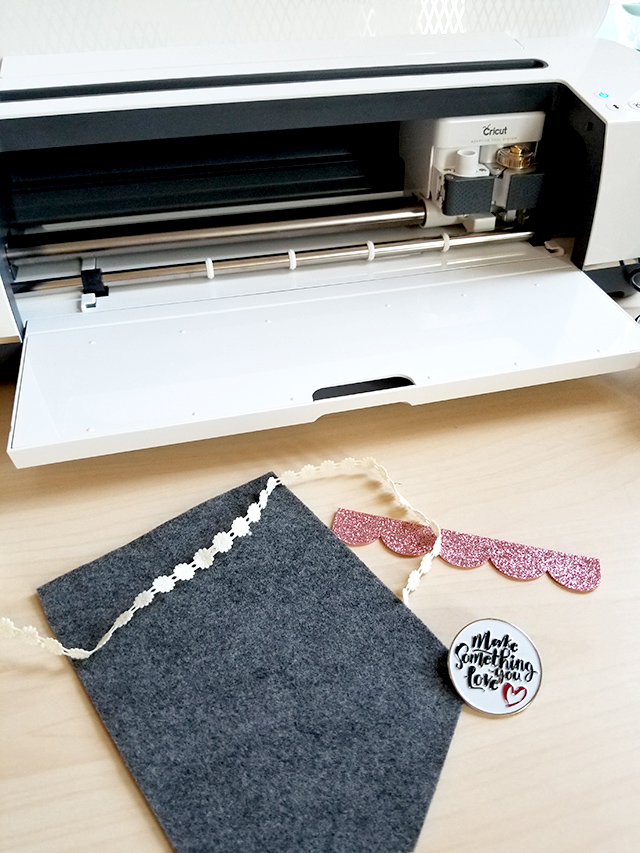
Do you have an enamel pin collection? I didn’t – until I went to the Cricut Make-a-Thon and we could earn all these adorable ones. I knew I wanted a just-as-cute way to show them off in my craft room. I also knew it would be the perfect simple project to use my Cricut Maker to cut the felt.
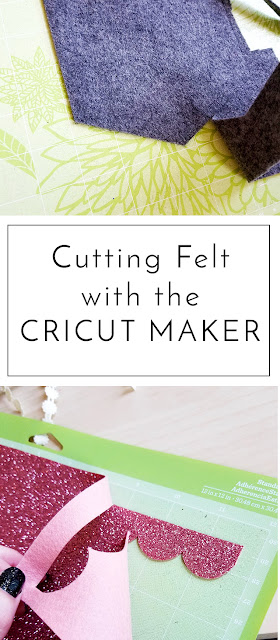
Choose your felt colors and press the felt down on a green mat. Cut felt banner and scallop shapes (make them the same width).
Since the Cricut Maker has no dial, you will click on the material each time you send it to cut. This way you never forget to move it from “Vinyl” that you used on your last project, and “Cardstock” that you’re using now 🙂 Select “Felt” as the material, and rotary blade will cut the shapes. Even though I’ve watched it cut numerous times, I’m still amazed by how fast and precise it works! See the complete list of what the Cricut Maker can cut here.
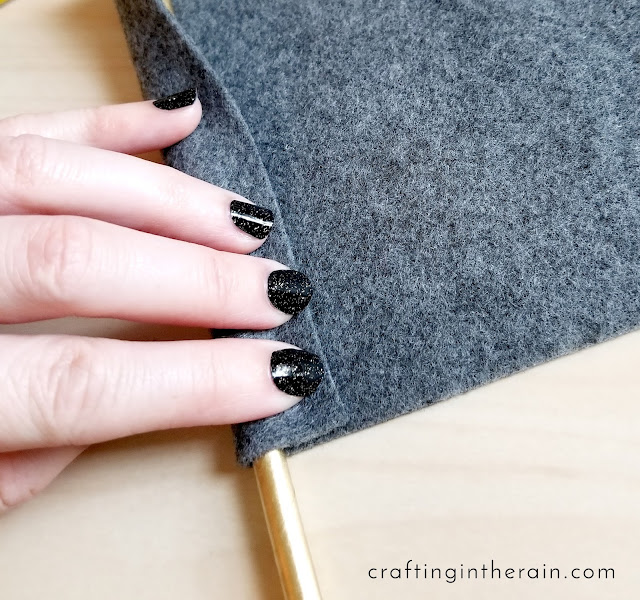
Use a paper straw for the top part of the banner (spray paint ends if desired).
Fold over top of banner and hot glue straw in place.
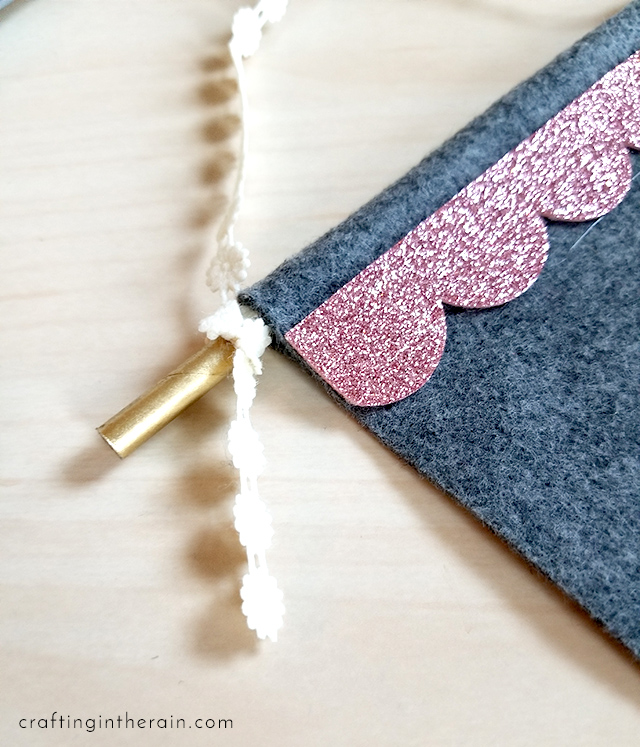
Hot glue the scallop to the front of the banner, just under the bump of the straw. Tie ribbon or string around ends of straw to make a hanger.
Add your pins and hang it up! What do you think? What else could you use something like this for? And finally, have any questions about the Cricut Maker – ask away!


