I have loved working with Country Chic Paint this year. It has given me the chance to try out lots of paint projects and techniques that were new to me. For this table I learned how to do an image transfer (and I’ll show you how to get a big picture for cheap) and it was so fun!
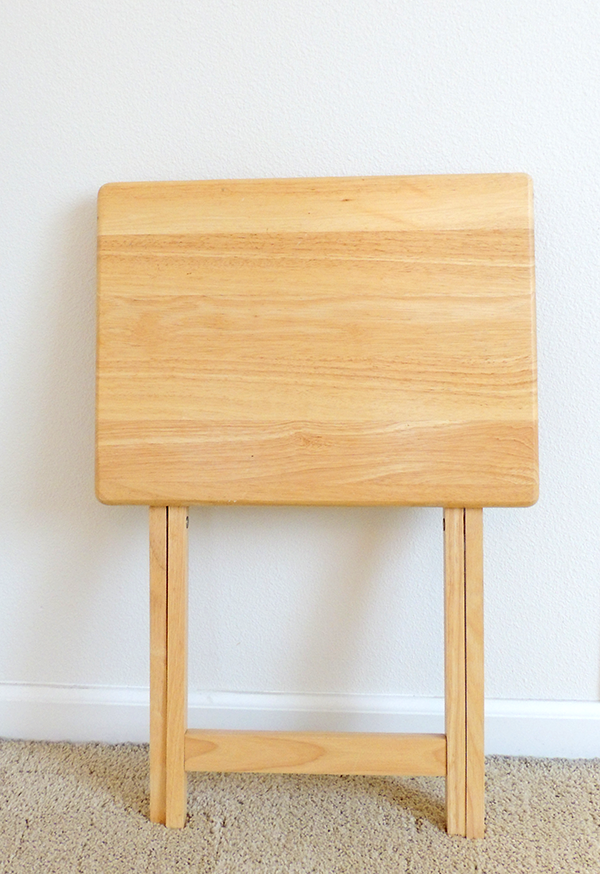
While I was at Goodwill a few weeks ago and picked up this foldable TV tray for just $5. My guess is you see them at your local thrift shop all the time too. Now you’ll have a reason to not pass them by! I transformed this one and now it lives on my front porch.
Supplies list:
- Elegance chalk-based paint
- Liquorice chalk-based paint
- Image Transfer Medium
- Tough Coat
- Country Chic paint brush
- Foam brush
- Printed image (mirror before printing if it has any words)
- Cloth
Start by painting the table. 2 coats of licorice on the legs and 2 coats of Elegance on the table top. Let dry at least 1 hour between coats.
After the second table top coat has dried at least 4 hours you can start the image transfer part. Some notes about the process—you want the transfer medium to be spreadable. Mine was actually too stiff right out of the container, so I put some in a bowl and stirred in some water—about ½ teaspoon to start, and then a few drops at a time, until I reached the consistency of a thick glue.
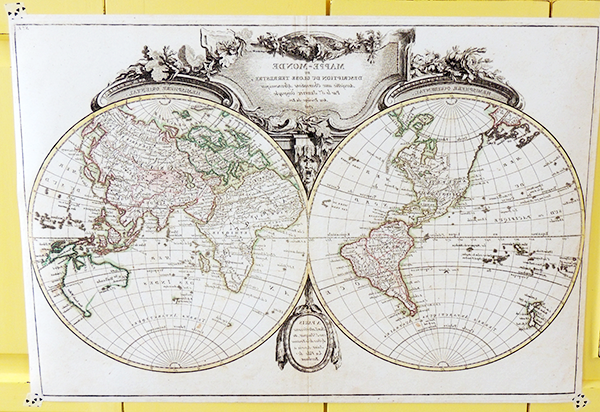
For the picture I found a high resolution map image, (to do this, search Google for the image you want, click “images” then click “Search Tools” and for the dropdown under “size” select large.)
I created the mirror image in Photoshop (any photo editing program should be able to do that) and uploaded it to be printed at Office Depot. I chose a color engineer print—they come in a lot of sizes for cheap. This one was less than $2.
Use the foam brush to apply the transfer medium to the printed side of the image. As a head’s up, I had to put some of the medium in a bowl and add some water to it because it was really thick at first and wasn’t spreadable. You want it to be pretty much like ModPodge/ or thick glue. Then flip it over, start in the middle, and press it down on the table. Smooth it out towards the edges and try to remove any bubbles without shifting the paper once it’s been placed down.
Let it dry overnight. The next day, brush water all over the paper and let it sit for a minute to soften. Take a damp cloth and rub it over the paper and the paper fibers will begin to come off, revealing the image underneath. Continue until all paper is removed. If you want to see a video of the process, you can see the Facebook Live video I did here.
Lightly sand over table top with a sanding block. Remove dust and apply one layer of Tough Coat to protect the image and surface. Let that dry and your table is done!
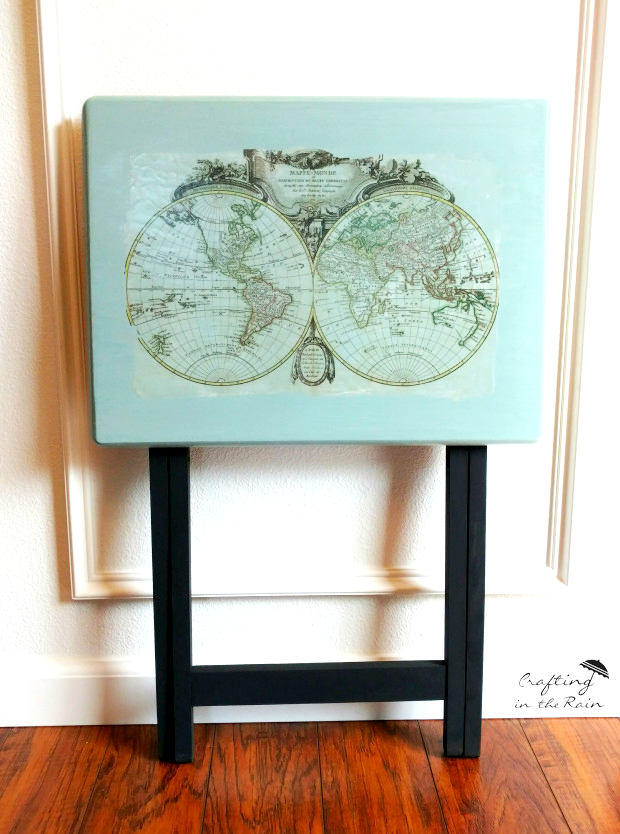
What do you think? Have you ever done an image transfer like this before? If not, do you want to try it now?