{Treat Box patterns}
I received a machine to participate in this contest and some links may be affiliate links.

I received a machine to participate in this contest and some links may be affiliate links.
For this month’s Design Star Search challenge the category is home décor and gift ideas. As Team 10 we decided on the theme Winter Wonderland. Pine trees and glittery snowflakes have filled our heads and we have come up with some wonderful Cricut projects to share with you.
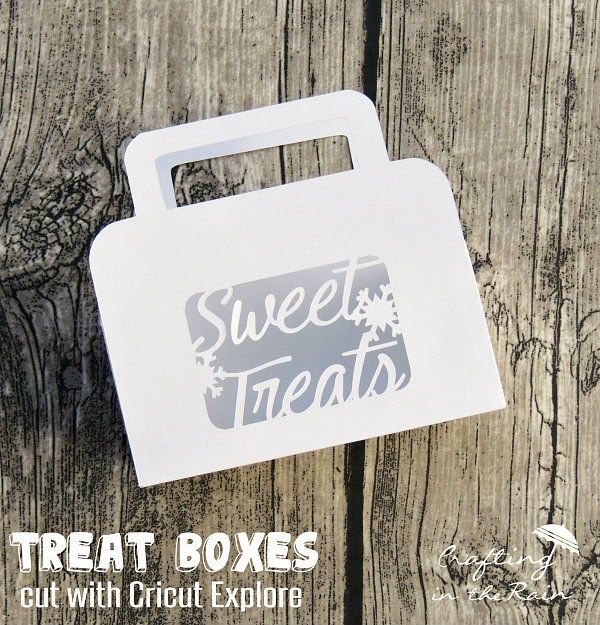
I made these cute treat boxes-they are perfect for delivering purchased or homemade goodies to your friends and neighbors. And the packaging is part of the gift!

The boxes are easy to make because you only need 3 supplies:
White cardstock (2 sheets for each box)
Clear plastic (like a transparency sheet or stiff plastic from some packaging)
Adhesive tape runner
You’ll also need your Cricut machine and mat (I’m actually loving the light grip mat even for cardstock, though it’s designed for lightweight papers–the cardstock peels off so cleanly!) Then a scoring stylus makes adding fold lines a breeze.

I made my boxes to be about 6 inches wide and 2 inches deep. (So each cut piece is 8×8 inches) You can adjust this size if you need when you’re cutting. Use your Cricut Explore to cut and score–yes it will do this in the same step!–one back piece and one front piece.
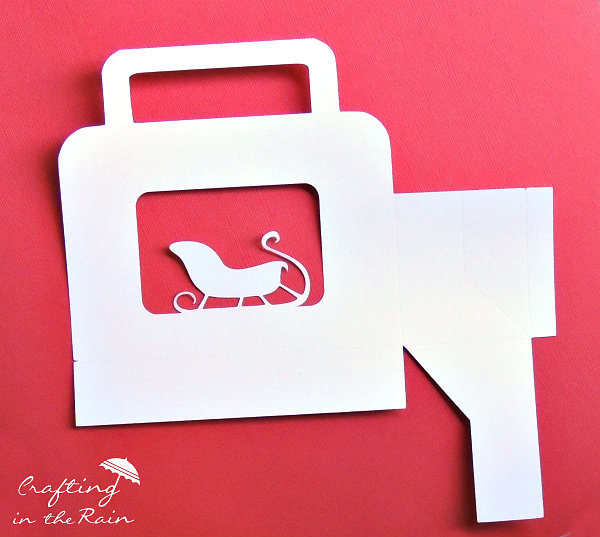
Fold the score lines and cut a piece of plastic to cover the cut front of the box. Glue it to the inside of the box.

Attach side flaps with glue and then fold the bottom parts of the box together.

Now simply add your tasty gift, embellish with some ribbon or twine if desired. Even a name tag for extra flair and they’re all ready to deliver!

Which design is your favorite?

I can’t wait to start working on my project for next month, and I’m already thinking of using the new Print then Cut feature.
**If you want to pick up any of the above items, like extra mats or the scoring tool or anything else, you can get FREE shipping ($31 or more) with the code HALLOWEEN31

Winter Wonderland Mantel Luminaria from Let’s Eat Grandpa
Winter Treat Boxes from Crafting in the Rain
Winter Wonderland Decor from Albion Gould
Tea Light Winter Village from Popper and Mimi
Personalized Snowflake Ornament from Sugar Bee Crafts
Whimsical Deer Art from One Krieger Chick
Frozen Inspired Pallet Art from Sweet Rose Studio
