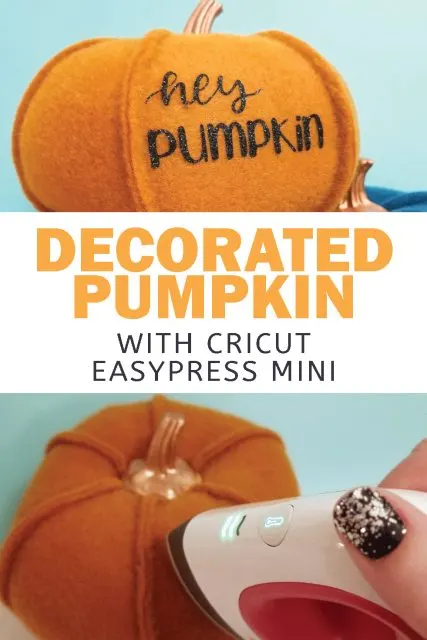
I used the new Cricut EasyPress Mini to add some glitter iron-on vinyl on this felt pumpkin.
If you guys have seen these adorable colored felt pumpkins at Target, maybe some of them have jumped into your cart, just like mine. And this orange one was practically begging to get some decoration. (some links affiliate)
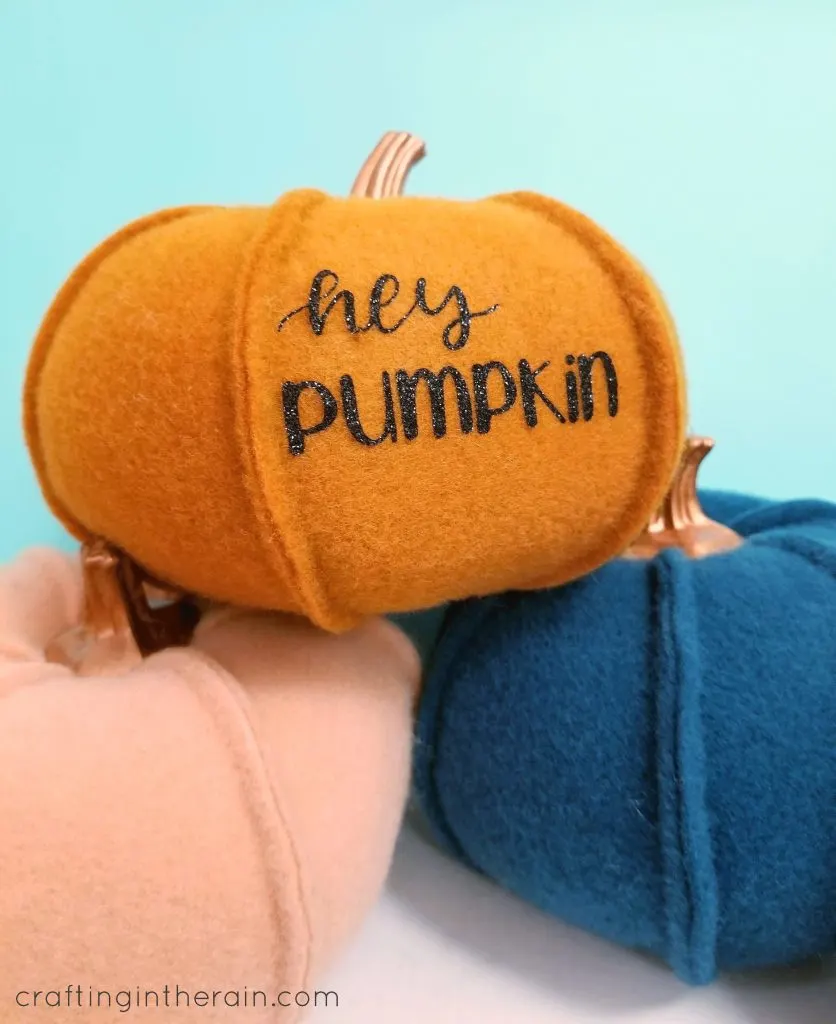
I’ll show you how easy it is to make, and you can customize your own pumpkin decorations too.
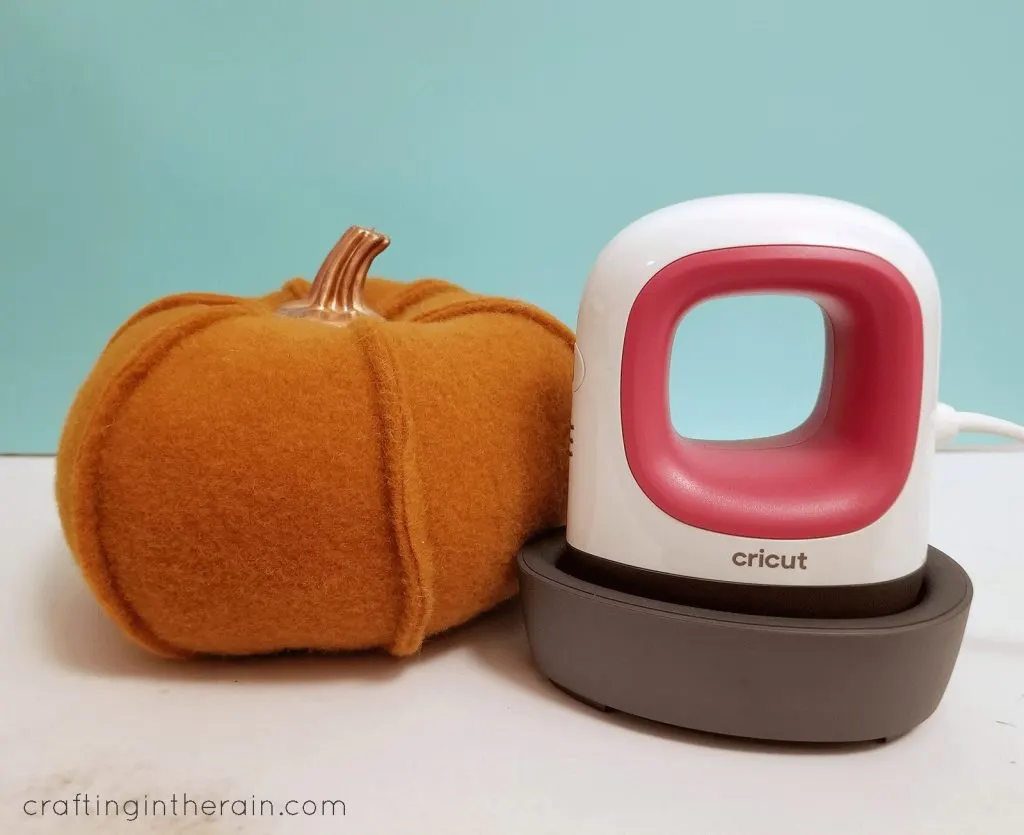
Cutting iron-on vinyl
Open this Design Space project.
Click “Make It” to send the project to your machine. I am using my Explore Air 2, so I set the dial to “Custom” and selected “Glitter Iron-on” in the materials.
Remember to MIRROR the design before cutting.
Position iron-on vinyl on a blue or green mat and load into the machine. After cutting, unload the mat and weed the design.
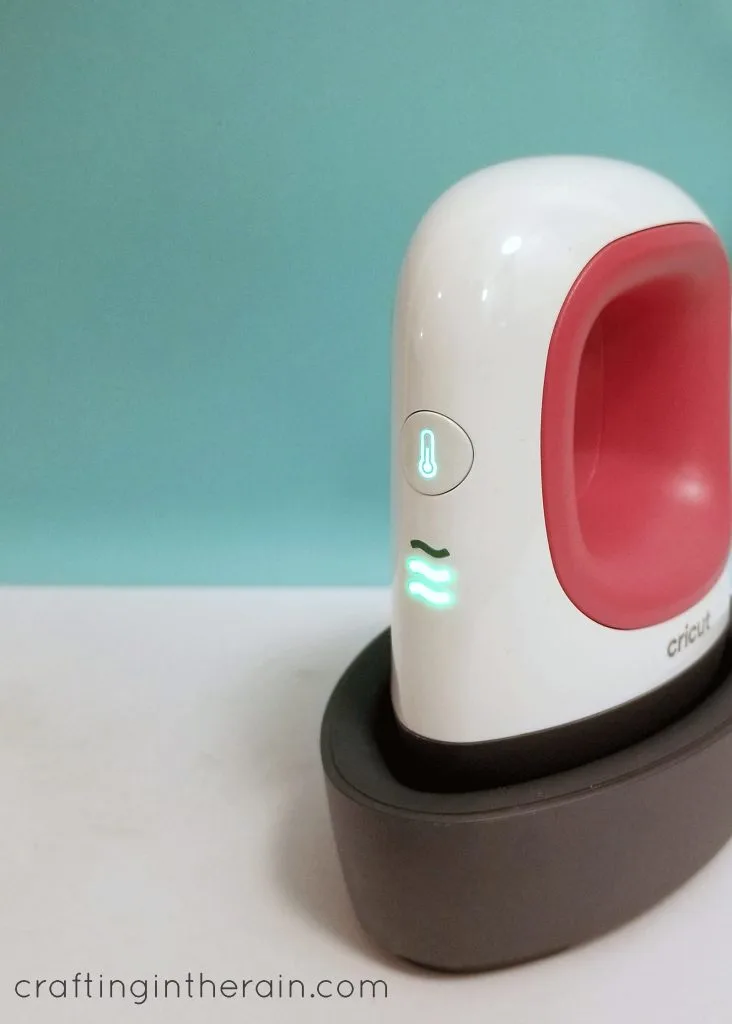
Heat the EasyPress Mini to Medium.
Read this post to learn about how to use the EasyPress Mini
Decorating Target Felt Pumpkin
When the EasyPress is ready, preheat the pumpkin for 5 seconds.
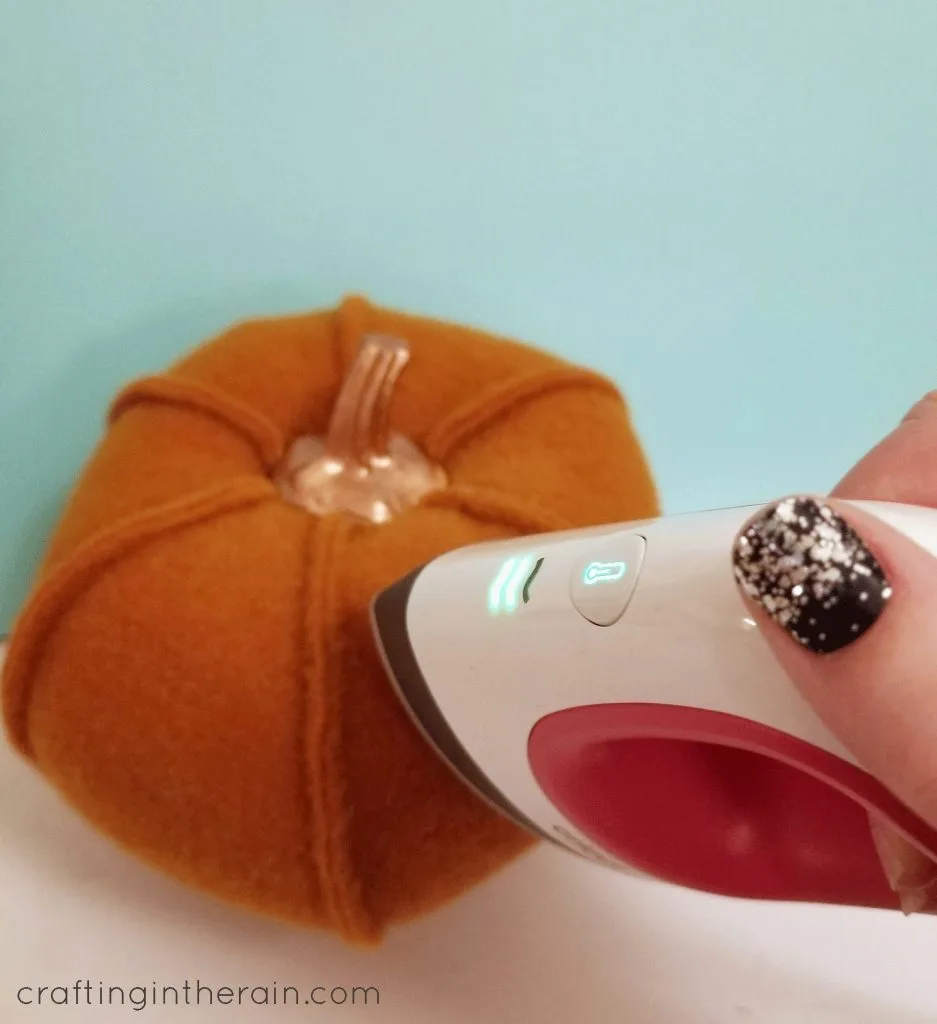
Then press the design onto the felt pumpkin. Move the EasyPress a little and make sure to cover all parts of the design.
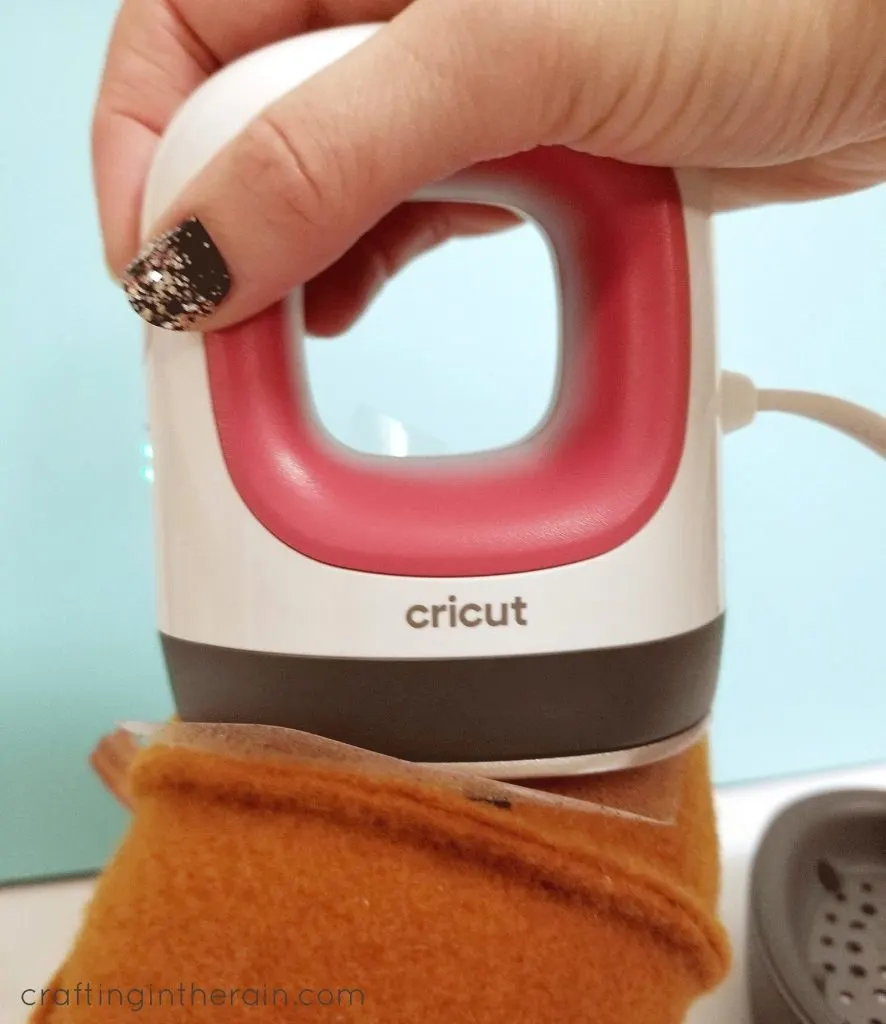
Look how easy it is to get right up against the seam!
Since the iron-on wanted to pull up on the fuzzies of the felt pumpkin a little, I pressed a little longer than 25 seconds and let it cool quite a bit before removing the carrier sheet.
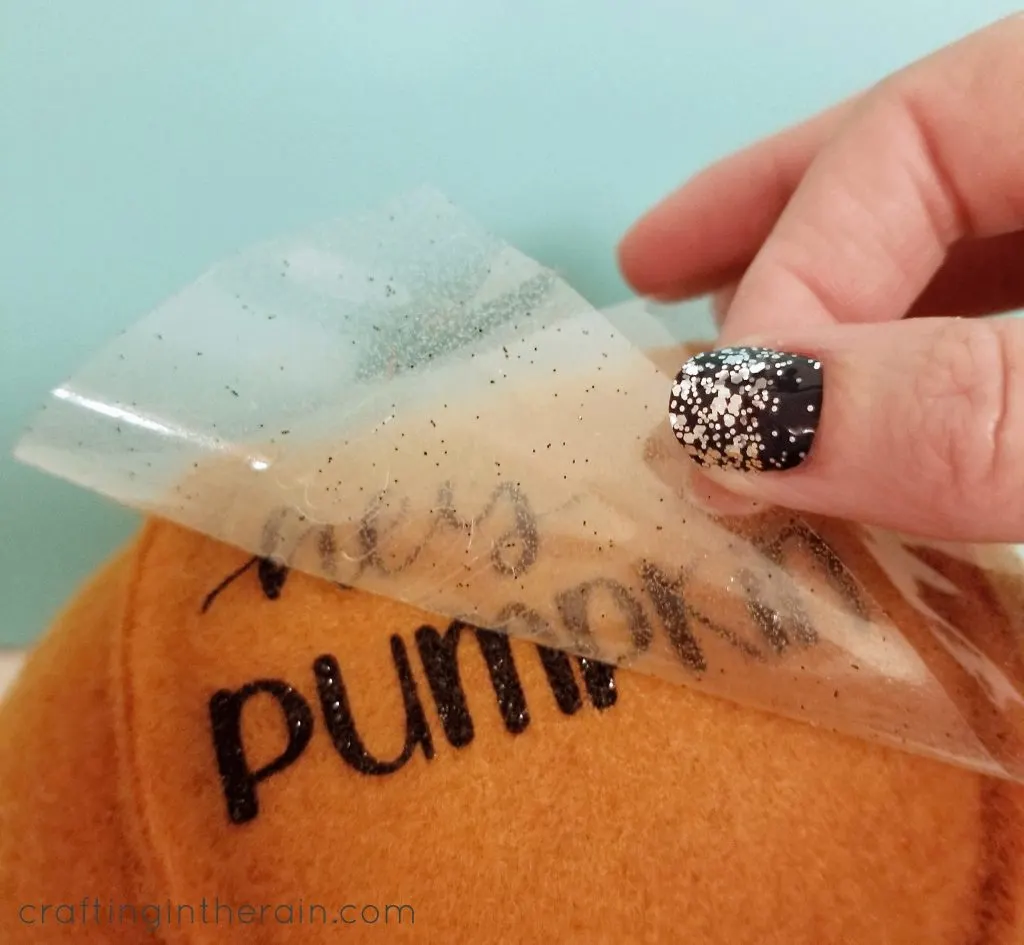
As I was working on this single pumpkin, I could help but brainstorm a bunch of other ways you could put vinyl on these felt pumpkins.
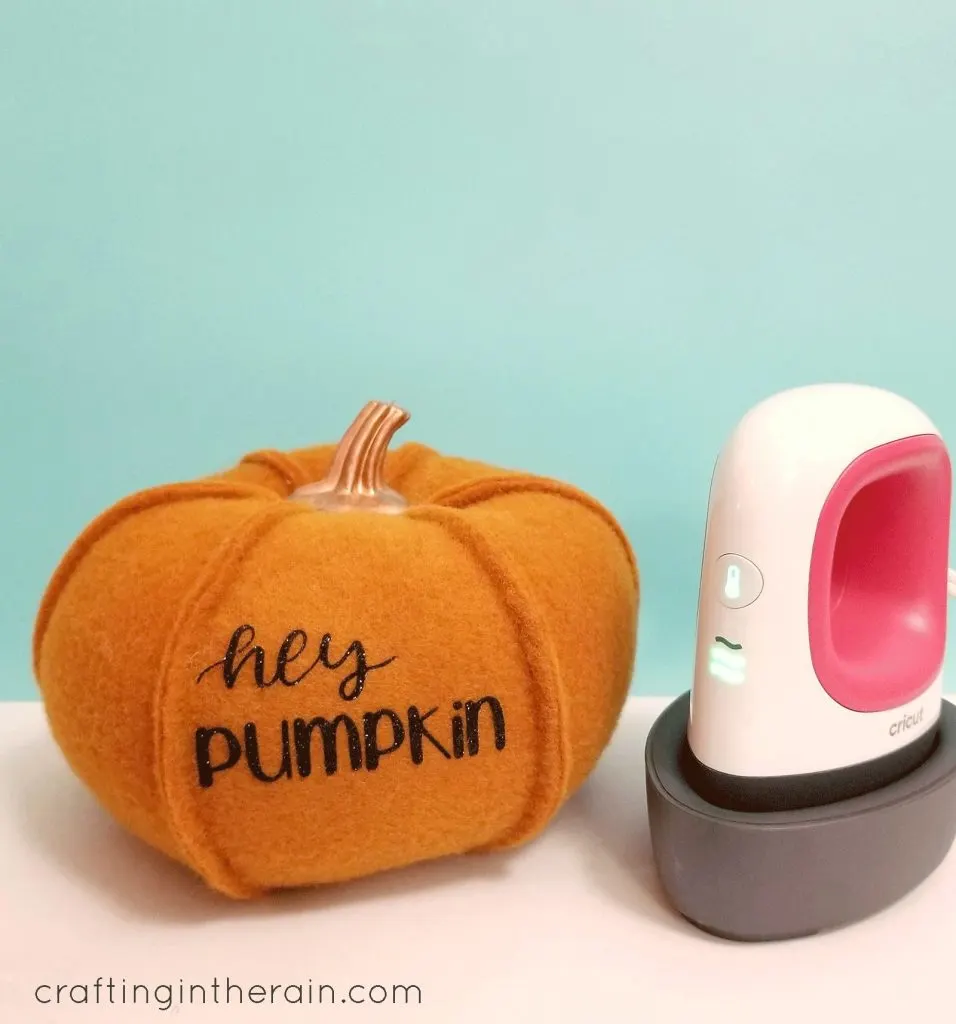
- Names to use as place cards for Thanksgiving dinner
- Last name as part of your porch decorations
- Last name to give to someone as a housewarming or hostess gift
- Initials for each member of your family
- Spiders to make them a little spookier for Halloween
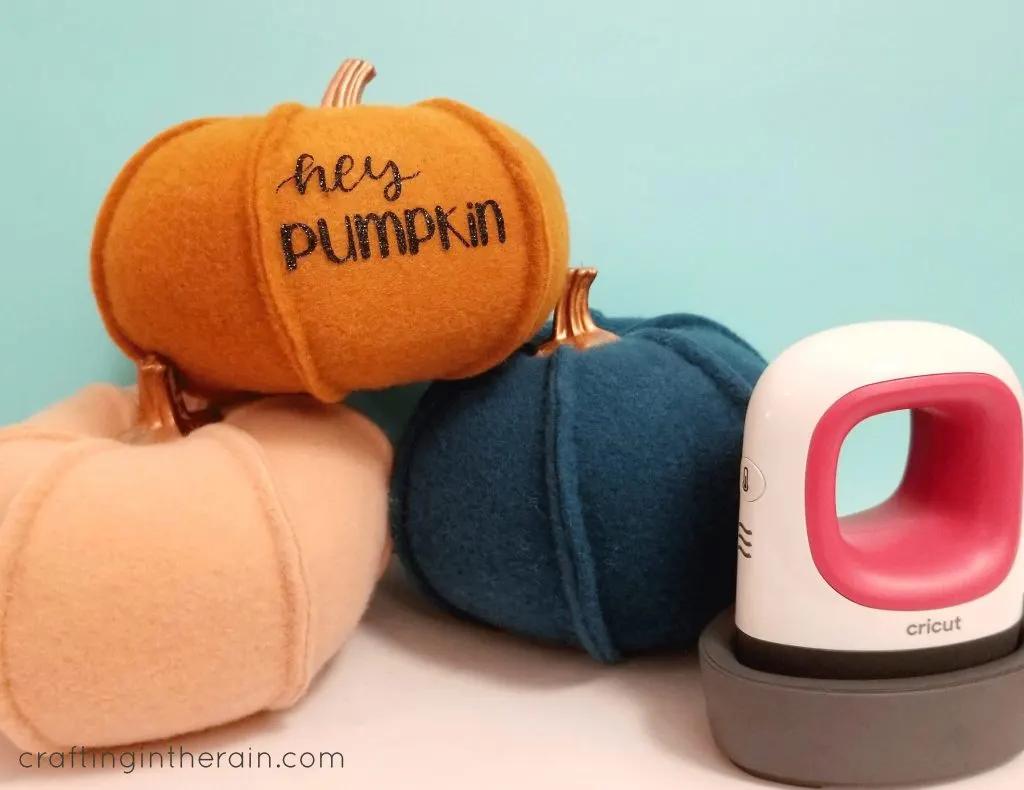
I’m sure you guys would have a bunch of great ideas too! Leave comments, or better yet – make your own and send me pictures!
Read this post for more tips on using iron-on vinyl

Cricut & Silhouette Projects for Thanksgiving - Burton Avenue
Saturday 22nd of October 2022
[…] Felt Pumpkin […]