Happy Monday everybody. If you’re stopping by from Craftaholics Anonymous, then welcome! I’m so excited to be joining her team with some other amazing bloggers.
My necklaces have been tangled up in boxes and empty egg cartons for long enough and this project came together so easily, I’m wishing I did it a long time ago! I’ve seen a few versions of these, and I even made sure there was a place to hang my earrings.

Here’s what you’ll need:
cabinet door
spackle or wood putty
empty frame
window screen (or burlap even)
sandpaper
paint
hot glue and E6000
small nails
hanger for the back
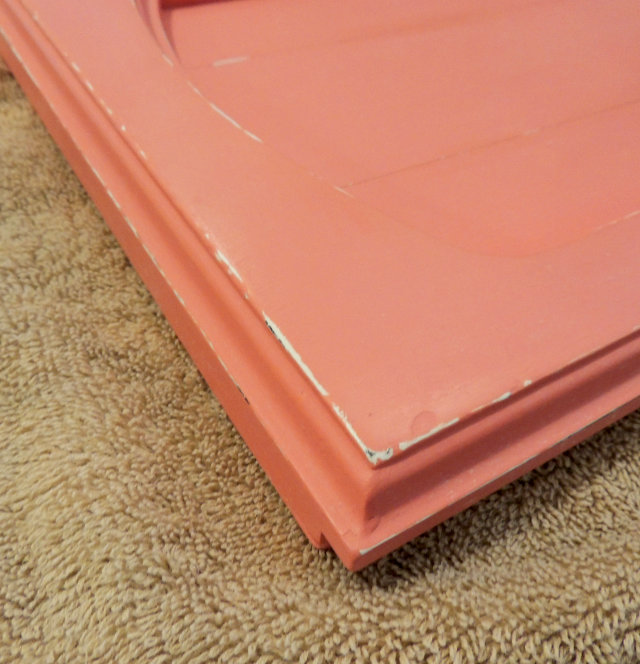
1–Remove hinges and knob from the door and fill in any holes with spackle or putty and sand smooth
2–Lightly sand over the whole door (I just used a sanding block…I wasn’t trying to take off any of the white paint, just smooth it all out a bit)
3–Paint the door. I actually added a Tablespoon of water and a 1/2 teaspoon of unsanded grout to 1/2 a bottle of craft paint (in coral color) to make some chalk paint. I put 3 coats on the door and it worked beautifully

4–Sand to distress, if desired. I sanded the edges a bit to reveal the white underneath
5–Attach hanger to door back. I just used a sawtooth picture hanger and measured to be sure it was in the center of the door. You could also use Command Hook picture hangers.

6–To make earring holder, glue window screen (or burlap) into the frame, pulling it as tight as possible. I used hot glue for this, and some toothpicks, to try to not burn my fingers too much.
7–Glue frame to door using E6000 and let it sit for at least half a day. Depending on the shape of your door and the size of your frame, your placement may need to be a little different than mine.
8–Add nails to several places around the door, especially around the bottom. Keep them a little offset from each other so necklaces can hang without getting in the way of other nails too much.

9–Then hang it up and add your jewelry.

For more ideas on things to do with doors, check out this post. Plus, add your door ideas in our link party!
affiliate links