A couple of years ago, my son won a “Candy Land” prize basket at a school carnival. In addition to the CandyLand game, there was a mountain of assorted candy in the basket, plus a silicone mold for small candies. I never did use that mold to make any candies or gummies, but it was perfect for making resin thumbtacks.

Resin thumbtacks first appeared on the Resin Crafts Blog
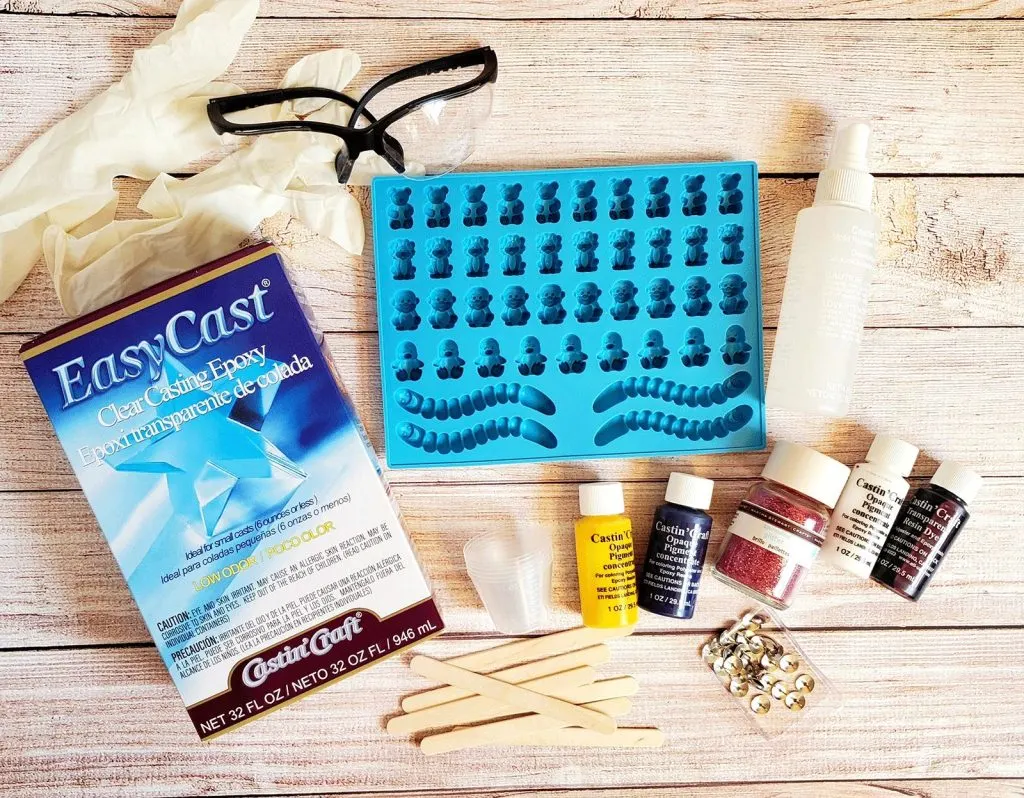
Resin Thumbtack Supplies
- EasyCast
- Mixing cups (large and small)
- Stir sticks
- Silicone candy mold (no food use after this)
- Mold Release Conditioner
- Opaque Pigments and Transparent Dyes
- Flat thumbtacks
- E6000
- Gloves and eyewear

Spray the candy mold with release spray and let try completely. I found that a hair dryer helped speed up the process.
Be sure to follow all instructions and safety recommendations inside the box.
How to mix resin
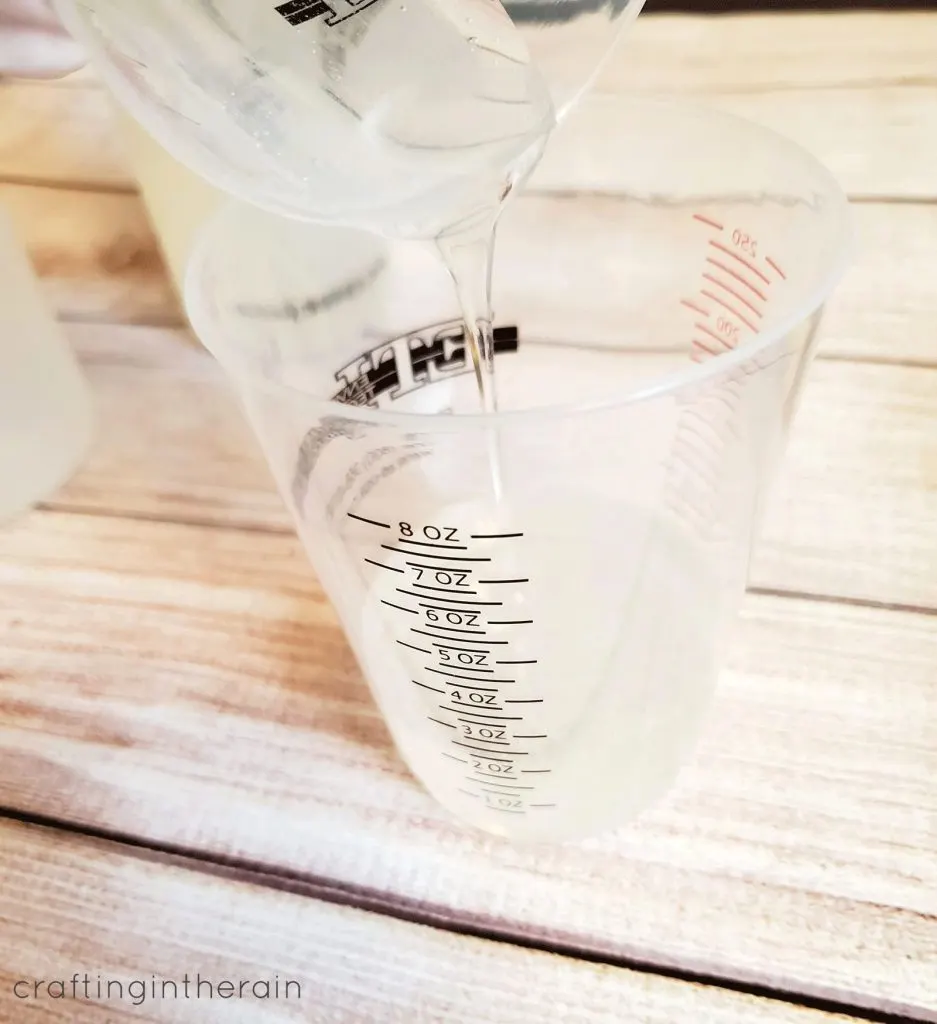
While wearing gloves and eye protection, measure 1.5 ounces each of EasyCast resin and hardener. A marked measuring cup makes this really easy.

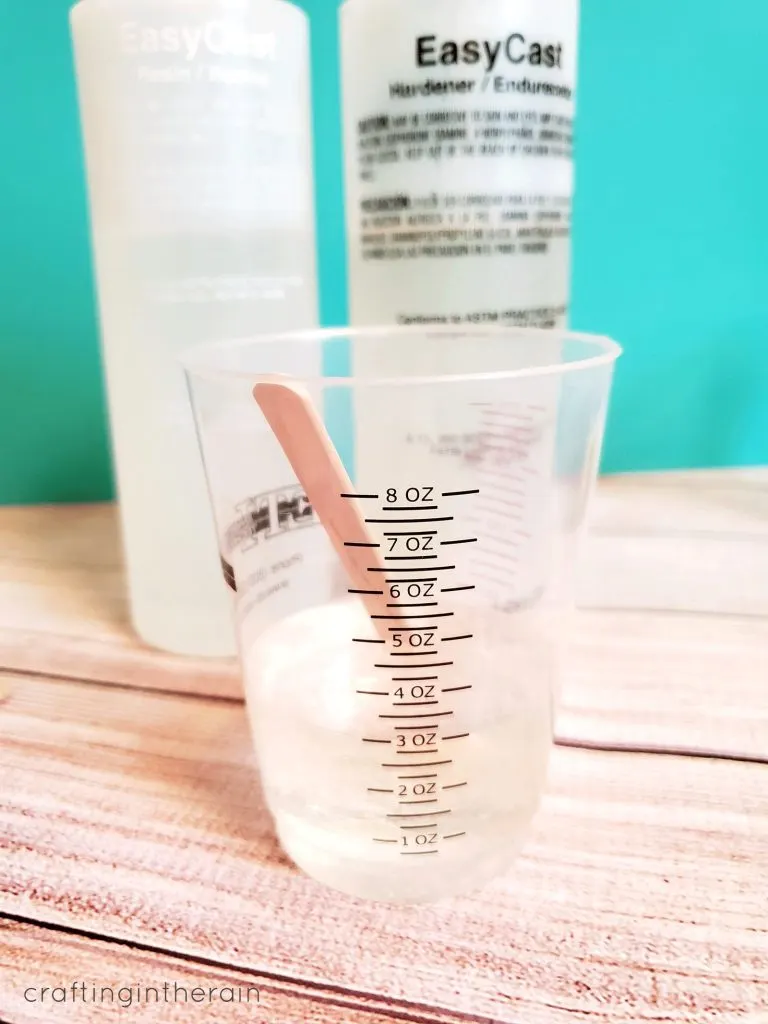
Stir for 2 minutes. Scrape the sides and bottom while stirring.
Pour resin into a second mixing cup and stir with a clean stick for an additional minute.

Divide the resin into 4 small cups (or however many colors of tacks you want to make.)

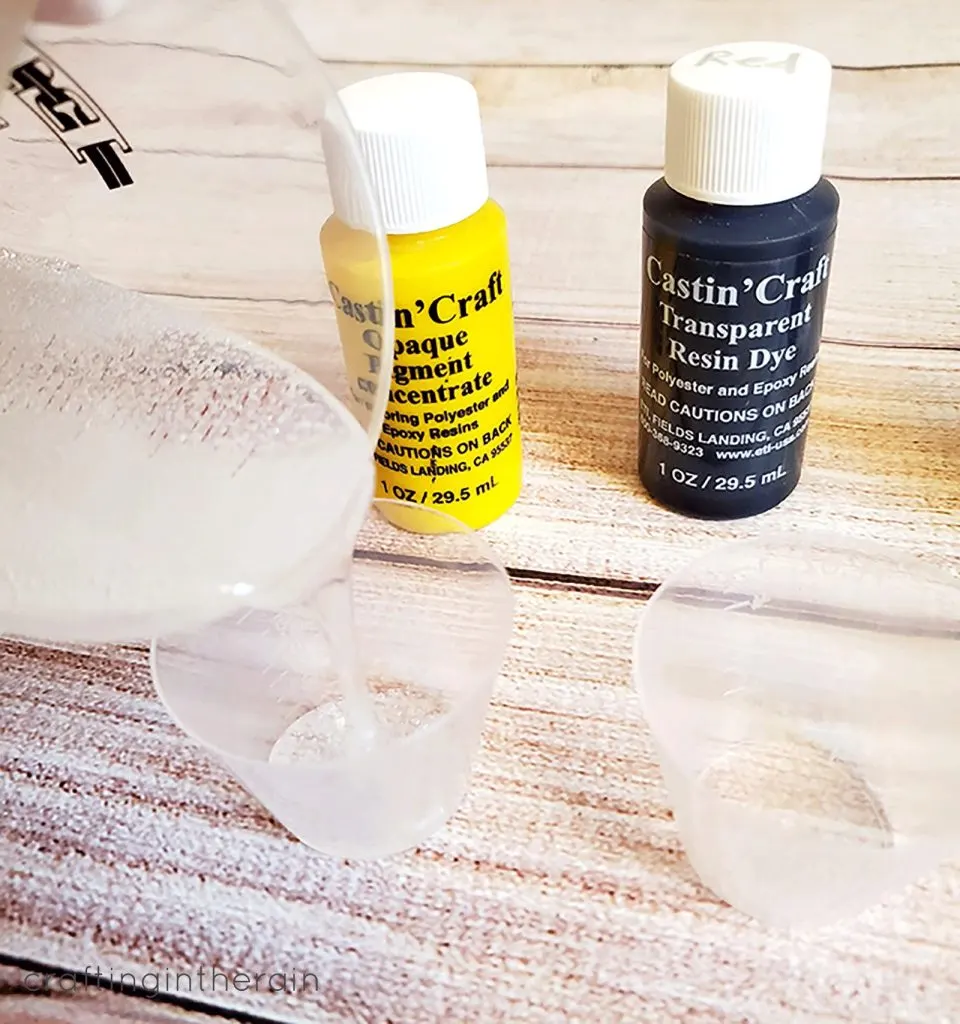
Mix in 1 drop of dye. I used opaque white, opaque yellow, opaque blue and transparent red. I also added a bit of glitter to the red cup. Stir until the color is consistent through each mixture.


Coloring resin with dye
I found that a bit of white resin mixed in with the yellow resin made it a little more opaque. And the translucent red looked best with two drops of color mixed in instead of one.
Just mix in the color gradually, as too much dye in a small amount of resin can compromise the curing process.
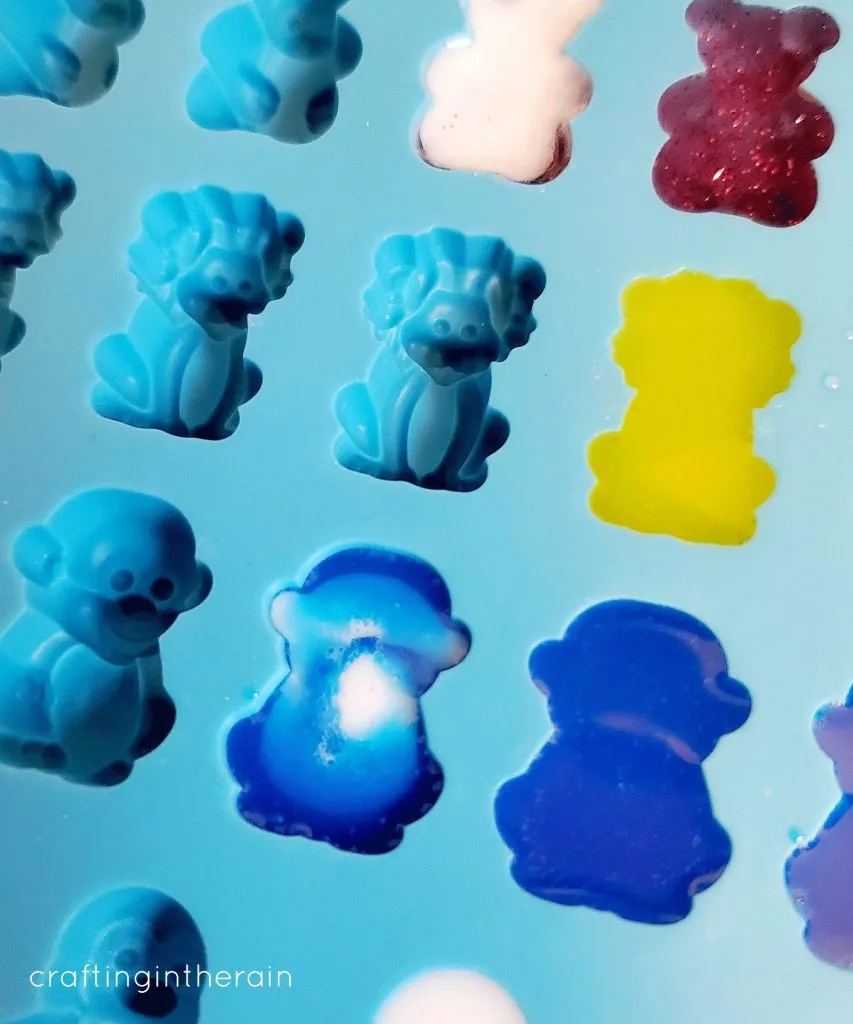
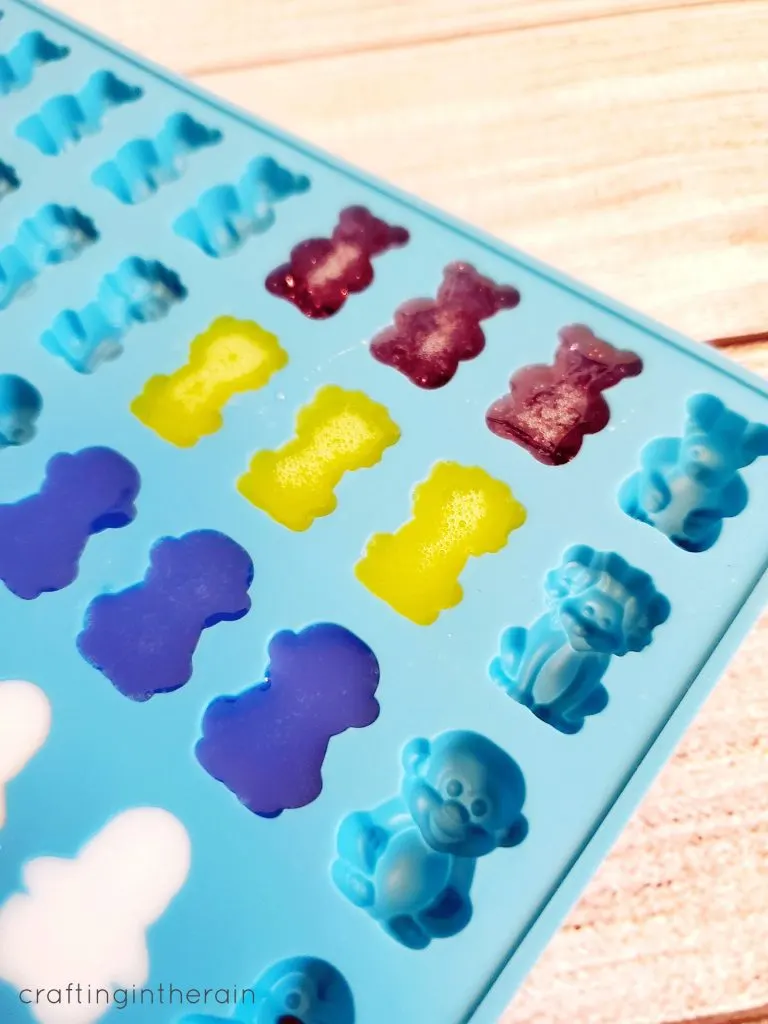
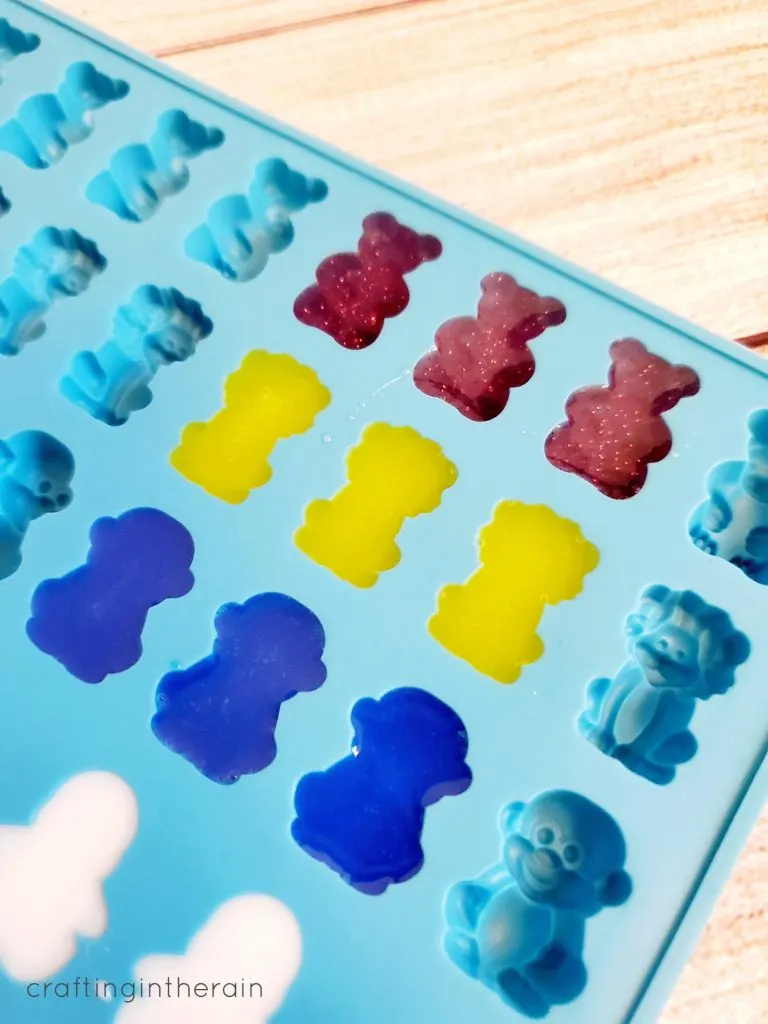
Pour resin into mold

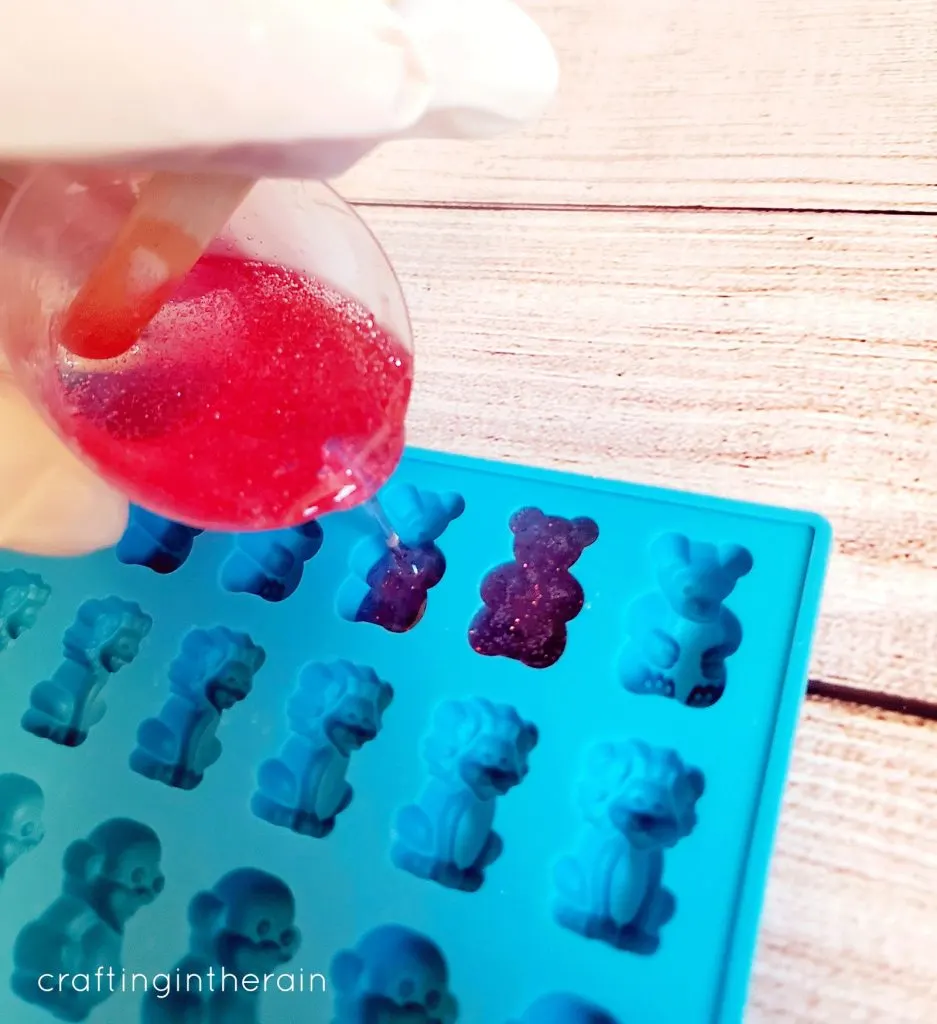
Pour resin into the candy molds so they are just filled. Experiment with layering in different colors and giving a little swirl with a toothpick.

Removing bubbles from resin
After about 10 minutes, exhale over the surface of the mold to remove the air bubbles that have risen to the top.


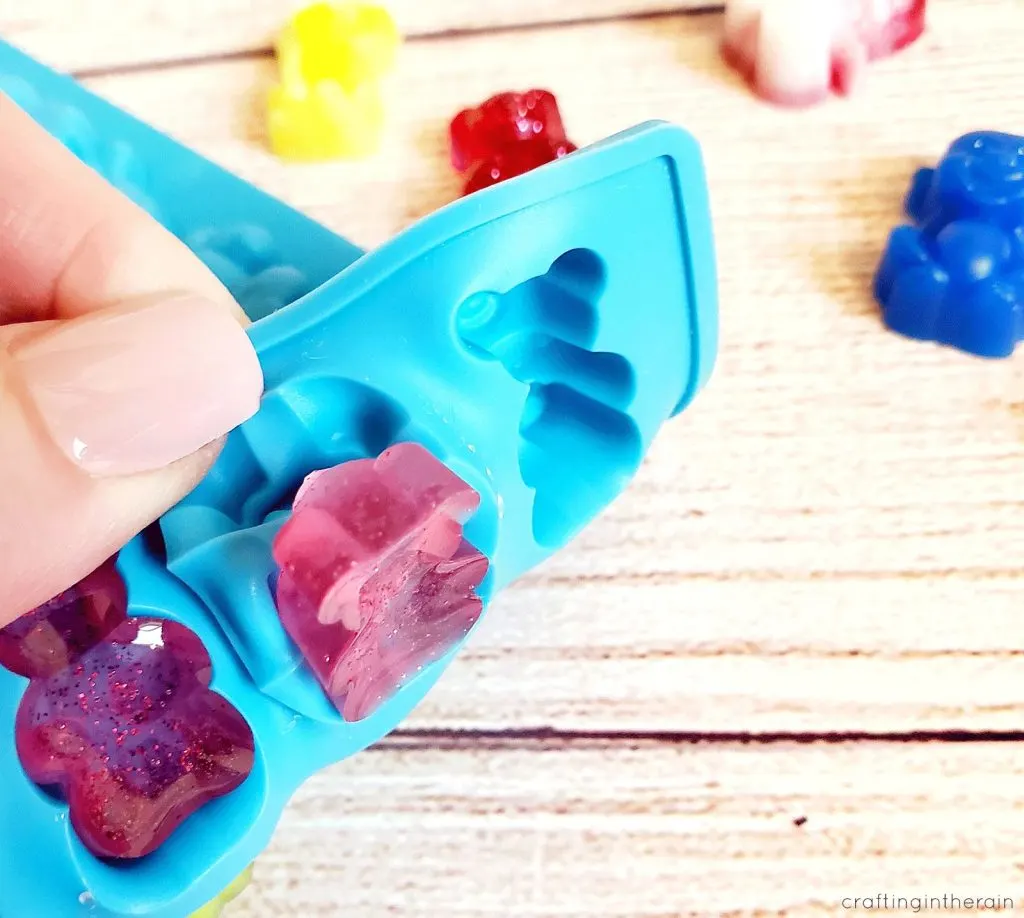
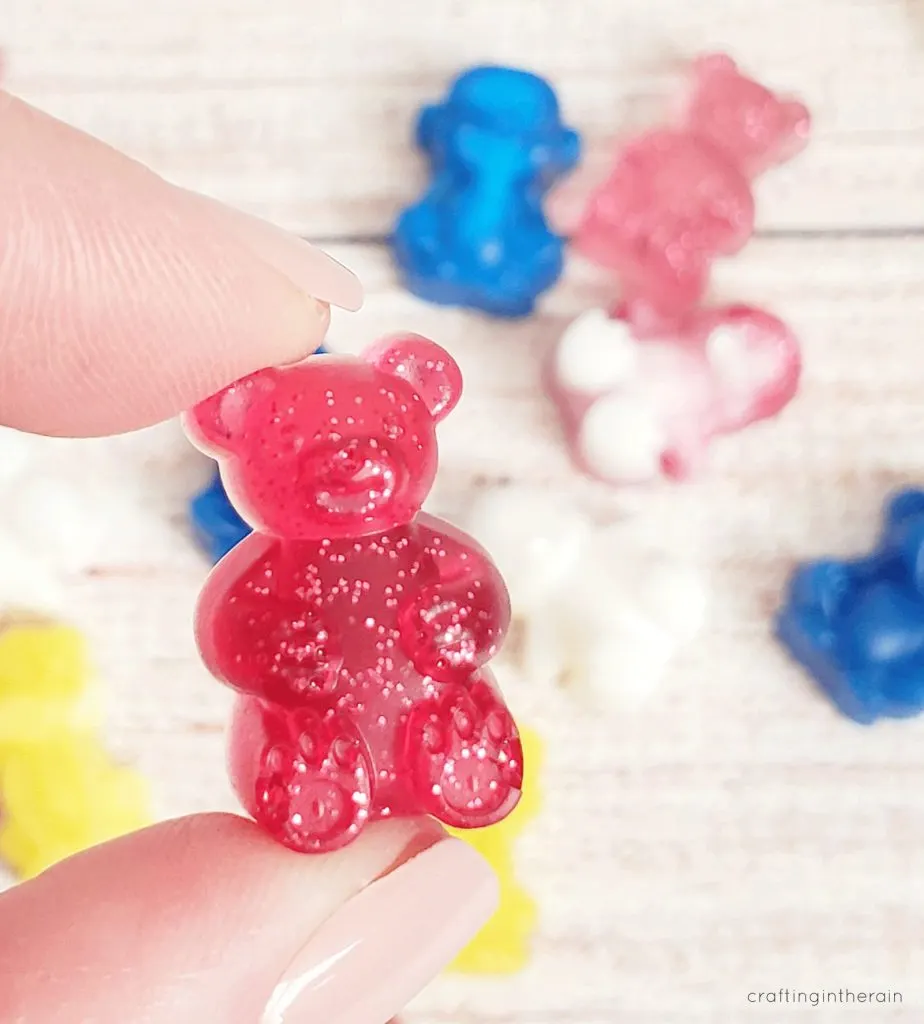
Remove resin from mold
After 24 hours, pop the shapes out of the mold.

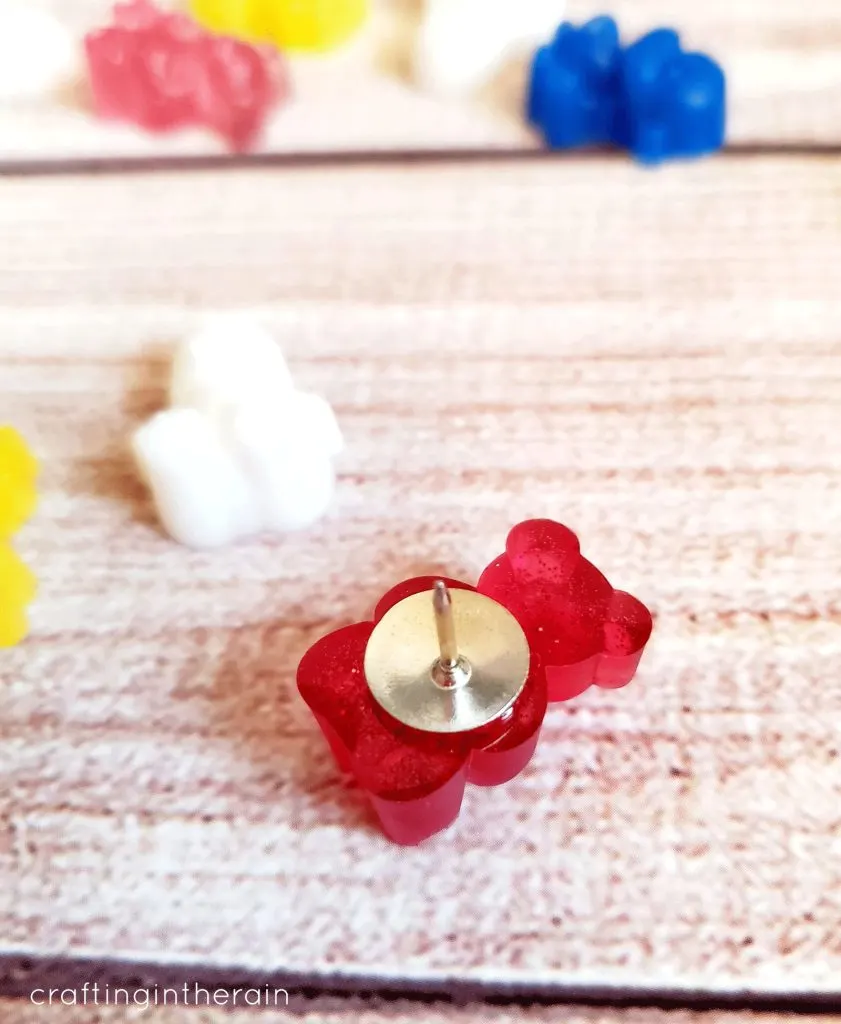
Turning resin molds into thumbtacks
Apply a small amount of E6000 to the top of a thumbtack and glue it to the back of the resin pieces.

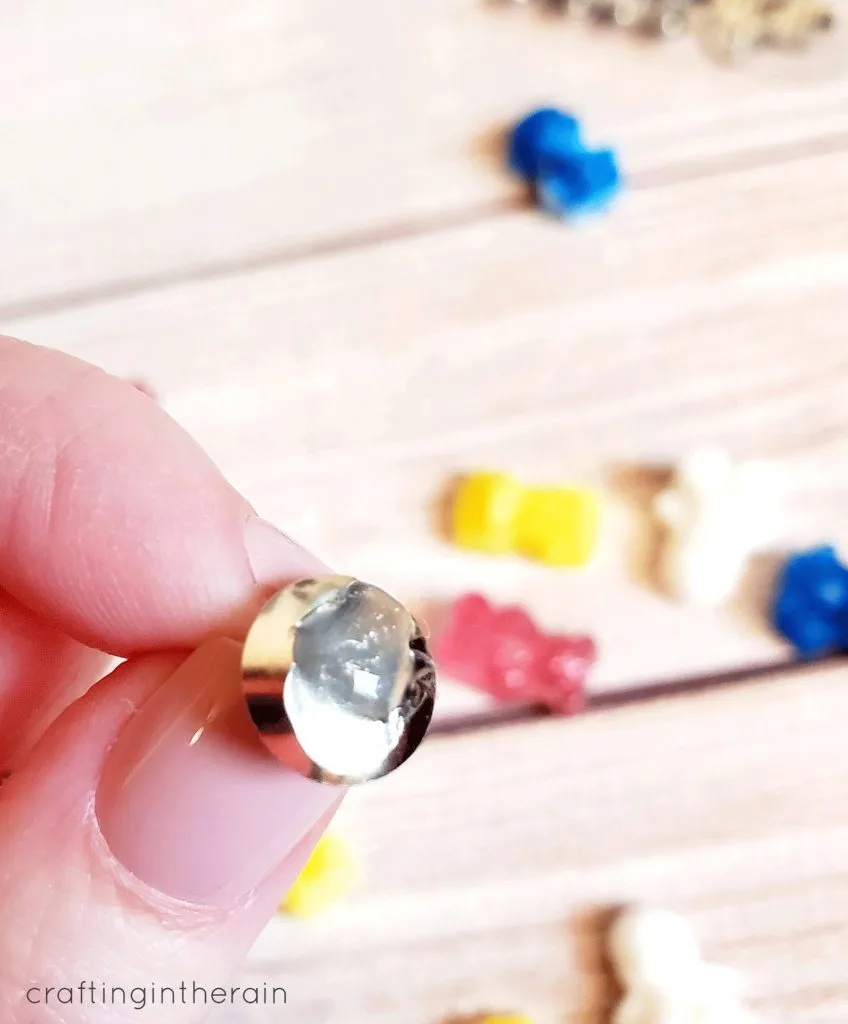
Repeat for each thumbtack and set them upside down to dry.

Resin thumbtacks will be ready to use in 12 hours.

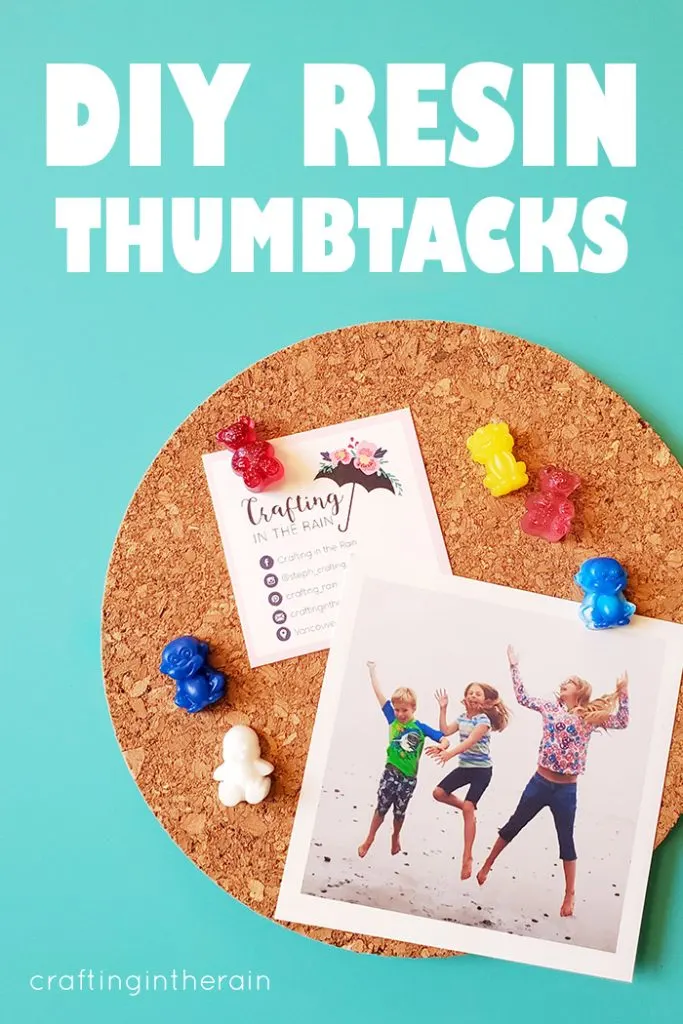
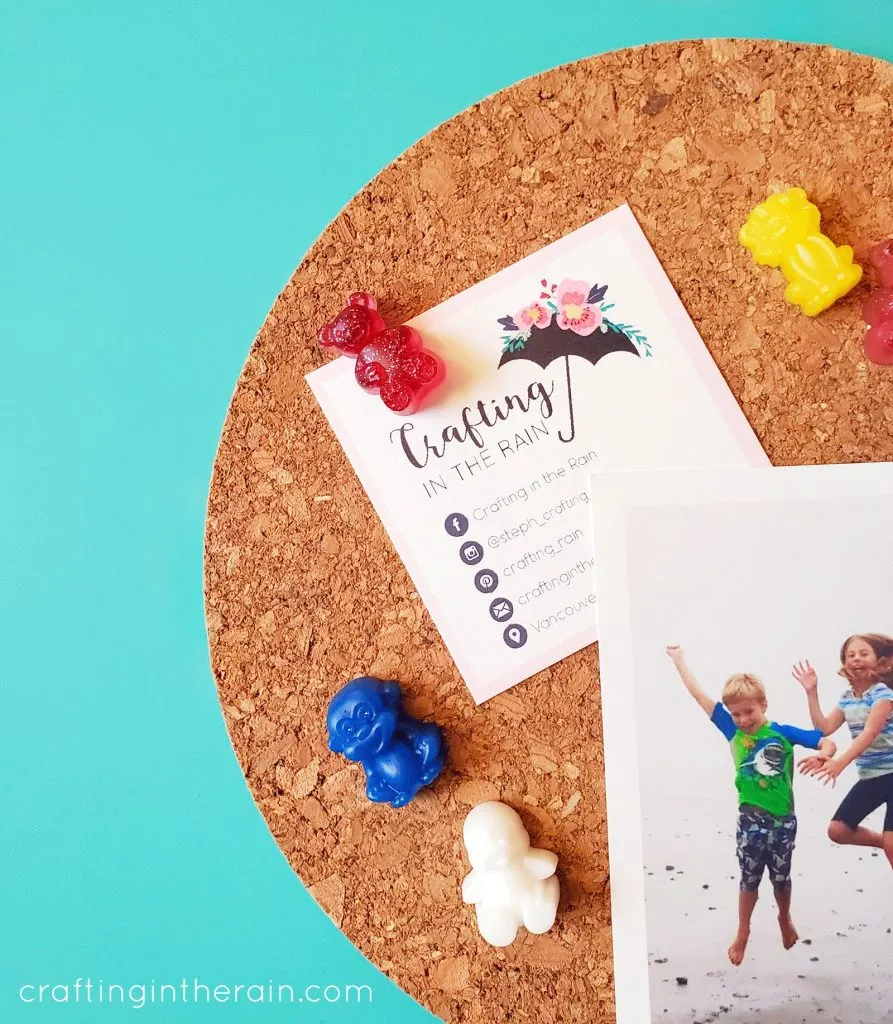
They’re perfect for adding color to your office bulletin board, or small corkboard inside of a locker! I hope you’ll find a reason to make some resin thumbtacks yourself.