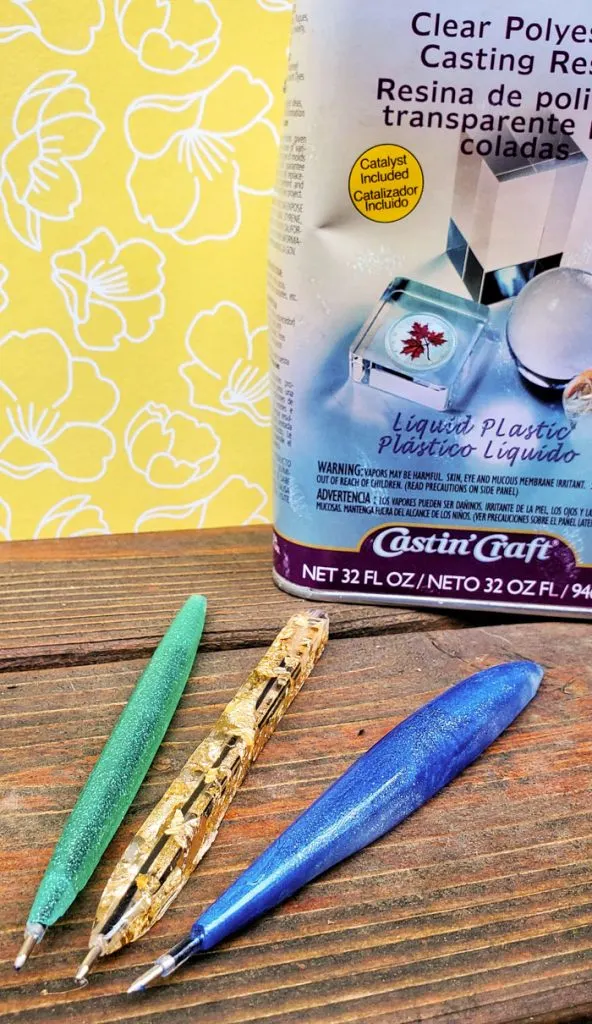
Learn to make resin pens with polyester resin. They’re beautiful for gifts and to keep! (This post originally appeared on Resin Crafts)
Do resin pen molds work?
I purchased silicone pen molds from Amazon and chose to fill them with Polyester Casting resin.
Read through this tutorial to see how to use them. I thought they worked really well. You should note that the pen shapes won’t be perfectly round – see the end for what I mean.
So yes, they work, but you should check to see that you’ll get the result before you buy them!

I’ve had really good luck with Polyester resin curing clear, without bubbles, and being able to easily add and suspend items in the pour during the “gel state.”
SETTING UP YOUR RESIN WORK SPACE
I don’t do this in every tutorial but now seems like a good time to mention setting up a workspace for resin crafting. Especially since I’m working with multiple molds.
Clear away clutter that could make you feel crowded or limited in your movement. If there is stuff around you’re more likely to spill or tip something over.
Once you have everything you don’t need out of the way, organize everything you do need!
It’s no good to get your resin mixed up and then start looking for the dye color you wanted to use, or have to find more mixing cups.
Cover the work surface with something to protect it – could be wax paper, sheets of scrap paper, a reusable silicone mat, or anything like that.
I’ve found that if I skip that step and just try to be extra careful, the more likely I am to drip.
Have a place ready for trash to place used cups and stirrers so they don’t make a mess of your workspace.
Keep some baby wipes or paper towels handy for spilled glitter, dye, or mica powder. I once started mixing mica powder in a little too energetically and a nice puff of color went all over my table.
It’s also a good idea to have spare gloves handy for when they inevitably get something sticky on the fingers. (The reason we use the gloves!)
If you have other tips we’d love to hear them.
Now on to the project of making pens…

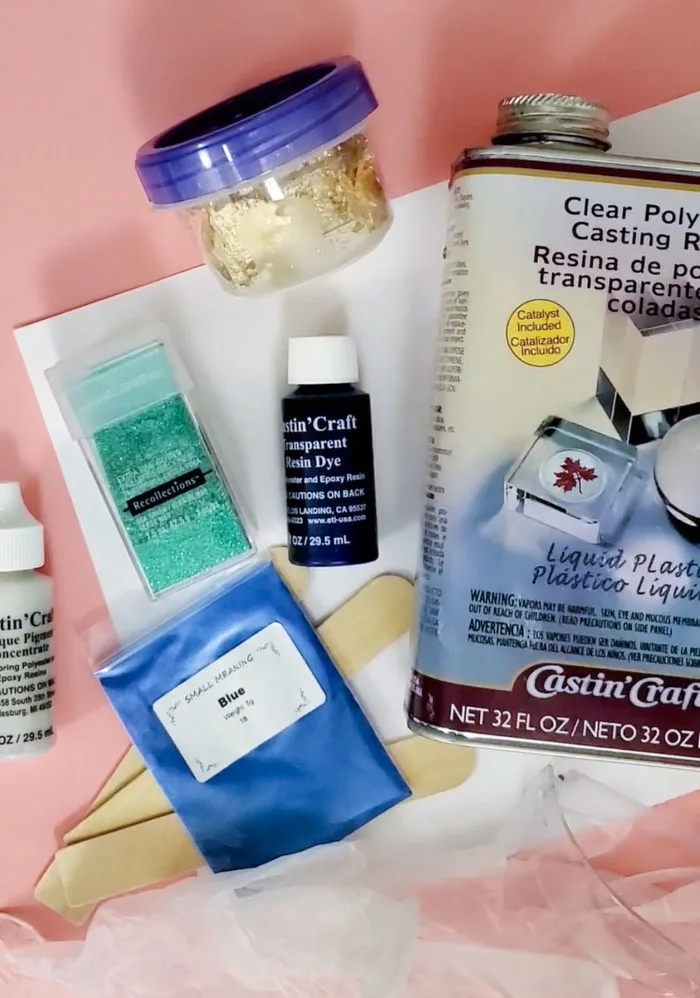
GET THE PROJECT SUPPLIES
- Castin Craft Clear Polyester Casting resin 16 oz
- Pen molds
- Ink inserts (that come with the molds)
- Add ins – I’m using glitter, gold flakes, transparent dye, and resin powder
- Mixing items – mixing cups, stir sticks
- Protective items – gloves, eyeglasses, table cover, respirator (if not working in a well-ventilated area)
Prep the pen molds by adding an ink insert into each one. Place the writing end down into the mold, and there’s a little plug at the top of the mold where the open end of the ink insert will go.
This protects the top of the ink from getting resin in it, and it helps hold it in place while the resin cures.


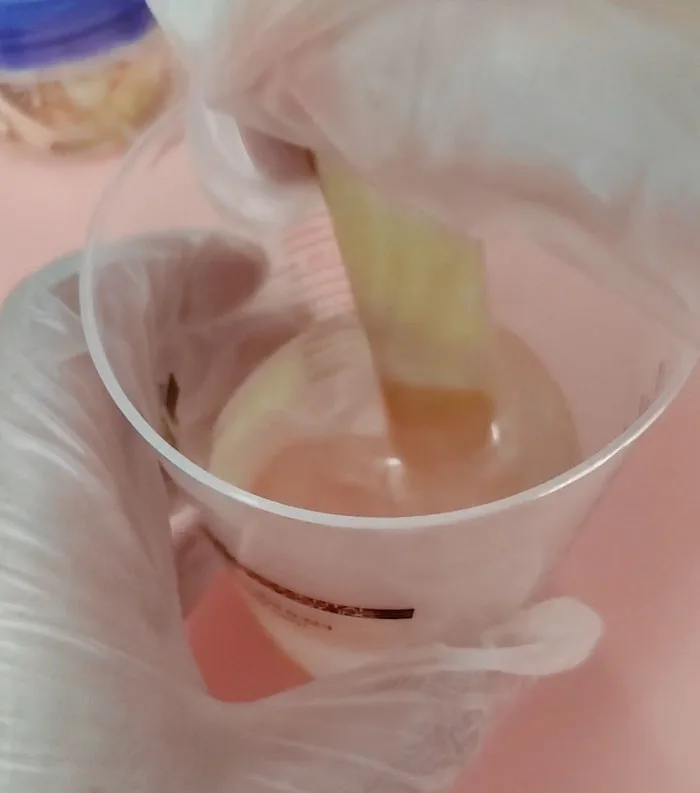
Pour resin into a measuring cup. As I was making 3 pens, I mixed 4 ounces, to make sure I would have plenty.
Follow the instructions carefully – you add drops of catalyst into the polyester resin based on how deep the pour will be.
I separated the mixed resin into different smaller cups so I could add my different colorants.

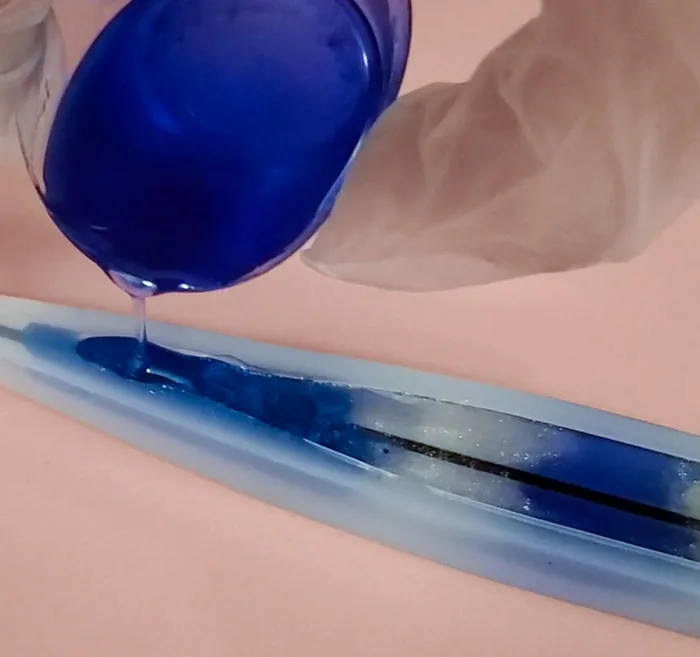
** Helpful Tip ** I noticed that it’s important to fill the pen tip end first. You may even need to use a toothpick to make sure resin gets down in there. Otherwise, you might trap a bubble that won’t come out while curing.
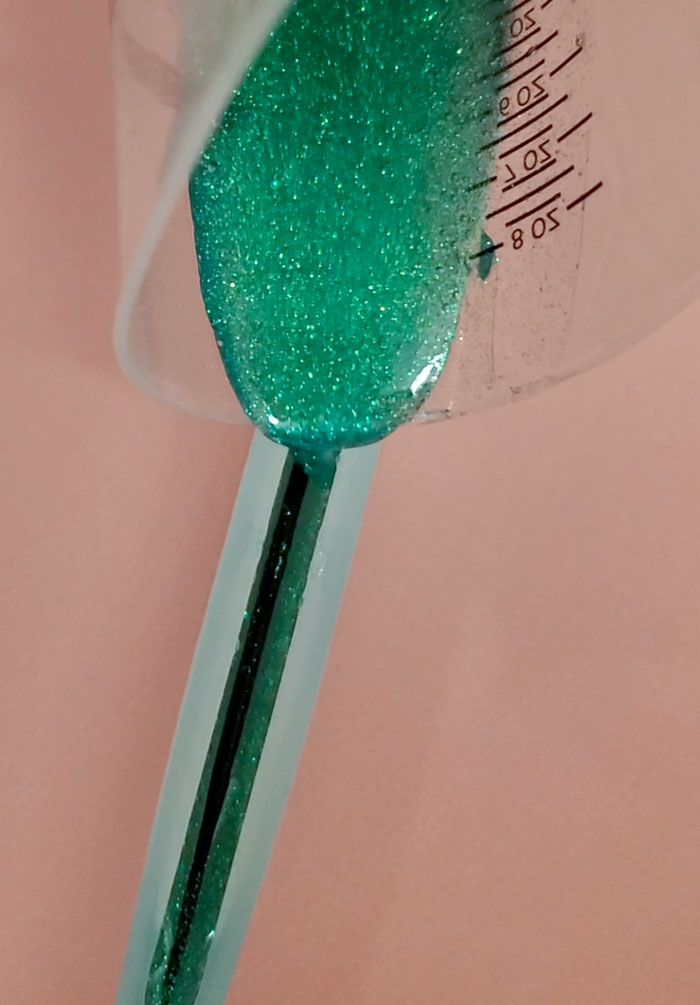
For this one, I started pouring at the writing end with the dyed resin, then a section of glitter, and back to the dyed for the top.

For the second mold, I mixed in fine glitter before pouring.

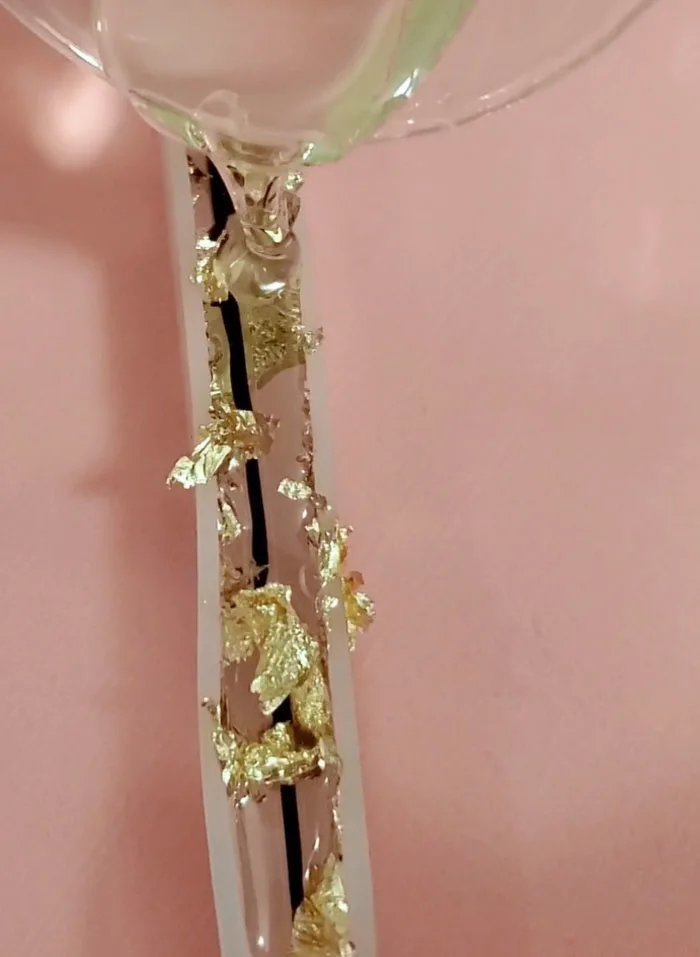
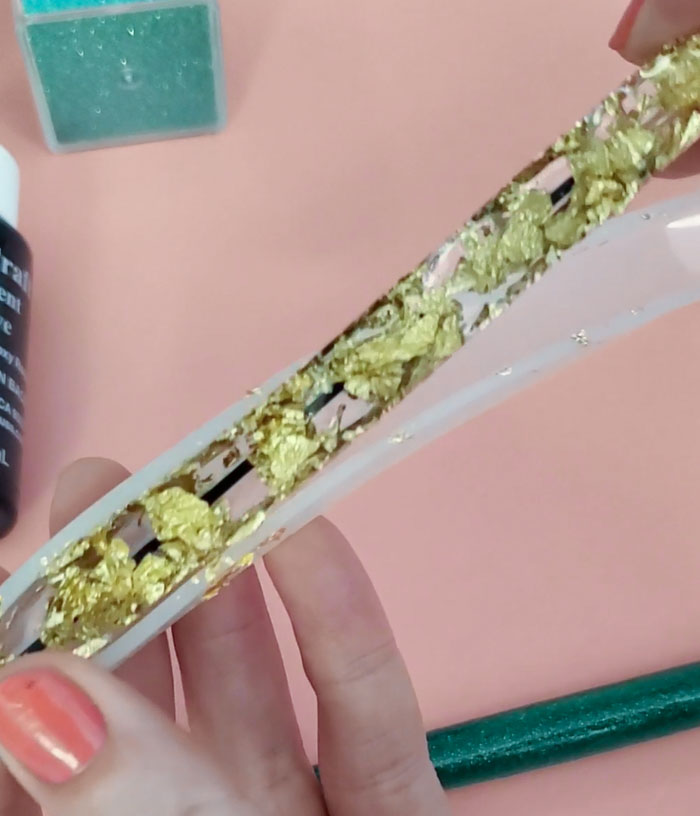
On the last pen, I used tweezers to spread gold flakes around the mold. Then poured uncolored resin to fill the mold. I waited about 10 minutes and then used the tweezers to add a little more gold and help distribute it.

With everything in place, let the resin cure for at least 24 hours. Then peel away the silicone mold. If they feel a little sticky, let the pens dry in the air for 2 more days and the surface will harden up completely.
You can also spray a few light coats of ETI Envirotex Spray Clear Sealer on them.
One thing to note about these pen molds is that they will not be perfectly round. There will be one side that is a little flat where the top of the mold was.
As a bonus, this means the pens can never roll off the table!
If there are any edges here that are sticking up a little, scrape them away carefully with a razor blade.
To give the pens as gifts, you can pick up some inexpensive pen boxes or velvet bags. Or if you’ve got a cutting machine, there are templates for making your own pen boxes from cardstock.
Let us know if you have any questions, and have fun making resin pens!