
I did this tray makeover last month for Craftaholics Anonymous after I found this lovely dollar store tray still getting packed up in our Christmas decor every year. Now it’s got a much better life I think.
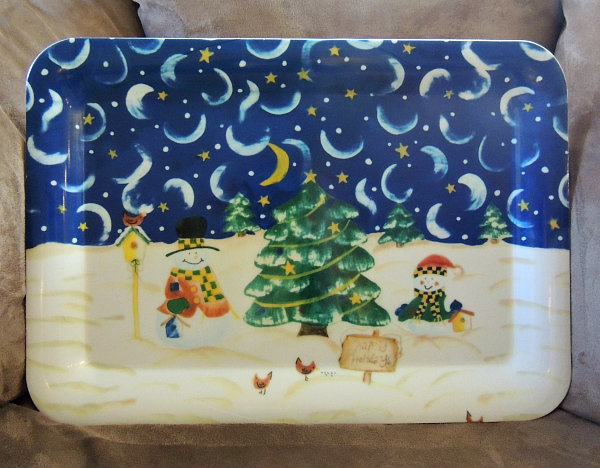
I have a jar for laundry soap and borax on my dryer and still I was getting soap “dust” everywhere. I decided that if they were on a tray, it would at least contain it a little better.
I used a few things that you might not thing of, but I had them already, and they worked great!
Supplies:
Plastic tray
Spray chalkboard paint *
Acrylic craft paint *
Floor wax (I had some around already from making glitter ornaments) *
Foam brushes
Washi tape
*These are all items that I already had on hand. You could substitute in things like spray primer, spray paint and Mod Podge to finish it off. BUT, don’t use spray acrylic sealer. I tried that first and it came out blotchy and cloudy and I had to start over.
Start out by making sure the tray is clean, then give it 2 or 3 light coats of chalkboard paint. It doesn’t even need to be completely covered, you’re just using this as a primer.
When that’s dry, start putting on coats of craft paint. It will take 5-6 thin coats to completely cover the tray and give a nice uniform color. But it dries pretty quickly because they’re thin coats. Start with the edges, then do the center part. This way, if any paint starts to slide down the sides, you’ll be able to smooth it out in the middle.
When the color is completely dry, brush floor wax all over it. Pour a small amount of wax into a bowl and apply it with a foam brush. Again, do the edges then the center. Let that dry and cure overnight, then do another coat the same way. Now your tray and paint are protected.

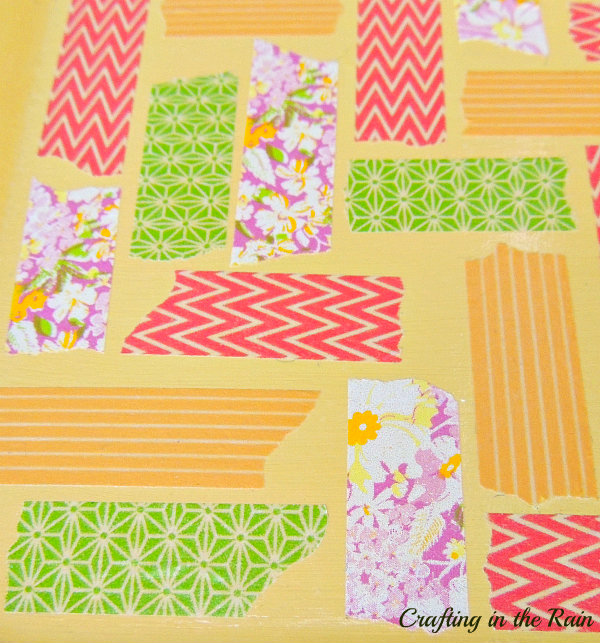
To spruce it up just a little bit more add strips of washi tape around the tray.
Here it is in it’s new home on my dryer. Much better, yes?


![]()
![]()