If you’re planning a full Valentine’s Party, or you just want to enjoy some cute drinks, you have to make this Love Potion Sign!


Love potion SVG
I found the SVG on Creative Fabrica – check out the site for other Valentine Designs and fonts for personalizing everything!
Here’s a list of all the supplies and tools I used to make the Love Potion Sign and the Drink Labels
- Cricut Maker
- Knife Blade
- Purple Mat
- Blue Mat
- Pink Cardstock
- Cricut Chipboard
- Adhesive Vinyl (Pink and Black)
- Transfer Tape
- Gitter Iron-on (Red)
- Sticker Paper
- Pink Sparkling Water / Soda / Juice
- Valentine SVG set
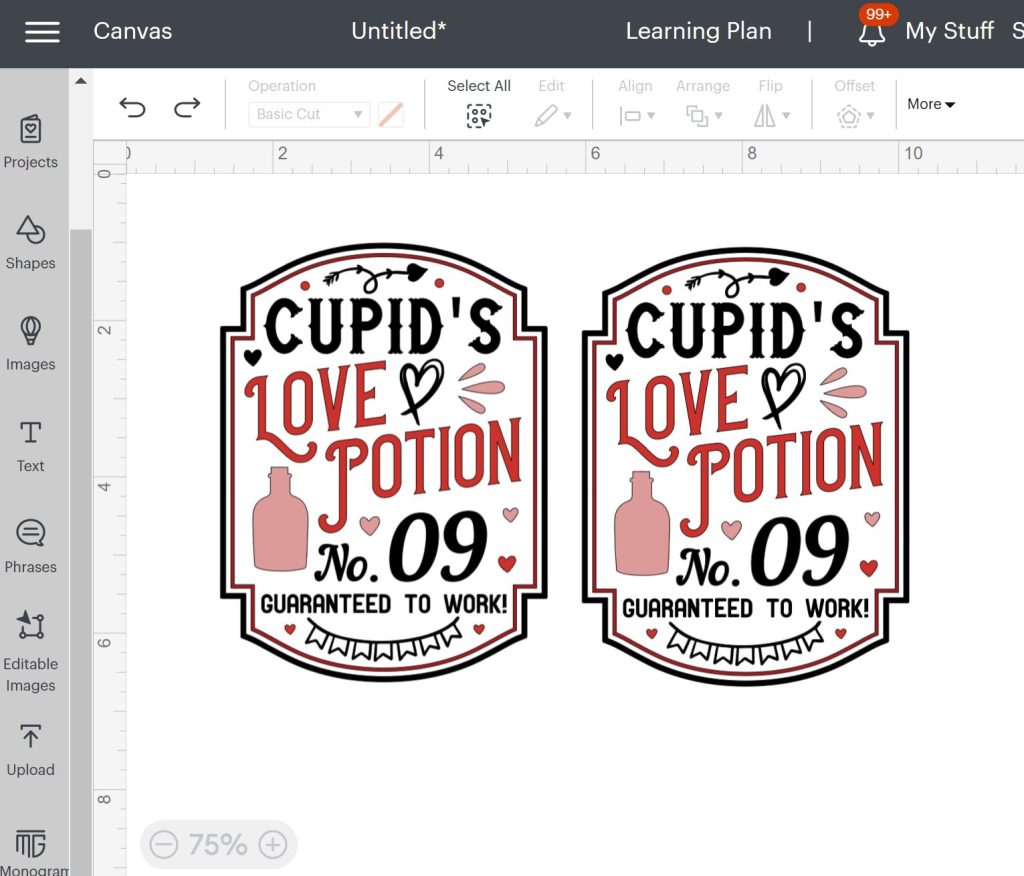
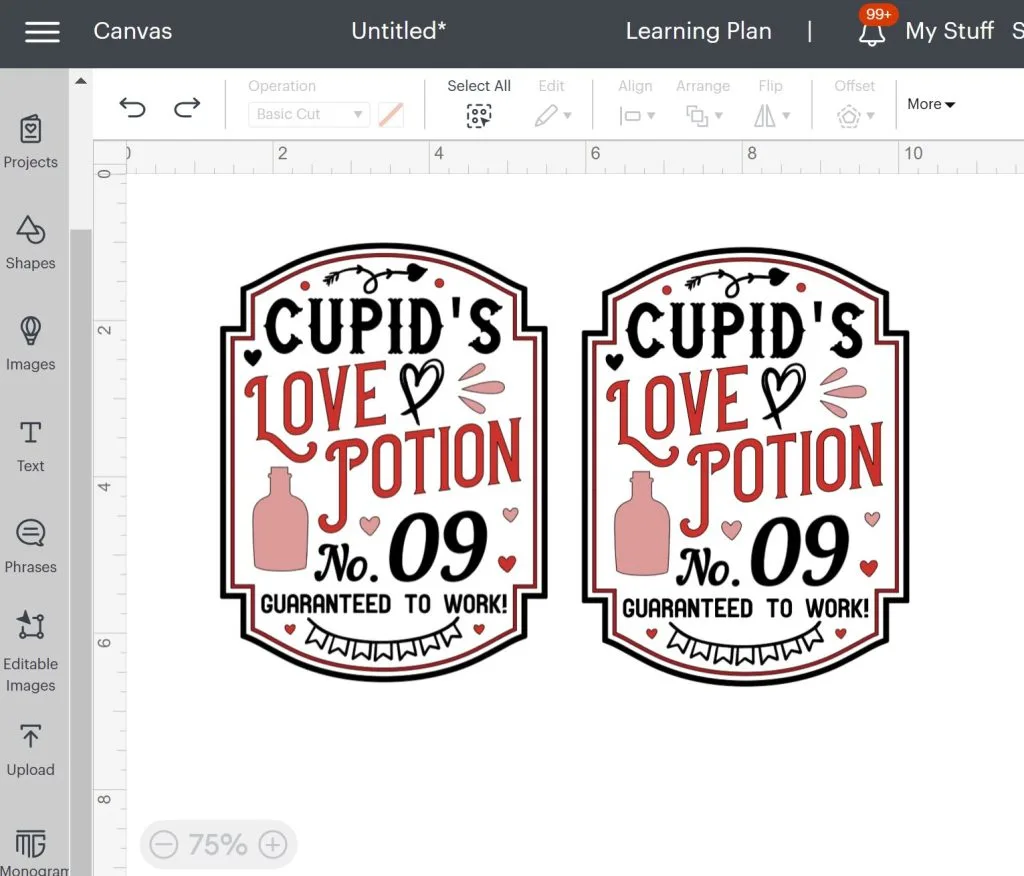
Design love potion sign in Design Space
Go through the process of getting the SVG into Design Space: Download from Creative Fabrica, Unzip the folder, Open Design Space, Click Upload, Navigate to the Vintage Valentine SVG Bundle folder on your computer, and click on the Cupid’s Love Potion folder and select the SVG file.
Duplicate the file so you have two of them in Design Space.
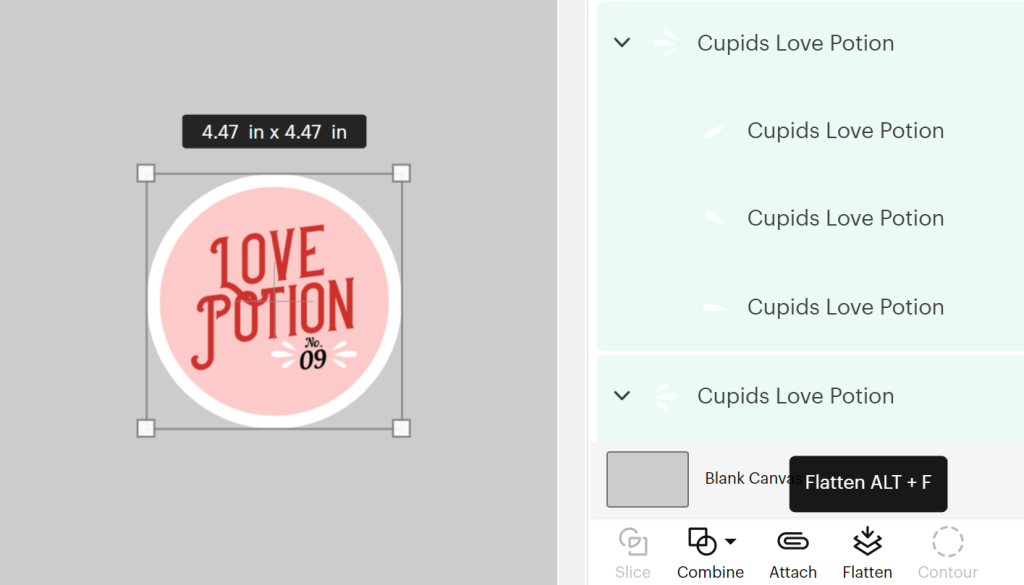
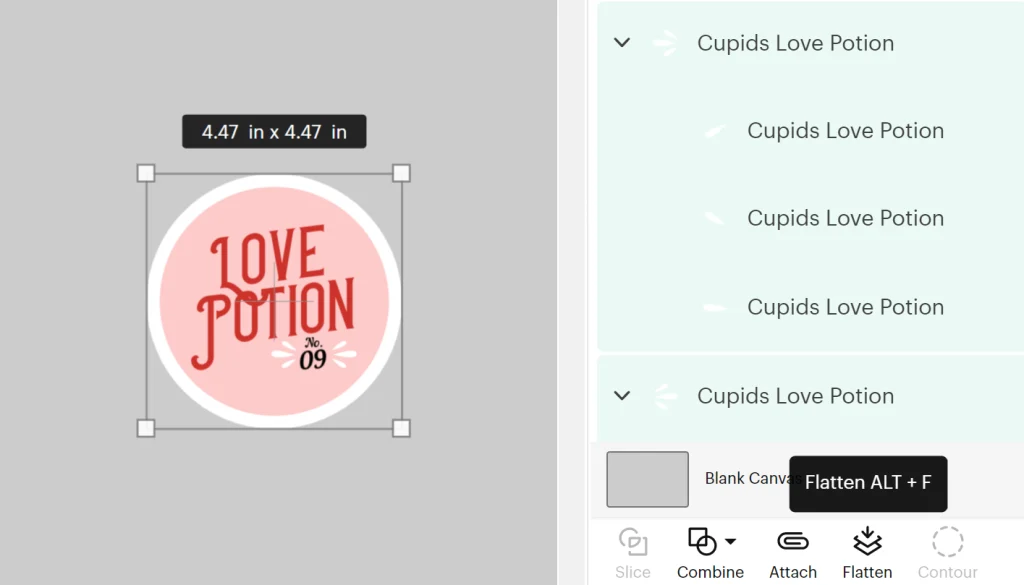
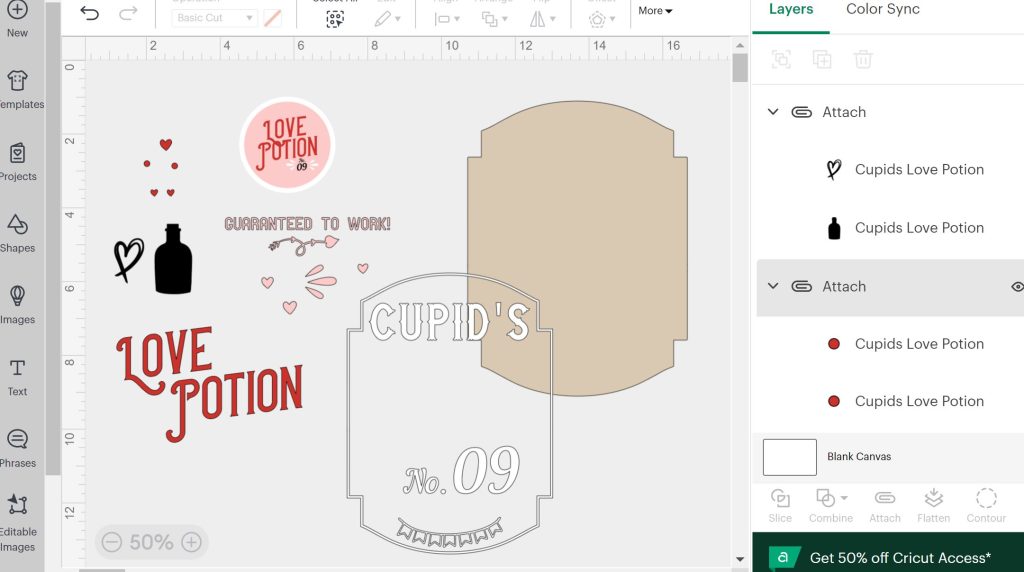
Ungroup one of them and we’re going to build the bottle label. Overlap the words “Love” and “Potion” a little bit.
Stack the “No.” over the “09” and duplicate the little 3 line flourish so there’s one on each side.
Create two circles – one pink, and the larger one white. Center everything up into the circles, select all and click Flatten to turn in into one printable image.
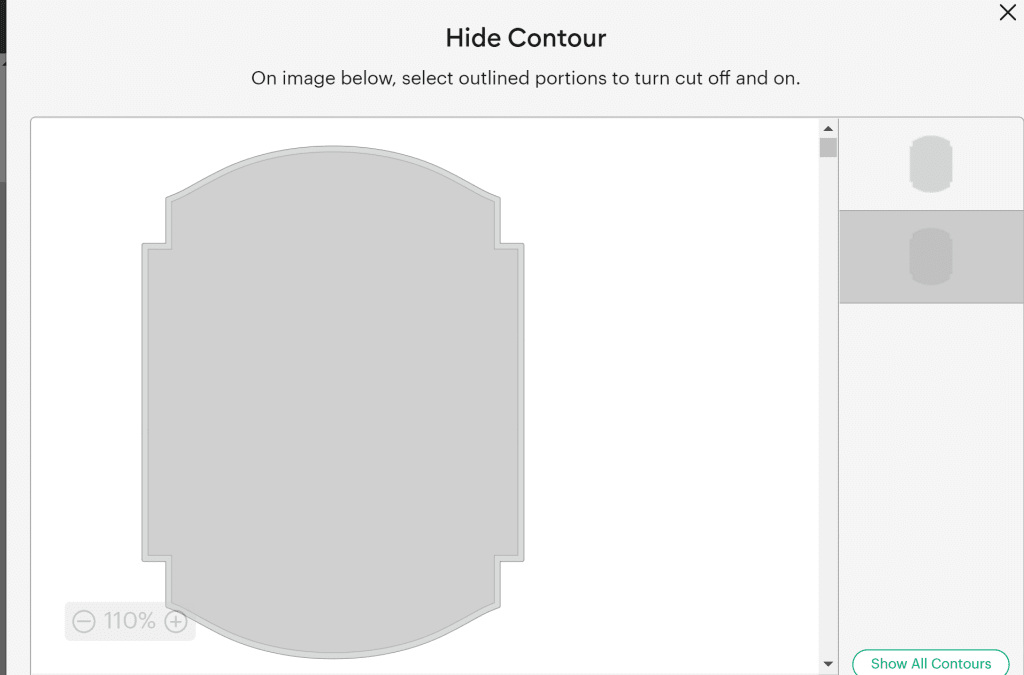
Next we fix up the sign. You can use some kind off frame or wood blank to make your sign. I decided to put it on Cricut Chipboard cut to the shape of the outline.
To do this, select the black border of the sign and click Contour. Then click in the center of the image and it will hide that inner cut line, giving you a single cut around the whole shape.

I changed up the colors just a bit in the design – you can do that or leave things just the same. The most important thing to remember is to attach all the white pieces so they cut out in these exact locations. It will be the first part you transfer to the sign and will be your reference point for where all the other pieces go.
Cut chipboard with Cricut
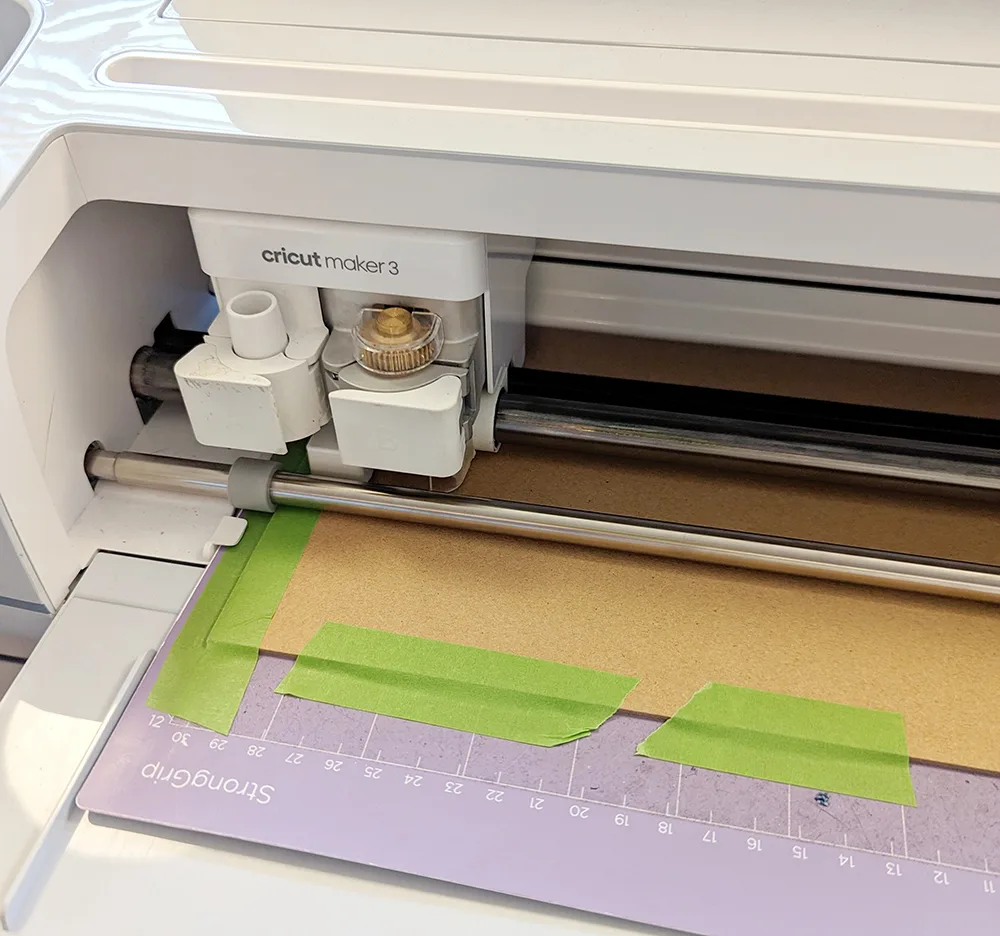
To cut the chipboard, secure it to a purple mat with painters tape. Move the white wheels of the Cricut all the way to the right and install the Knife Blade.
Send it to cut and it will take about 12 passes to cut through completely. You can pause the machine around cut 10 to see if it’s already done or not. Mine finished all the passes to cut.

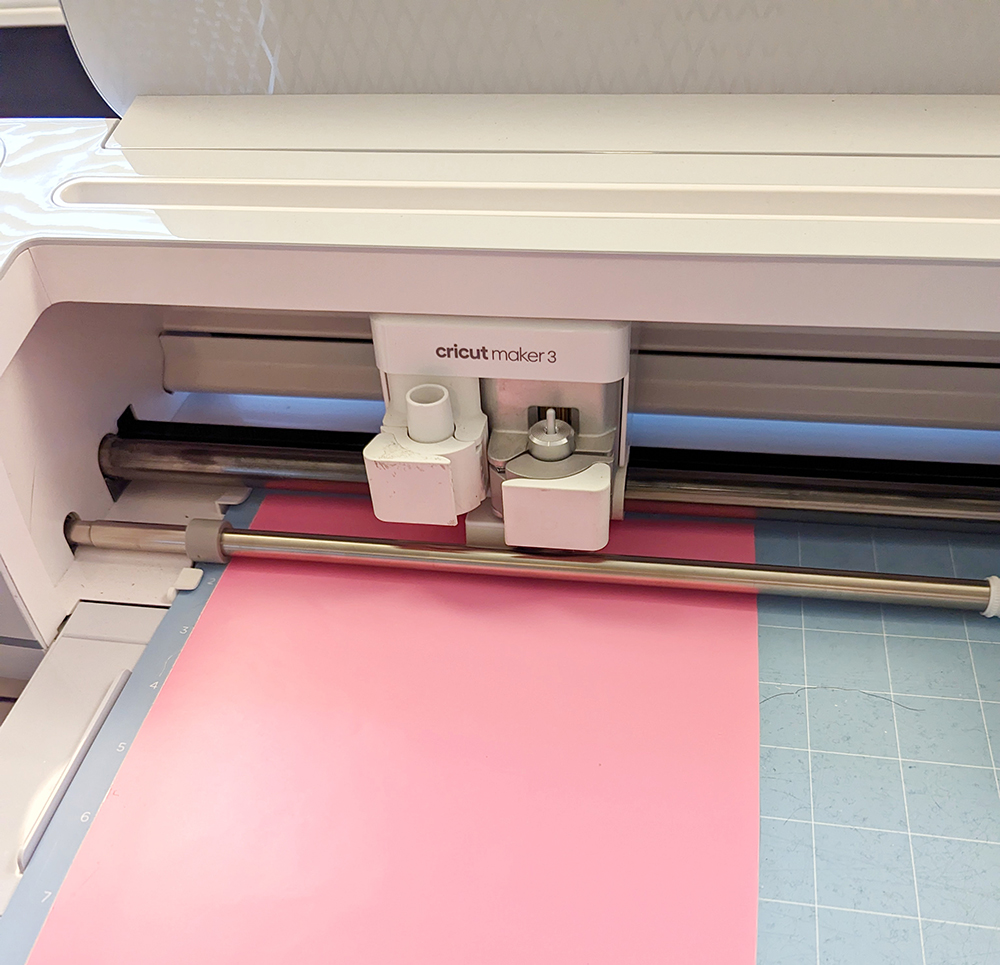
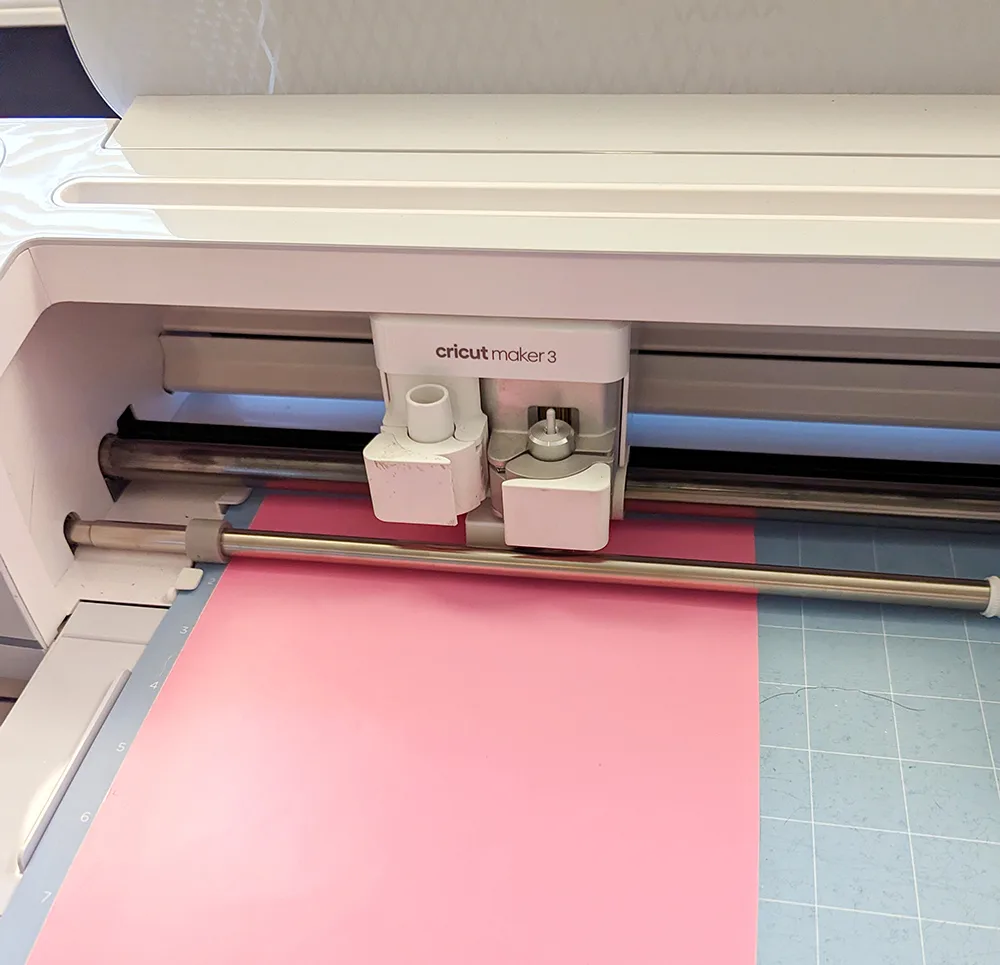
Cut vinyl with Cricut
Cut the remaining layers of material with the fine point blade and remember to MIRROR if you have any iron-on layers!
Assemble love potion sign
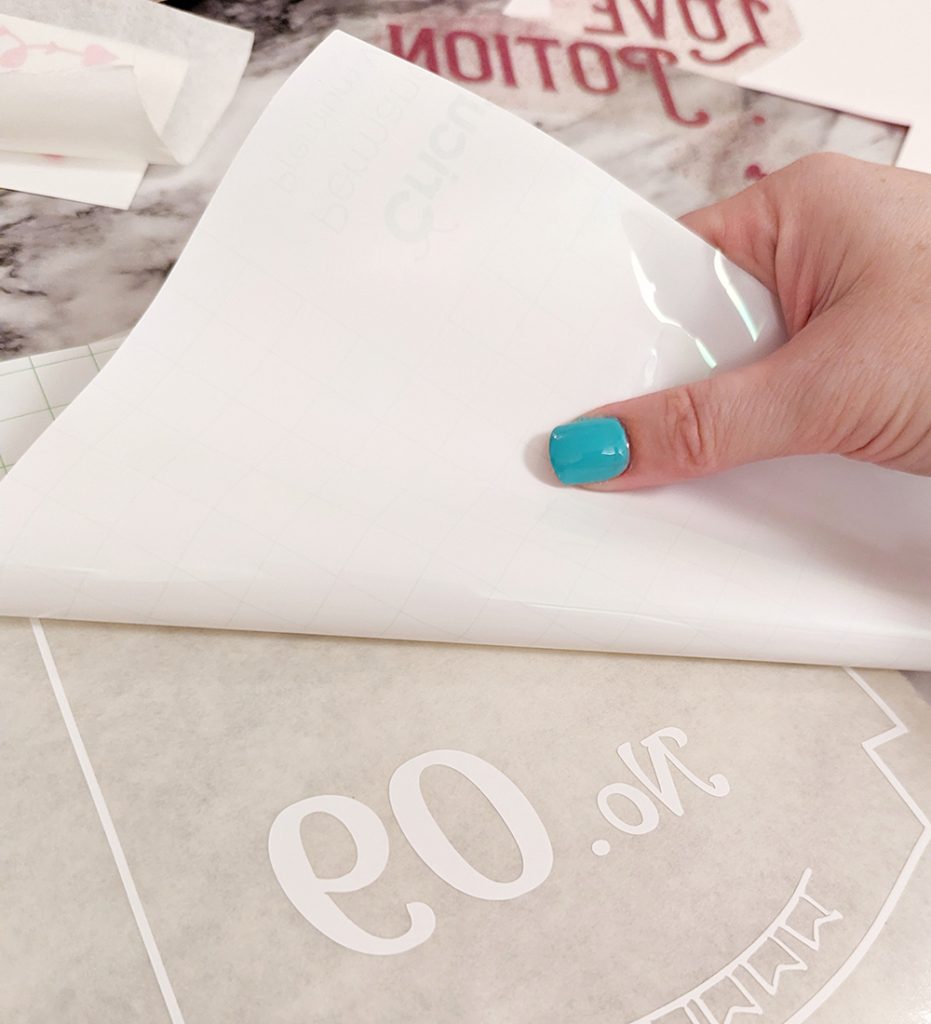
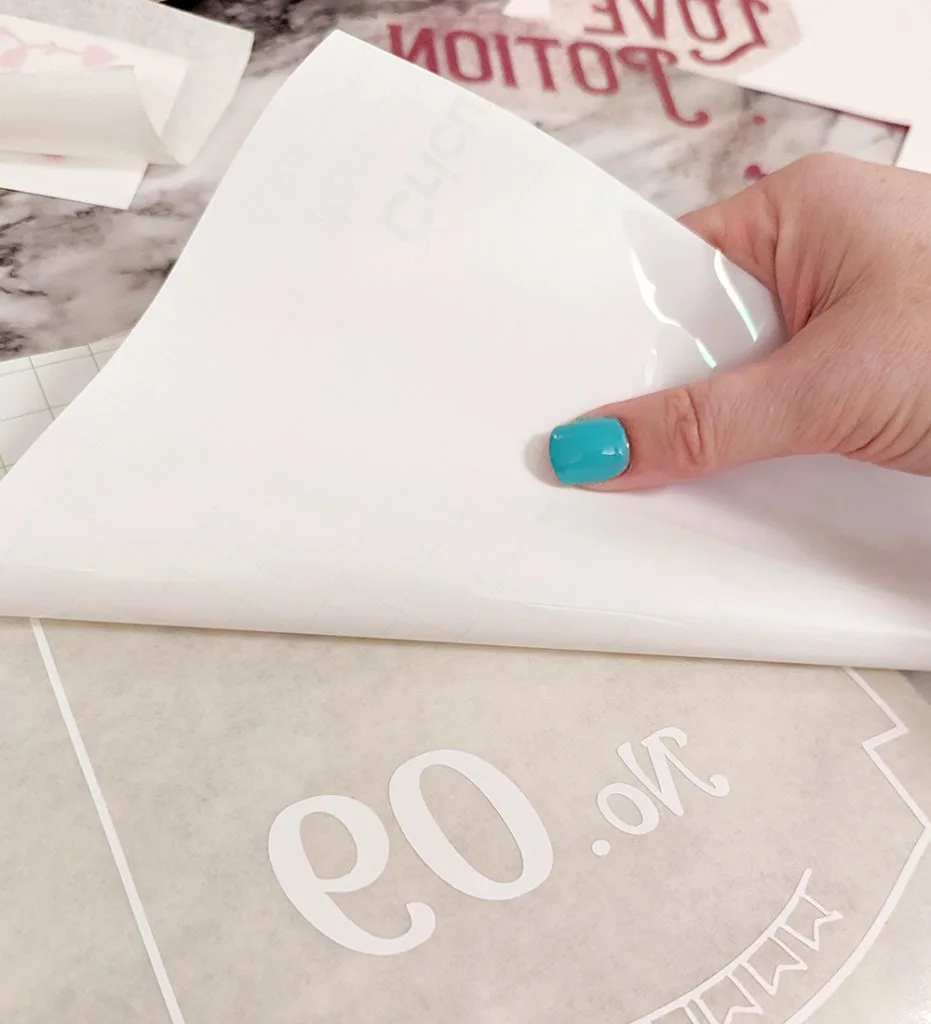
Weed the vinyl cuts and apply transfer tape to all the adhesive vinyl. Sometimes it is easier to peel the backing away from the transfer tape.
Apply the white layer first.
Then apply any iron-on with a Cricut Heat Press Mini or other small iron. Take care to not touch the already placed adhesive vinyl.
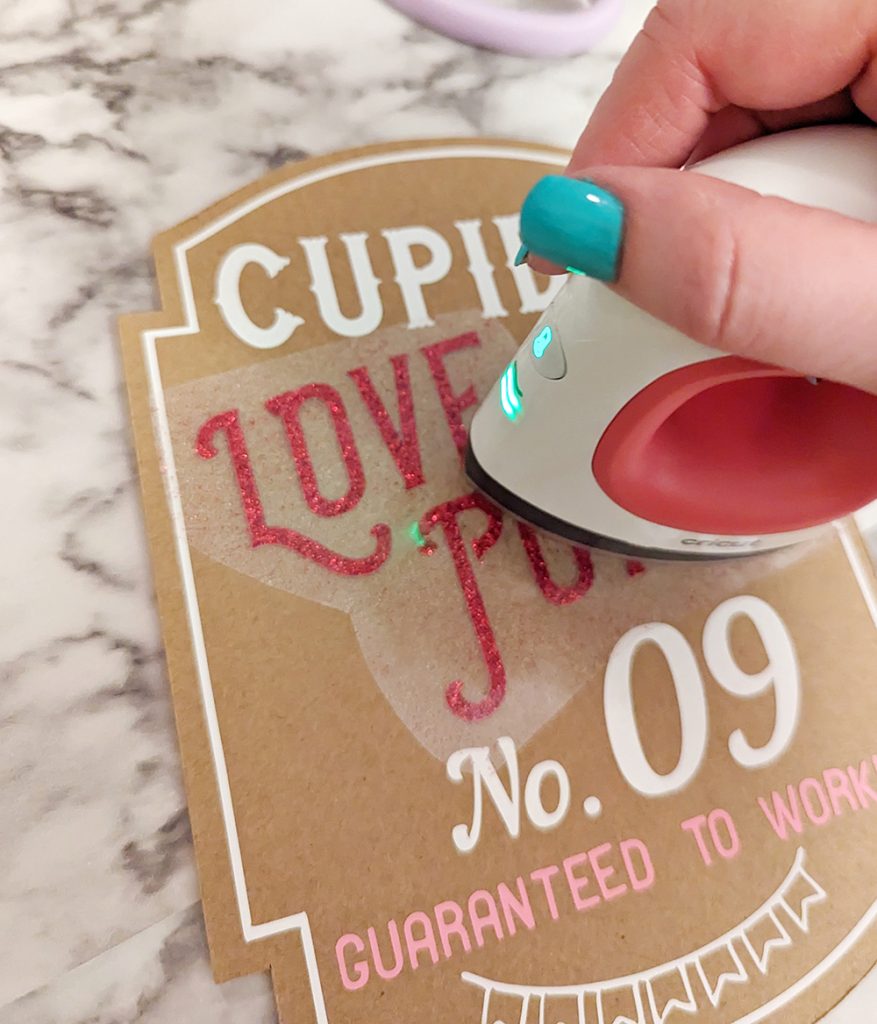

For the glitter htv I set the iron to medium heat. Use low for regular iron-on. Apply light pressure just until the material is sticking to the chipboard.
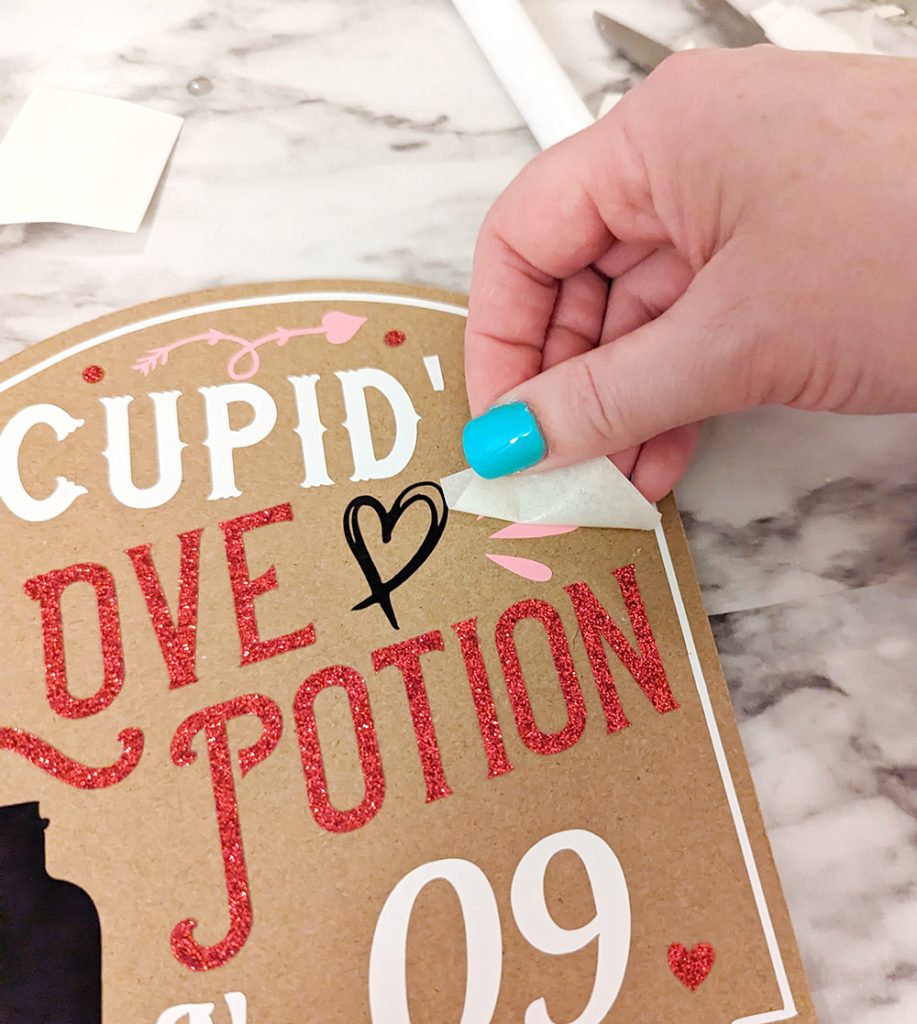
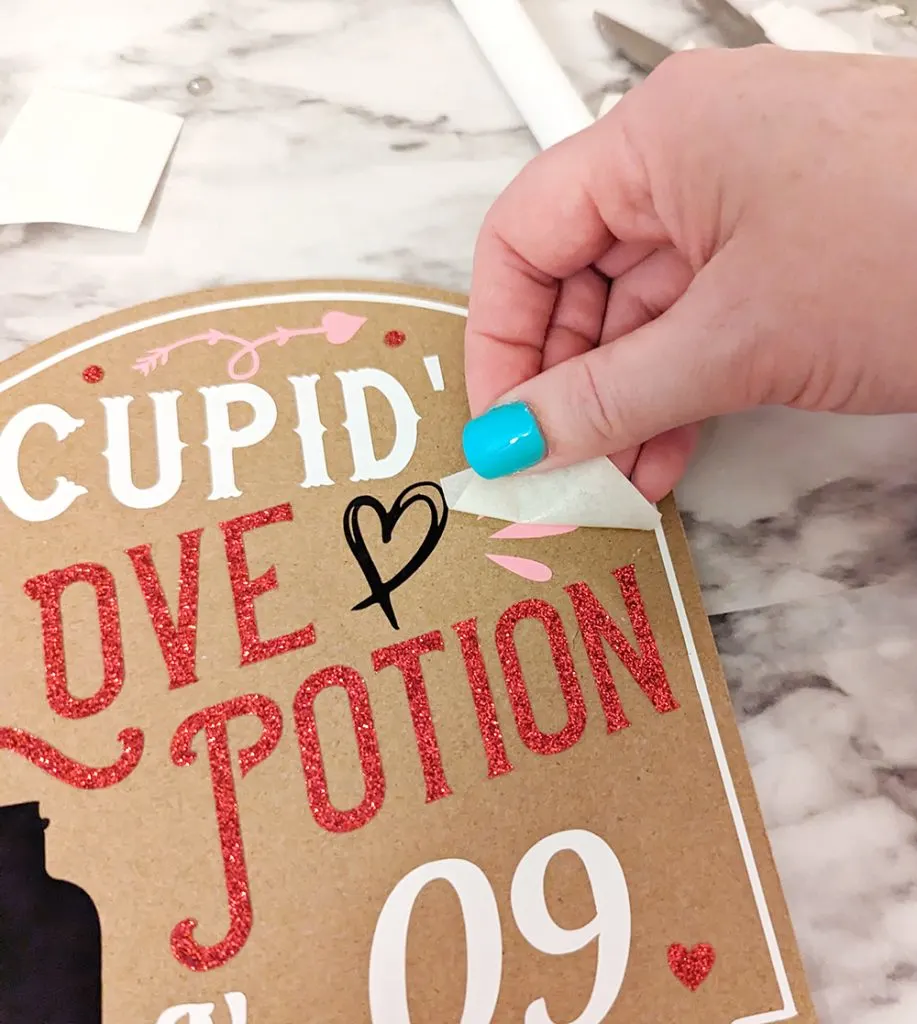
Apply all the other viny pieces until the sign is complete.
For the bottle labels, Print then Cut the circle labels on sticker paper. I made mine 2.5 inches.
Cut strips of pink cardstock 1.5 inches wide and long enough to wrap around the bottle – mine is about 7 inches. Secure the paper with the label on all the bottles.
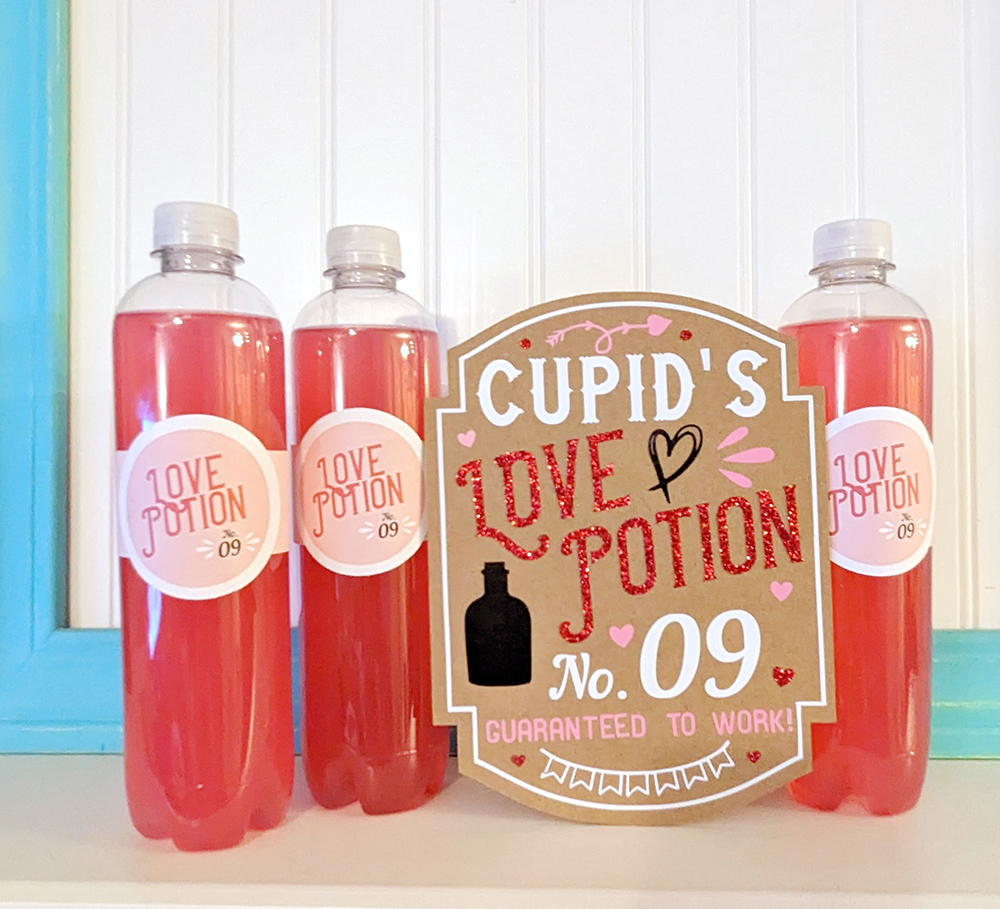

Aren’t they cute? Let me know if you have any questions about the project, and of course I’d love to see if you make one of these yourself! Don’t forget to check out Creative Fabrica for your crafty projects.
Ida Foster
Thursday 26th of January 2023
So cute! Love ❤️ it! I will definitely be making this project soon. It will be my first experience cutting chipboard. Thank you for the design and tutorial!