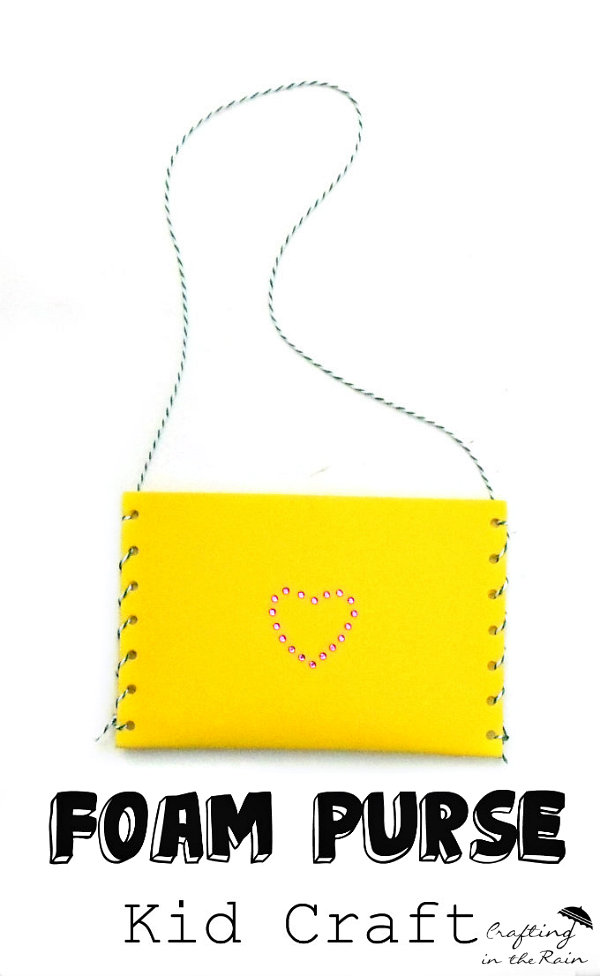
I’m going to show you how we made some foam sheet purses with the kids they can have their very own. They are super easy to make and your kids will have fun too!
Are your kids fascinated with your purse and love being able to carry around their own little toys?
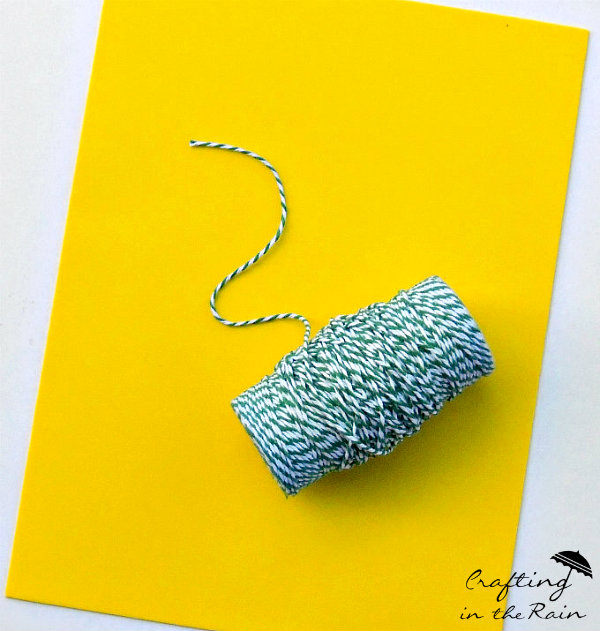
Supplies
Craft foam sheets
Bakers twine or yarn
Hole punch
Stickers, buttons, glue, or other items to decorate the purse
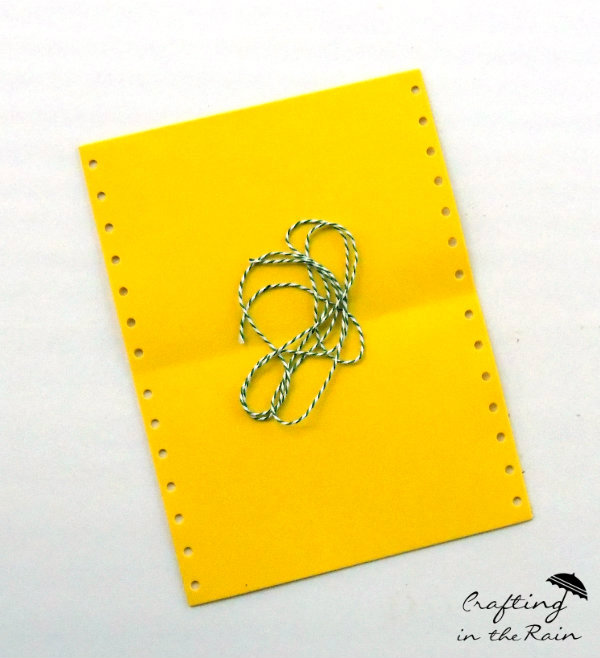
Step 1:
Start by folding the craft foam in half (top to bottom) and punch 7 holes on each side (from the fold to the top) When opened, each side will have 14 holes.
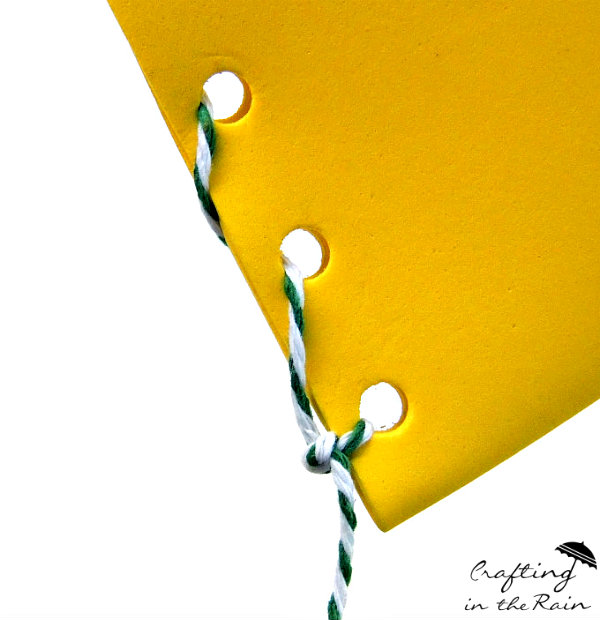
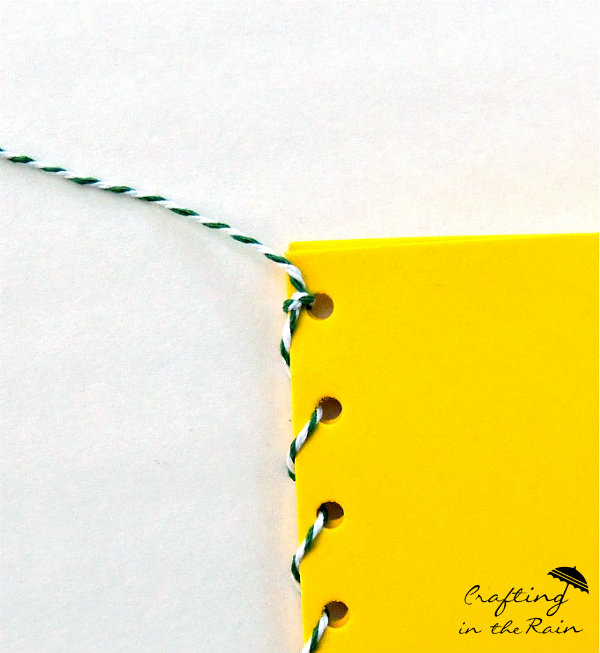
Step 2:
Cut a piece of twine 4 feet long. Fold the foam in half and start with the bottom (near the fold) left hole. Tie the end in a knot through the first hole.
Then start lacing the twine up the side. Tie another knot when you get to the top hole.
Step 3:
Loop the rest of the twine over the top of the purse to make the strap, and adjust the length down the right side of holes so that about 4 inches of string go past the bottom.
Notice where the string meets the top right hole and tie a knot through that first hole. Then lace down the right side and tie a knot again in the bottom hole.
Step 4:
Secure ends of twine with glue or hot glue to prevent fraying, if desired.
Step 5:
Now it’s time to decorate the purse. Use all kinds of stickers and embellishments to change the look of each purse. Tacky glue or hot glue will both work well.
Of course you should supervise kids with glue, and adults only should use the glue gun. This one got a little heart with sticky rhinestones.

Finally, let the kids fill up their purses with all their treasures, and maybe they’ll leave yours alone…for a day or two 🙂
Do you think your kids would have fun with one of these?
11 Easy Crafts With Foam Sheets - 11 Crafts
Thursday 1st of April 2021
[…] Tutorial: craftingintherain […]