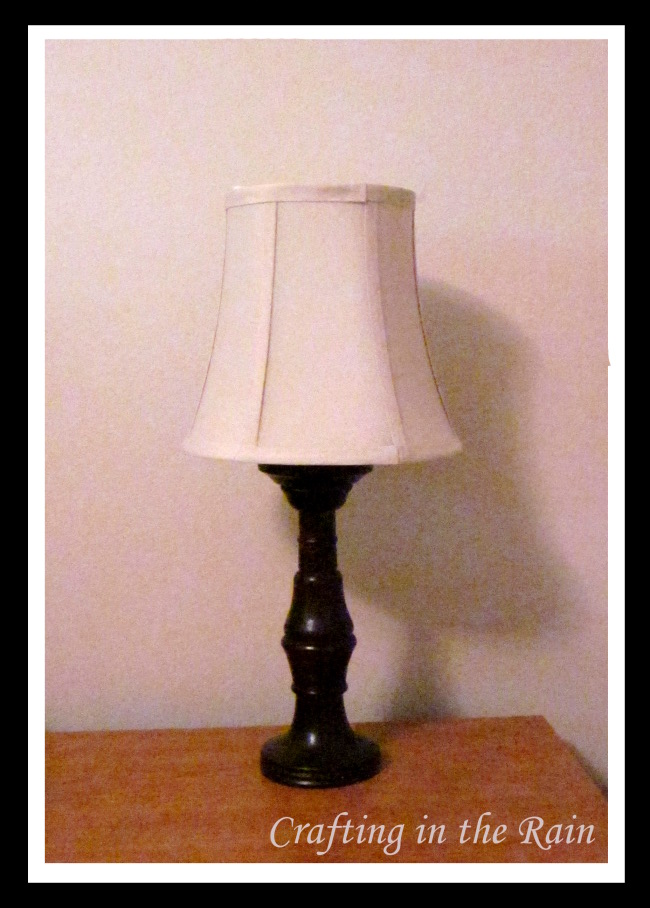
There is a lamp on each of our nightstands. When I first bought these lamps they matched the rest of the room nicely, and they stood out from the green walls we had.

But that was another house. When we fixed up our room in this place, we happened to paint the walls a color that just swallowed up these lamps. They really just kind of disappear on the nightstands. See?
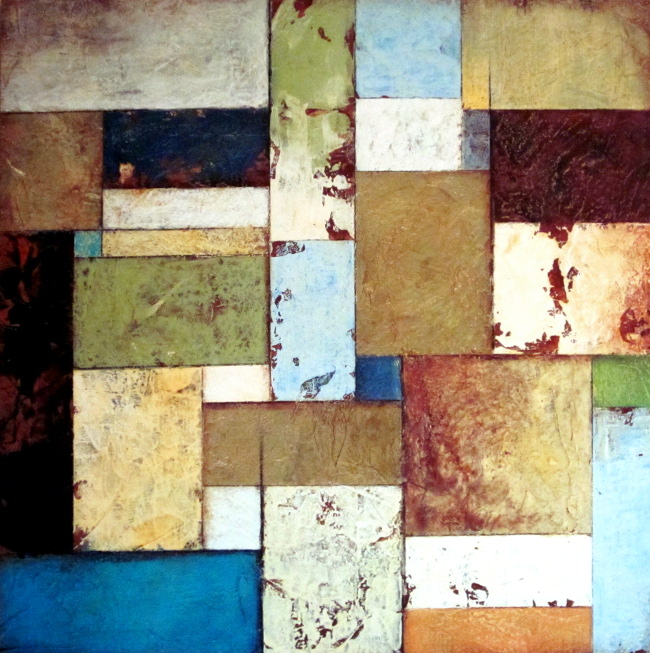
So I’ve had it in my head for some time now to do something to change that. We found this canvas that we loved at Home Goods, hung it on the wall, and I used it for color inspiration.
Enter spray paint, a few sunny (or not rainy) hours, and the bases were done. The shades presented more of a problem though. I considered coffee filters, ruffles, fabric rosettes and finally decided on pleats. It went something like this.
$6 for a yard of fabric (compared to plain white lamp shades I saw at Target at $12 each)
Cut fabric into strips about 2 inches wide (45 inches long because that was the width of the fabric I bought). I just got lucky that it fit around the largest part of my shade. I didn’t do any measuring first, but if you needed a longer strip to wrap around your shade you could sew two together. I was totally wishing for a rotary cutter about now!

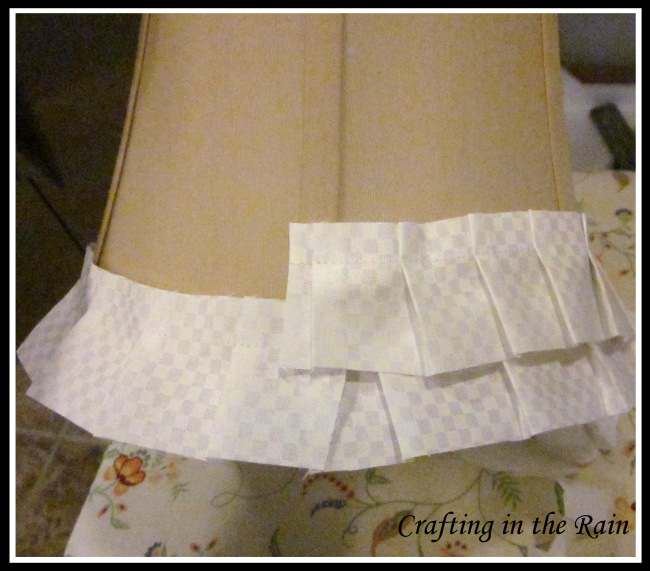
Pin pleats into the strip.

Sew about 1/2 inch from the right.
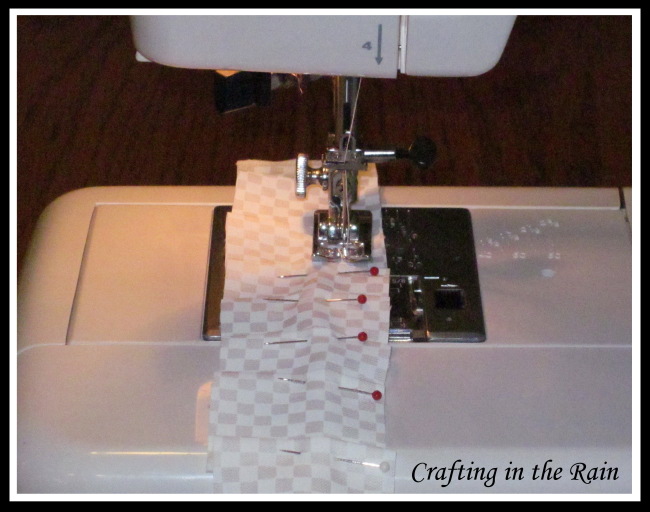
For the top strip I sewed two lines, because I wanted to have a sort of “top pleat” as well.
After sewing I ironed each strip.

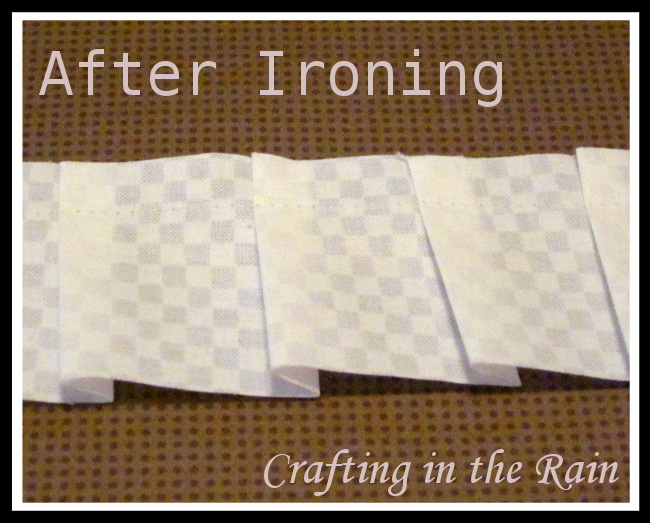
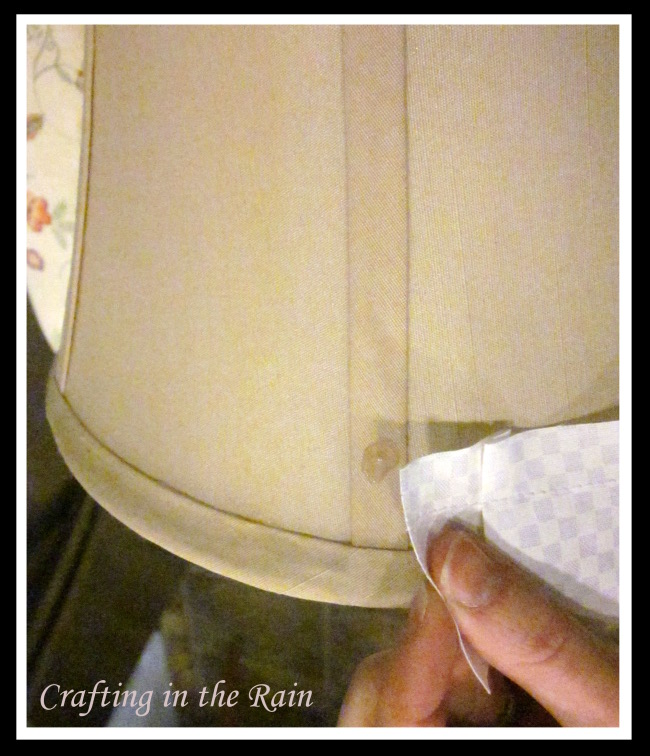
Then they were attached with hot glue–starting with the bottom layer, and overlapping on the way up.
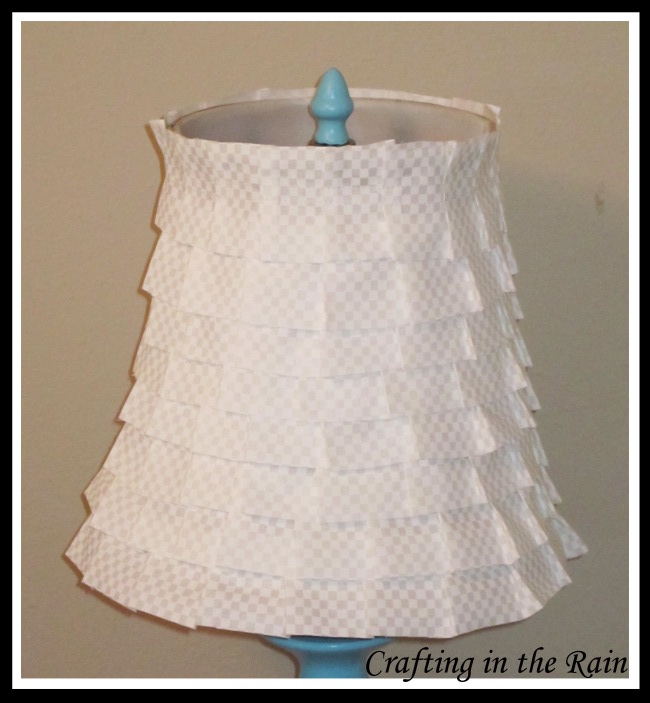

Anyway, here’s the finished lamps by our bed. Thanks for looking! (so while the room isn’t finished, at least we’ve made one more step!)


Sharing at
Simple Home Life
The Shabby Nest
House of Hepworths
Nap Time Crafters
Small Fine Print
Be Different Act Normal
CRAFT
The Girl Creative
Keeping it Simple
CraftOManiac
Ask Anna
Between Naps on the Porch
Dittle Dattle
Handy Man Crafty Woman
Organize and Decorate Everything
733
Eisy Morgan 