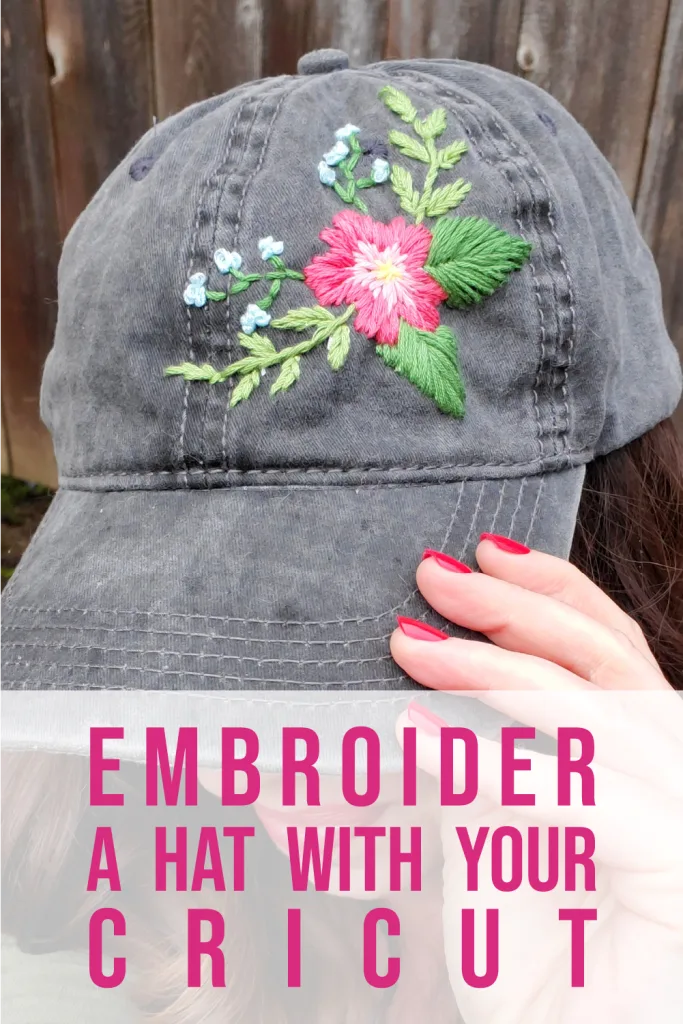
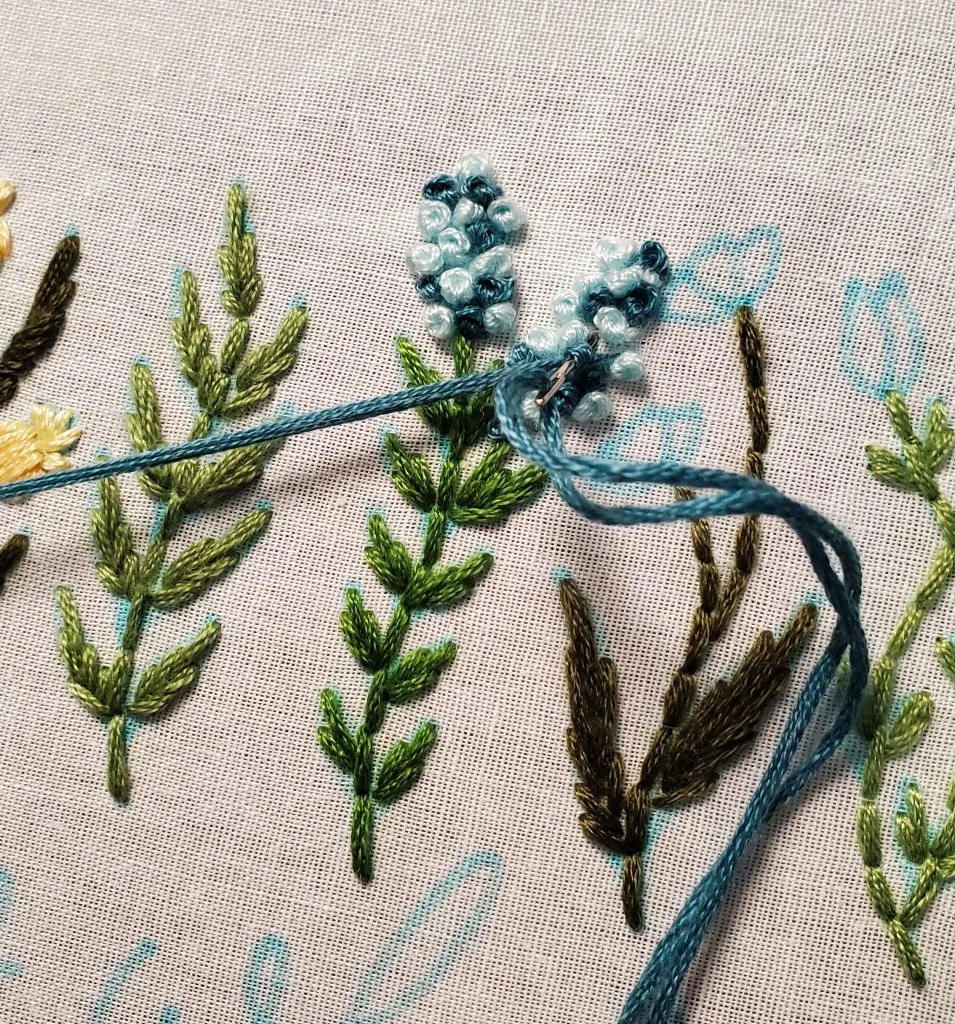
I’ve become slightly addicted to embroidery over the last few months. So far I have just been purchasing kits off of Amazon. But then I wanted to expand and make an embroidery pattern with Cricut.
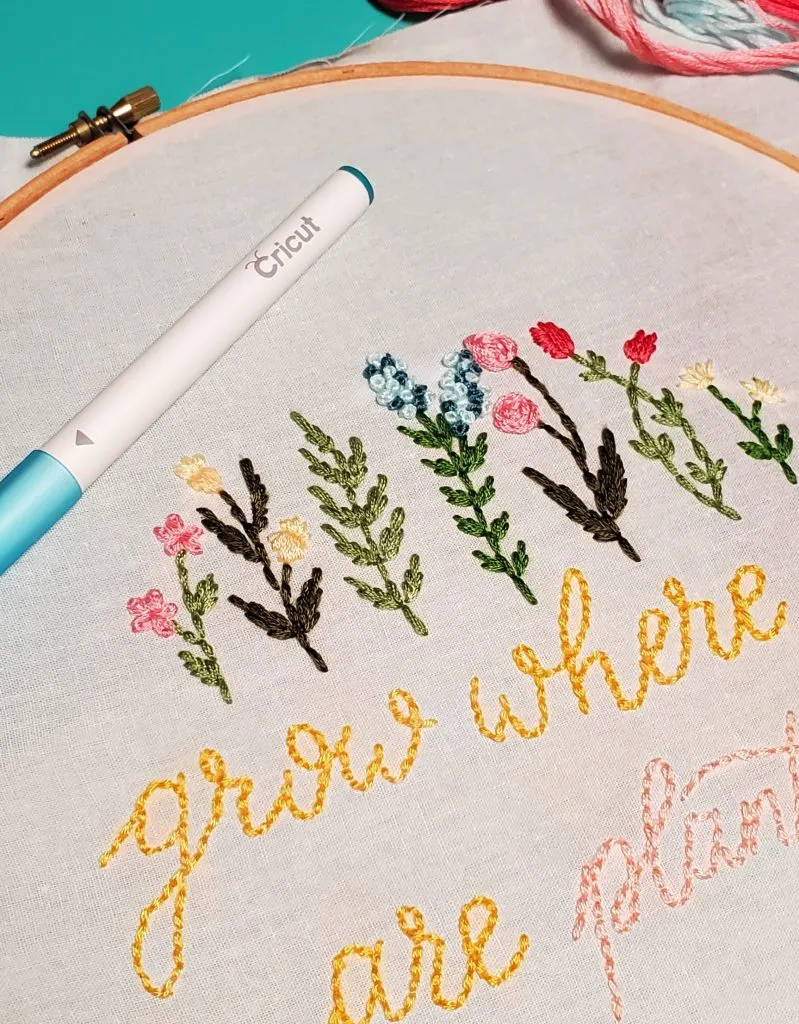
Supplies for Cricut Embroidery
- Cricut Explore or Maker
- Fabric Pen
- Light Canvas Fabric
- Or tracing paper to transfer design to another item – or this vanishing adhesive pattern transfer paper
- Pink Mat for fabric, blue mat for paper
- Brayer
- Embroidery hoop, thread, and needle for stitching
Can the Cricut do Embroidery?
No, the actual machine is for cutting and drawing. It is not an embroidery machine. But, it can draw a pattern for you. Then you’ll follow the pattern to hand embroider. Learn how here!
Draw an Embroidery Pattern with Cricut
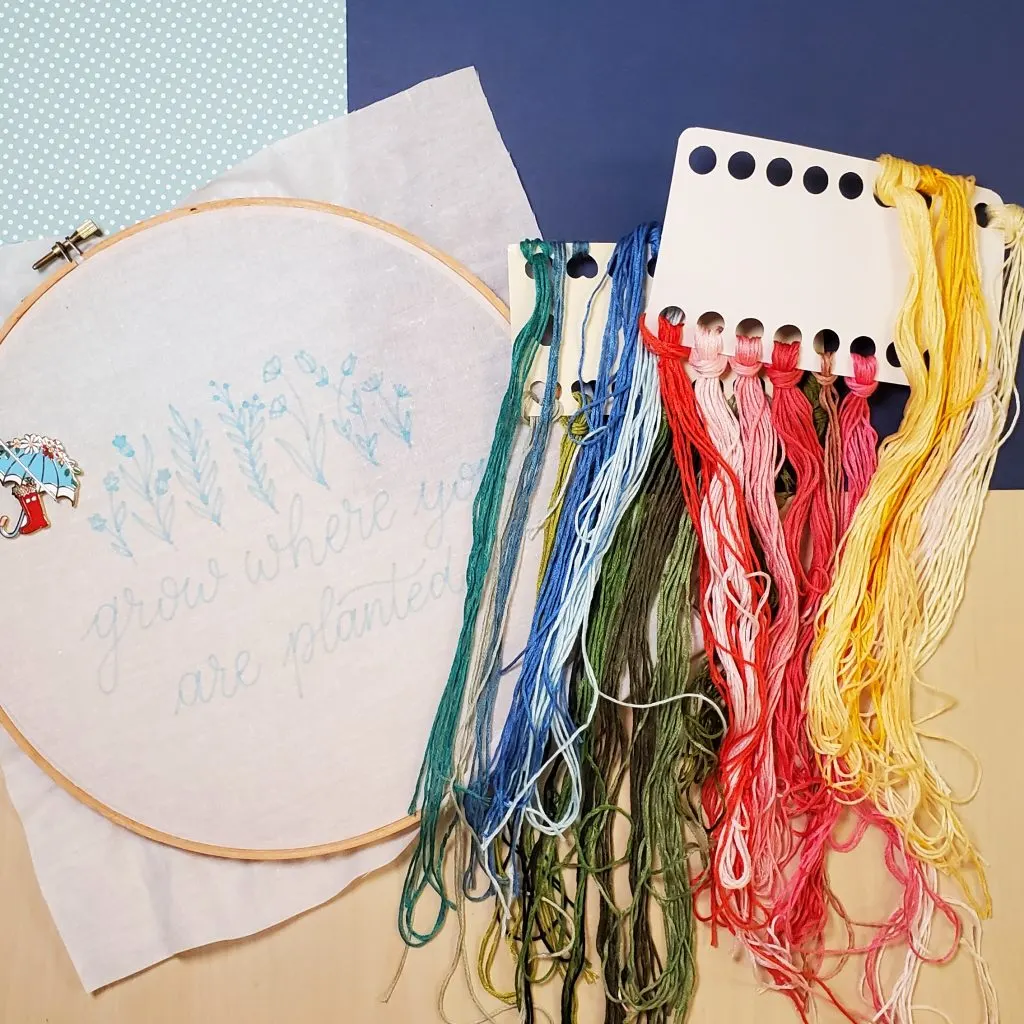
Can the Cricut draw on fabric? Yes it can! You can draw a design with the washable Cricut fabric pen, and you’ll have a pattern to follow that can be washed out later. It will disappear by just rinsing with warm water.
Prep fabric for embroidery pattern
To use images in Design Space for embroidery, use the Draw Only filter to get single-line designs. I am using #M185F0F94. (You can search Design Space by image number. Be sure to include the # and the M at the beginning.
Cut a piece of fabric about 12×12 inches. Lay on the pink mat and press flat with the brayer.
Draw embroidery with fabric pen
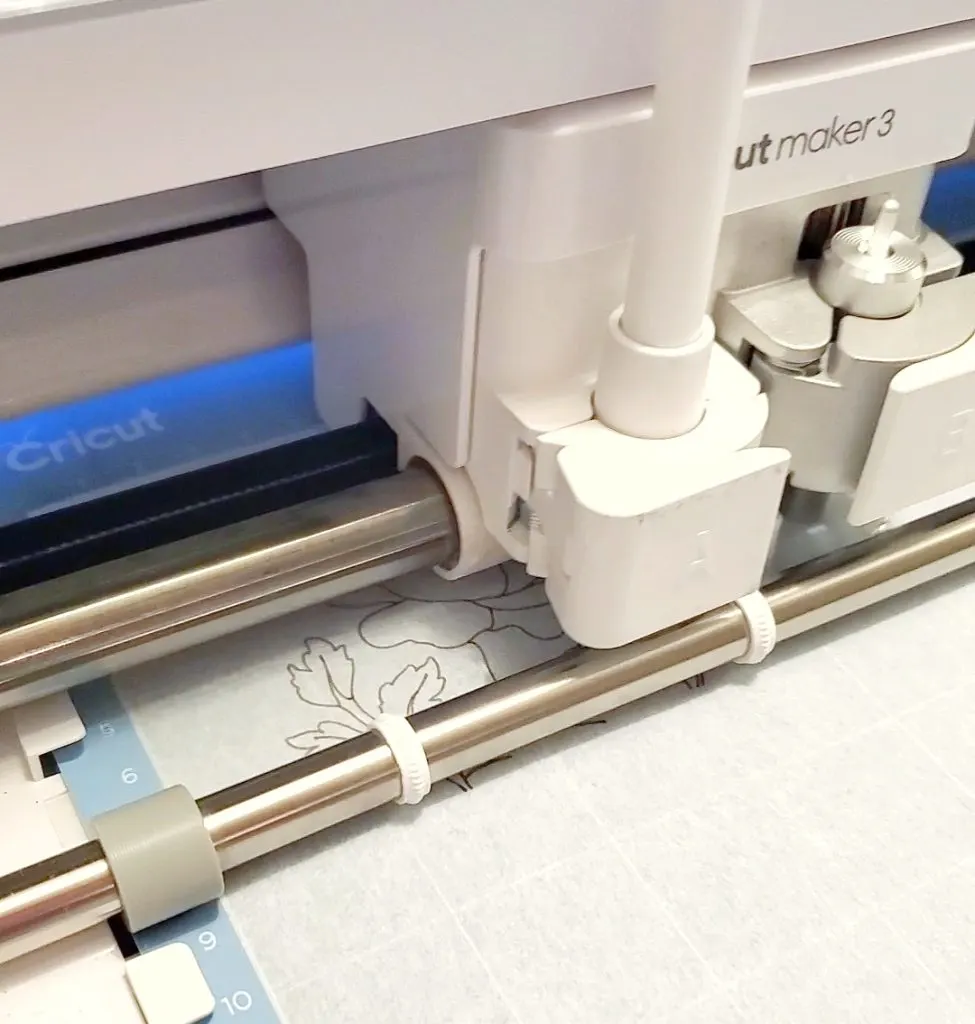
Lock the fabric pen into clamp A of your Explore or Maker. In Design Space, center the design on the mat. This will make sure you have space around the design for the embroidery hoop to hold the fabric.
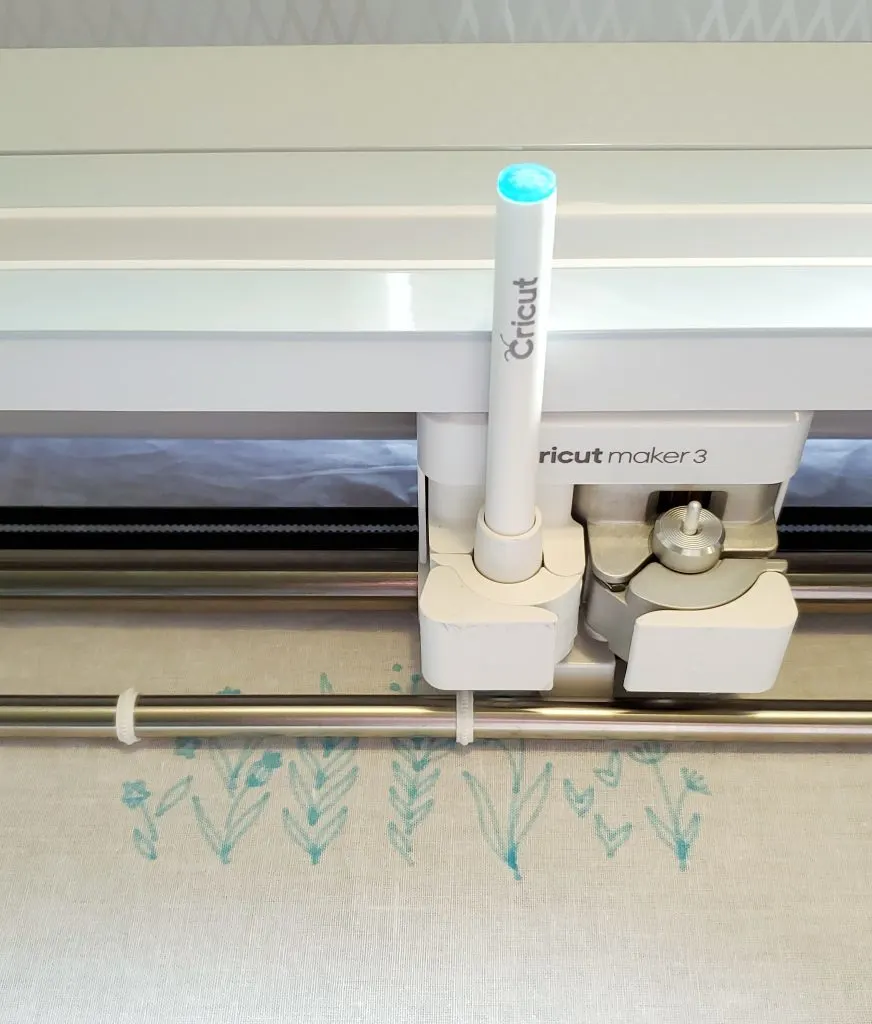
Load the mat and send the design to draw. Unload the mat and remove fabric from mat when it’s finished.
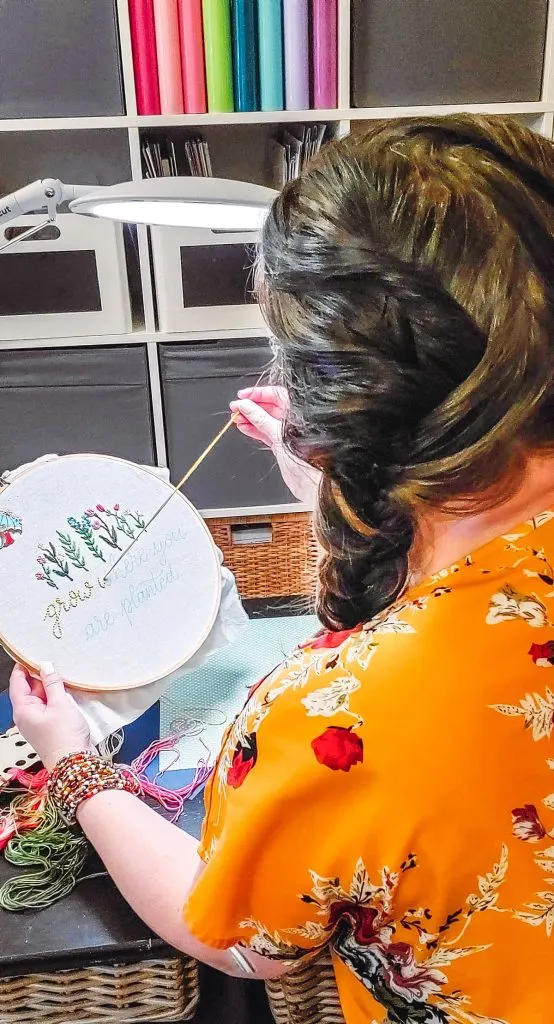
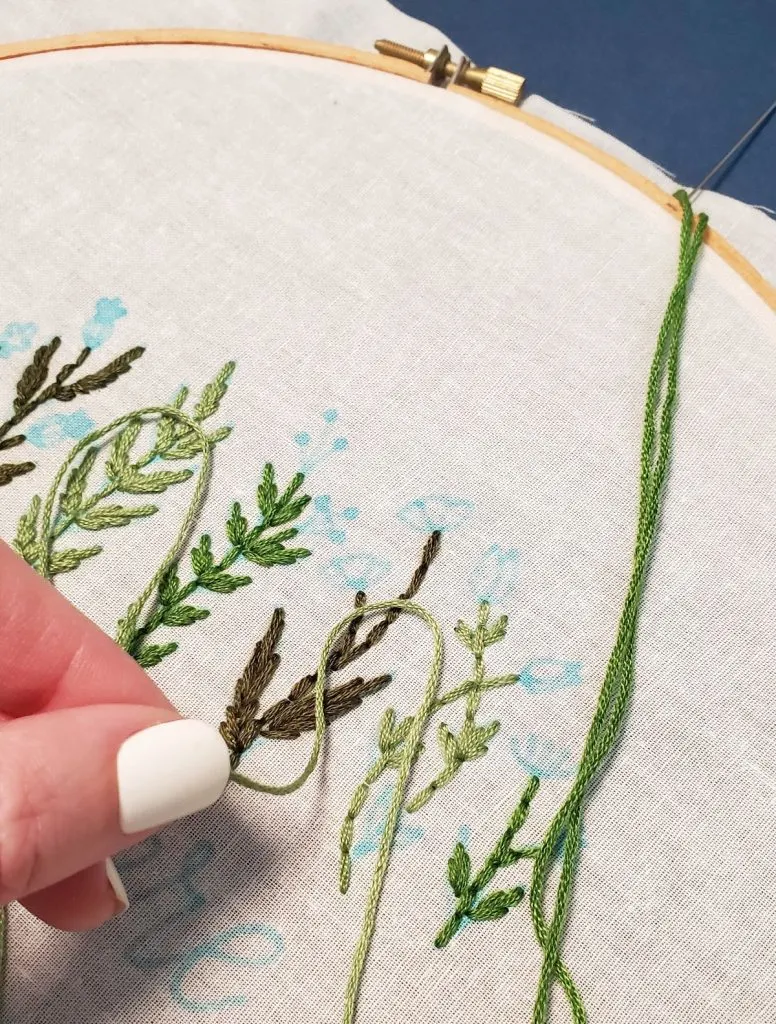
Tighten the fabric in an embroidery hoop and begin stitching.
Embroidery Pattern Transfer
If you want to embroidery on something other than a flat fabric, like a hat, for example, you can draw your design on tracing paper.
Lightly press a piece of tracing paper to a blue mat. Have the Cricut draw the pattern on the paper. Gently remove the paper from the mat and hand-cut around the drawing.
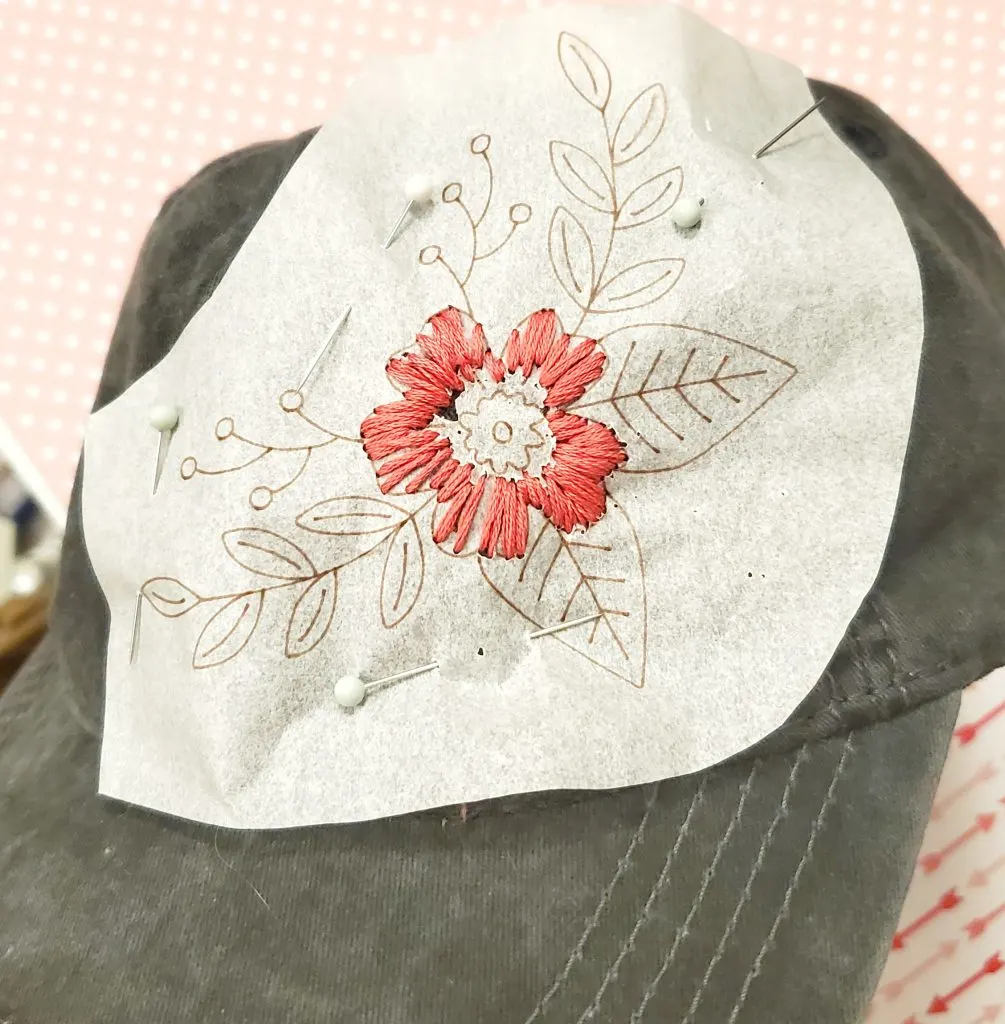
Pin the paper to your project – jacket, hat, backpack, etc, and stitch right through the paper and the fabric. When you are all done embroidering, tear off the tracing paper.
Good Design Space Images for Embroidery
As I mentioned before, the best designs will be single line, draw only images. I’ve found some of my favorite ones here for you to search for if you like.
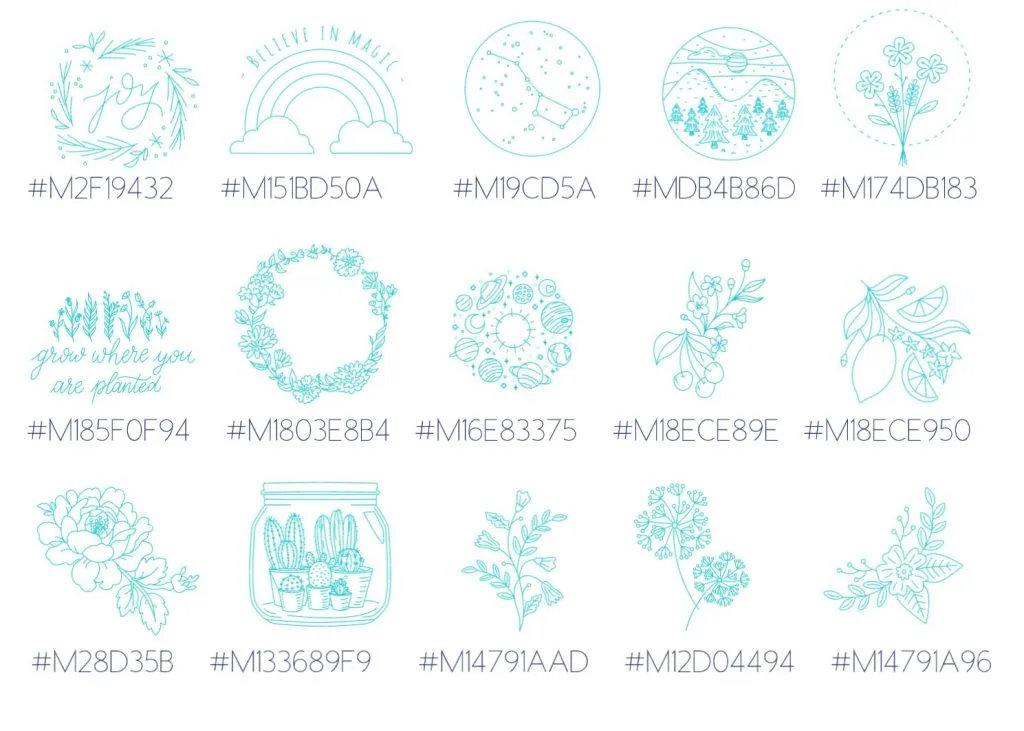
You’ve got plants, flowers, landscapes, and space designs. Look through the single-line design for even more ideas.
There are also some good fonts in Design Space that would be good for embroidery. Here are some of my favorites.

What size embroidery pattern can Cricut make
The size for drawing constraints on the Cricut is the same for cutting – what can fit on a mat. If you’re drawing with the fabric marker on a piece that will go into an embroidery hoop, keep in mind that you’ll need enough fabric around the design for the hoop to hold.
My recommendation is to keep it about a 9-inch circle or less.
If you are drawing the pattern on paper to attach to something else, then you can do any size you want and break it up into sections. Though most designs will stay on the smaller size I would guess as an embellishment.
Embroider with Cricut on a shirt
The Cricut can’t actually embroider on a shirt of course, but you can draw a pattern on a piece of paper and then pin the design to the shirt and stitch through it.
Place a piece of tracing paper on a blue mat and draw the design with one of the Cricut pens.
Cut off the extra paper with scissors. Tighten the shirt into an embroidery hoop and pin the paper where you want the pattern to go.
Stitch along the design and tear the paper out when you’re done.
I used the same kind of technique on this hat but didn’t use an embroidery hoop. The hat is sturdy enough and wouldn’t hold in a hoop anyway. Make sure you’re using a strong enough needle, and a thimble to protect your finger!
Embroider on a Hat
Here’s a link to the hat I’m decorating. And I used Design Space file #M14791A96
For this embroidery Cricut pattern, I drew with a Cricut pen on tracing paper.
Then pin the paper onto a hat where you want the finished design to go. Begin stitching.
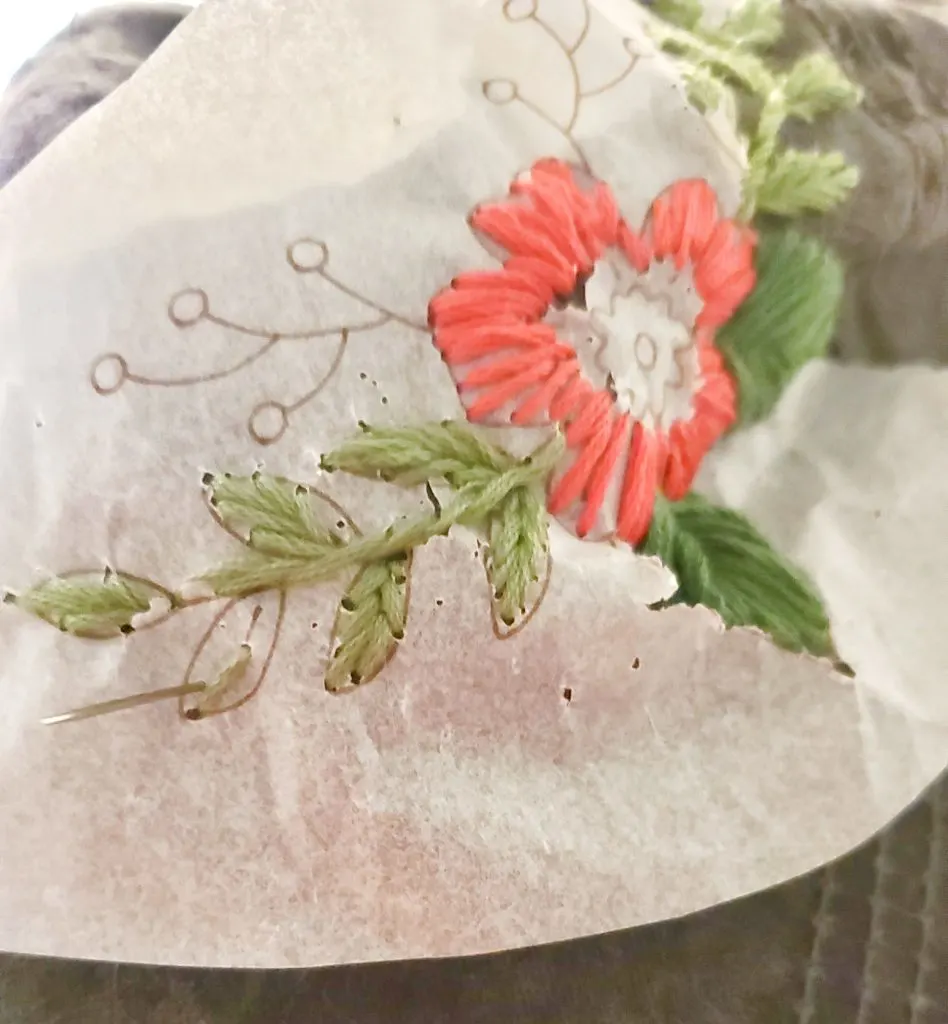
As you add more colors and stiching to the hat, the tracing paper will begin to rip. Tear away the parts you don’t need any more, trying to keep the pattern you still need. Gently tug from under the stitches too.
Once the pattern is finished, if there is paper still stuck you can dissolve it in water.
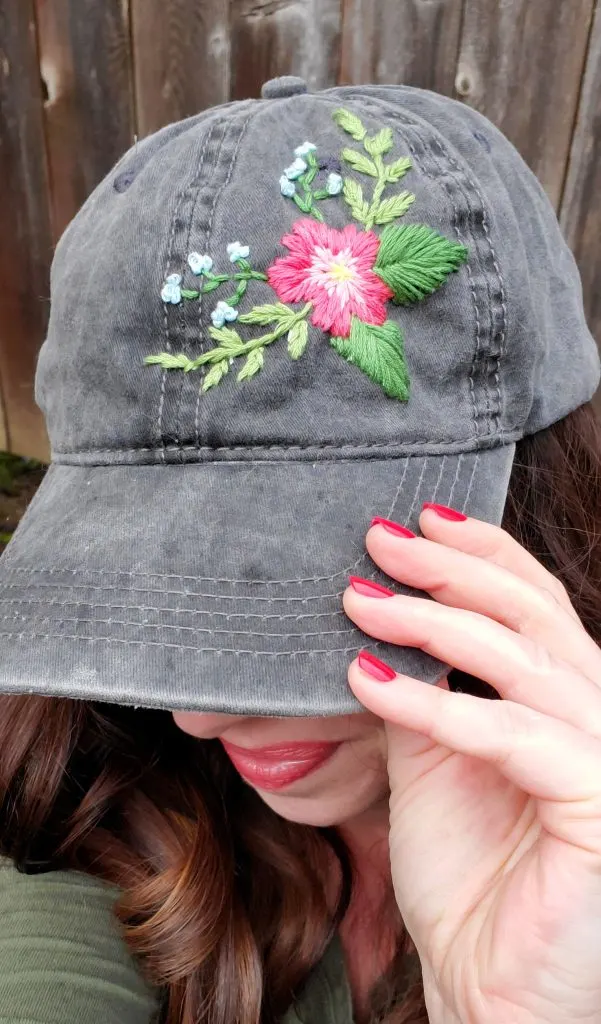
Tada! A super cute custom cap with embroidery from your Cricut!
Use these Cricut embroidery patterns to match your embroidery level. Practice different stitches like back stitch and different fill patterns.
Check out Cutesy Crafts embroidery stitch tutorials.
And get a magnetic needle minder from Flamingo Toes
Have fun making new embroidery patterns with your Cricut! It could be a cute way to make wall decor, gifts, or Christmas ornaments too!
