This post is part of a social shopper marketing insight campaign with Pollinate Media Group® and Glad, but all my opinions are my own. #pmedia #pressnsealhacks https://my-disclosur.es/OBsstV
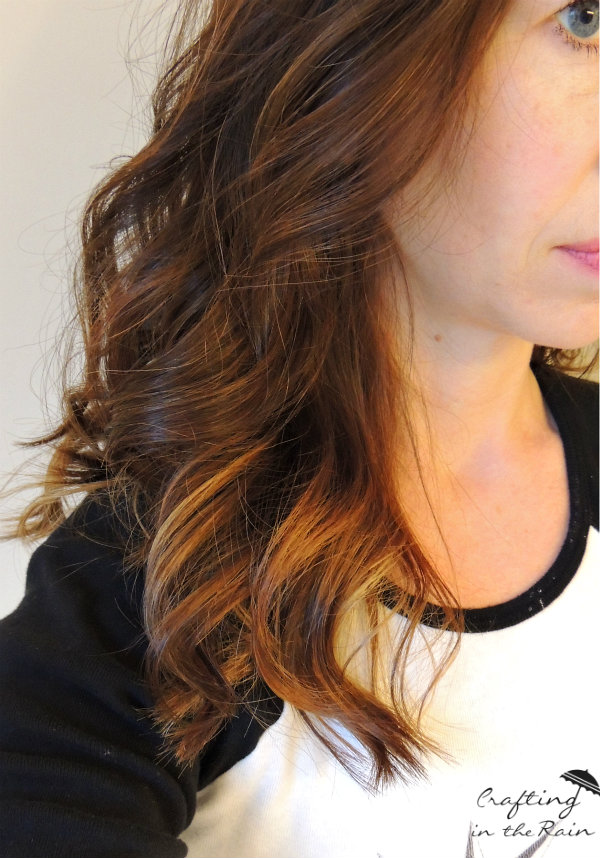
How many of you guys color your own hair? I’m not a professional (that’s my disclaimer,) but sometimes I like to save a few dollars and just do it myself at home. I have even done my own ombre highlights, and I’m going to show you today how I did it.
| BEFORE |

You’ll need:
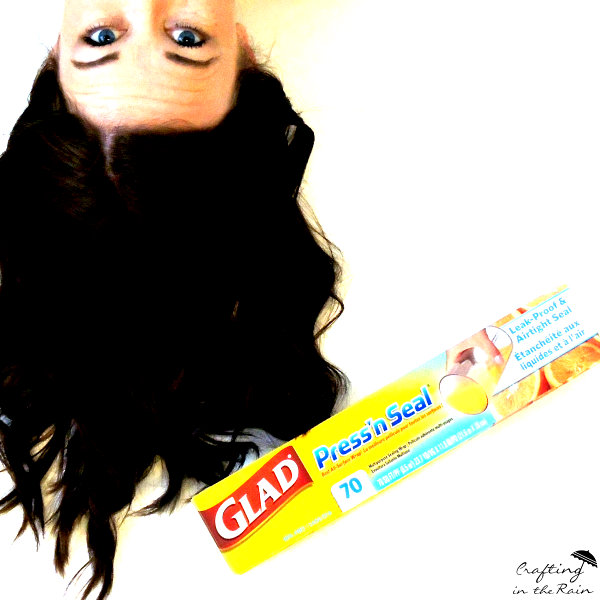
Glad Press’n Seal
Highlighter kit (or your other favorite hair bleach)
Wooden skewer (or skinny metal comb handle…but you know how I like to use what I have on hand!)
Paint brush (or actual hair color brush)
Small piece of sturdy cardboard or thin wood

Grab all your items at Walmart and jump right in. First protect your counter by laying down a couple of long pieces of Glad Press’n Seal. It will stick to the counter and you won’t get any bleach spills.

Then cut several pieces of Glad Press’n Seal–tear them with the box, then cut in half with scissors.
Brush your hair so it’s free of tangles and combine the contents of your bleach kit.
Grab a small section of hair and use an up-and-down motion with the end of the skewer to weave it through your hair. Separate the top section from the bottom section and lay it on a piece of Glad Press’n Seal with the cardboard behind it.
Load the brush with dye and apply to the hair. Turn the brush vertically and vary the starting point just a little so you don’t end up with a harsh horizontal bleach line.

Wrap the Glad Press’n Seal around the hair and move onto another section. I like to alternate sides of my head so one side doesn’t end up all lighter than the other.
Let everything set for about 30 minutes, then hair and add conditioner. Style and enjoy your new look. There are tons more uses for Glad Press’n Seal too–just search on Instagram or Twitter for #gladpressnsealhacks for more awesome inspiration. What would you use it for?

post contains affiliate links
[email protected]
Tuesday 16th of June 2015
This is so awesome! I love your hair. :)
Hayley!
Tuesday 16th of June 2015
Wow! This is genius!! Your hair turned out beautifully!!