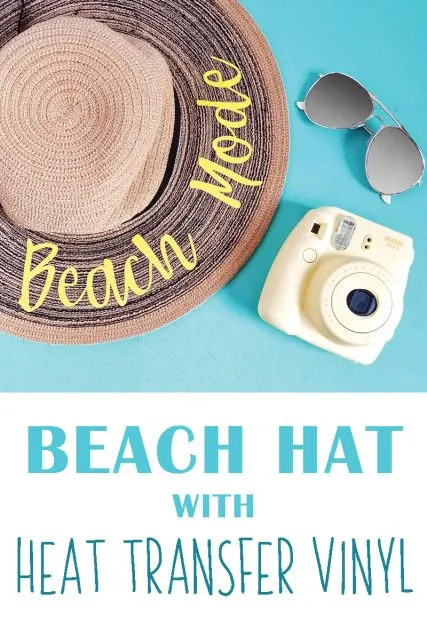
Learn how to make a beach hat with heat transfer vinyl. They’d be perfect for a custom set for a girls’ weekend or bridal party too!
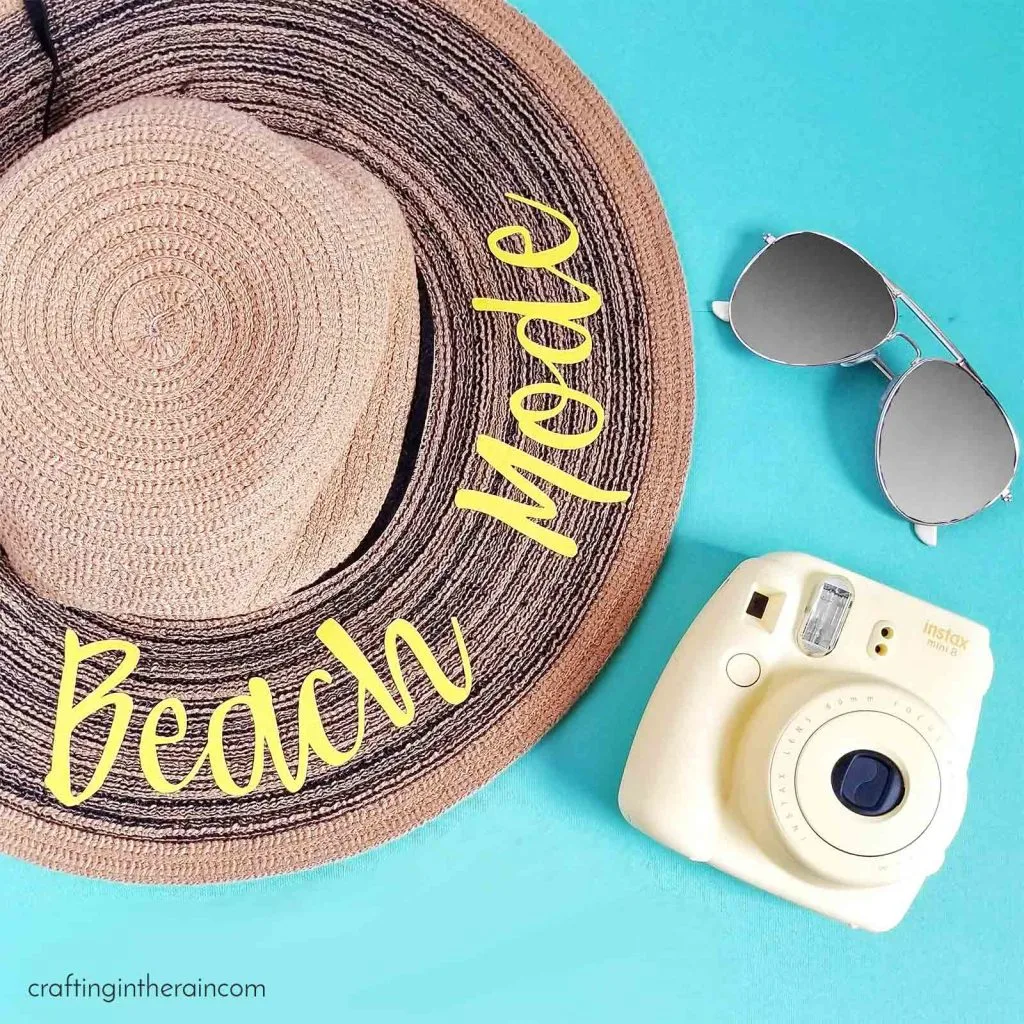
Supplies (affiliate links)
Straw hat
Iron-on vinyl
Protective sheet
EasyPress 2 or EasyPress Mini
EasyPress mat
Cricut Machine
First, you’ll need to design your cut in Design Space.
Measure across the inside and outside circles of the brim of the hat. Create two circles on the canvas in these sizes and center them. Slice the two circles so that you have a ring representing the space on the hat where the vinyl will go.
See this Design Space project for an example.
Then curve the and size the text within that space. Delete the ring and cut the iron-on vinyl.
READ THIS POST ABOUT curving text in Design Space
Apply vinyl to beach hat
Layer the vinyl on the hat and place a piece of parchment or protective sheet to cover the iron-on and the hat.
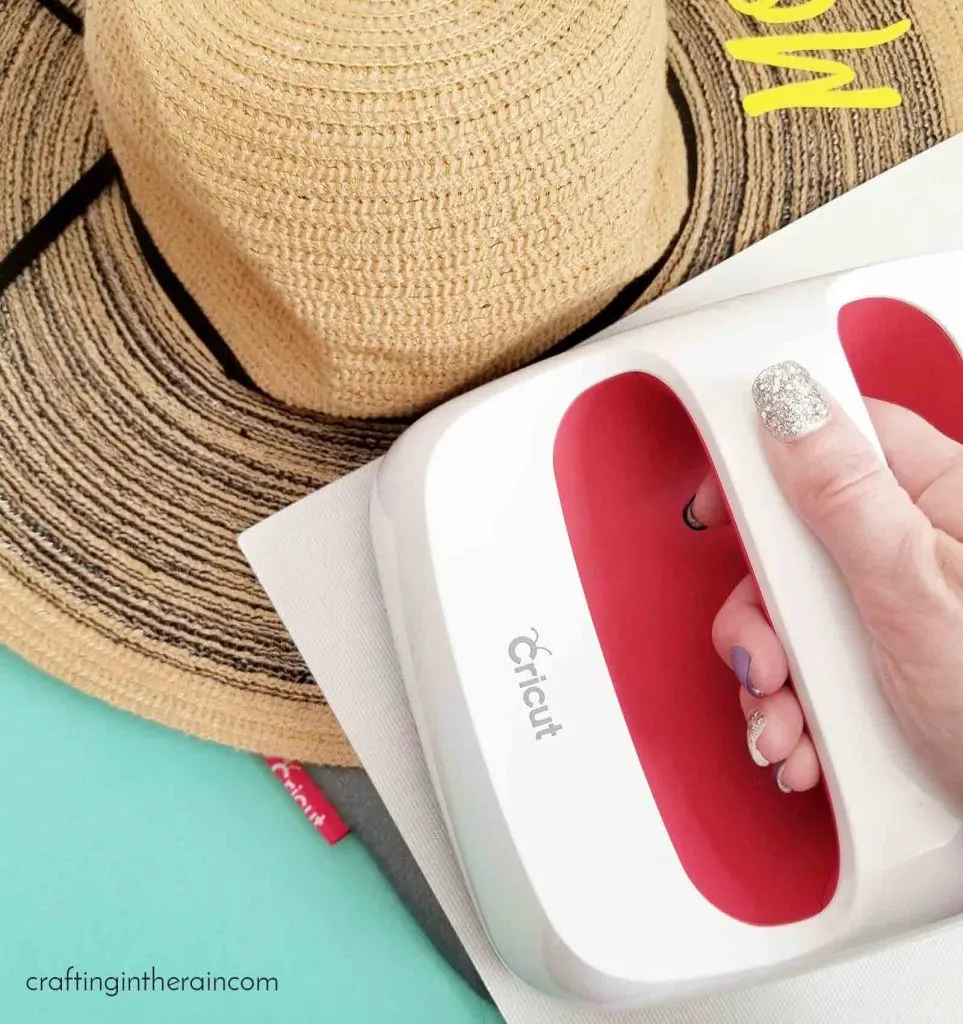
Use the EasyPress 2 (I like the small size 6×7 for this project) Because of the curve of the hat, you’ll probably only be able to do a section at a time and then move to the next spot.
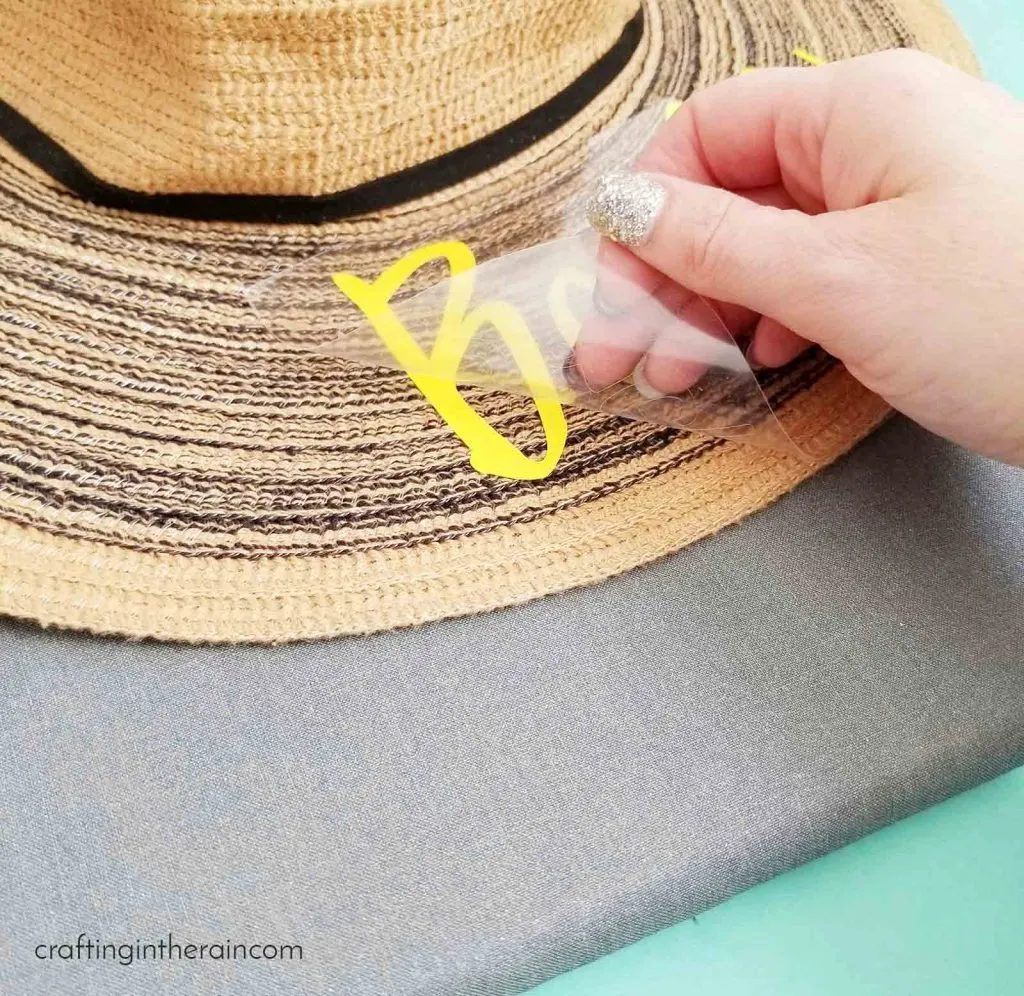
Peel off the carrier sheet.
Here are some great idea starters for your beach hat phrase:
Head in the Clouds
Hello Sunshine
Wanderlust
Out of Office
Do Not Disturb
Girl Gang
Just Married
Be Happy
Beach Bum
Wish You Were Here
Wild and Free
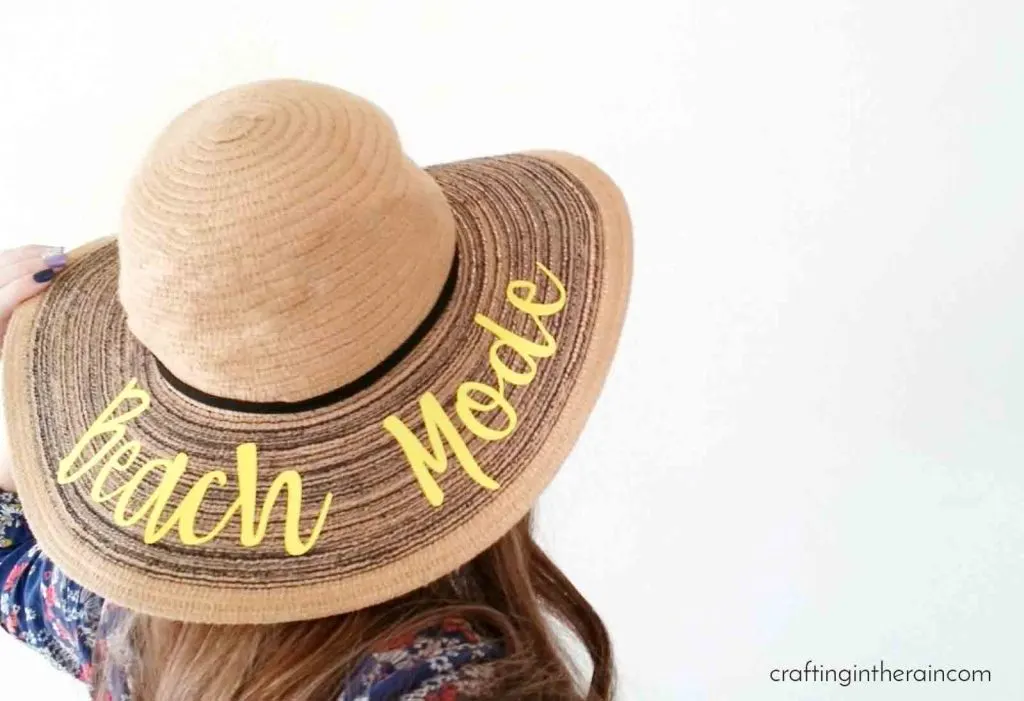
If you make one I would love to see the final result of your beach hat with heat transfer vinyl.

7 DIY Fun Last Minute Cricut Gifts - Bright Star Crafters
Wednesday 15th of December 2021
[…] Image Credits: Crafting in the Rain […]
7 DIY Fun Last Minute Cricut Gifts - Bright Star Crafters
Tuesday 14th of December 2021
[…] mean getaways, too! Gift someone a DIY beach hat for their vacation. Customise it with a nice statement using HTV. Go bold and bright with your […]
50 Things To Make And Sell With Cricut - Tastefully Frugal
Thursday 22nd of April 2021
[…] Beach Mode Floppy Hat – Crafting In The Rain […]
Katy
Saturday 27th of March 2021
So for the hat what heat settings where you working at ?
Kaylie
Saturday 30th of January 2021
Hello! Thank you so much for these amazing pointers! What temperature does the easy press have to be at and how long do you press it for?