Did you know you can add iron-on vinyl to paper napkins? It’s true! And there are just a couple of tricks you need to know to get perfect results. (some links affiliate)

I tried it once a while ago and didn’t have great luck. You know the clear plastic carrier sheet that keeps your iron-on design together? Well, when I weeded away the extra vinyl, the carrier sheet underneath was still quite sticky. This is great if you’re using the htv on a shirt, because it helps keep the design in place as it sticks to the fabric a bit.
But on my napkin, it stuck too well, and the carrier sheet tore up a bit of the paper napkin. I thought maybe it was a lost cause. Until my friend Charynn of Pineapple Paper Co showed me some of her napkins with HTV on them. I was determined to try again!
Here’s what worked best for me when I was back at it.
1- Check the stickiness of the carrier sheet before using it on the napkin. Some HTV has a carrier sheet with much less “stick” like foil iron-or or patterned iron-on.
2- If the carrier sheet is quite sticky, use scissors to cut away as much of the carrier sheet as possible, and run your fingers over what’s left. This will lessen the pull it will have on your napkin and you’ll get a clean removal of the carrier sheet after it’s pressed.
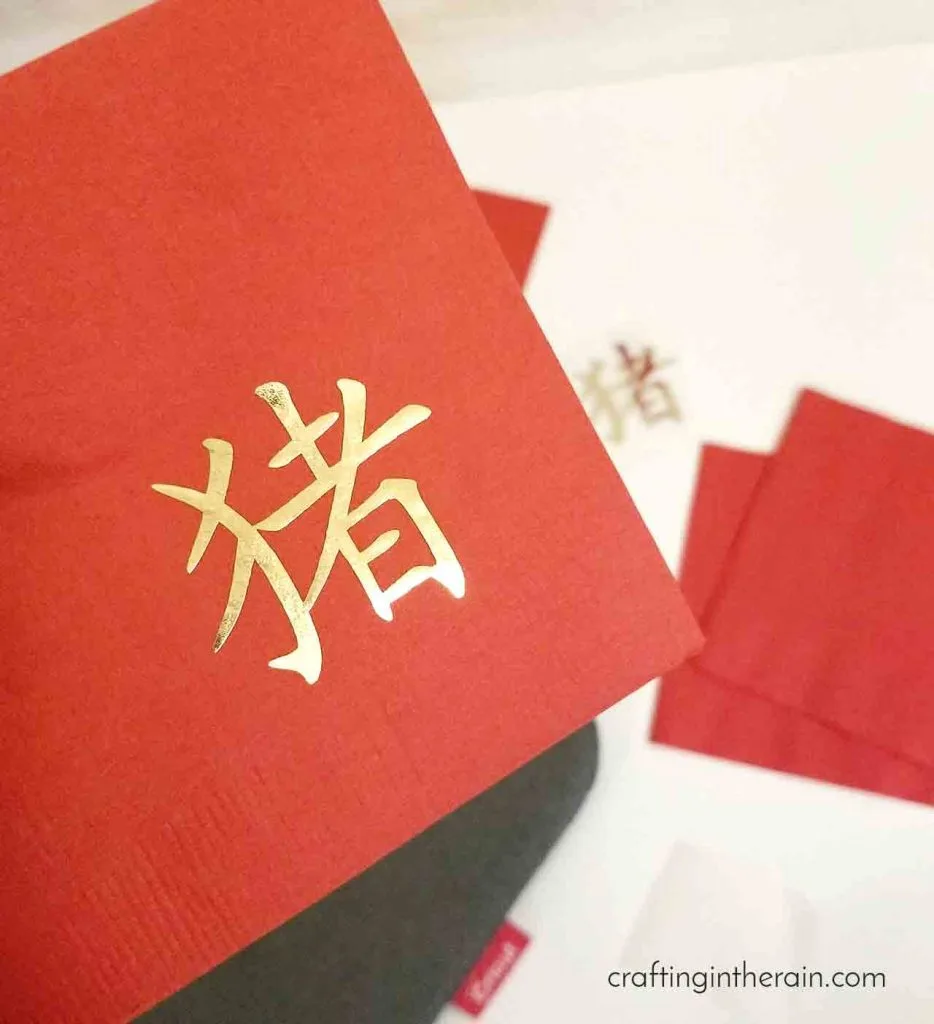
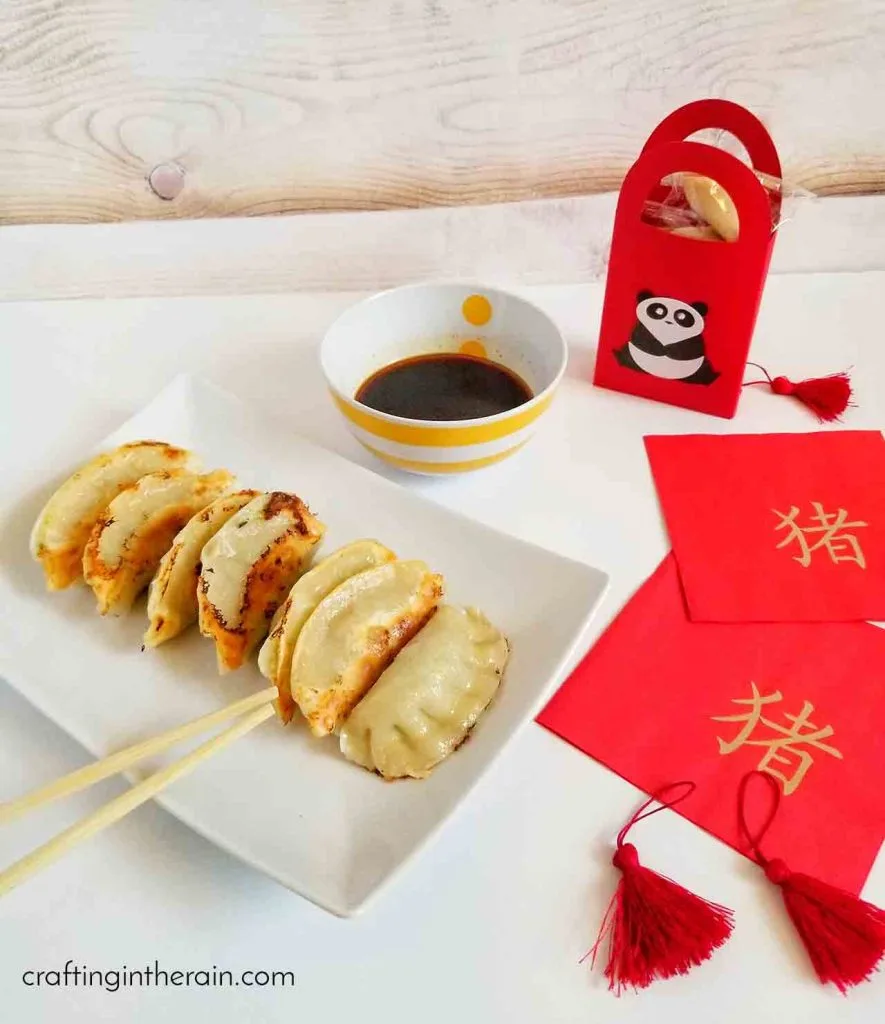
I used gold foil iron-on for these red napkins for a Chinese New Year dinner. They go perfectly with these panda gift bags.

I found the character for “Pig” (since 2019 is the year of the Pig.) Use this tutorial for uploading an image to Design Space.

When the cut image is in Design Space, resize to what you want on your napkin and cut it with the Cricut – remember to mirror and put the iron-on shiny side down on the mat!
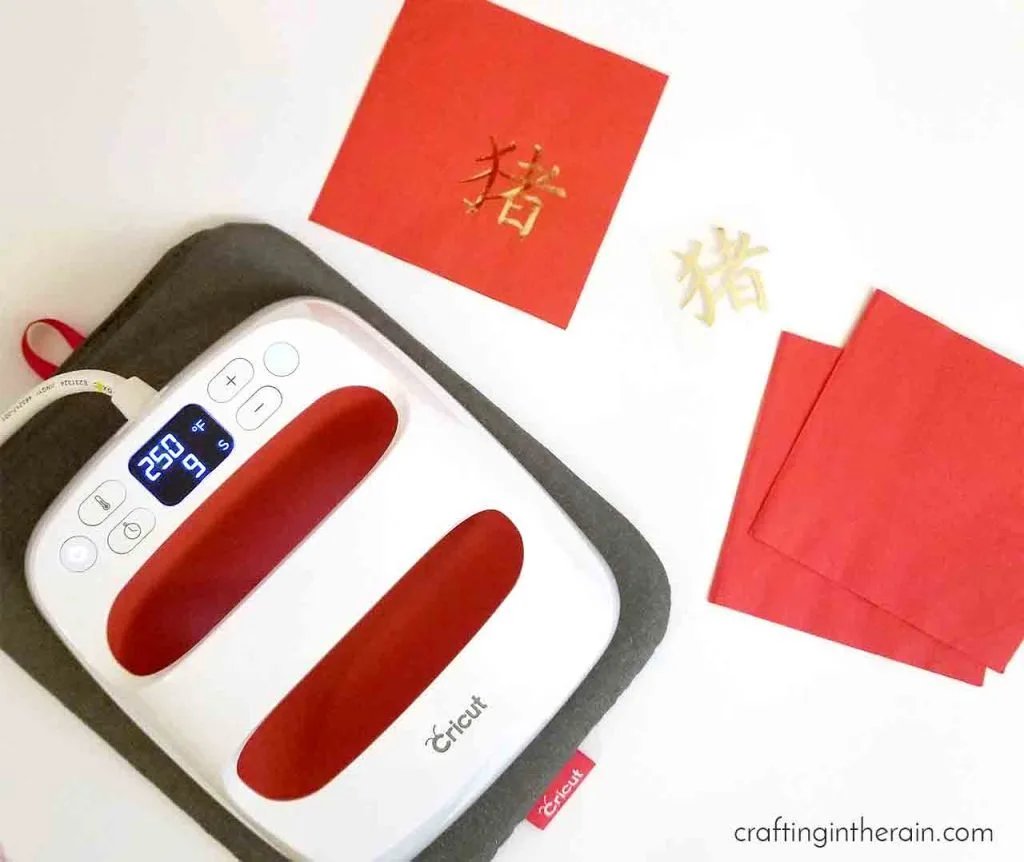
Weed out the excess vinyl and set the EasyPress to 250. Press for 20 seconds and peel the carrier sheet right away.
I love the amazing possibilities for custom napkins to match any party theme. Have you ever tried napkins with iron on vinyl before? How did it go?
